#Puente#
Coursework 4: Gamification
A bridge building game in Unity
- Programming by: Ciro Duran
- Textures by: Adolfo Roig and chabull.
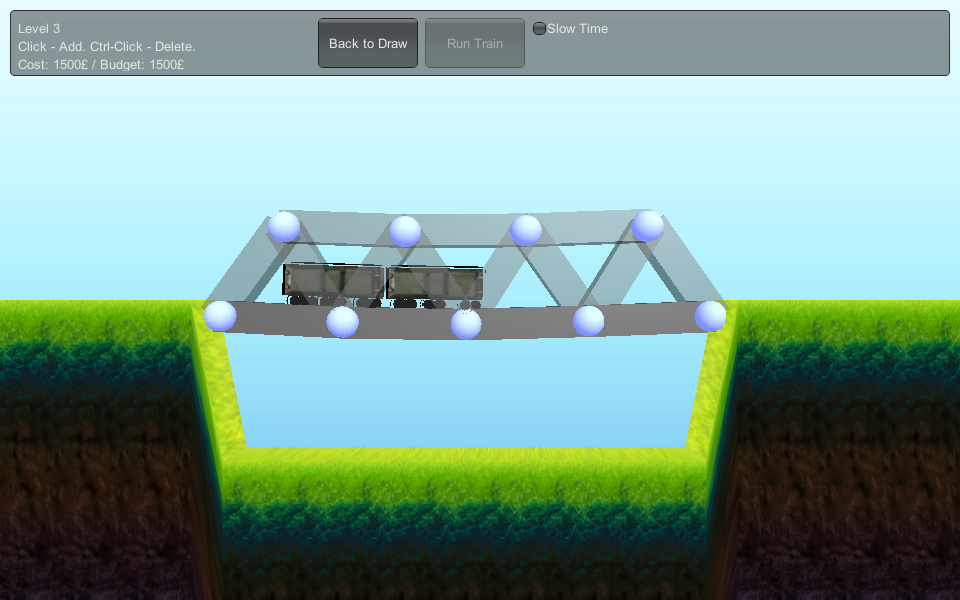
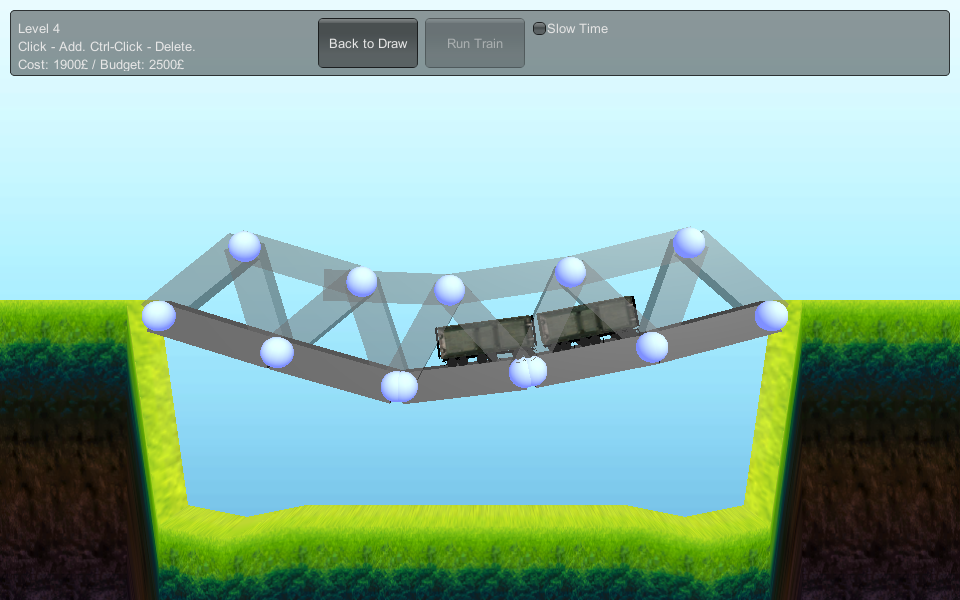
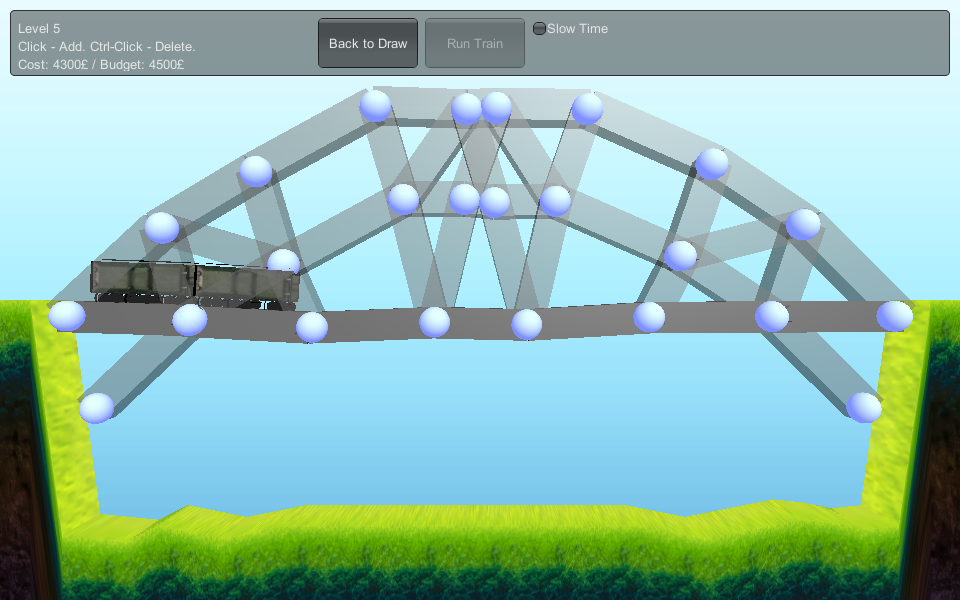
This game uses the Unity and the bundled PhysX library capabilities to let the player build a bridge, where a train will pass through. This project allows players to meet the challenges of building an structure similar to mass-spring systems.
Youtube video at: https://www.youtube.com/watch?v=kpEreQ3aPvU Source code at: https://github.com/chiguire/puente/
##Instructions##
- Select a level in the main menu.
- Click and drag a beam. Beams can only have certain length at most.
- Click and drag from other beams to connect them.
- If you make a mistake, Ctrl-click any beam point.
- You've got only a maximum budget. If you find yourself at the top, remove some beams before putting others.
- When you're ready, click Test Bridge and then Run Train.
- You win the level if the train goes through the other side.
##Development##
The game implements a system that allows the player to "draw" beams with the mouse, connecting the beams with others. Then, the player must test if the bridge sustains itself, and then run a train over it to see if it holds its weight.
###Physics###
The game uses part of the PhysX physics library to implement its behaviour. Each beam consists of three rigidbodies, one for the beam, and the other two for its extremes.
The extreme rigidbodies are connected to the beam with Fixed Joints, and these are also connected with the other beams' extremes with Hinge Joints.
The Hinge Joints are given a certain break force. This means that if a force greater than that is applied to the joint, it will break. Hinge Joints applied to the surface snap shots (the yellow ones) are given a greater break force.
When the player is in the bridge setup stage, all parts drawn are in kinematic mode, and when the player switchs to the play and testing stage, the parts are all set to dynamic. When the player resets the level, all parts are set back to kinematic and positioned back to where they were drawn.
###Level specification###
Levels can be created by copying one of the levels in the Resources folder. They're in JSON format and quite easy to understand. You must also add the level at the loading function in the title screen. The data needed to describe the level is the following:
- Name: The name displayed at the top of the screen.
- Version: A version number of the level, for future use.
- Heights: A 100-sized float array that describes the terrain in y-coordinates.
- Road Level: Tells the game which of all the heights (in snap point coordinates) is the road. This game limits the road to a flat line. Inclined beams or not at road level will be treated as not-road beams, and thus won't carry the train.
- Budget: Maximum amount of money the player can use to build the bridge. Each beam costs 100£.
- Anchor Point Locations: Array of arrays, each inner array is 2-sized, and indicates in snap point coordinates the location of each surface point location.


