Deep-motion-editing
This library provides fundamental and advanced functions to work with 3D character animation in deep learning with Pytorch. The code contains end-to-end modules, from reading and editing animation files to visualizing and rendering (using Blender) them.
The main deep editing operations provided here, motion retargeting and motion style transfer, are based on two works published in SIGGRAPH 2020:
Skeleton-Aware Networks for Deep Motion Retargeting: Project | Paper | Video
Unpaired Motion Style Transfer from Video to Animation: Project | Paper | Video
This library is written and maintained by Kfir Aberman, Peizhuo Li and Yijia Weng. The library is still under development.
Prerequisites
- Linux or macOS
- Python 3
- CPU or NVIDIA GPU + CUDA CuDNN
Quick Start
We provide pretrained models together with demo examples using animation files specified in bvh format.
Motion Retargeting
Download and extract the test dataset from Google Drive or Baidu Disk (ye1q). Then place the Mixamo directory within retargeting/datasets.
To generate the demo examples with the pretrained model, run
cd retargeting
sh demo.sh
The results will be saved in retargeting/examples.
To reconstruct the quantitative result with the pretrained model, run
cd retargeting
python test.py
The retargeted demo results, that consists both intra-structual retargeting and cross-structural retargeting, will be saved in retargeting/pretrained/results.
Motion Style Transfer
To receive the demo examples, simply run
sh style_transfer/demo.shThe results will be saved in style_transfer/demo_results,
where each folder contains the raw output raw.bvh and the output after footskate clean-up fixed.bvh.
Train from scratch
We provide instructions for retraining our models
Motion Retargeting
Coming soon...
Motion Style Transfer
Dataset
-
Download the dataset from Google Drive or Baidu Drive (zzck). The dataset consists of two parts: one is the taken from the motion style transfer dataset proposed by Xia et al. and the other is our BFA dataset, where both parts contain .bvh files retargeted to the standard skeleton of CMU mocap dataset.
-
Extract the .zip files into
style_transfer/data -
Pre-process data for training:
cd style_transfer/data_proc
sh gen_dataset.sh
This will produce
xia.npz,bfa.npzinstyle_transfer/data.
Train
After downloading the dataset simply run
python style_transfer/train.pyStyle from videos
To run our models in test time with your own videos, you first need to use OpenPose to extract the 2D joint positions from the video, then use the resulting JSON files as described in the demo examples.
Blender Visualization
We provide a simple wrapper of blender's python API (2.80) for rendering 3D animations.
Prerequisites
The Blender releases distributed from blender.org include a complete Python installation across all platforms, which means that any extensions you have installed in your systems Python won’t appear in Blender.
To use external python libraries, you need to change the default blender python interpreter by:
-
Remove the built-in python directory:
[blender_path]/2.80/python. -
Make a symbolic link or simply copy a python interpreter at [blender_path]/2.80/python. E.g.
ln -s ~/anaconda3/envs/env_name [blender_path]/2.80/python
This interpreter should be python 3.7.x version and contains at least: numpy, scipy.
Usage
Arguments
Due to blender's argparse system, the argument list should be separated from the python file with an extra '--', for example:
blender -P render.py -- --arg1 [ARG1] --arg2 [ARG2]
engine: "cycles" or "eevee". Please refer to Render section for more details.
render: 0 or 1. If set to 1, the data will be rendered outside blender's GUI. It is recommended to use render = 0 in case you need to manually adjust the camera.
The full parameters list can be displayed by:
blender -P render.py -- -h
Load bvh File (load_bvh.py)
To load example.bvh, run blender -P load_bvh.py. Please finish the preparation first.
Note that currently it uses primitive_cone with 5 vertices for limbs.
Note that Blender and bvh file have different xyz-coordinate systems. In bvh file, the "height" axis is y-axis while in blender it's z-axis.
load_bvh.pyswaps the axis in theBVH_fileclass initialization funtion.
Currently all the
End Sitesin bvh file are discarded, this is because of the out-side code used inutils/.
After loading the bvh file, it's height is normalized to 10.
Material, Texture, Light and Camera (scene.py)
This file enables to add a checkerboard floor, camera, a "sun" to the scene and to apply a basic color material to character.
The floor is placed at y=0, and should be corrected manually in case that it is needed (depends on the character parametes in the bvh file).
Rendering
We support 2 render engines provided in Blender 2.80: Eevee and Cycles, where the trade-off is between speed and quality.
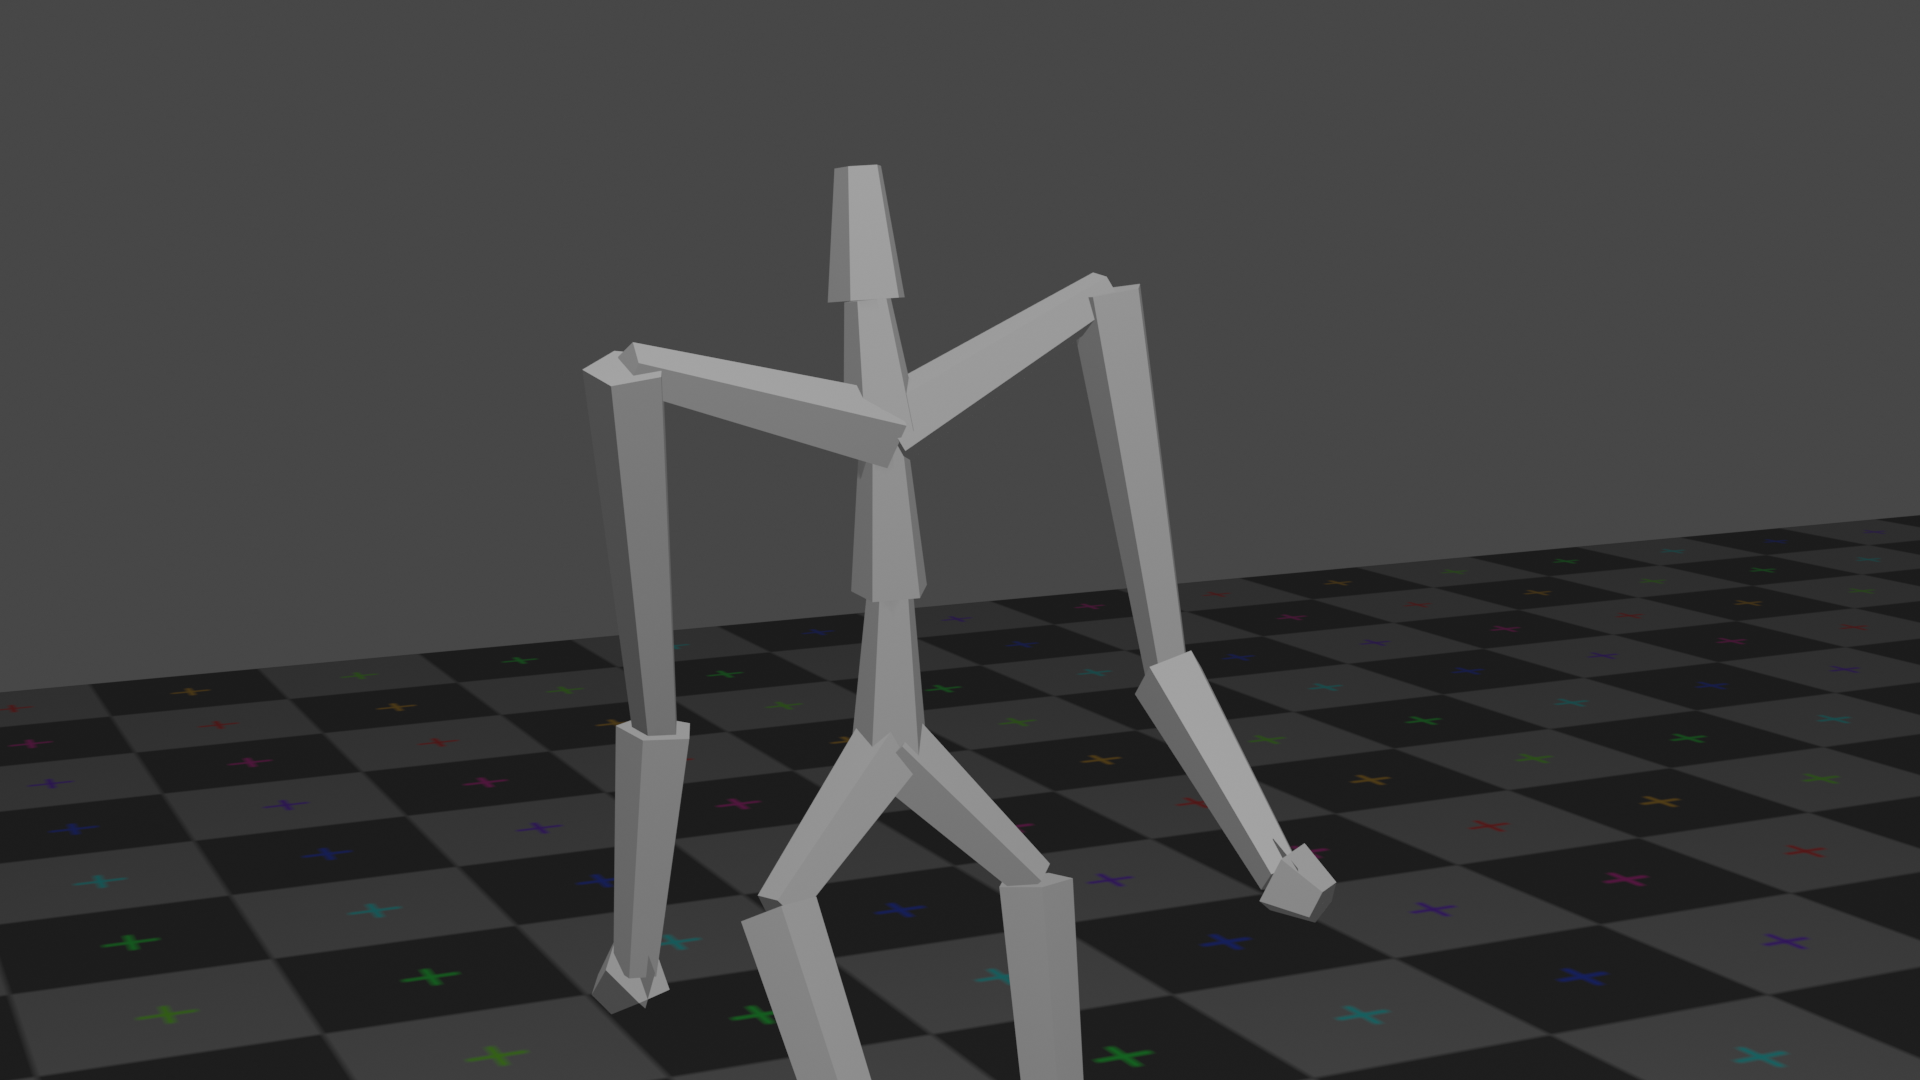
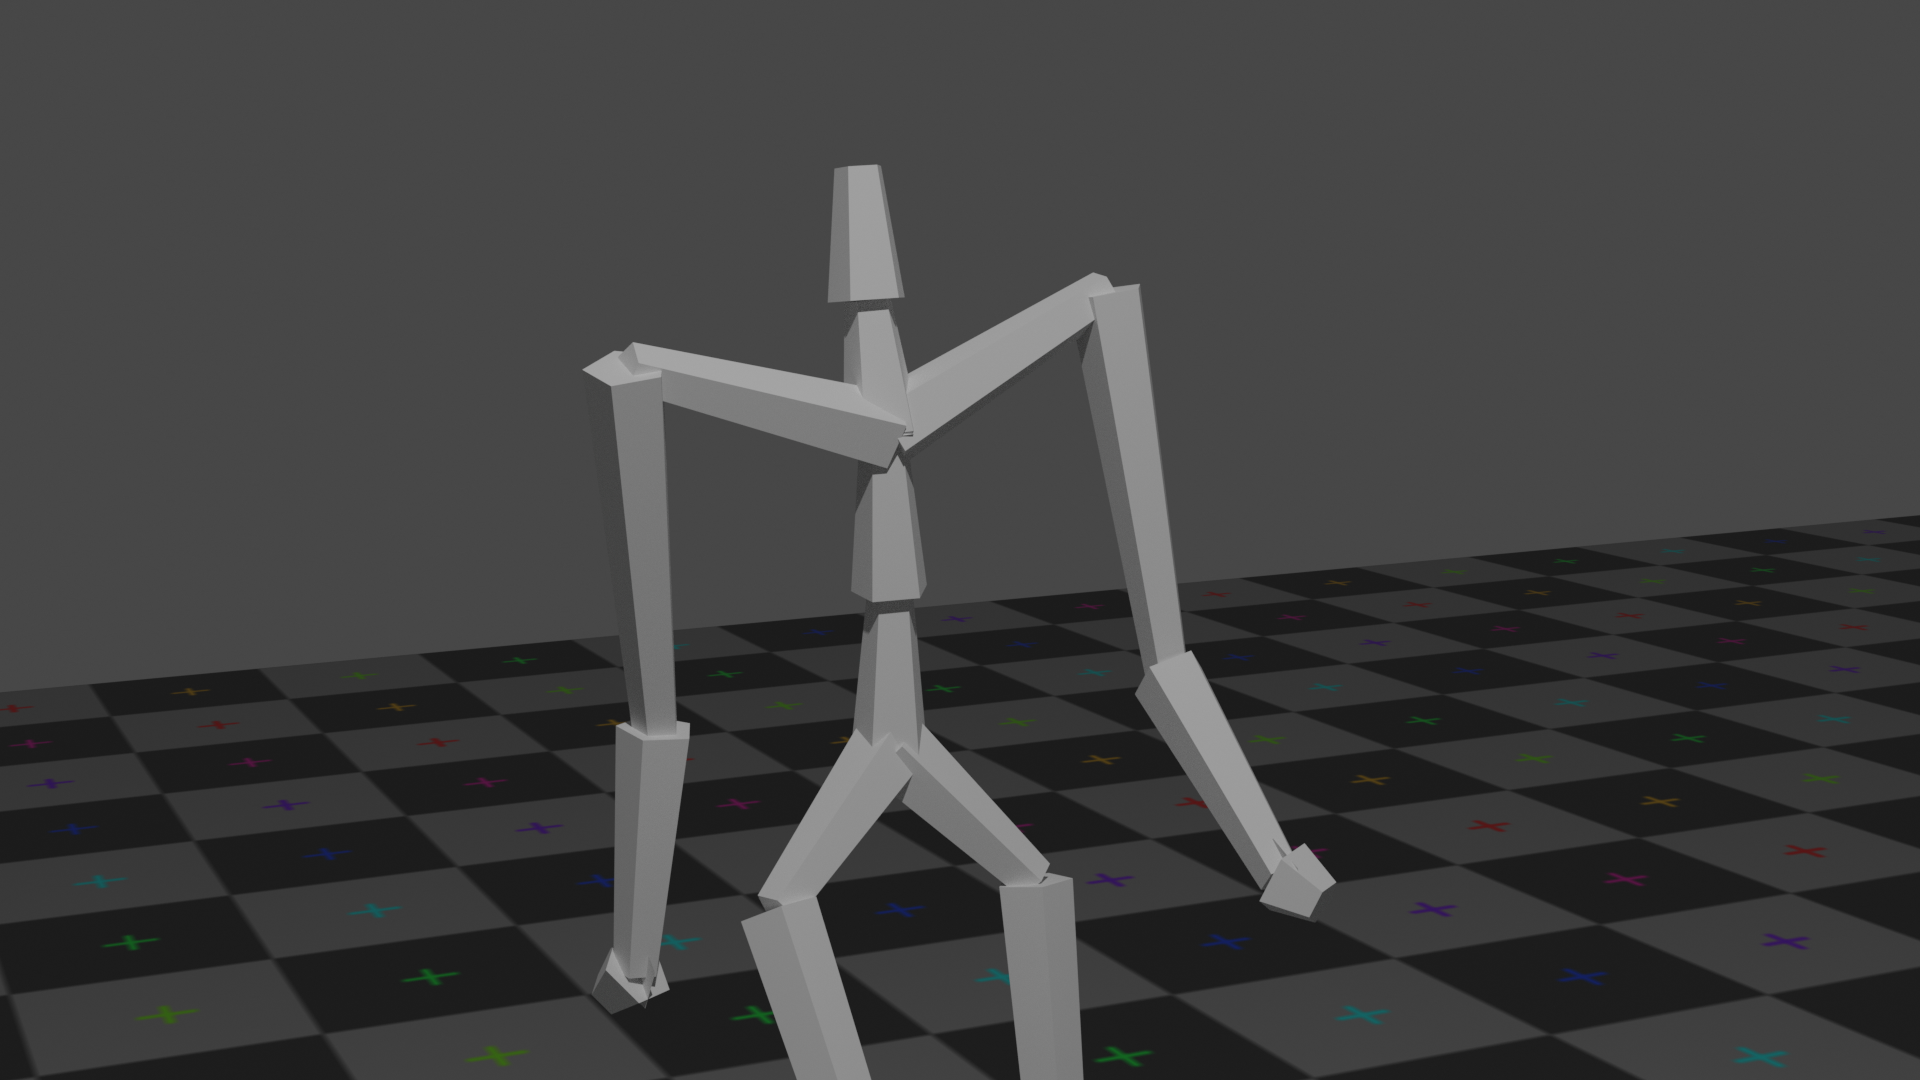
Eevee (left) is a fast, real-time, render engine provides limited quality, while Cycles (right) is a slower, unbiased, ray-tracing render engine provides photo-level rendering result. Cycles also supports CUDA and OpenGL acceleration.
Skinning
Applying "skinning" to the output skeletons involves some manual steps. Here we provide a "quick and dirty" guideline for how to apply skin to the resulting bvh files, with blender:
- Download the fbx file that corresponds to the retargeted character (for example, "mousy")
- Import the fbx file to blender (uncheck the "import animation" option)
- Merge meshes - select all the parts and merge them (ctrl+J)
- Import the retargeted bvh file
- Click "context" (menu bar) -> "Rest Position" (under sekeleton)
- Manually align the mesh and the skeleton (rotation + translation)
- Select the skeleton and the mesh (the skeleton object should be highlighted)
- Click Object -> Parent -> with automatic weights (or Ctrl+P)
Now the skeleton and the skin are bound and the animation can be rendered.
Acknowledgments
The code in the utils directory is mostly taken from Holden et al. [2016].
In addition, part of the MoCap dataset is taken from Adobe Mixamo and from the work of Xia et al..
Citation
If you use this code for your research, please cite our papers:
@article{aberman2020skeleton,
  author = {Aberman, Kfir and Li, Peizhuo and Sorkine-Hornung Olga and Lischinski, Dani and Cohen-Or, Daniel and Chen, Baoquan},
  title = {Skeleton-Aware Networks for Deep Motion Retargeting},
  journal = {ACM Transactions on Graphics (TOG)},
  volume = {39},
  number = {4},
  pages = {62},
  year = {2020},
  publisher = {ACM}
}
and
@article{aberman2020unpaired,
  author = {Aberman, Kfir and Weng, Yijia and Lischinski, Dani and Cohen-Or, Daniel and Chen, Baoquan},
  title = {Unpaired Motion Style Transfer from Video to Animation},
  journal = {ACM Transactions on Graphics (TOG)},
  volume = {39},
  number = {4},
  pages = {64},
  year = {2020},
  publisher = {ACM}
}


