Important
I'm reworking the app to the Next.js + Firebase stack. I'm throwing away the Python backend because I feel like switching to Next.js simplifies things a lot. It's a common app for both frontend and backend. Firebase gives me a database for games and chat messages which is easier to use than DynamoDb. Firebase also provides authentication and hosting.
I plan to complete the redesign in 1-2 weeks. So far all the work in going on in the nextjs-with-firebase branch.
I created this repo for the Backdrop Build V3 hackathon on February 26, 2024. It was based on my other project mafia-gpt. Mafia used OpenAI Assistants API which disappointed me a lot in process of development (slow, native client freezes randomly, outages on the OpenAI side), so I replaced it with a pure completion API. This gave me flexibility to switch between models (GPT-4, Claude3 Opus, Mistral Large, Grok 1.5 for now) but forced to store the chat history in DynamoDB. I like this approach so I deprecated mafia-gpt in favor of this repo.
All projects registry: Builds
The event project page: ai-werewolf
What is nice about this game is complete freedom in the themes and roleplay. You can create any setting you want. A movie, a book, any historical period, or even a completely new world. The game is very flexible and can be adapted to any setting.
Here is an example of the "Terminator" theme:

I really like these thematic dialogs and how creative the bots are.
UI is chunky and ugly yet but I'm working on it. It's a very early stage of the project. It is only possible to create a new game, to chat with bot players and to initiate a first round of voting. I have more things in the API but UI is not ready yet.
To run the project locally, you need:
- Install Docker and Docker Compose, run local DynamoDb with
docker-compose up - Frontend: install node.js and npm, install dependencies with
npm install, and run the app bynpm run web - Backend: install Python 3.11+ and Pypenv, install dependencies with
pipenv install, and run the FastAPI server
I prefer to run it with Docker Compose. There is a firebase in the root directory, just run it. You need to have docker and docker-compose installed.
docker-compose upInstall Python 3.11+ and Pipenv.
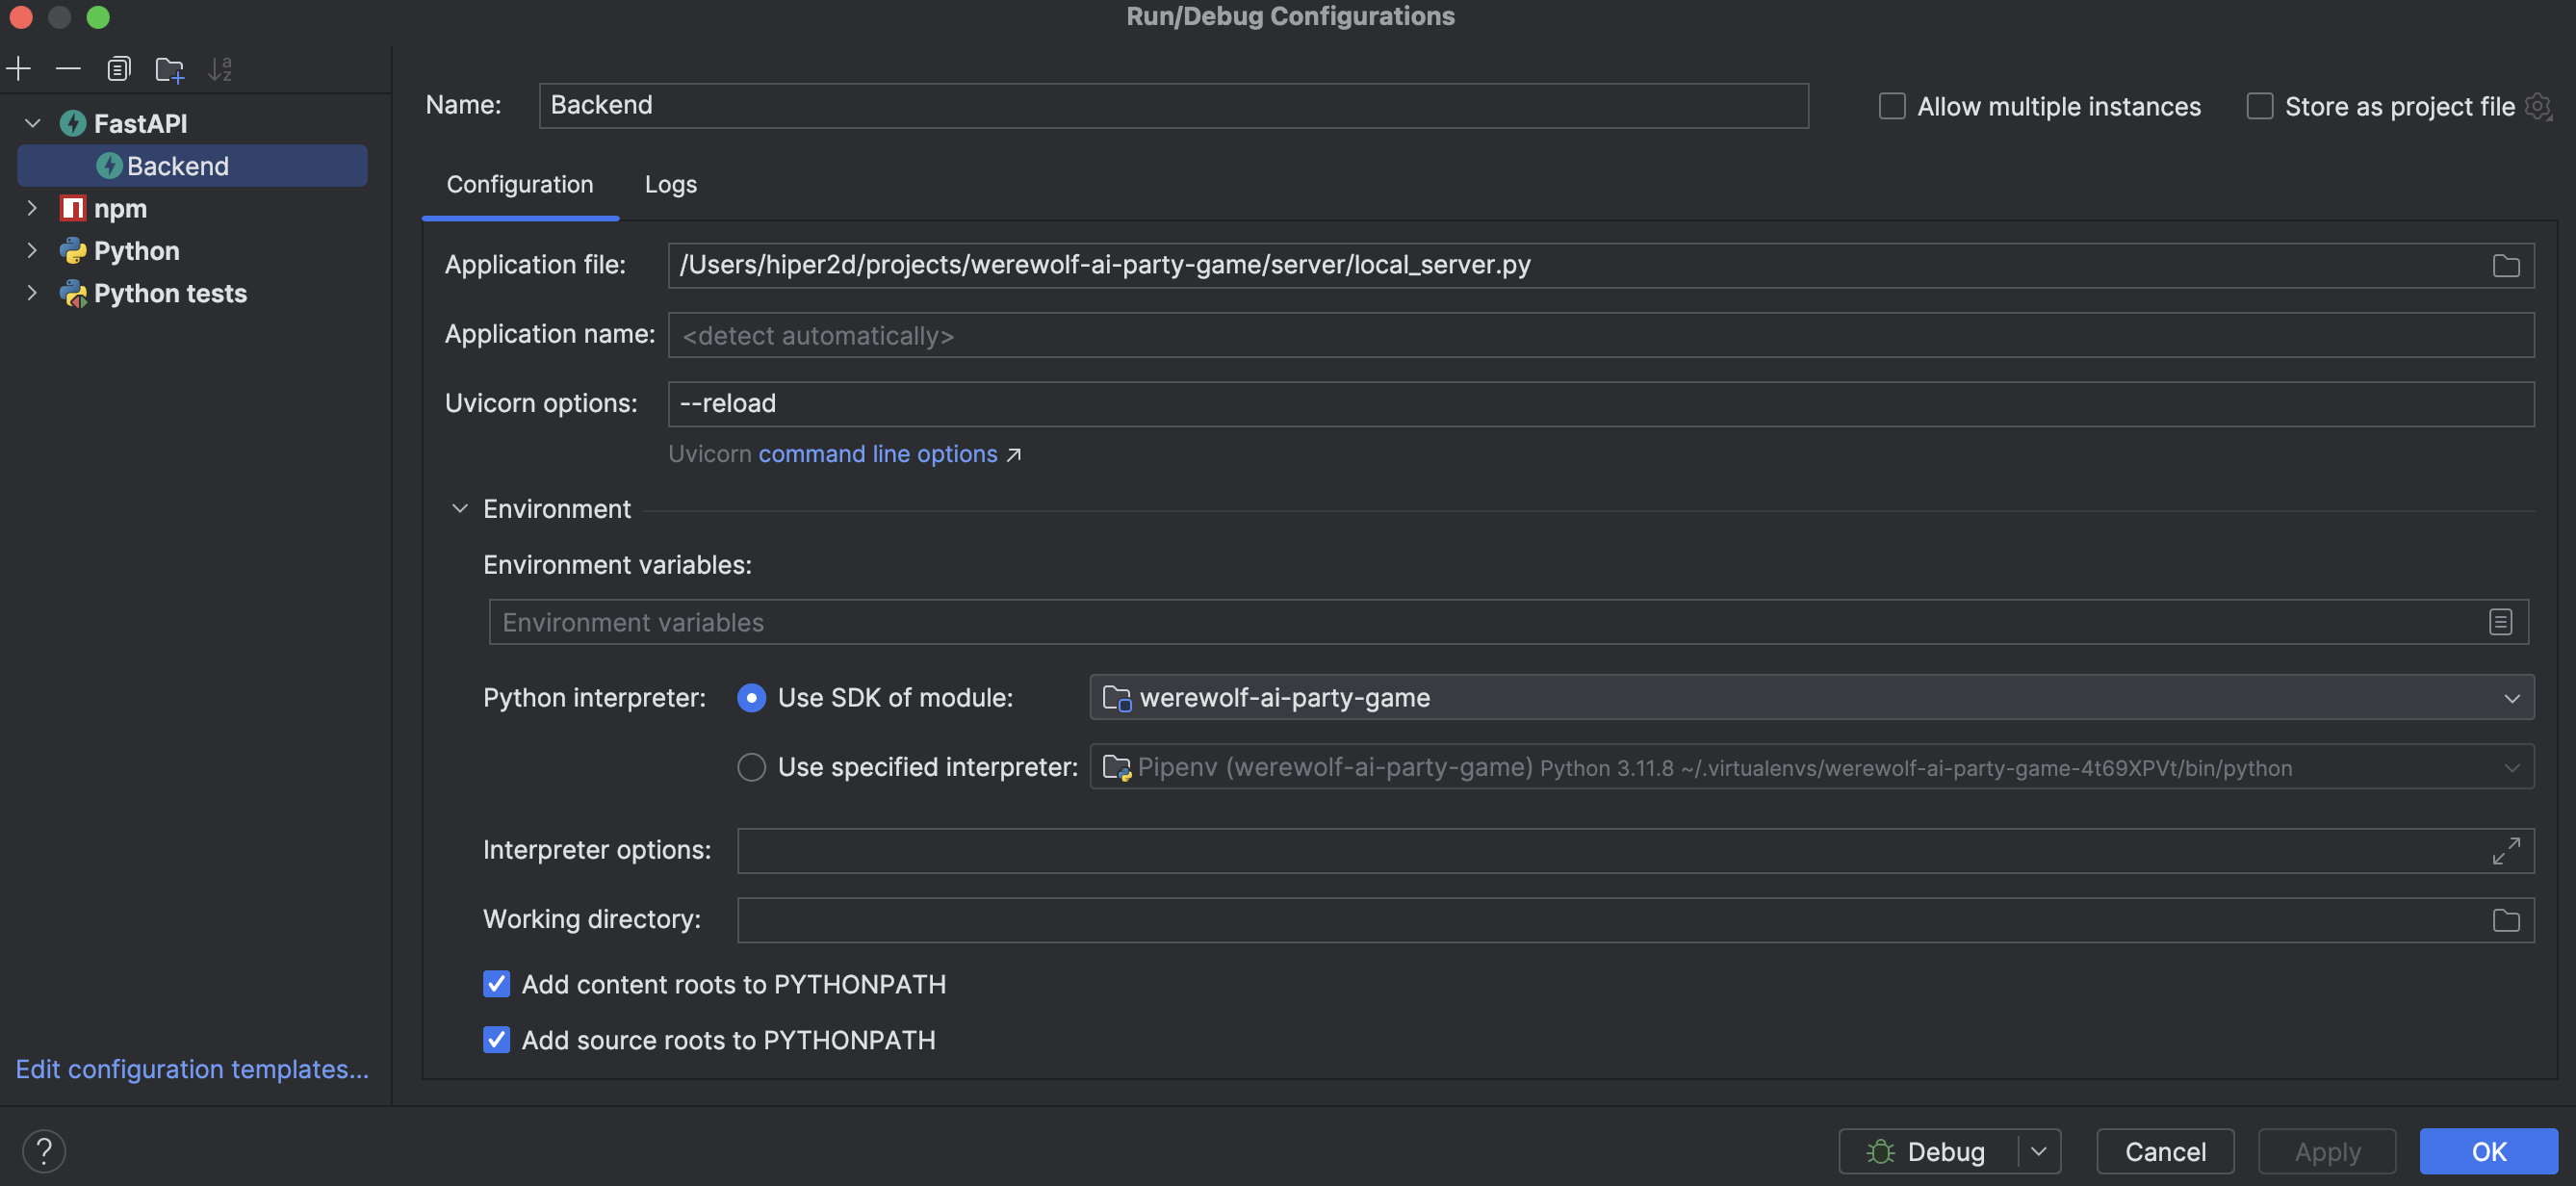
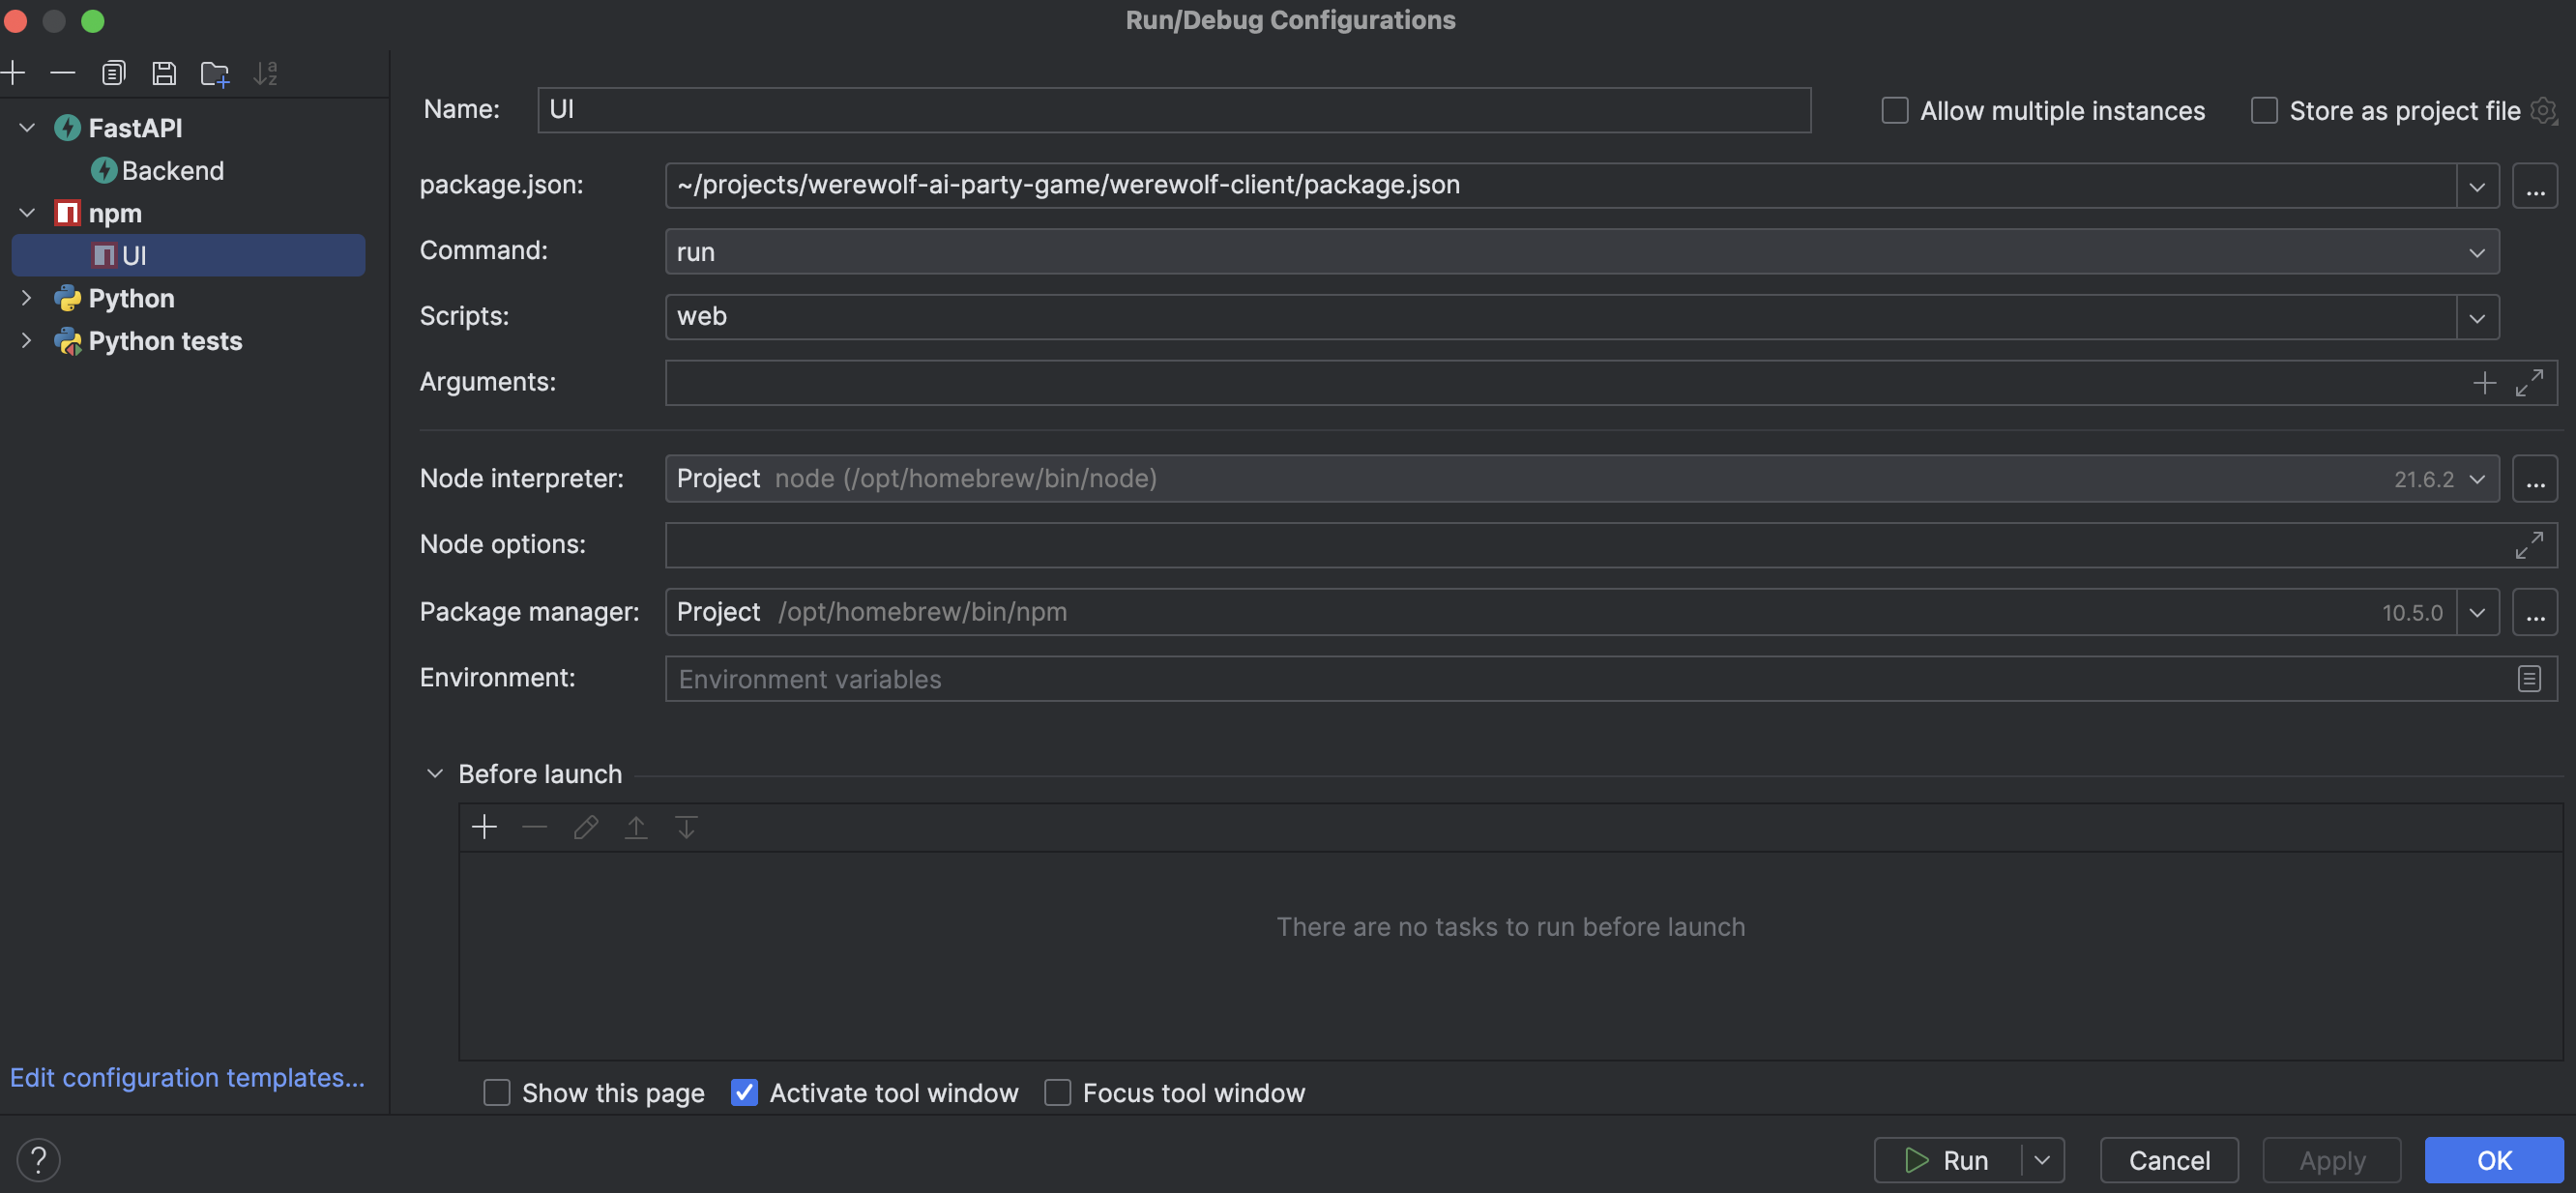
I use FastAPI Python web server and React Native frontend application. Here are my Intellij Idea run configurations:
Note: Before running Python code, rename the .env.template file into
.envand fill in the values. All environmental variables from it will be loaded by functions and used to talk to the external APIs (DynamoDB, OpenAI).
I don't have any better runner than Python junit tests for now. In future, I'll use a web server with UI in React Native
for the local development. I'll deploy functions to Lambdas and host UI somewhere separately.
Each function has a separate test. It does not make sense to run all of them, only for the function you want to run.
To run tests, install Python dependencies using Pipenv (more details about it is below), then run a
test you need like this:
python -m unittest test_lambda_functions.TestGameFunctions.test_init_gameI use pipenv to manage dependencies. Install it, create a virtual environment, activate it and install dependencies.
-
Install
pipenvusing official docs. For example, on Mac:pip install pipenv --user
-
Add
pipenvto PATH if it's not there. For example, I had to add to the~/.zshrcfile the following line:export PATH="/Users/hiper2d/Library/Python/3.11/bin:$PATH"
-
Install packages and create a virtual environment for the project:
cd <project dir> # navigate to the project dir
pipenv install
This should create a virtual environment and install all dependencies from
Pipfile.lockfile.If for any reason you need to create a virtual environment manually, use the following command:
pip install virtualenv # install virtualenv if you don't have it
virtualenv --version # check if it's installed
cd <virtualenv dir> # for example, my virtual envs as here: /Users/hiper2d/.local/share/virtualenvs
virtualenv <virtualenv name> # I usually use a project name
-
To swtich to the virtual environment, use the following command:
cd <project dir>
pipenv shell
If this fails, then do the following:
cd <virtualenv dir>/bin
source activate
Install node.js and npm. Navigate to the werewolf-client and run:
npm install
npm run web
This will start the frontend on the localhost:8081 address.
To run the project locally, you need:
- Install Docker and Docker Compose, run local DynamoDb with
docker-compose up - Backend: install Python 3.11+
- Frontend: install node.js and npm, navigate to the
werewolf-clientinstall dependencies withnpm install, and run the app bynpm run web - Edit environment variables in control panel and add two environment variables to python in PATH, for example:
..\AppData\Local\Programs\Python\Python312
..\AppData\Local\Programs\Python\Python312\Scripts- Install dependencies in root directory
pip install -r requirements.txt - Inside
.envfile add keys and add AWS_ACCESS_KEY_ID and AWS_SECRET_ACCESS_KEY, remove AWS_PROFILE:
AWS_ACCESS_KEY_ID=DUMMYIDEXAMPLE
AWS_SECRET_ACCESS_KEY=DUMMYEXAMPLEKEY- From
serverfolder run web server:uvicorn local_server:app --reload


