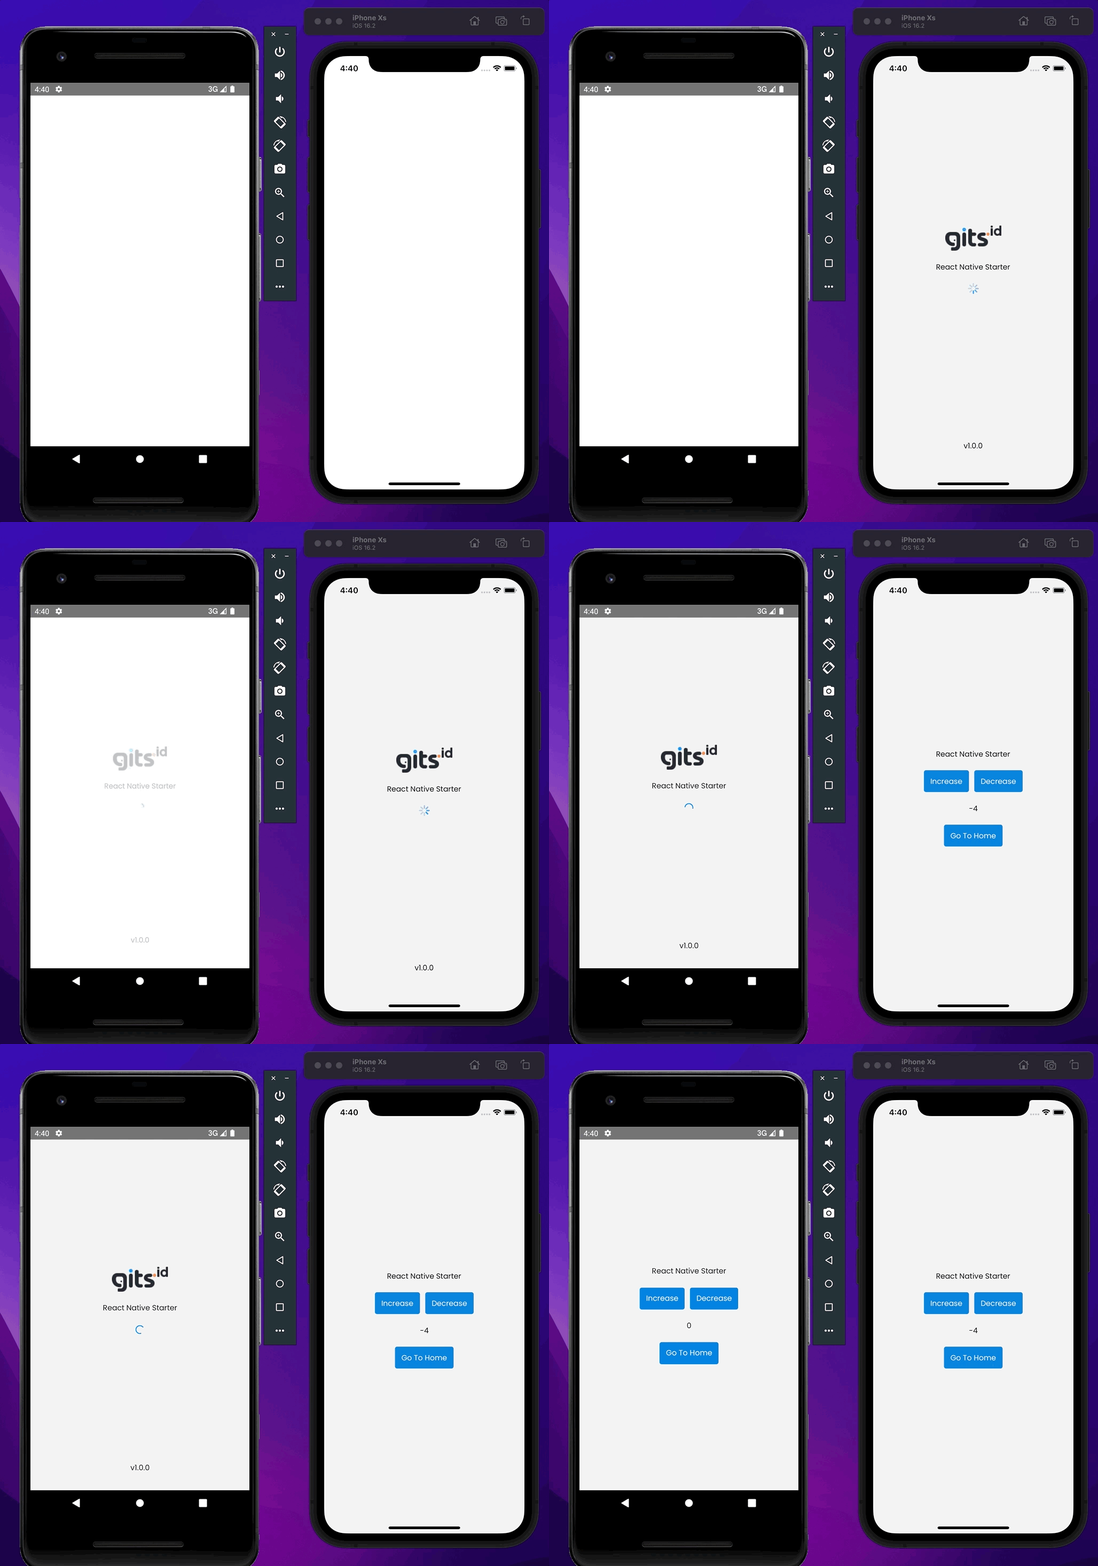
This is React Native starter v1.0.0
This application use:
- node : >= 16 (Recommended for using LTS version)
- openJDK: 11.0.18
- ruby: 2.7.6 p219
- gradle: 7.3.1
- minSdkVersion: 21 (android >= v5)
- Visual Studio Code
- Flipper (have problem when install inside Mac? refer to References)
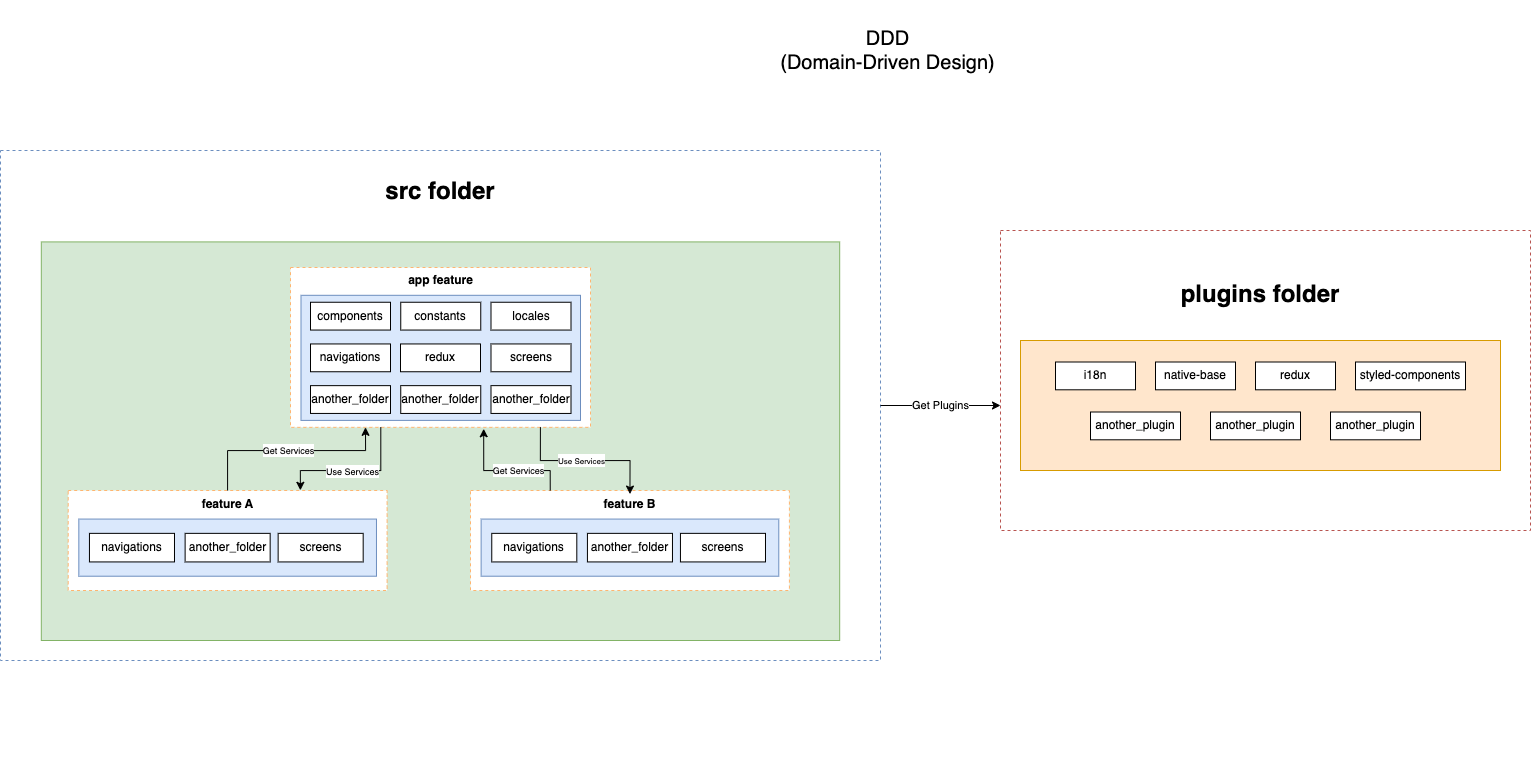
If you want have technical understanding not theory, just visit this Medium Article about DDD structure in React
These are major dependencies that we used for develop:
- react-native 0.71.4
- react 18.2.0
- react-navigation ^6.1.6
- react-navigation (stack) ^6.9.12
- react-navigation (drawer) ^6.6.2
- styled-components ^5.3.8
- react-native-paper ^5.4.1
- redux-toolkit ^1.9.3
- react-redux ^8.0.5
- redux-persist ^6.0.0
- async-storage ^1.17.11
- i18n ^22.4.11
- react-i18n ^12.2.0
- react-hook-form ^7.43.7
- @hookform/resolvers ^3.0.0
- yup ^1.02
These are additional dependencies that we use for develop:
- babel-plugin-module-resolver ^5.0.0
- typescript 4.8.4
- husky ^8.0.3
- prettier ^2.8.4
npx react-native-rename "New Application Name"
1; Install dependencies using yarn
yarn2; Install dependencies for iOS (for Mac Only)
pod installRun metro bundler
yarn startBuild iOS (for Mac Only)
yarn iosBuild Android
yarn androidBuild android debug
yarn android:debugFile located at /android/app/build/outputs/apk/debug/app-debug.apk
yarn linkRun linter and will search for problems, but will not fix
yarn lintRun linter and will search and try to fix the problems.
yarn lint:fixRun linter and will call prettier to fix the code style.
yarn lint:formatIt will go through all the test files and execute them. This command will also be used in pre-hooks and CI checks.
yarn testThis will watch all the test files. It is very useful while writing tests and quickly seeing results.
yarn test:watchThis command will update snapshots for all the presentational components. If the snapshot is not there, it will create it for you. We will discuss snapshots in detail in coming chapters.
yarn test:updateAs the name suggests, this command will generate a coverage report.
yarn test:coverageUpgrade last semantic versioning 0.0.(0 <-- this)
yarn version:patchUpgrade middle semantic versioning 0.(0 <--- this).0
yarn version:minorUpgrade middle semantic versioning (0 <--- this).0.0
yarn version:majorProject structure for this react native starter
|___mocks__                       // Contain all mock of the application for test
|___tests__                       // Contain all test of the application (inside is the same as the root folder, but ony contain App.test.tsx and src folder)
|
|src                              // Entry point for the app.
|___assets                        // Assets, images, fonts, styles, etc.
|   |______images
|   |____________icon             // Contain icon for the project
|   |____________{another}        // Another related to images
|   |______fonts                  // Contain fonts that used inside the project
|
|___features                      // Contain all of your features
|   |______app                    // Core of feature in the project, usually contain reusable API.
|   |____________components       // Contain components
|   |____________constants        // Contain static value / constant
|   |____________hooks            // Contain custom hooks
|   |____________types            // Contain types for feature
|   |____________locales          // Contain localization
|   |____________redux            // Contain redux / state management
|   |____________navigation       // Contain routing, according feature
|   |____________ui               // Contain UI / View for the app
|   |____________utils            // Contain utility that reusable for another component or it-self
|   |
|   |
|   |______{another}              // Another features, the content same as above.
|
|___plugins                       // Contain all about third party packages
|___test                          // Contain all about test, especially setup for jest
|___types                         // Contain all about type definition (global type definition)
If you want to create folder outside declared above, you can create, but, don't forget to update this docs.
- Common Rules, for better versioning, file naming or another things. e.g:
Folder / File Rules (we using kebab case for this)
|__feature-folder
|____feature-folder-item
What happen if you have nested folder? I must write the prefix of the parent folder? no, do this instead
|__parent-folder
|____children
|_______children-item
You need to use the prefix folder if there's any children inside it and no related to parent of another parent folder.
Import Rules
// Don't do this when use import
import { ahhMyFileHere } from '../../../../components/ahhMyFileHere.tsx' // ❌
import { ahhMyFileHere } from '../components' // ❌, Bad when start to refactoring

// Instead, do this when use import
import { ahhMyFileHere } from '@/components' // ✅ good for global importing, not causing any trouble
import { ahhMyFileHere } from './components' // ✅, it's okay if inside current folder
Export Rules
// Just some usual component
const SomeComponent = () => <></>

// Export using named export ✅
export { SomeComponent }

// Don't do this ❌
export default SomeComponent
Comment & Function Rules
// Just some function that void ❌
const func = (): void => {
	console.log('Hi!')
}

/**
 * @description Function that void, just for fetching data ✅
 *
 * @param {Object|SomeInterface} payload
 *
 * @return {void} void
 */
const func = useCallback((payload: SomeInterface): void => {
	console.log('Hi!')
}, [])

/**
 * @description Function for load data to API ✅
 *
 * @method GET
 * @access private (only user that logged in)
 *
 * @return {void} void
 */
const loadData = useCallback((): void => {
	console.log('Loading data...')
}, [])
Variable naming (We using snake_case and camelCase)
Note: snake_case, we use for just namespace.
const someVariable = 'Hello' ✅
const someNamespace_someVariable = 'There!' ✅

const namespace_another_namespace_someVariable = 'Hello There'❌- Slice definition.
// 1. Create folder of feature inside the redux folder.
// 2. Make sure you name it correctly, such as redux/app.slice.ts

// ====== Example of name spacing your variable

// State
const featureName_yourStateName = ✅
const yourStateName = ❌

// Mutations
const featureName_YOUR_MUTATION = ✅
const YOUR_MUTATION = ❌

// Api
const featureName_yourAction = ✅
const yourAction = ❌

// Here's pattern of the slice code:
const app = createSlice({
  name: 'app',
  initialState,
  reducers: {
    app_SET_LOADING: (
      state,
      { payload }: PayloadAction<IAppAttrsLoading>
    ): void => {
      state.app_loading = appUtils_mapLoading(state.app_loading, payload)
    }
  }
})


// Export Mutations
export const { app_SET_LOADING } = app.actions

// Export reducer
export default app.reducer- Navigation, just like common navigation, this project using react-navigation v6:
- Pages or maybe another folder structure, this is complex scenario, but, you can see this schema for the usage and the folder structure of it.
Folder Structure Part 1
// First, go to pages folder, and make your own folder according to the features.

// For example, you just create one feature name, called home. So, you just create the folder name called *home*

// We already inside home folder here. In here, you start writing some code, e.g:

// 1. Create your entry point for the home folder, named index.ts.

export * from './YourComponentName'
Folder Structure Part 2
// 2. Create your component name, to make that, you need another folder inside this home folder, e.g: YourComponentName/index.tsx

const YourComponentName = (): JSX.Element => {
	return <></>
}

export { YourComponentName }

// Just like that, then, what happens when you have another component for this pages? So, lets move to the third step.
Folder Structure Part 3
// 3. Make your reusable component for the component you make above, you must make another entrypoint for your reusable component, e.g: ./components/index.ts

export * from './YourComponentNameReusable'
Folder Structure Part 4
// 4. Define your reusable component just like step 2. So, make sure you make another folder inside this ./components, e.g: YourComponentReusable/index.tsx

const YourComponentReusable = () => <></>

export { YourComponentReusable }
Folder Structure Part 5 (End)
// Easy diagram to define this folder structure, just like this:

|___app
|______screens
|_________index.ts                          // Entry point for the app pages
|_________YouComponentName                  // Your component
|____________index.tsx
|____________interfaces.ts                  // if you have scoped interfaces
|____________components                     // If you have another component related to this YourComponentName
|_______________index.ts                    // Your entry point for component related
|
|_____________________                      // the rest structure is same as the YourComponentName

// For advance example, you can ask to the member of this project. Or maybe you can see the already worked pages folder XD.- Hooks, to make reusable hook quite simple. Just make sure you to use use prefix for the folder name and the filename itself.
- Interfaces, for the interface, it's just a simple you can see. If you develop new feature, don't forget to make the interface first. Just like common interface, it's look like this:
// Don't forget to make prefix for interface file using I, capitalize, to define it is the interface, not some common file.
export interface IProfilePersonalData {
	profilePhoto?: string
	name: string
	email: string
	phoneNumber: string
	address: string
	birthDate: string
	npk: string
}
Another documentation will be updated soon.
These are some references when we build this starter:

