Oracle Linux Automation Manager (OLAM) is a task engine and Web interface based on AWX project for scheduling and running Ansible playbook tasks on the inventories the playbooks interact with. The Oracle Linux Automation Engine (Ansible Engine) is an automation tool for deploying software, configuring systems, and orchestrating tasks such as upgrades and updates, in the form of playbooks.
This lab covers the core functionalities of Oracle Linux Automation Manager.
-
Login to Gitlab http://129.150.61.205/users/sign_in with your allocated credentials.
-
Reset the password.
-
After logging in, press
New Projectand selectCreate blank project.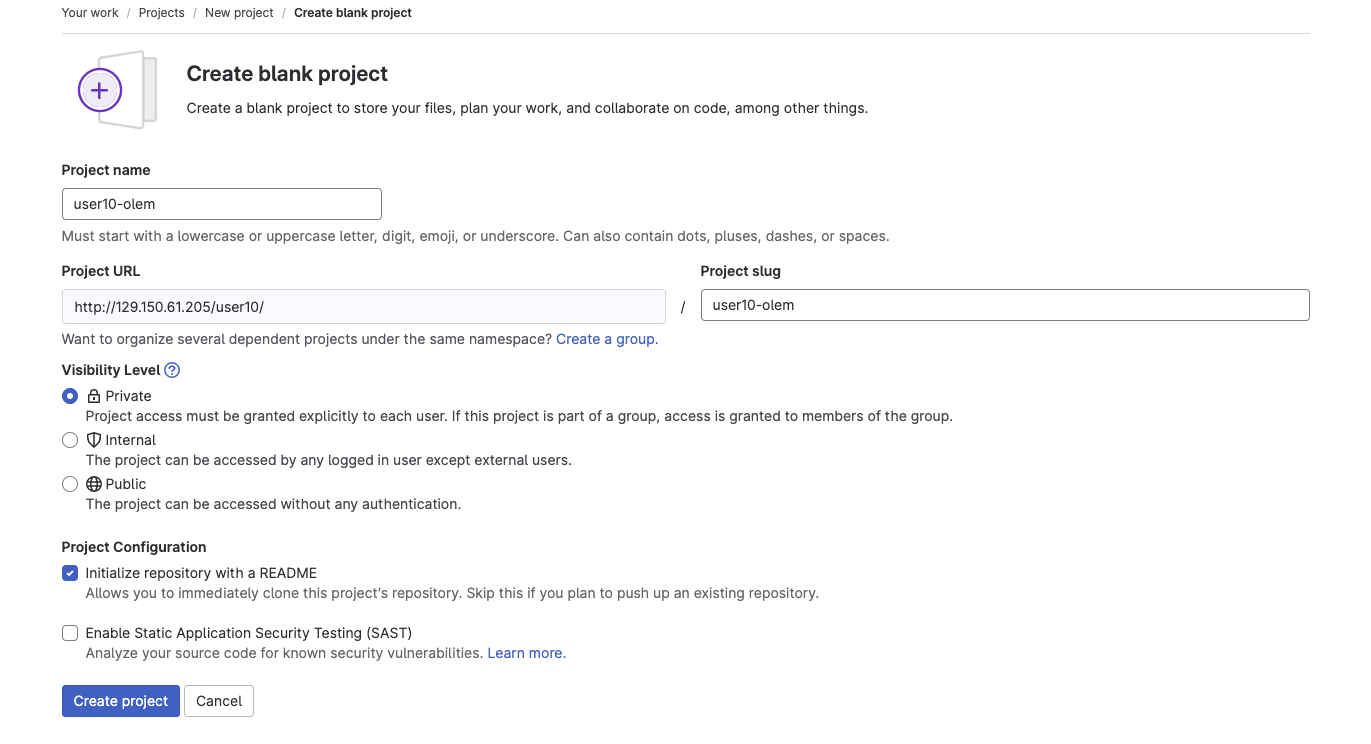
-
Input Project name
<user>-olameg. user10-olam and pressCreate project. Uncheck the box forInitialize repository with a README. -
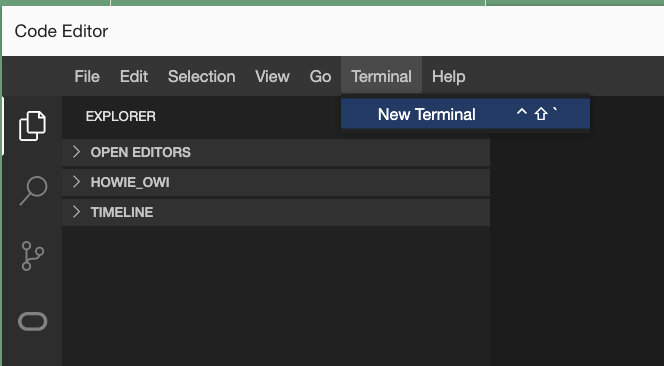
Go back to OCI Console. Access Code Editor.

-
Open a new Terminal session.
-
Configure git. Change the values accordingly.
git config --global user.name "user10" git config --global user.name "user10@oracle.com" git config --global credential.helper store -
Clone the files for OLAM project
git clone http://129.150.61.205/user10/olam-hol.git -
Push the files to your Gitlab project created previously.
cd olam-hol/ git remote rename origin old-origin git remote add origin <your repo url> git push -u origin --all -
Modify the
compartment_namein theinventory.oci.ymlfile. Save it.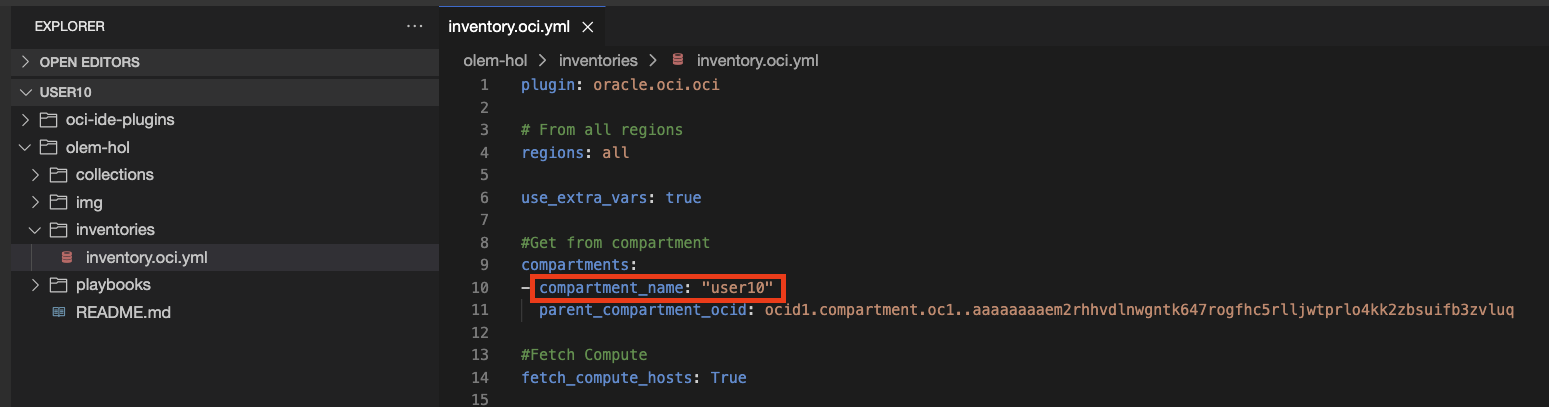
-
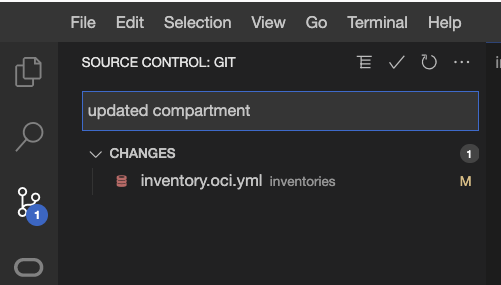
Commit the change and push it to your repo.


-
Type
instanceson the search bar of OCI Console and click oninstances. -
Make sure you're in your own compartment. Eg. user10
-
Press
Create instanceand apply the following config.-
Name:
webserver -
Shape:
VM.Standard.E4.Flex,1 OCPU,4GB RAM -
Networking:
- Virtual cloud network: Change the compartment to
common_servicesand selectcommon_svc_vcn - Subnet: Change the compartment to
common_servicesand selectpublic subnet-common_svc_vcn
- Virtual cloud network: Change the compartment to
-
SSH Key:
Generate a key pair for me. Save private and public key. -
Tagging:
- Press
Show advanced option - Tag key:
app - Tag value:
webserver
- Press
-
-
Press
Create.
-
Login to OLAM https://168.138.184.36/#/login with your allocated credentials.

-
On the left pane, press
Credentialsand pressAdd. -
We'll need to create 3 credentials for Source Control, Oracle Cloud Infrastructure and Machine.
a. Source Control
- Name:
gitlab - Credential Type:
Source Control - Username:
<your gitlab username> - Password:
<your gitlab password>
b. Oracle Cloud Infrastructure
- Name:
OCI - Credential Type:
Oracle Cloud Infrastructure - User OCID:
ocid1.user.oc1..aaaaaaaa3lwy5xxkl3qtgkbbcnly3bdwaszrsasnn26akgdnh7d7mxh3va4q - Fingerprint:
90:6a:95:26:8a:a6:05:8d:9e:96:b7:26:a7:d2:93:e9 - Tenant OCID:
ocid1.tenancy.oc1..aaaaaaaaaekoeezags6xaw66xa7x7xqzqxisxk3m5yxlkthrw5fjhm6rx6sq - Region:
ap-singapore-1 - Private User Key:
-----BEGIN PRIVATE KEY-----
MIIEvgIBADANBgkqhkiG9w0BAQEFAASCBKgwggSkAgEAAoIBAQDSIbO+MG76VROl
O8jzZF/vMgu8Ux1fnfTDKK4kdRycKhNxl0bh/GNNYJMVAEZYJBLRYzRTmTCNrqdL
UPPXC5FGDO54xFfAeaWWg8RWY0onyENCHe3oPIP2MzOx9Ttq54U3YEfgrgGwL3Xh
<continue>
-----END PRIVATE KEY-----
c. Machine
- Name:
SSH_Key - Username:
opc - SSH Private Key: Drag the private key saved in section (b).
- Privilege Escalation Method:
sudo - Privilege Escalation Username:
root
- Name:

-
On the left pane, press
Projectsand pressAdd. -
Apply the following config and press
Save.- Name:
Webserver Config - Source Control Credential Type:
Git - Source Control URL:
<your gitlab repo URL> - Source Control Branch/Tag/Commit:
main - Source Control Credential:
gitlab
- Name:
-
On the left pane, press
Inventoriesand pressAdd,Add inventory. -
Apply the following config and press
Save.- Name:
OCI Instances
- Name:
-
On the details page, press
Sourcesand pressAdd. -
Apply the following config and press
Save.- Name:
OCI - Source:
Sourced from a Project - Credential:
OCI - Inventory file:
inventories/inventory.oci.yml - Update options: check
Update on project update
- Name:
-
The inventory will be auto-synced. Press
Hostsand you will see the webserver.
-
We will be creating 2 job template and a workflow template.
-
On the left pane, press
Templatesand pressAdd,Add job template. -
Apply the following config and press
Save.a. Check Linux Distribution
- Name:
Check Linux Distribution - Inventory:
OCI Instances - Playbook:
playbooks/check_distribution.yml - Credentials:
SSH_Key - Options: check
Privilege Escalation
b. Install Packages
- Name: Install Packages
- Inventory:
OCI Instances - Playbook:
playbooks/main.yml - Credentials:
SSH_Key - Variables:
---
services:
  - httpd

utilities:
  - telnet
  - curl

ports:
- '80/tcp'
- '8080/tcp'
- Options: check
Privilege Escalation
- Name:
-
On the
Templatespage, pressAdd,Add workflow template. -
Apply the following config and press
Save.c. Config Webserver
- Name:
Config Webserver
- Name:
-
On the worklow template page, press
Start, apply the following config and pressSave.- Node Type:
Job Template - Select
Check Linux Distribution
- Node Type:
-
Hover to the
Check Linux Distributionbox, press the"plus"button to add another stage.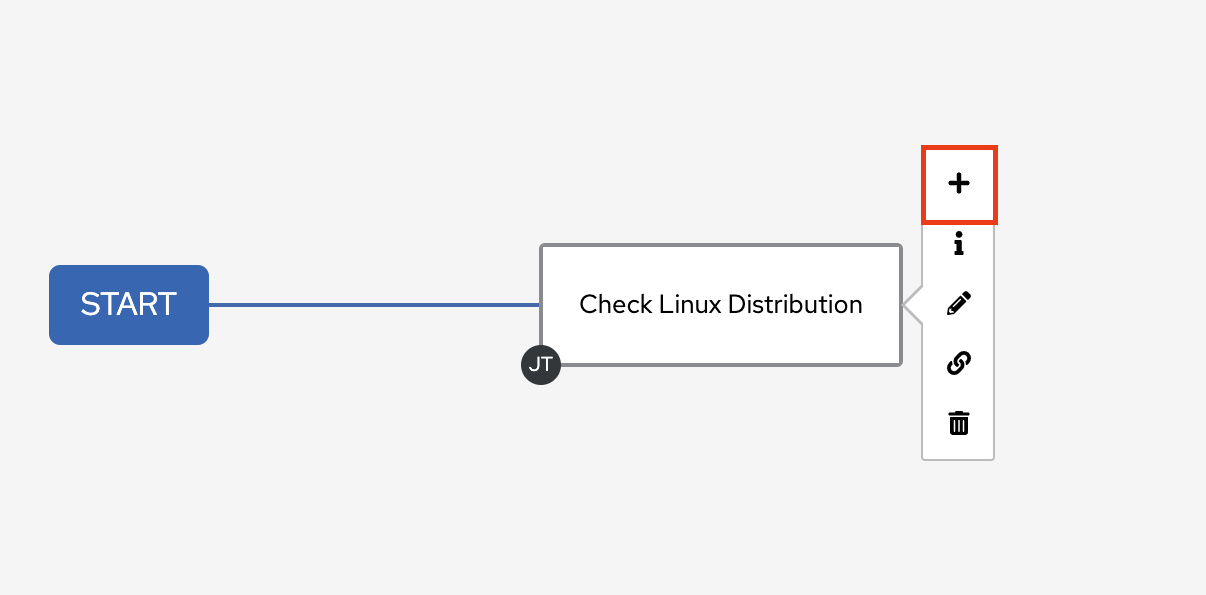
-
Select
On Successand pressNext. -
Apply the following config and press
Save.- Node Type:
Job Template - Select
Check Linux Distribution
- Node Type:
-
Press
Saveon the top right corner. -
On the details page, press
Launchto run the config tasks. -
When the jobs are completed, key in the public IP address of the webserver to verify the config.


