Overview
In this world of digital transformation, not only companies need to innovate to have differentiated values in their offerings, they will need to deliver them both quickly and continuously. That is why organizations are starting to embrace DevOps practices. DevOps automates and speeds software delivery. It makes your process and your products more reliable. When you implement DevOps technologies and practice, you’ll provide value to your customers faster—in the form of new and innovative products, or enhancements to existing ones.
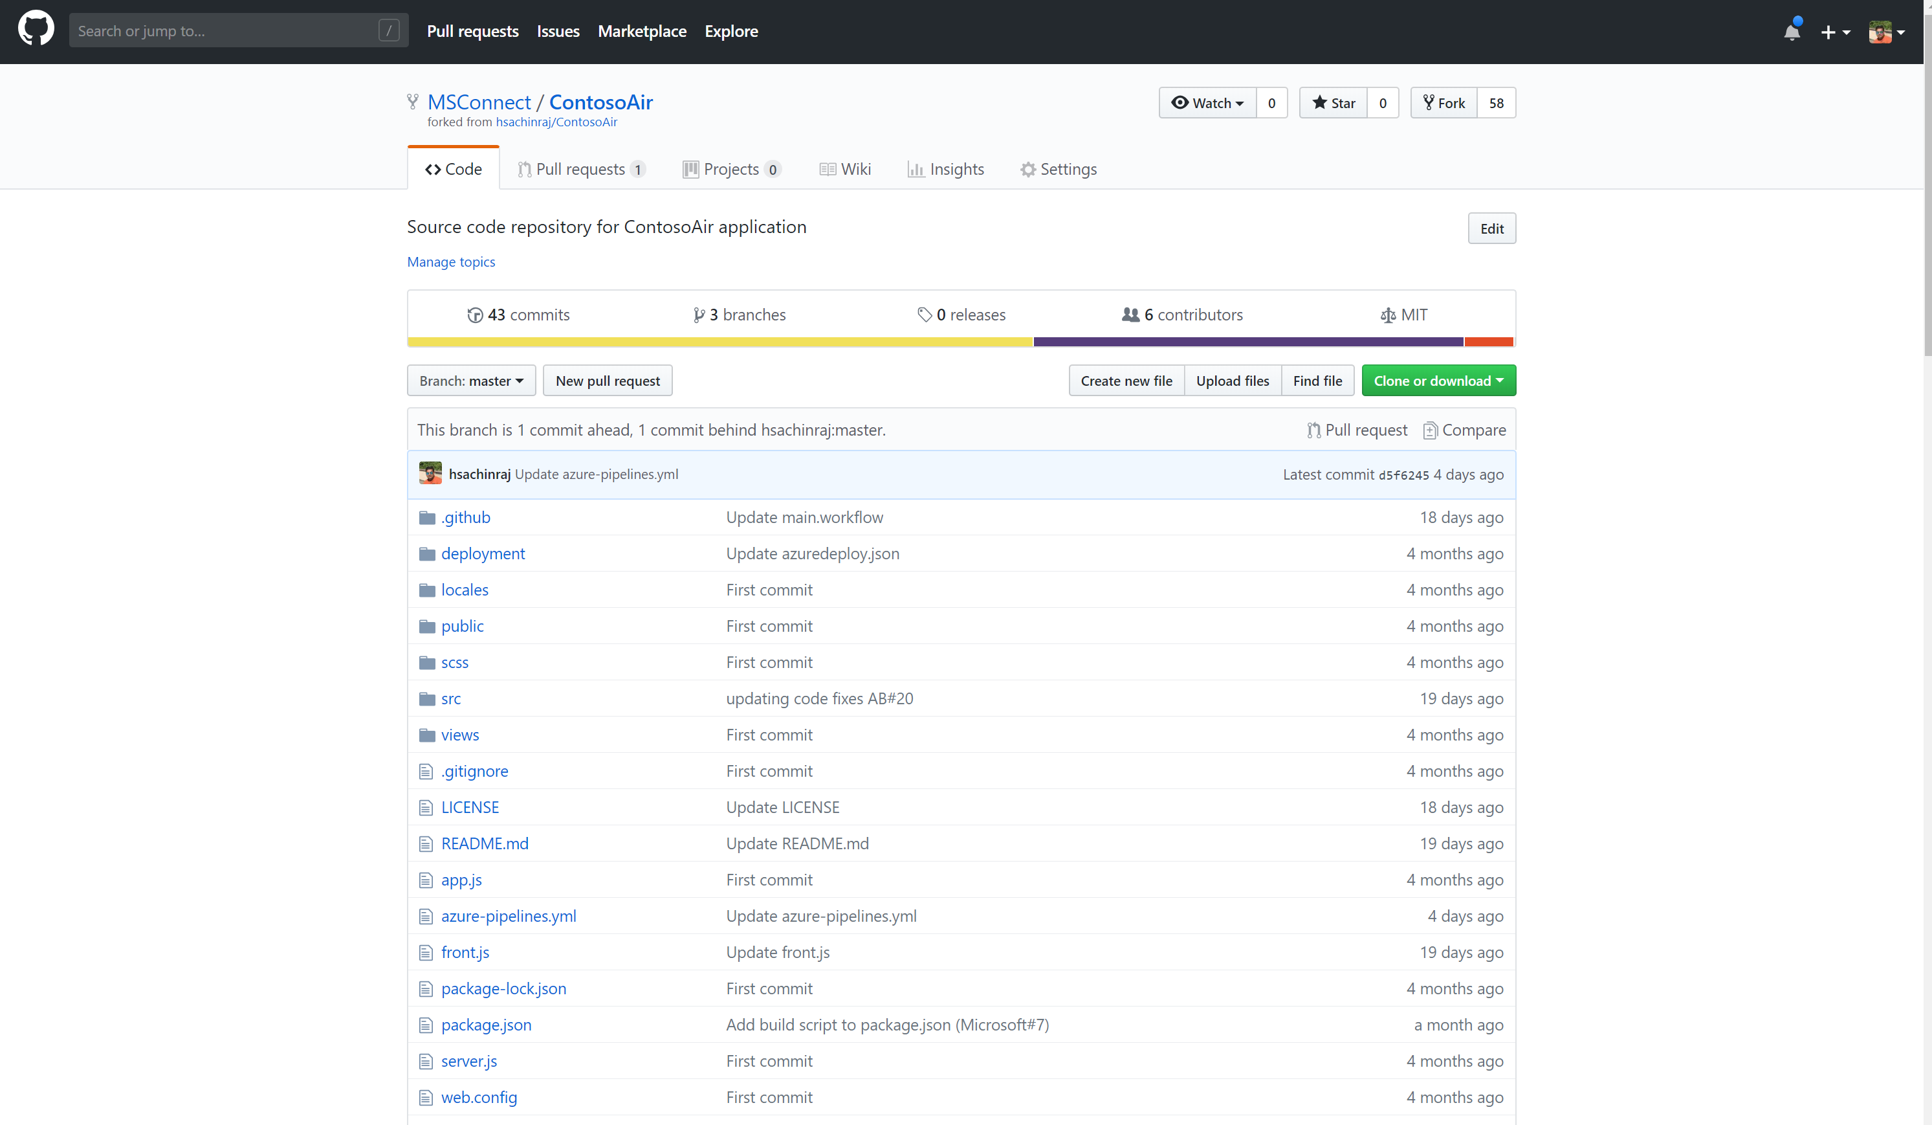
In this demo, I am going to show you how teams can use GitHub and Azure DevOps to automate software delivery to provide continuous value to users. I am going to play the role of a DevOps Engineer at Contoso Air- a fictious airlines that has developed their flagship web site on Node JS. Contoso relies on this web site to generate and manage business opportunities. However, the current processes we have in place to move a change from the source code to the production systems is time-consuming and open to human error. We use GitHub to manage the source code of the web application and host our production site on Azure, and it is my job to automate everything in the middle.
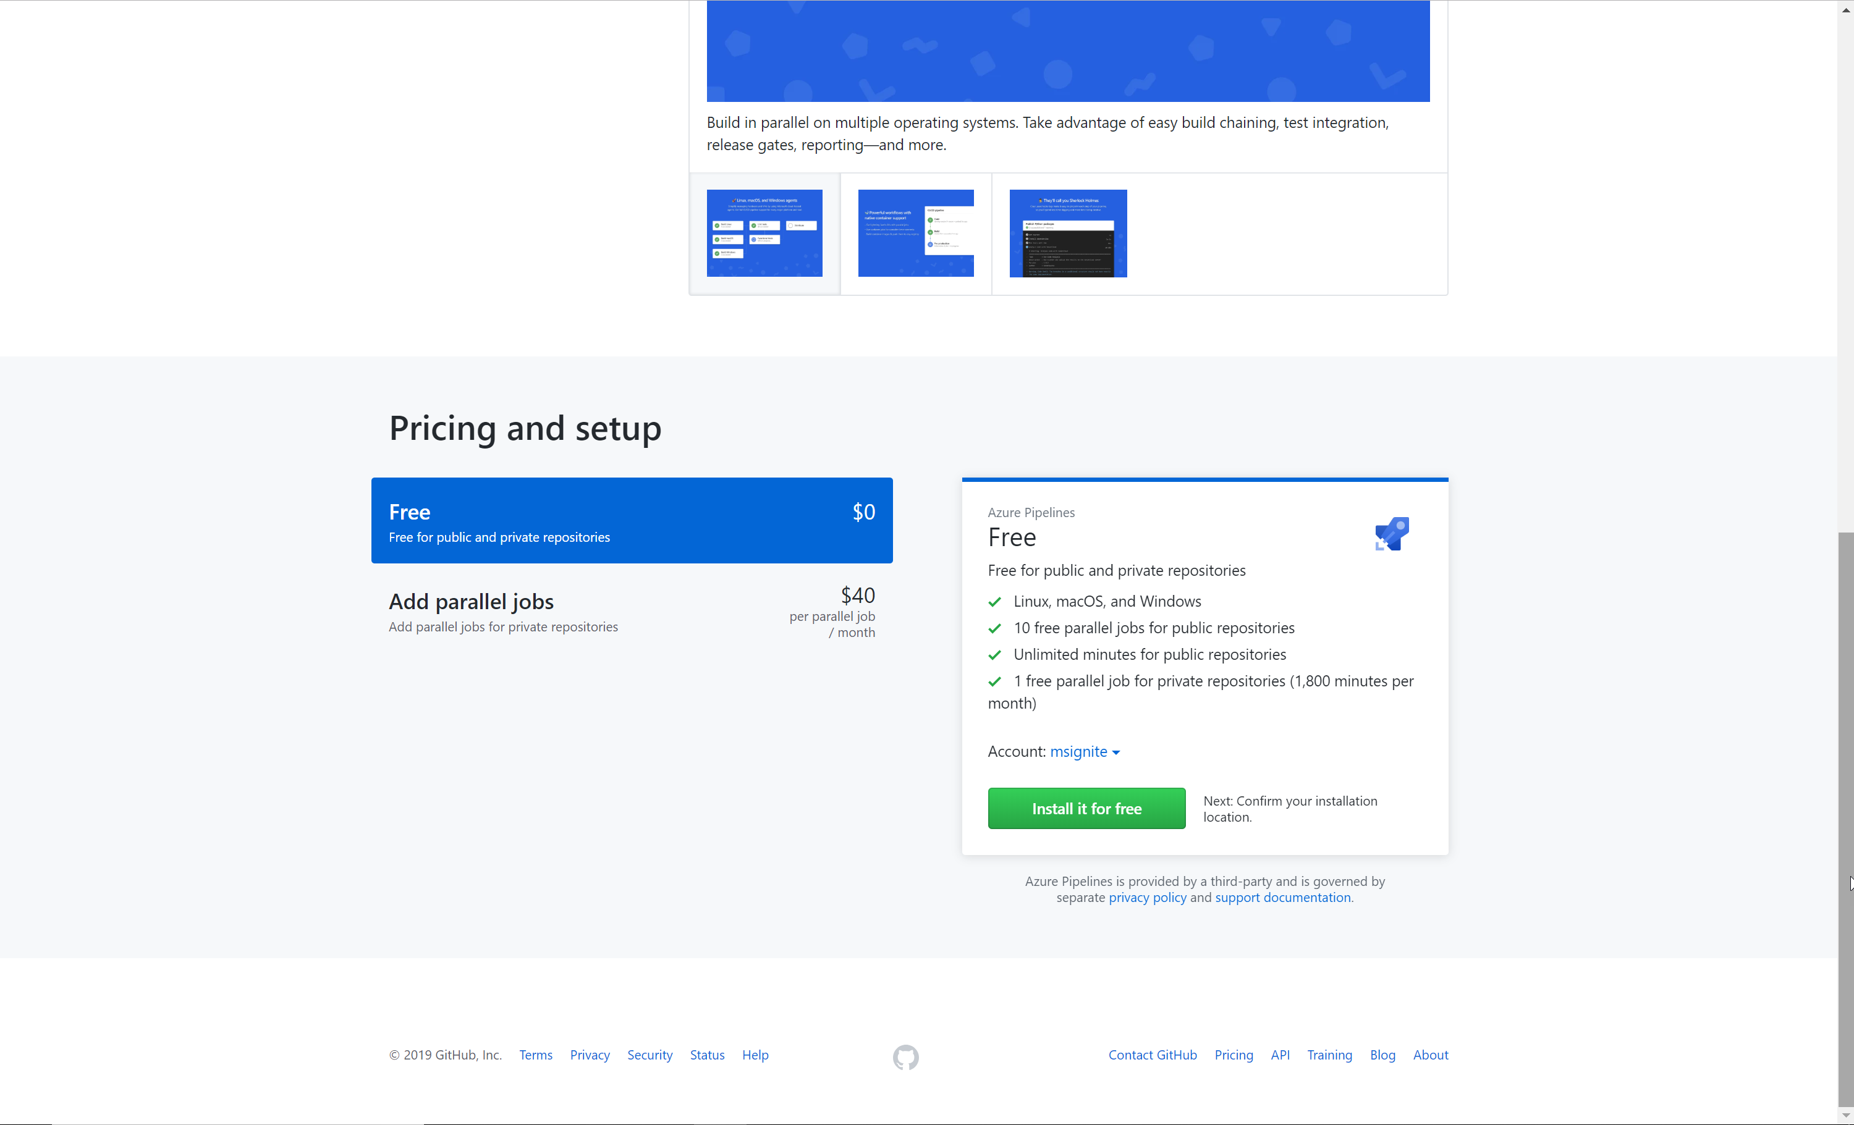
So, here I am in the GitHub repo of the Contoso website. We will set up a CI pipeline so that commits to the GitHub repo triggers a continuous integration build in Azure DevOps. Once that build is complete, it will invoke a continuous delivery deployment to push the bits out to Azure. The first thing we need to do is to connect GitHub with Azure DevOps, which we can do via the Azure Pipelines extension in the GitHub Marketplace.
Azure pipelines is Microsoft's premier CI/CD service. it supports any language on any platform. Azure pipelines provides build agents on Linux, Windows and Mac OS so that you can build your project on every platform and these agents are hosted in the Microsoft cloud so that you don't have to manage them.
 The best part is Azure Pipelines is free to use for both public and private repos. You get unlimited build minutes and 10 free parallel jobs for public repositories. For private repos, you get 1 free parallel job and 1800 minutes per month. If you have a need to scale your builds, you can add parallel job support for a nominal fee.
Selecting this button will initiate the installation. Once the Azure pipelines is installed and configured, we can start defining the build. Here I am in the build designer, I specify the GitHub Repository. Now Azure Pipelines goes and analyzes the files inside the GitHub repo, it detects the type of project we have and suggests ways we can build it. I can choose one of the suggested templates or choose to design one from the scratch. Most teams start with the basic template and then customize them according to to their needs. For the purpose of this demo, I am going to choose an already existing pipeline from a different branch in my repo. We have added test cases to the build process - At constoso here, we run automated tests, such as unit tests, as a part of their CI process to ensure that we release a high-quality software. Our teams capture key code metrics such as code coverage, code analysis, as they run the tests, to make sure that the code quality does not drop and the technical debt if not completely eliminated, is kept low.
Another thing if you notice is that Azure Pipelines uses YAML configuration to describe the build process. YAML is a markup syntax. While there is an option to use UI driven approach to define the build, at Contoso we prefer the YAML way. The technique of saving build as a code file is called "pipeline or configuration as Code" which provides many advantages to teams. Changes are easy to manage, changes get version controlled and when someone makes a change, it goes through the same workflow process like other code files.
When I select the run button, the build starts to execute. The pipeline will look for a build agent from the pool of machines hosted on Azure and once it acquires one , it will go and download the files from my GitHub repo and then execute the build steps one by one. The console provides a real-time view into what's going on at each step.
Now, the build is complete and I can see all steps have completed successfully. we can review the logs and any tests that were performed as part of the process.
From the Tests tab, I can also view the published tests results. We can get quantitative metrics such as total test count, test pass percentage, failed test cases, etc., from the Summary section.We can see all 40 tests have passed which means we have not broken any changes and this build is a good candidate for deployment.
 Now that the build pipeline is complete and all tests have passed, we can turn our attention to creating a release pipeline. Let me show how you define a release pipeline. Like the build templates, there are many packaged options available that cover common deployment scenarios, for different type of applications to deploy to different platforms. The first item to define in a release pipeline is exactly what will be released and when. In our case, it's the output generated from the build pipeline.
Then you define the different stages you want to deploy to - as new builds are produced, they can be deployed to Dev. They can then be promoted to QA, and finally to Prod.
For every stage, you then define steps that make up the deployment. Again, just like the build pipeline, the release pipeline is really just a set of tasks. There are many out-of-the-box tasks available, and you can build your own if needed.
Here in the release, we create the required Azure resources if they do not exist. As a good practice, we keepall sensitive information such as passwords, connection strings etc, in a key vault so they can be kept out of source control and prevent even accidental exposure of such information.
The first task our release requires is to set up the Azure deployment environment if it doesn't yet exist. In the next task, we will fetch the values of those resources created in the first step and pass it to the next step where we deploy the app service.
Azure pipeline offers a number of flexibility and control that you can add in the release process. For each stage in a release pipeline, you can configure pre-deployment and post-deployment conditions that can include waiting for users to manually approve or reject deployments, and checking with other automated systems until specific conditions are verified. For example, At Contoso, we require manual approvals for a release to certain environments such as production environment. This could be an individual or a group who will need to signoff. If no approval is granted within the Timeout specified , the deployment is rejected.
You can also control deployment using automated gates to collect signals from external systems such as incident management, change management, monitoring, and external approval systems. Azure Pipelines will poll these systems and when all signals or conditions are successful or stop the deployment upon timeout
Finally, let me save and then I will create a new release. The release process can take a few minutes especially when you run it for the first time since it will create the required resources. Subsequent runs might be faster. But in a few minutes, you will have the deployment completed and you should have the app deployed. We will confirm this by navigating to the URL from a new tab window.
At Contoso, we develop applications in a cycle of continuous delivery: release a new feature or improvement; observe how well it works for the users; plan the next increment of development based on that knowledge.
The Contoso Air website is the lifeline of the company and we can't let it go down. So, with Application Insights we monitor the web application around the clock to make sure it is always on, always responsive and if things go down alert us so we are the first person to know.
Next, let me show you usage. Azure Application Insights helps us gain powerful insights into how our customers use our app. We get deep understanding of where customers such as where do they come from, how do they access your application in terms of browsers, network etc., what is the usage flow of your users. These information help us answer questions such as: Which features of the app are most popular? Do your users achieve their goals with our app? Do they drop out at particular points, and do they return later? And with this knowledge, we make data driven decisions about our next development cycles.
Next let us talk about issues - businesses want to find issues before their customers find them but it is easier said than done. Thanks to the application map which helps us to spot performance bottlenecks or failure hotspots across all components of our distributed application.
I can see a couple of failures that have happened here and I can see this has happened in the last couple of hours. NOw, I want to find more about the issue. I can get a rich stack trace on these errors. I can do more deep profiling. I can also configure to create a bug automatically in Azure DevOps whenever an error is generated in the application. All of the captured data can be stored as metadata or linked artifacts with the bug. Now, all bugs and their relevant information are successfully captured which helps my team identify the root cause and make fixes quickly.


