- Build DWH powered by Clickhouse and dbt
- Deploy Infrastructure as Code with Terraform and Yandex.Cloud
- Instant development with Github Codespaces
- Assignment checks with Github Actions
- Fork this repository
- Configure Developer Environment
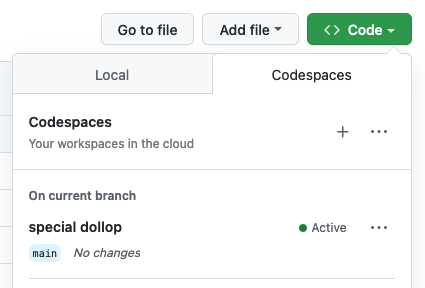
- Start with GitHub Codespaces
- Use devcontainer (locally)
- Deploy Infrastructure to Yandex.Cloud with Terraform
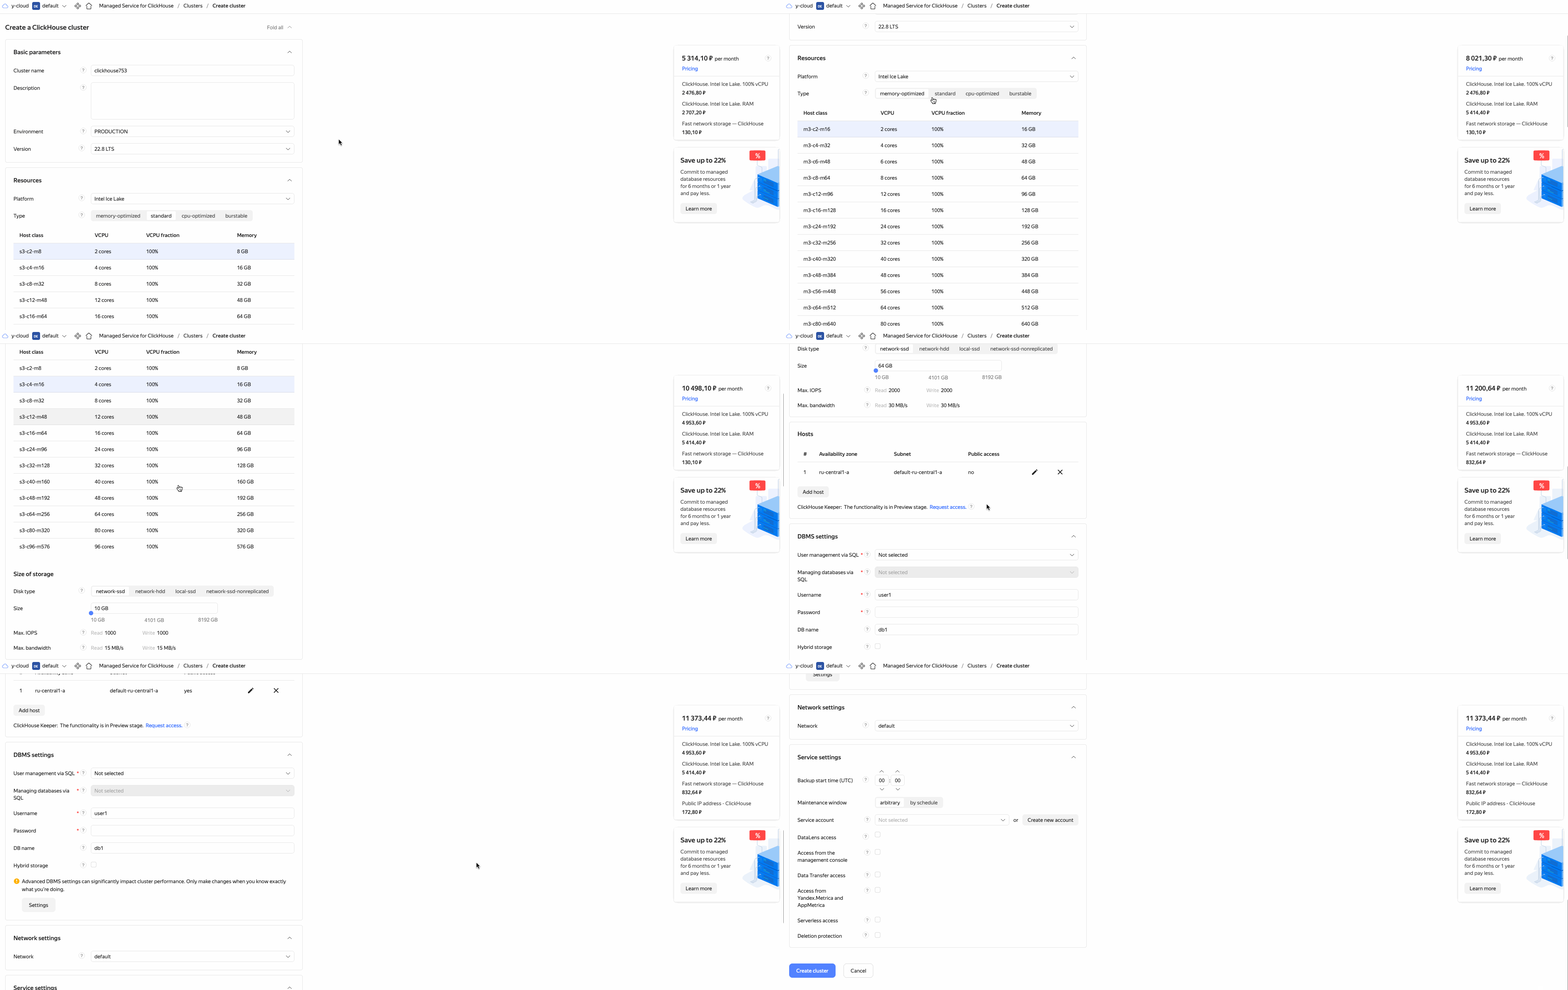
- Get familiar with Yandex.Cloud web UI
- Configure
ycCLI - Populate
.envfile, Set environment variables - Deploy using Terraform: Clickhouse
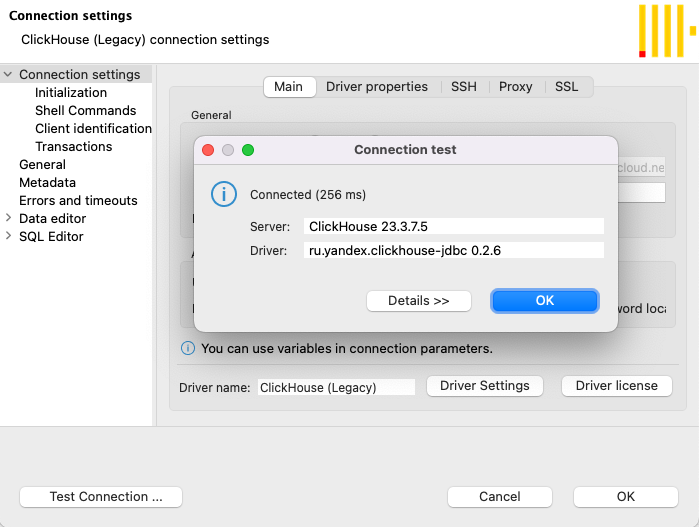
- Check database connection
- Configure JDBC (DBeaver) connection
- Configure dbt connection
- Deploy DWH
- Install dbt packages
- Stage data sources with dbt macro
- Describe sources in sources.yml file
- Build staging models
- Prepare a data mart (wide table)
- Model read-optimized Data Mart
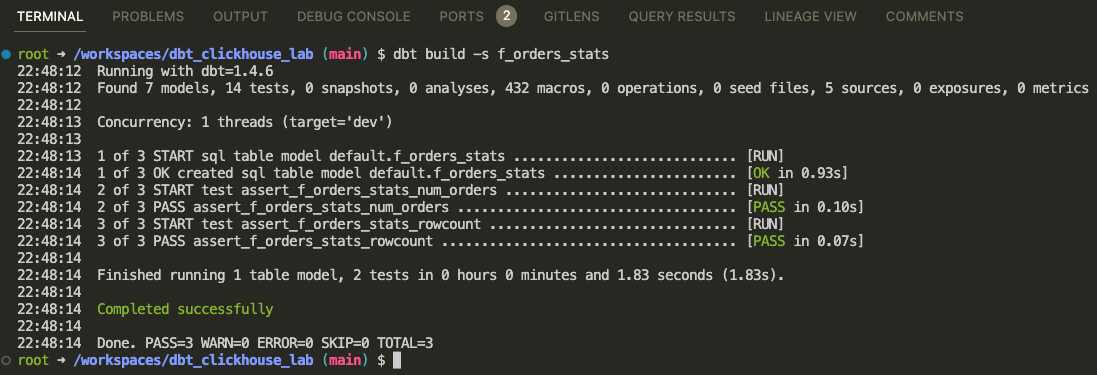
- Turn SQL code into dbt model f_orders_stats
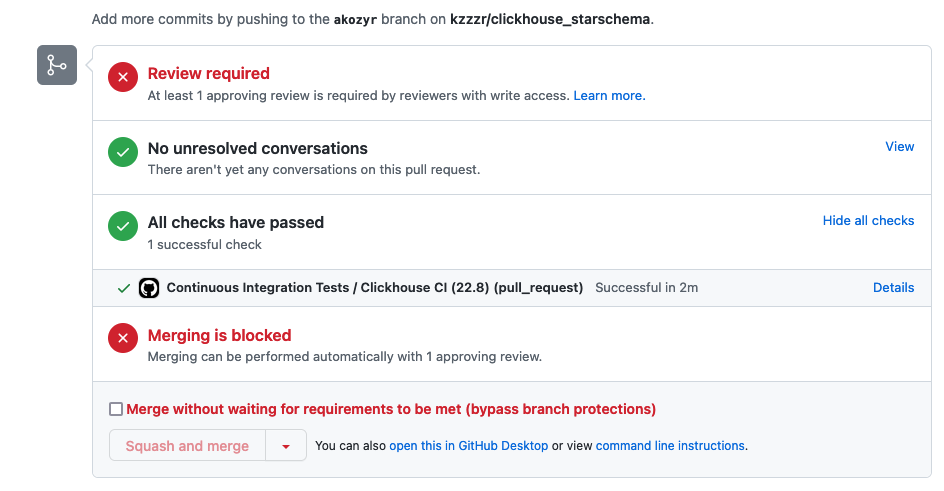
- Open PR and trigger automated testing with Github Actions
- Delete cloud resources
You have got several options to set up:
Use devcontainer (locally)
-
Install Docker on your local machine.
-
Install devcontainer CLI:
Open command palette (CMD + SHIFT+ P) type Install devcontainer CLI
-
Next build and open dev container:
# build dev container
devcontainer build .

# open dev container
devcontainer open .
Verify you are in a development container by running commands:
terraform -v

yc --version

dbt --version
If any of these commands fails printing out used software version then you are probably running it on your local machine not in a dev container!
-
Get familiar with Yandex.Cloud web UI
We will deploy:
-
Configure
ycCLI: Getting started with the command-line interface by Yandex Cloudyc init
-
Populate
.envfile.envis used to store secrets as environment variables.Copy template file .env.template to
.envfile:cp .env.template .env
Open file in editor and set your own values.
❗️ Never commit secrets to git
-
Set environment variables:
export YC_TOKEN=$(yc iam create-token)
export YC_CLOUD_ID=$(yc config get cloud-id)
export YC_FOLDER_ID=$(yc config get folder-id)
export $(xargs <.env)
-
Deploy using Terraform
Configure YC Terraform provider:
cp terraformrc ~/.terraformrcGet familiar with Cloud Infrastructure: main.tf and variables.tf
terraform init
terraform validate
terraform fmt
terraform plan
terraform apply
Store terraform output values as Environment Variables:
export CLICKHOUSE_HOST=$(terraform output -raw clickhouse_host_fqdn)
export DBT_HOST=${CLICKHOUSE_HOST}
export DBT_USER=${CLICKHOUSE_USER}
export DBT_PASSWORD=${TF_VAR_clickhouse_password}
[EN] Reference: Getting started with Terraform by Yandex Cloud
[RU] Reference: Начало работы с Terraform by Yandex Cloud
Configure JDBC (DBeaver) connection:
port=8443
socket_timeout=300000
ssl=true
sslrootcrt=<path_to_cert>
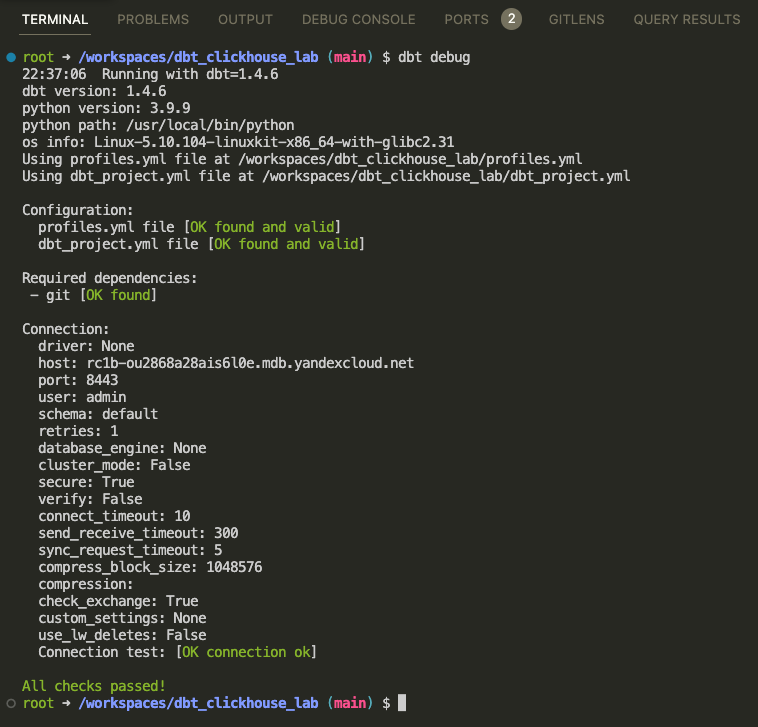
Make sure dbt can connect to your target database:
dbt debugIf any errors check ENV values are present:
env | grep DBT_-
Install dbt packages
dbt deps
-
Stage data sources with dbt macro
Source data will be staged as EXTERNAL TABLES (S3) using dbt macro init_s3_sources:
dbt run-operation init_s3_sources
Statements will be executed one by one to avoid error:
DB::Exception: Syntax error (Multi-statements are not allowed) -
Describe sources in sources.yml file
-
Build staging models:
dbt build -s tag:staging
Check model configurations:
engine,order_by,partition_by -
Prepare a data mart (wide table)
Join all the tables into one f_lineorder_flat:
dbt build -s f_lineorder_flat
Pay attentions to models being tested for keys being unique, not null.
Turn the following SQL into dbt model f_orders_stats:
SELECT
    toYear(O_ORDERDATE) AS O_ORDERYEAR
    , O_ORDERSTATUS
    , O_ORDERPRIORITY
    , count(DISTINCT O_ORDERKEY) AS num_orders
    , count(DISTINCT C_CUSTKEY) AS num_customers
    , sum(L_EXTENDEDPRICE * L_DISCOUNT) AS revenue
FROM -- PLEASE USE dbt's ref('') to ensure valid DAG execution!
WHERE 1=1
GROUP BY
    toYear(O_ORDERDATE)
    , O_ORDERSTATUS
    , O_ORDERPRIORITY
Make sure the tests pass:
dbt build -s f_orders_statsIf it works from your terminal, commit, open PR and trigger automated testing with Github Actions
terraform destroy