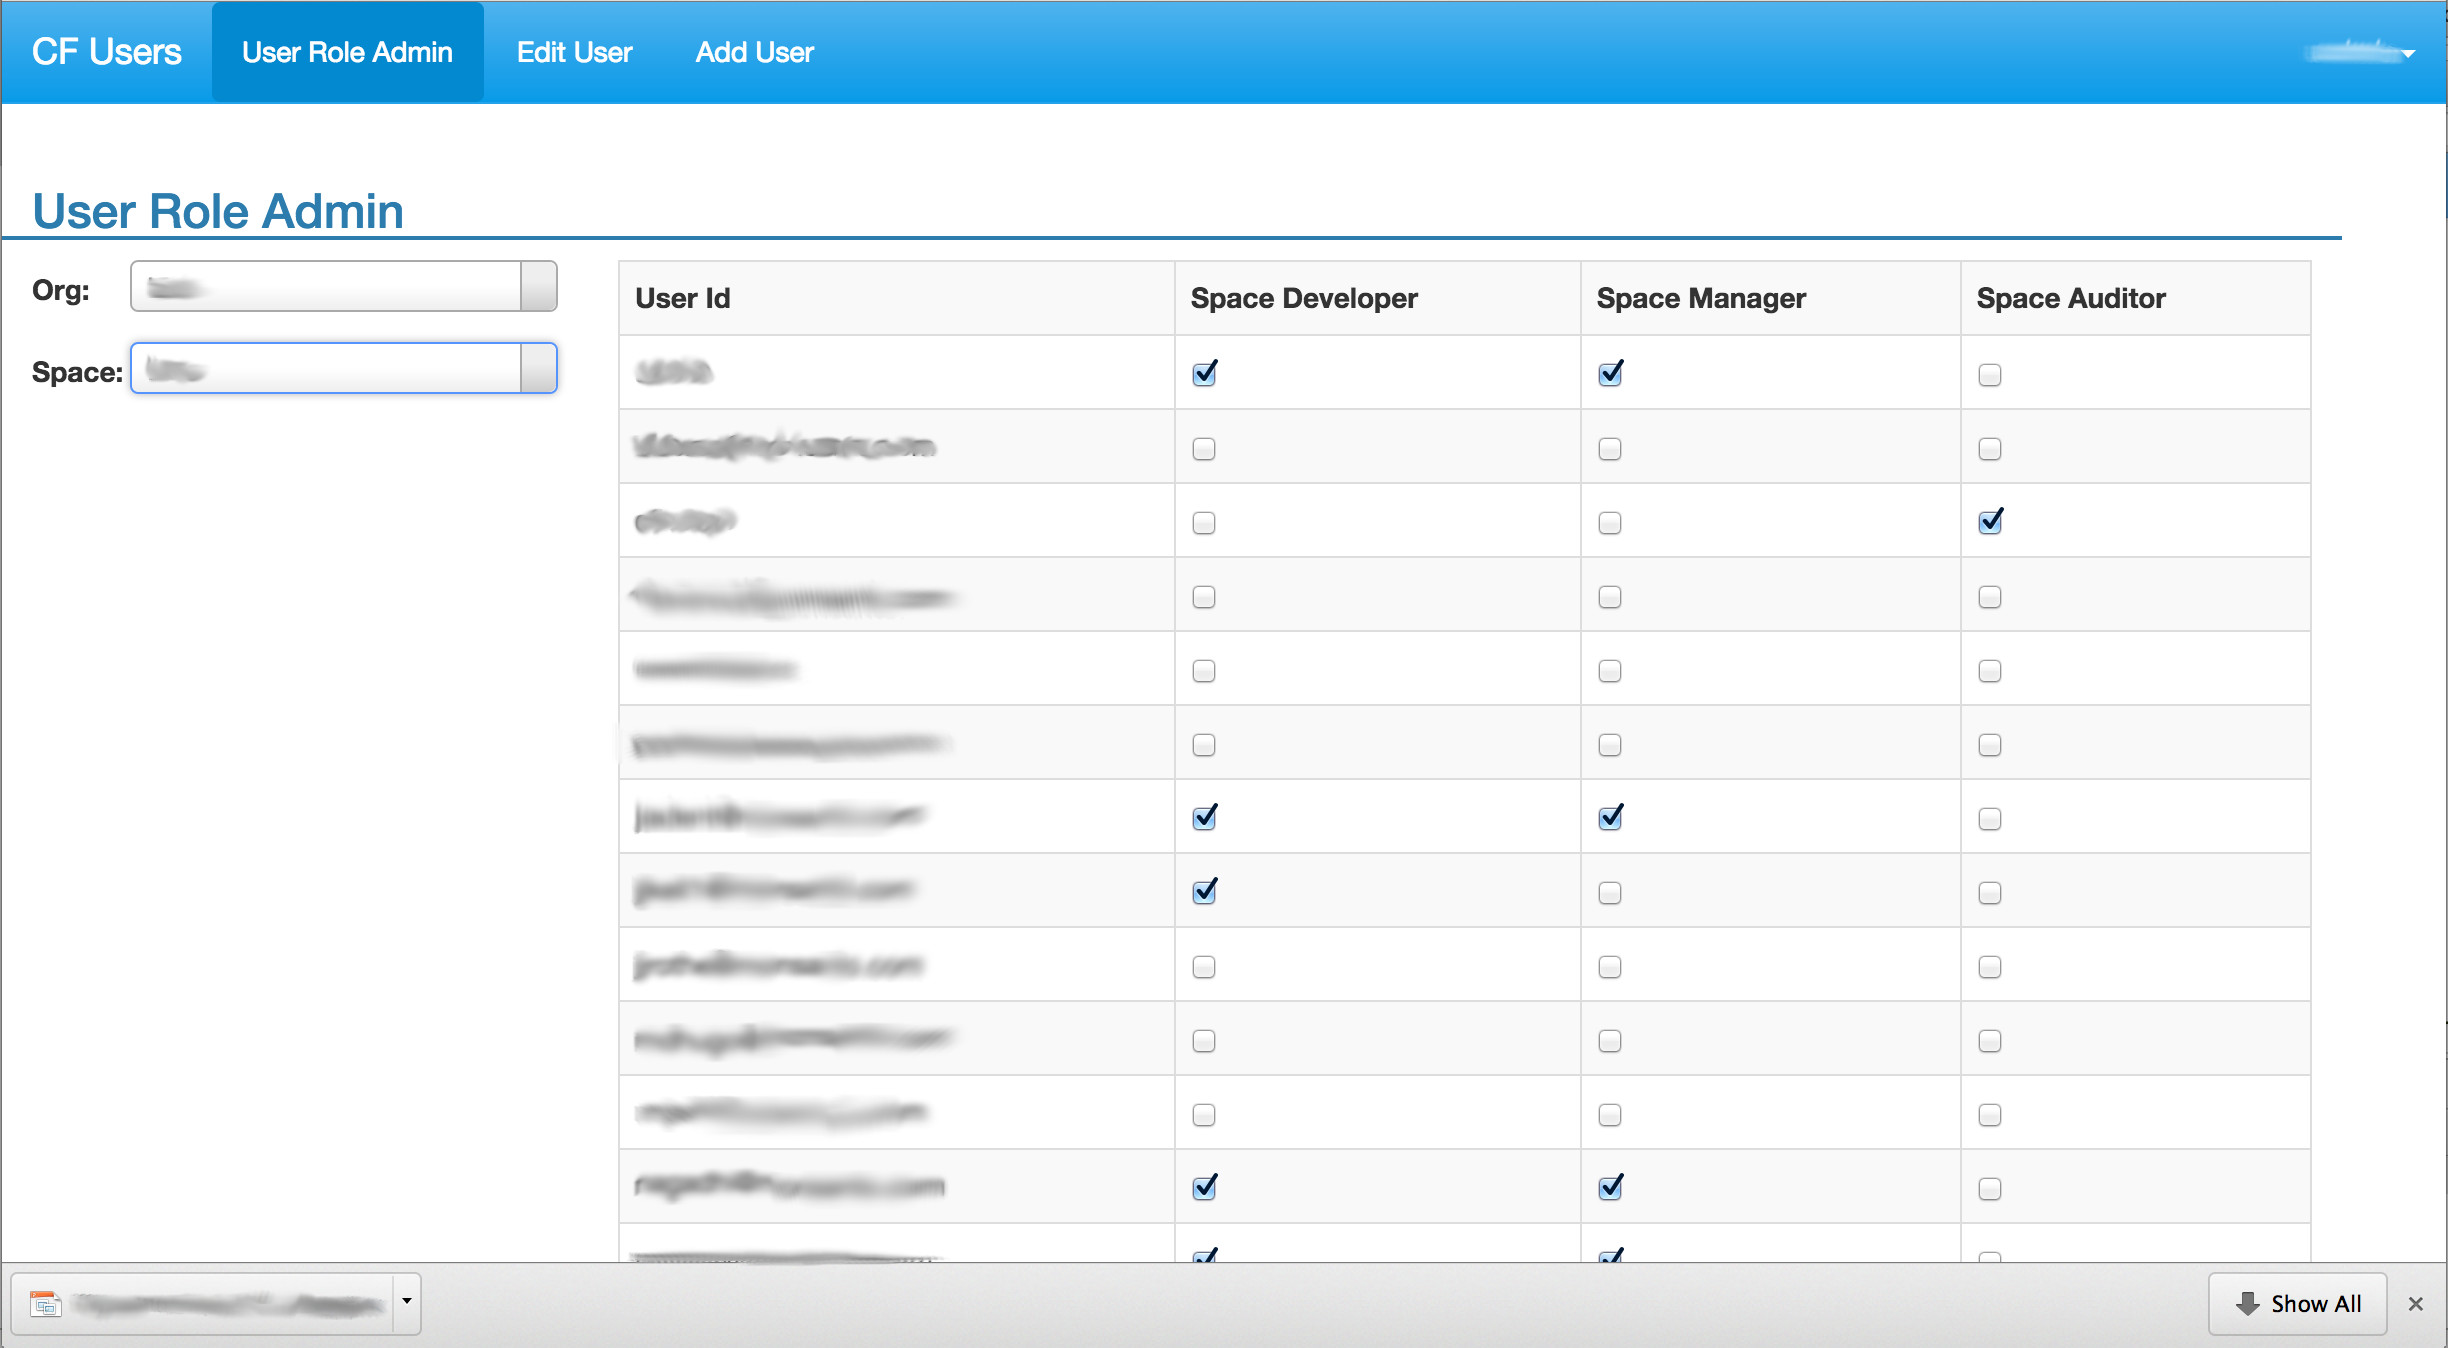
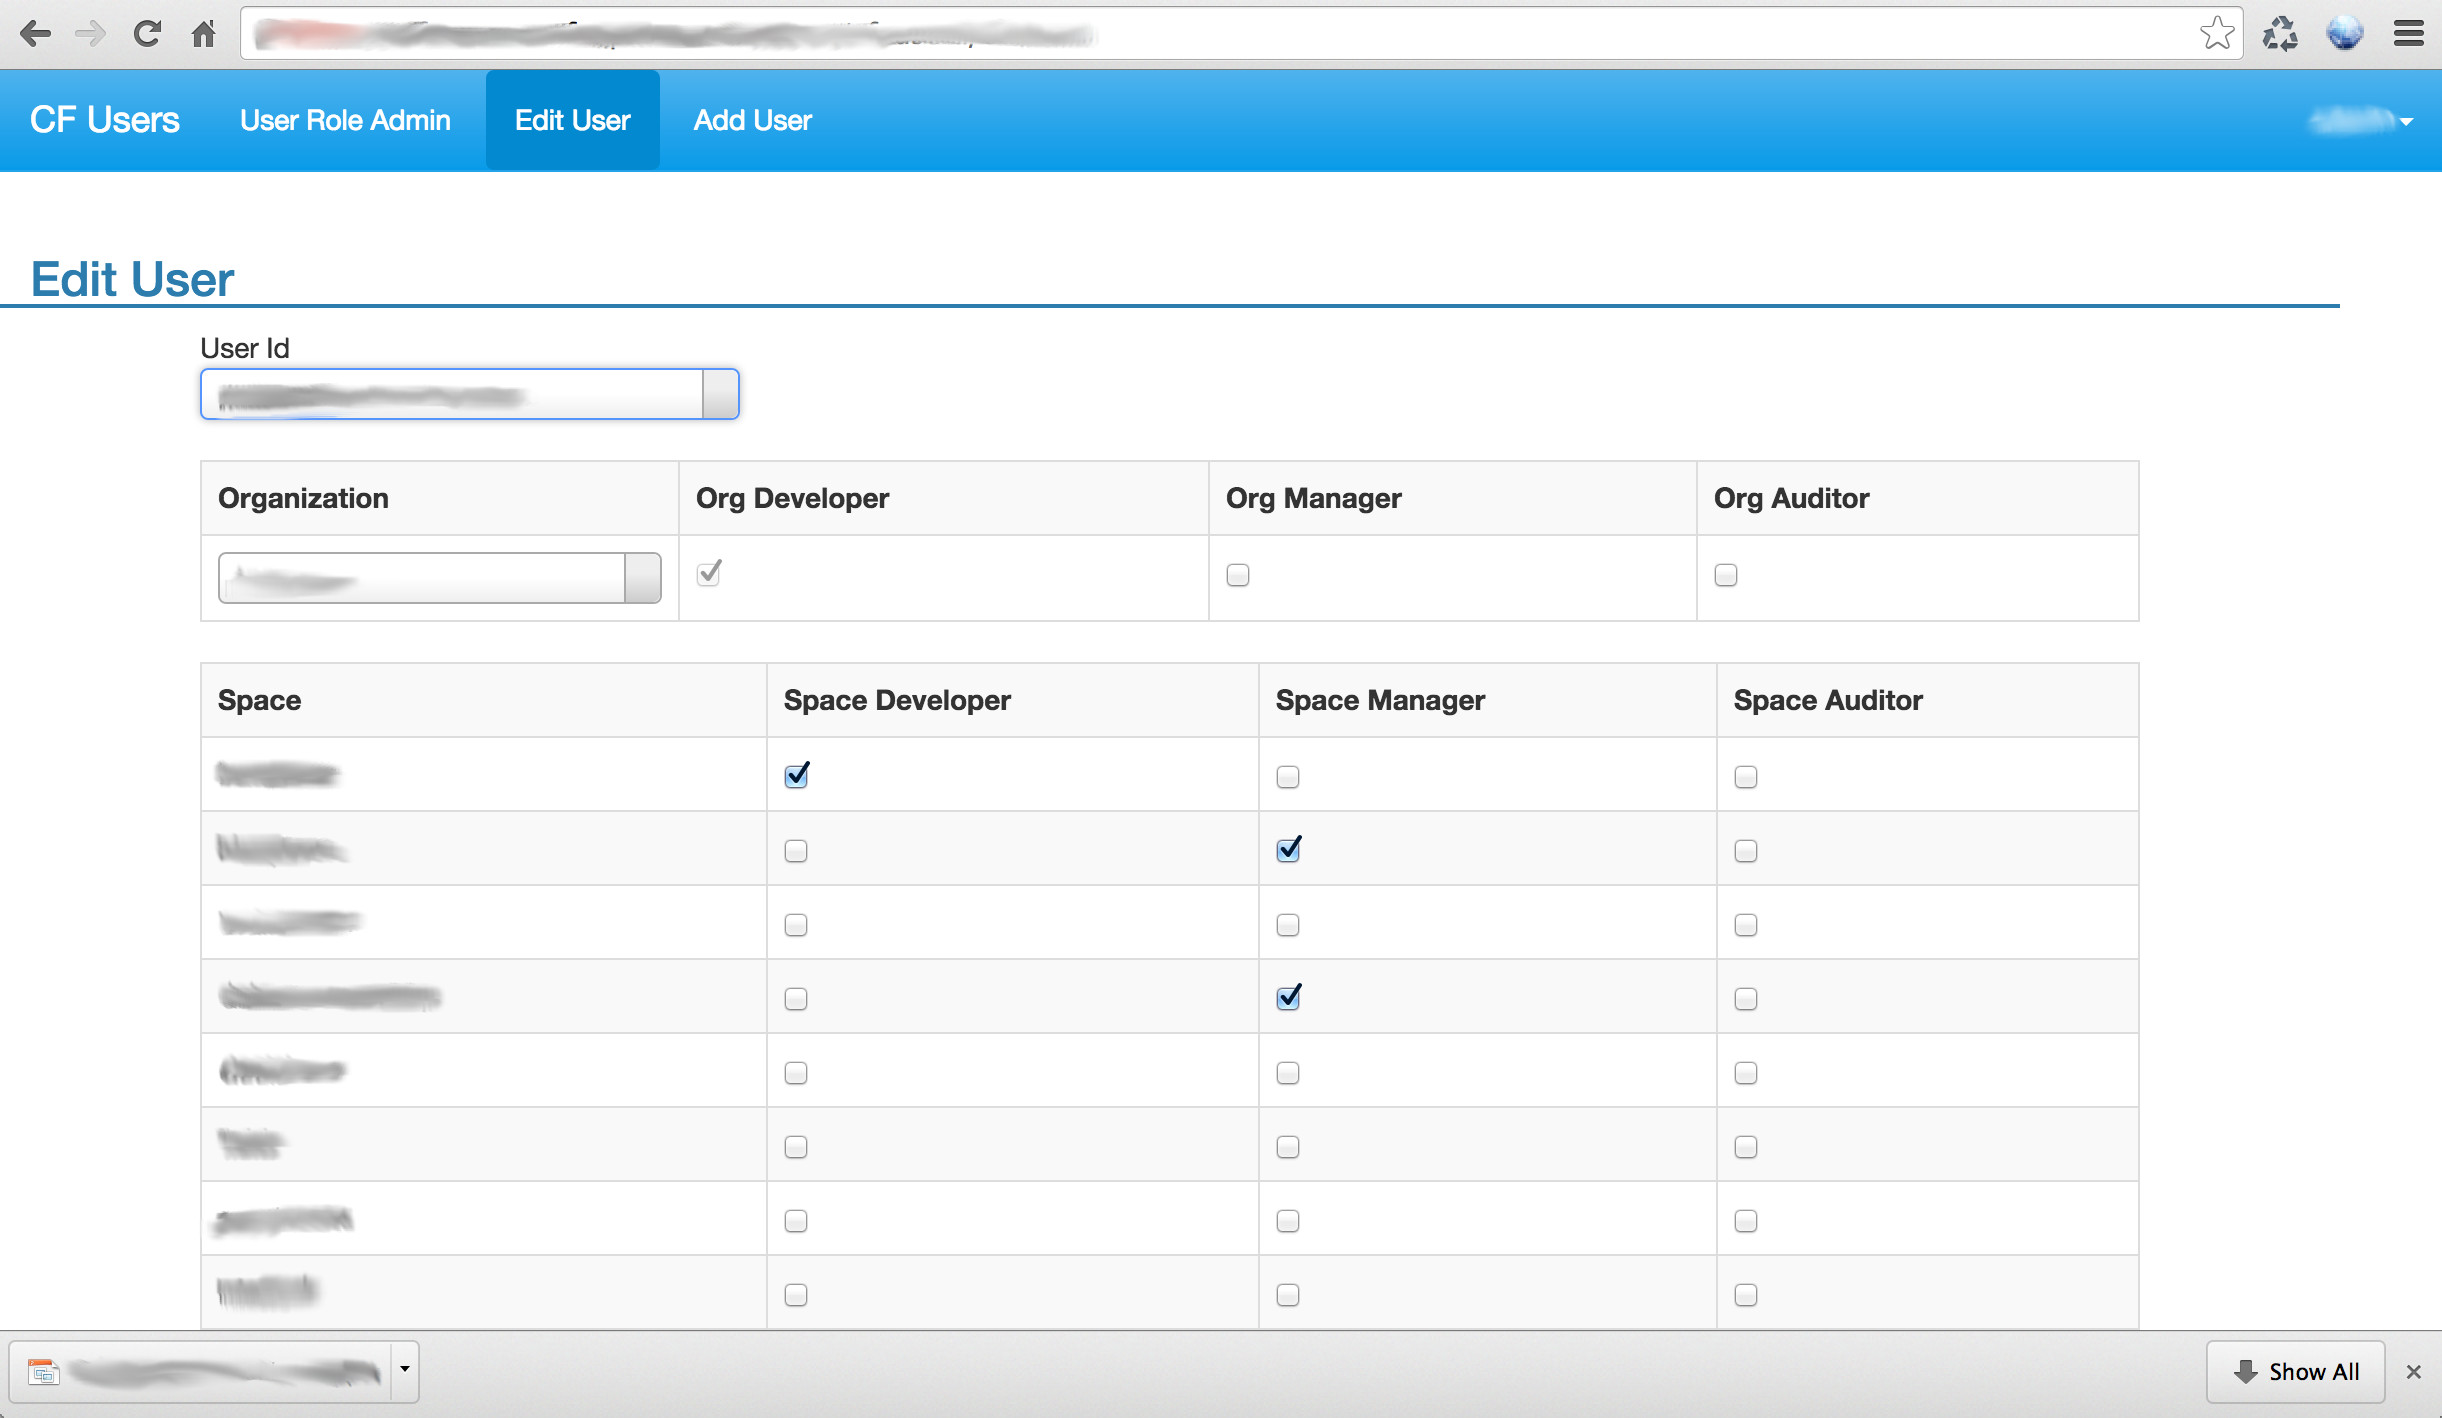
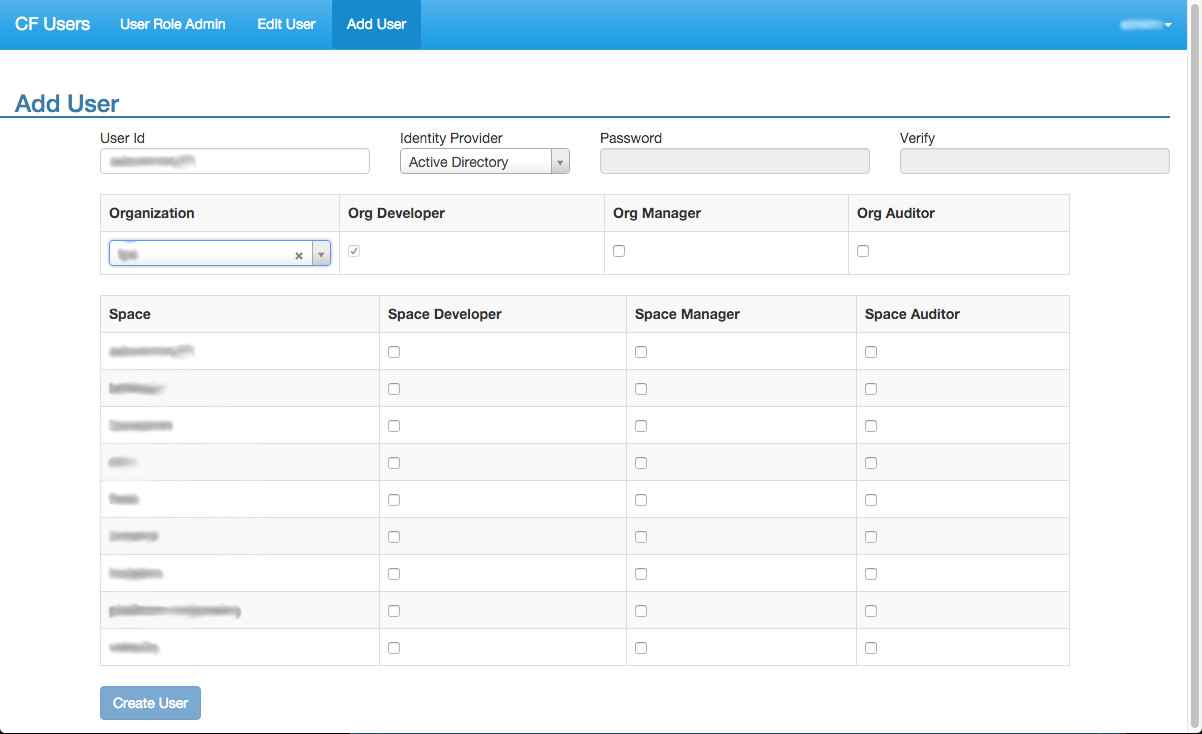
#Cloud Foundry User administration Cloud Foundry User adminstration UI provides basic CF administration capabilities such as adding a user, and modifying organization and space roles for a user. This application offers authentication with Cloud Foundry via UAA Oauth integration. Users are limited to modifying only those things for which their specific assigned roles allow. This is enforced at both the UI and the backend services that are provided by Cloud Foundry.
Since the application talks to the cloud controller to read/write its information, it needs an admin level account to work correctly. Install the uaac cli and create the account as follows:
##First target your uaac client and authenticate with the following commands:
uaac target <uaa_url>
uaac token client get <admin client name> -s <admin client secret>
##Create the client with the following uaac commands:
uaac client add cf_portal_client \
 --authorities scim.write,scim.read,cloud_controller.read,cloud_controller.write,password.write,uaa.admin,uaa.resource,clo
ud_controller.admin \
 --authorized_grant_types authorization_code,client_credentials,password \
 --autoapprove true \
 --scope openid,scim.write,scim.read,cloud_controller.read,cloud_controller.write,password.write,console.admin,console.sup
port,cloud_controller.admin \
 -s <cf_users client secret>
uaac client update cf_portal_client --autoapprove true
uaac client update cf_portal_client --autoapprove true --authorized_grant_types authorization_code,client_credentials,pass
word,implicit
cf login --skip-ssl-validation -a <cf api url> -u <admin username> -p <admin password>
cf target -o <organization name> -s <space name>
cf cups  cloud_foundry_api -p '{  "alias": "cloud_foundry_api",
                                  "domain": "<domain name for cloud foundry api rest services for example api.domain.com>",
                                  "uaa-domain":"<domain name for uaa rest services for example uaa.domain.com>",
                                  "login-domain" : "<domain name for login url for authentication for example login.domain.com>",
                                  "uaa-client-id" : "<uaa client id Base64 encoded.>",
                                  "uaa-client-secret" : "<uaa client secret Base64 encoded>",
                                  "portal-admin-id" : "<administrator user id Base64 encoded>",
                                  "portal-admin-pw" : "<administror user password  Base64 encoded>" ,
                                  "default-email-domain" : "<email domain of active directory users for example who@cloudfoundry.com would have an email domain of cloudfoundry.com>",
                                  "saml-provider" : "<saml provider name, this field is optional>" }'
                                  "user-name-type" : "<type of username for users created through cf-users.  email or samaccountname>" }'
The guids can be retrieved utilizing the uaac users command.
For local development update gulpfile.coffee to set the corresponding values in the VCAP_SERVICES environment variable.
##Deploy The App from the bash command line with the following commands:
Install bower (globally may be best) and then use bower to install the needed bower components:
npm install bower -g
bower install
Install node modules, package, and push
rm -rf node_modules
npm install --production
npm run package
cf push cf-users -p . --no-start
cf bs cf-users  cloud_foundry_api
cf map-route cf-users <cf domain> -n cf-users
cf start cf-users
Update gulpfile.coffee to set the values in the VCAP_SERVICES environment variable corresponding to the cloud_foundry_api service configured above.
create and cd to the certs directory and run the following commands:
openssl genrsa -out localhost.key 1024
openssl req -new -key localhost.key -out certrequest.csr
openssl x509 -req -in certrequest.csr -signkey localhost.key -out localhost.cert
Then run the following commands:
npm install npm run dev
To run the tests onetime run the following command:
npm run test
To run the tests continuously as you work on the code run the following command:
npm run test:dev


