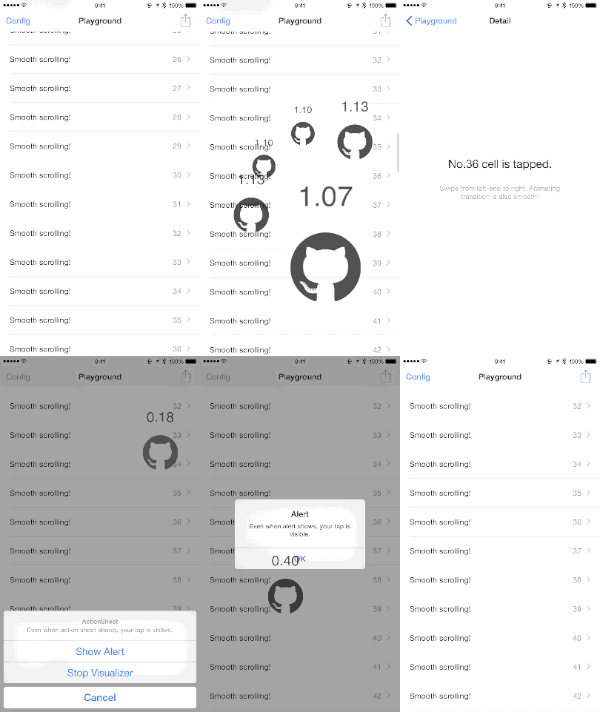
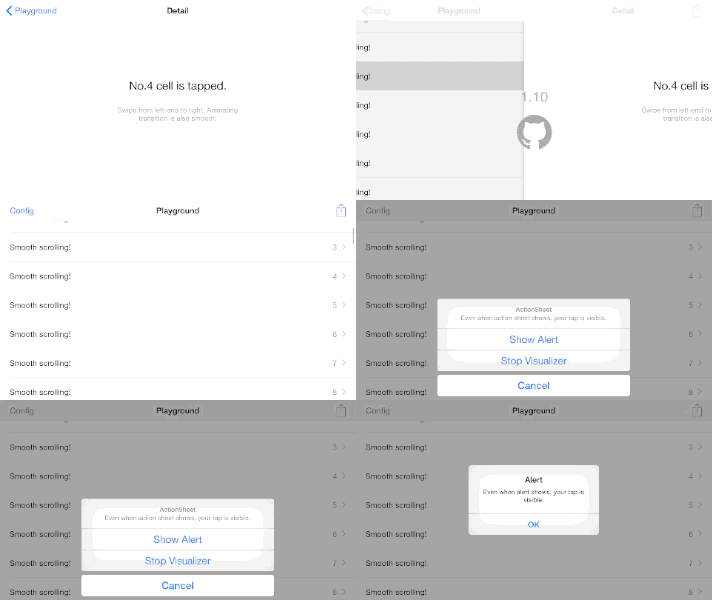
TouchVisualizer is a lightweight pure Swift implementation for visualising touches on the screen.
##Features
- Works with just a single line of code!
- Supports multiple fingers.
- Supports multiple
UIWindow's. - Displays touch radius (finger size).
- Displays touch duration.
- Customise the finger-points image and colour.
- Supports iPhone and iPad in both portrait and landscape mode.
##How it looks
###Portrait:
 ###Landscape:
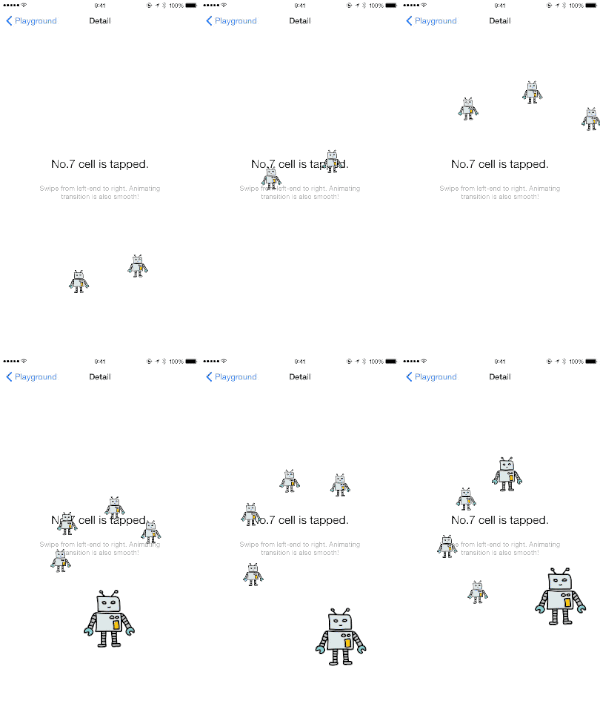
 ###Robots:
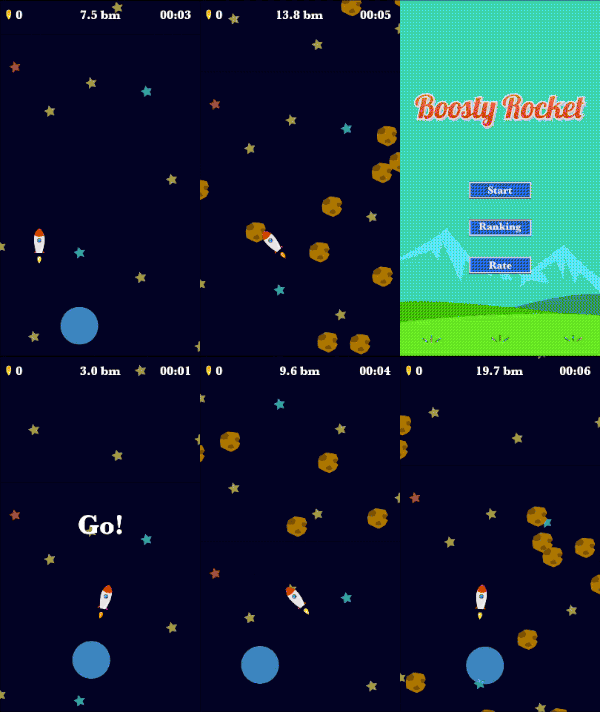
 ###In-app implementation:

It's fun!
##Runtime Requirements
- Swift 3.0
- Xcode 8.0
- iOS8.0 or later
TouchVisualizer works with Swift 3 from version 2.0.1.
Note: Embedded frameworks require a minimum deployment target of iOS 8.1.
Information: To use TouchVisualizer with a project targeting iOS 8.0 or lower, you must include the TouchVisualizer.swift source file directly in your project.
###Installing with CocoaPods
CocoaPods is a centralised dependency manager that automates the process of adding libraries to your Cocoa application. You can install it with the following command:
$ gem update
$ gem install cocoapods
$ pods --version
To integrate TouchVisualizer into your Xcode project using CocoaPods, specify it in your Podfile and run pod install.
platform :ios, '8.0'
use_frameworks!
pod "TouchVisualizer", '~>2.0.1'
###Installing with Carthage Carthage is a decentralised dependency manager that automates the process of adding frameworks to your Cocoa application.
You can install Carthage with Homebrew using the following command:
$ brew update
$ brew install carthage
To integrate TouchVisualizer into your Xcode project using Carthage, specify it in your Cartfile:
github "morizotter/TouchVisualizer" "2.0.1"
###Manual Installation
To install TouchVisualizer without a dependency manager, please add all of the files in /Pod to your Xcode Project.
##Usage
To start using TouchVisualizer, write the following line wherever you want to start visualising:
import TouchVisualizerThen invoke visualisation, by calling:
Visualizer.start()and stop the presentation like this:
Visualizer.stop()It is really simple, isn't it?
##Customisation
TouchVisualizer also has the ability to customise your touch events. Here is an example of what can be customised:
var config = Configuration()
config.color = UIColor.redColor()
config.image = UIImage(named: "YOUR-IMAGE")
config.showsTimer = true
config.showsTouchRadius = true
config.showsLog = true
Visualizer.start(config)
###Configuration properties
| name | type | description | default |
|---|---|---|---|
| color | UIColor |
Color of touch point and text. | default color |
| image | UIImage |
Touch point image. If rendering mode is set to UIImageRenderingModeAlwaysTemplate, the image is filled with color above. |
circle image |
| defaultSize | CGize |
Default size of touch point. | 60 x 60px |
| showsTimer | Bool |
Shows touch duration. | false |
| showsTouchRadius | Bool |
Shows touch radius by scalling touch point. It doesn't work on simulator. | false |
| showsLog | Bool |
Shows log. | false |
##Documentation ###Peripheral
###Presentation
- TouchVisualizer Demo movie #potatotips // Speaker Deck @potatotips May 13 2015
##Contributing
Please file issues or submit pull requests for anything you’d like to see! We're waiting! :)
##Licensing TouchVisualizer is released under the MIT license. Go read the LICENSE file for more information. ####Miscellaneous There is a similar touch visualisation library called COSTouchVisualizer, which is written in Objective-C. COSTouchVisualizer supports earlier versions of iOS and is more mature. If TouchVisualizer isn't enough for you, try that!


