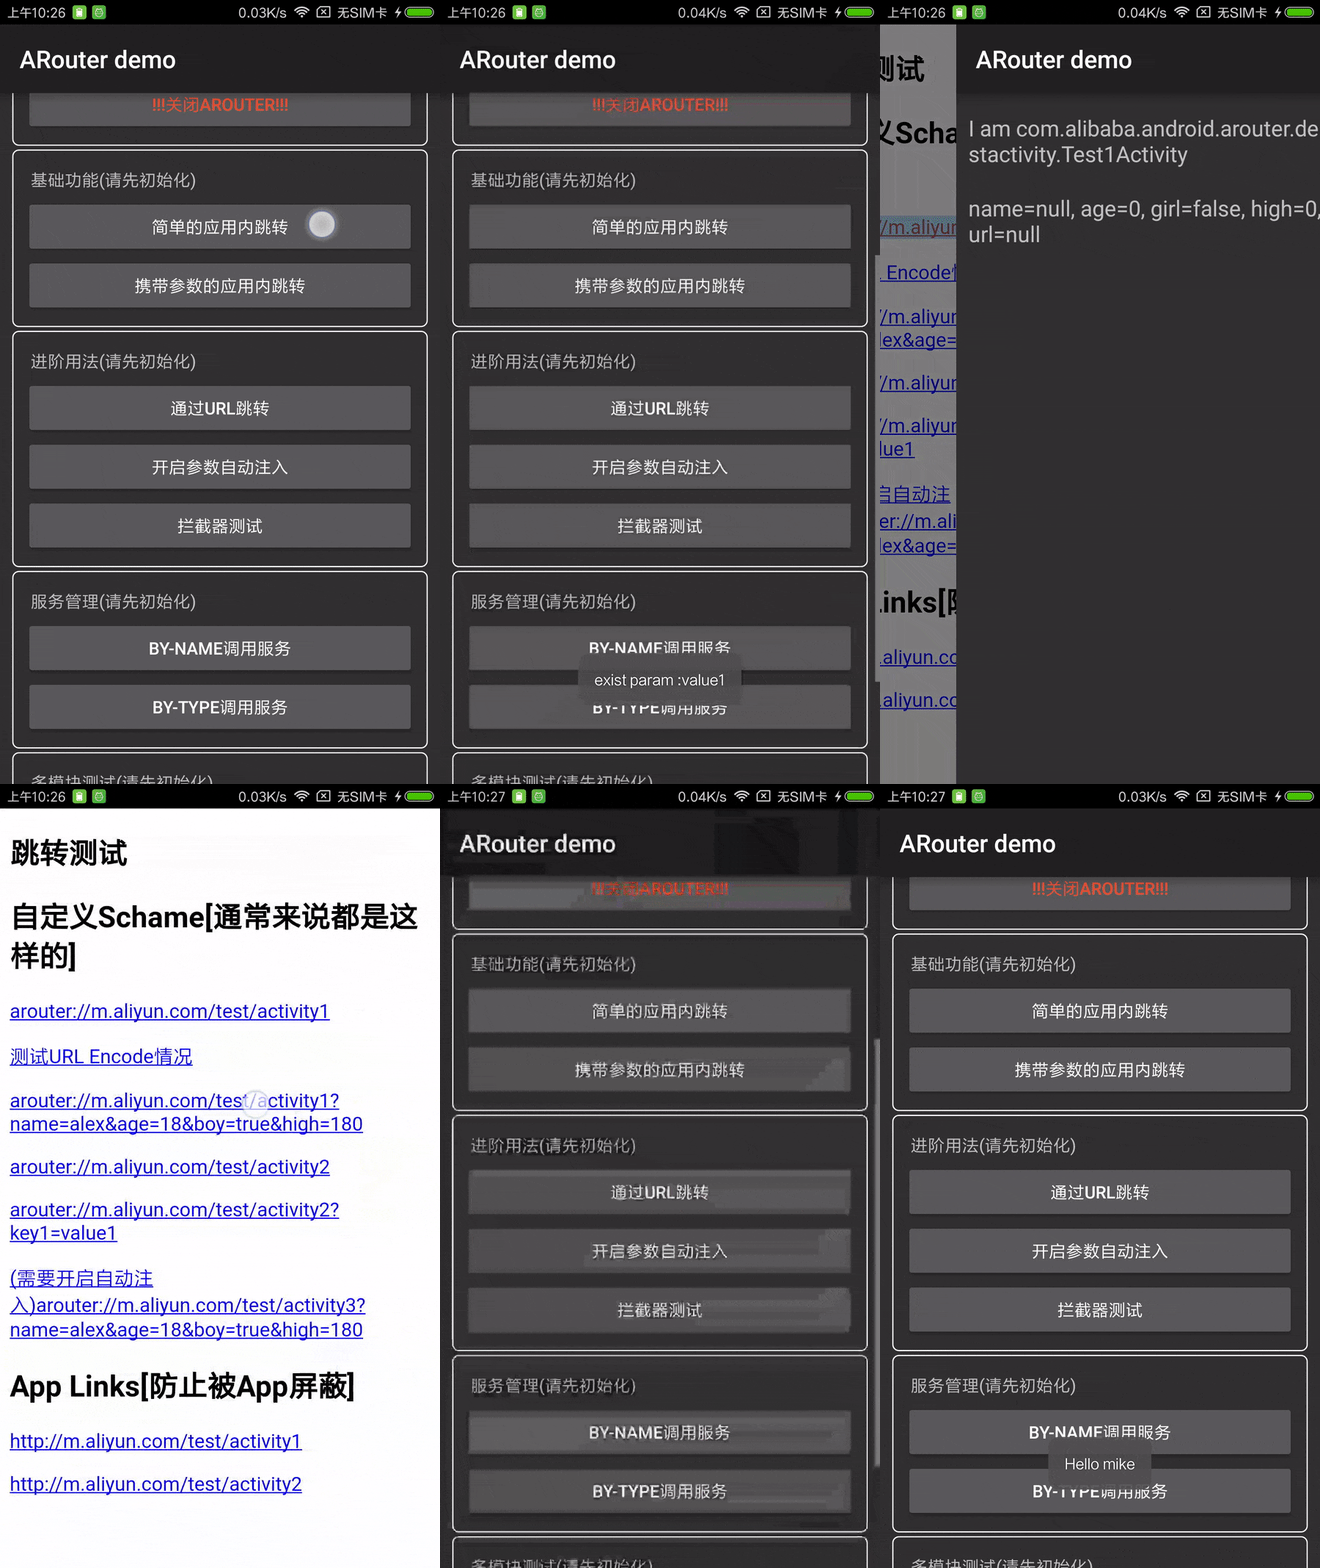
ARouter is a middleware that help app navigating from external environment into internal activity on Android.
dependencies {
    apt 'com.alibaba:arouter-compiler:x.x.x'
    compile 'com.alibaba:arouter-api:x.x.x'
}
- Support routing by URL patterns directly, resolve the params and do the assignment automatically. (*)
- Support routing between internal activitys, Android original-style API.
- Support multi-modules Android project, and allow package each module independently so long as the package is conforming to Android package convention. (*)
- Support injecting customized interceptors to the routing process. (*)
- Provide a service container for interface-oriented design or decoupling modules. (*)
- Mapping relationships is managed by type/level which reduces the memory consumption and improve the query performance. (*)
- Support designating global fallback strategy.
- Abundent API and customize.
- Activitys/interceptors/services do not need to register to ARouter expilicitly, they are discovered automatically.
- Support Jack compiler tool-chain release with Android N.
- Customize URL resolving stratety(considering)
- Loading module and adding routing rule dynamically at runtime(considering)
- Multi-paths route to one target.
- Generate mapping-relationship document automatically.
-
Add dependencies and configuration
apply plugin: 'com.neenbedankt.android-apt' buildscript { repositories { jcenter() } dependencies { classpath 'com.neenbedankt.gradle.plugins:android-apt:1.4' } } apt { arguments { moduleName project.getName(); } } dependencies { apt 'com.alibaba:arouter-compiler:x.x.x' compile 'com.alibaba:arouter-api:x.x.x' ... } -
Add annotation
// 在支持路由的页面、服务上添加注解(必选) // 这是最小化配置,后面有详细配置 @Route(path = "/test/1") public class YourActivity extend Activity { ... } -
Initialization
ARouter.init(mApplication); // 尽可能早,推荐在Application中初始化 -
Navigating
// 1. 应用内简单的跳转(通过URL跳转在'中阶使用'中) ARouter.getInstance().build("/test/1").navigation(); // 2. 跳转并携带参数 ARouter.getInstance().build("/test/1") .withLong("key1", 666L) .withString("key3", "888") .navigation(); -
Add proguard rule(If proguard tools was used)
-keep public class com.alibaba.android.arouter.routes.**{*;}
-
Route by URL
// 新建一个Activity用于监听Schame事件 // 监听到Schame事件之后直接传递给ARouter即可 // 也可以做一些自定义玩法,比方说改改URL之类的 // http://www.example.com/test/1 public class SchameFilterActivity extends Activity { @Override protected void onCreate(Bundle savedInstanceState) { super.onCreate(savedInstanceState); // 外面用户点击的URL Uri uri = getIntent().getData(); // 直接传递给ARouter即可 ARouter.getInstance().build(uri).navigation(); finish(); } } // AndroidManifest.xml 中 的参考配置 <activity android:name=".activity.SchameFilterActivity"> <!-- Schame --> <intent-filter> <data android:host="m.aliyun.com" android:scheme="arouter"/> <action android:name="android.intent.action.VIEW"/> <category android:name="android.intent.category.DEFAULT"/> <category android:name="android.intent.category.BROWSABLE"/> </intent-filter> <!-- App Links --> <intent-filter android:autoVerify="true"> <action android:name="android.intent.action.VIEW"/> <category android:name="android.intent.category.DEFAULT"/> <category android:name="android.intent.category.BROWSABLE"/> <data android:host="m.aliyun.com" android:scheme="http"/> <data android:host="m.aliyun.com" android:scheme="https"/> </intent-filter> </activity> -
Extract params automatically
// URL中的参数会默认以String的形式保存在Bundle中 // 如果希望ARouter协助解析参数(按照不同类型保存进Bundle中) // 只需要在需要解析的参数上添加 @Param 注解 @Route(path = "/test/1") public class Test1Activity extends Activity { @Param // 声明之后,ARouter会从URL中解析对应名字的参数,并按照类型存入Bundle public String name; @Param private int age; @Param(name = "girl") // 可以通过name来映射URL中的不同参数 private boolean boy; @Override protected void onCreate(Bundle savedInstanceState) { super.onCreate(savedInstanceState); name = getIntent().getStringExtra("name"); age = getIntent().getIntExtra("age", -1); boy = getIntent().getBooleanExtra("girl", false); // 注意:使用映射之后,要从Girl中获取,而不是boy } } -
开启ARouter参数自动注入(实验性功能,不建议使用,正在开发保护策略)
// 首先在Application中重写 attachBaseContext方法,并加入ARouter.attachBaseContext(); @Override protected void attachBaseContext(Context base) { super.attachBaseContext(base); ARouter.attachBaseContext(); } // 设置ARouter的时候,开启自动注入 ARouter.enableAutoInject(); // 至此,Activity中的属性,将会由ARouter自动注入,无需 getIntent().getStringExtra("xxx")等等 -
Define interceptor(intercept the navigating process, do stuff you want)
// 比较经典的应用就是在跳转过程中处理登陆事件,这样就不需要在目标页重复做登陆检查 // 拦截器会在跳转之间执行,多个拦截器会按优先级顺序依次执行 @Interceptor(priority = 666, name = "测试用拦截器") public class TestInterceptor implements IInterceptor { /** * The operation of this interceptor. * * @param postcard meta * @param callback cb */ @Override public void process(Postcard postcard, InterceptorCallback callback) { ... callback.onContinue(postcard); // 处理完成,交还控制权 // callback.onInterrupt(new RuntimeException("我觉得有点异常")); // 觉得有问题,中断路由流程 // 以上两种至少需要调用其中一种,否则会超时跳过 } /** * Do your init work in this method, it well be call when processor has been load. * * @param context ctx */ @Override public void init(Context context) { } } -
Handle result returned after navigation
// 通过两个参数的navigation方法,可以获取单次跳转的结果 ARouter.getInstance().build("/test/1").navigation(this, new NavigationCallback() { @Override public void onFound(Postcard postcard) { ... } @Override public void onLost(Postcard postcard) { ... } }); -
Custom global fallback strategy
// 实现DegradeService接口,并加上一个Path内容任意的注解即可 @Route(path = "/xxx/xxx") // 必须标明注解 public class DegradeServiceImpl implements DegradeService { /** * Router has lost. * * @param postcard meta */ @Override public void onLost(Context context, Postcard postcard) { // do something. } /** * Do your init work in this method, it well be call when processor has been load. * * @param context ctx */ @Override public void init(Context context) { } } -
Declare more information about targeted activity
// 我们经常需要在目标页面中配置一些属性,比方说"是否需要登陆"之类的 // 可以通过 Route 注解中的 extras 属性进行扩展,这个属性是一个 int值,换句话说,单个int有4字节,也就是32位,可以配置32个开关 // 剩下的可以自行发挥,通过字节操作可以标识32个开关 @Route(path = "/test/1", extras = Consts.XXXX) -
Service management - expose services
/** * Def interface */ public interface IService extends IProvider { String hello(String name); } /** * Implemention */ @Route(path = "/service/1", name = "Test service") public class ServiceImpl implements IService { @Override public String hello(String name) { return "hello, " + name; } /** * Do your init work in this method, it well be call when processor has been load. * * @param context ctx */ @Override public void init(Context context) { } } -
Service management - discover services
1. 可以通过两种API来获取Service,分别是ByName、ByType IService service = ARouter.getInstance().navigation(IService.class); // ByType IService service = (IService) ARouter.getInstance().build("/service/1").navigation(); // ByName service.hello("zz"); 2. 注意:推荐使用ByName方式获取Service,ByType这种方式写起来比较方便,但如果存在多实现的情况时,SDK不保证能获取到你想要的实现 -
Service management - resolve dependencies through services
    可以通过ARouter service包装您的业务逻辑或者sdk,在service的init方法中初始化您的sdk,不同的sdk使用ARouter的service进行调用,
每一个service在第一次使用的时候会被初始化,即调用init方法。
    这样就可以告别各种乱七八糟的依赖关系的梳理,只要能调用到这个service,那么这个service中所包含的sdk等就已经被初始化过了,完全不需要
关心各个sdk的初始化顺序。
-
More setting for initialization
ARouter.openLog(); ARouter.printStackTrace(); // Print stacktrace when print log. -
API details
// Build normally route request ARouter.getInstance().build("/home/main").navigation(); // 构建标准的路由请求,并指定分组 ARouter.getInstance().build("/home/main", "ap").navigation(); // 构建标准的路由请求,通过Uri直接解析 Uri uri; ARouter.getInstance().build(uri).navigation(); // 构建标准的路由请求,startActivityForResult // navigation的第一个参数必须是Activity,第二个参数则是RequestCode ARouter.getInstance().build("/home/main", "ap").navigation(this, 5); // Set bundle Bundle params = new Bundle(); ARouter.getInstance() .build("/home/main") .with(params) .navigation(); // Set flag ARouter.getInstance() .build("/home/main") .withFlags(); .navigation(); // 觉得接口不够多,可以直接拿出Bundle赋值 ARouter.getInstance() .build("/home/main") .getExtra(); // 使用绿色通道(跳过所有的拦截器) ARouter.getInstance().build("/home/main").greenChannal().navigation(); -
Fetch raw uri
String uriStr = getIntent().getStringExtra(ARouter.RAW_URI);
-
Concept of routing group
-
ARouter classify all paths to different groups. A group will do the initialization when any path in the group is accessed first time.
-
You can specify a group for certain path, or ARouter will extract the first segment in the path and take it as a group
-
Notice: Once you manually specify a group for certain path, you should do the navigation by
ARouter.getInstance().build(path, group)to designate the group explicitly@Route(path = "/test/1", group = "app")
-
-
The similarities and differences between interceptor and service
- They need to implement different interface
- Interceptors will take effect in every navigation. Interceptors will initialize asynchronously at initialization of ARouter. If the initialization is not finished yet when first navigation execute, the navigation will block and wait.
- Services will do the initialization only when they are invoked. If a service has never been invoked in whole lifecycle, it won’t initialize.


