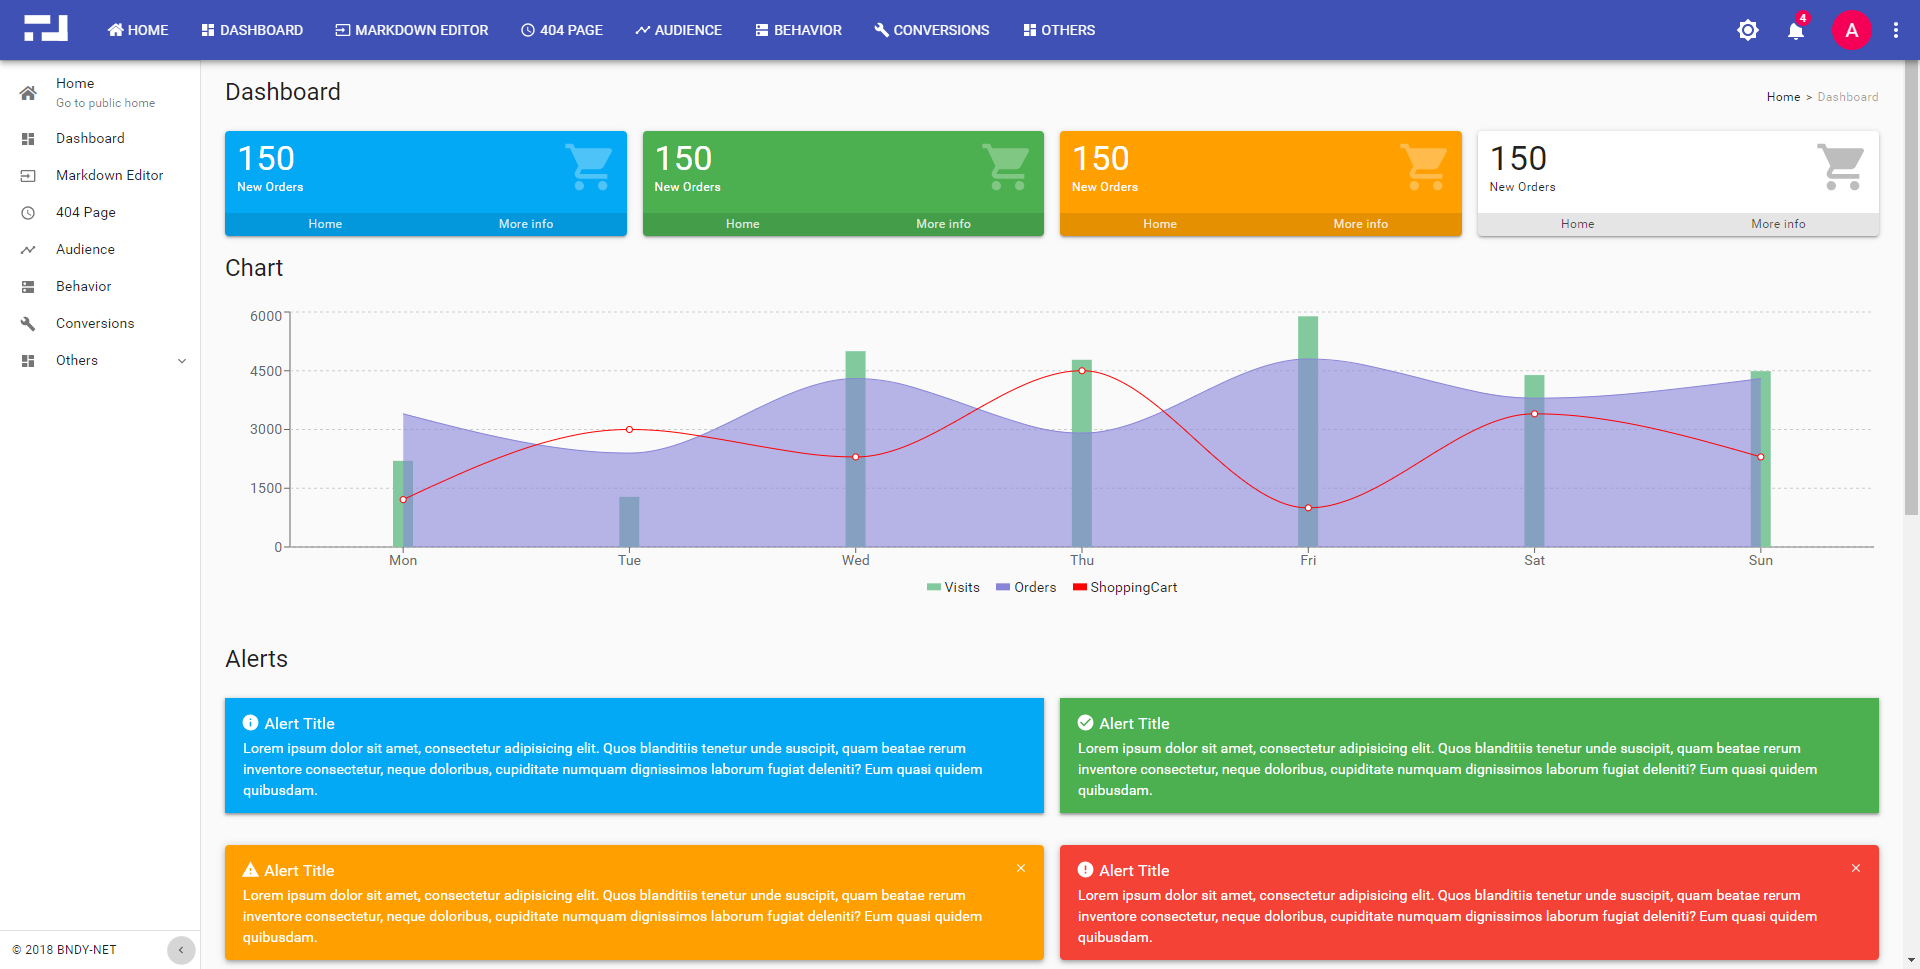
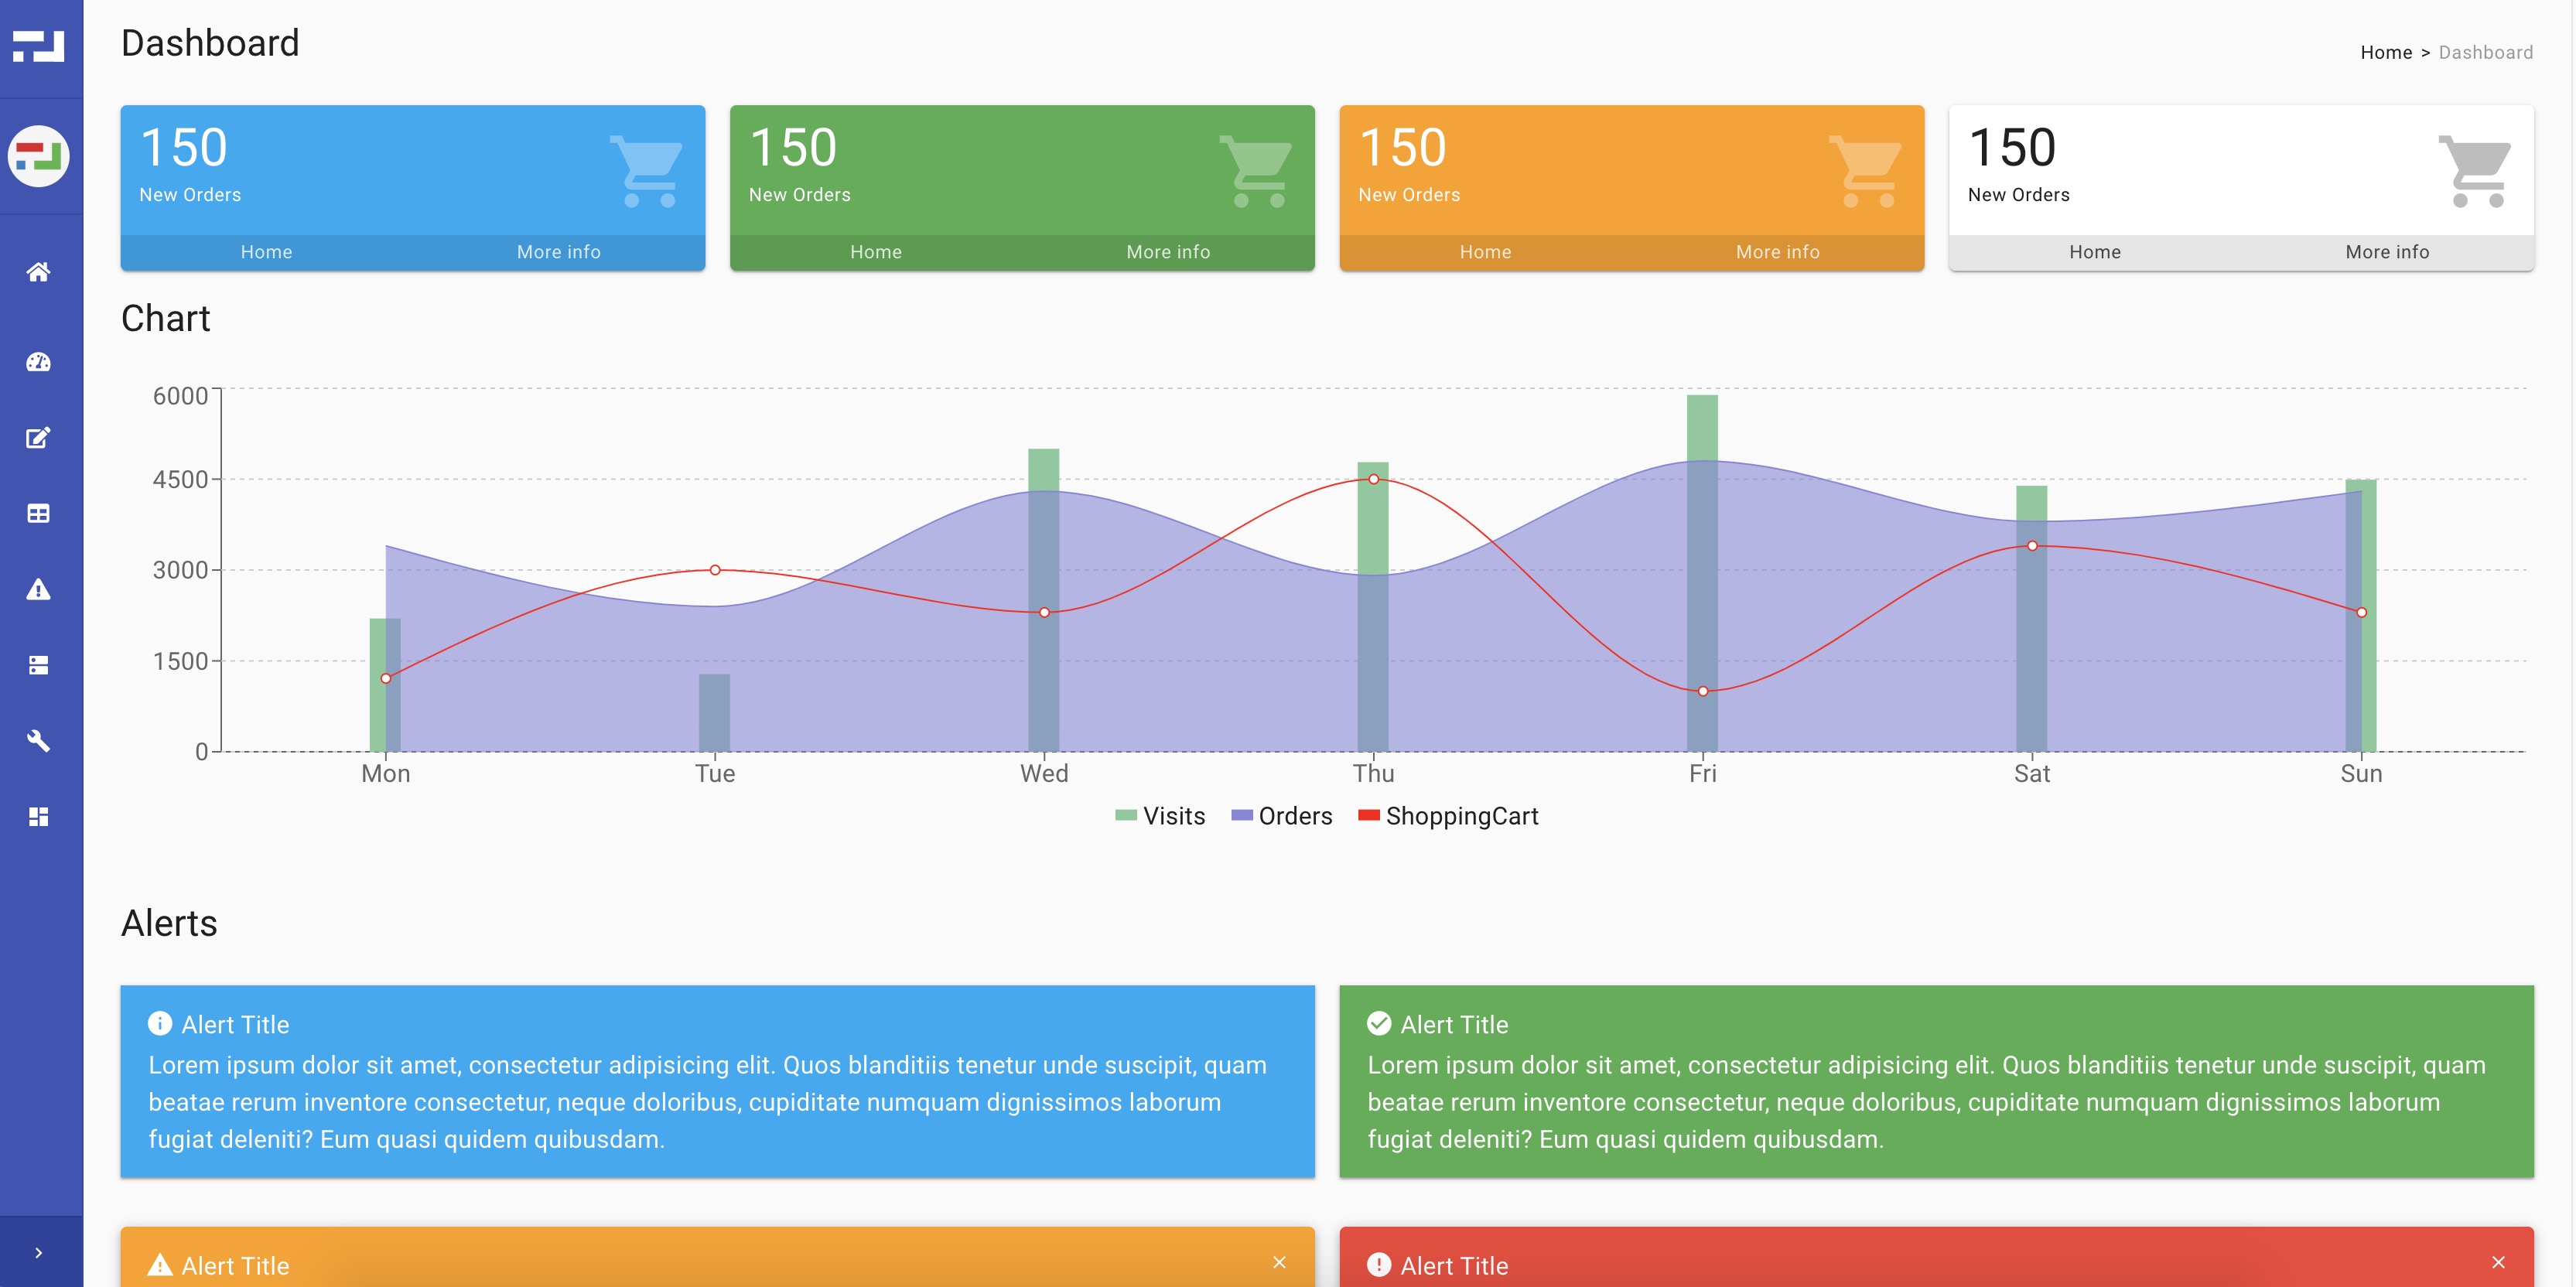
DEMO - Type any account to log in
A starter admin template with React, React Redux, Material UI and TypeScript that packages using Webpack and integrates a minimal project structure.
- AJAX component: axios
- UI component: material-ui
- REACT stack: react, react-dom, react-redux, react-router-config, react-router-dom, redux, redux-saga, react-intl-universal
- Clone repo
git clone <git-url> npm installto install all dependenciesnpm startto start web server ornpm run buildto build production code into dist folder
- ./src/config/app.common.tsx - all common configurations
- ./src/config/app.dev.tsx - configurations used in local
- ./src/config/app.prod.tsx - configurations used in production
- ./src/config/app.github.tsx - example for github authorization
- ./src/config/app.auth-code.tsx - example for authorization code grant type
- ./src/config/app.auth-password.tsx - example for password grant type
- ./src/config/app.mock.tsx - just for local development without login system
-
New file ./src/config/app.[env_name].tsx to override your configurations
-
Recommend to import configurations in app.dev.tsx
import config = require('./app.your-env');
Or add below code in ./src/config/index.tsx or ./index.html to freeze your environment
window.__APP_ENV__ = 'your-env';
-
npm startandnpm run buildwill always use the environment you defined
Alert, Loading, MiniCard, Notifier, Overlay, Panel, Tag, DataTable, ...
import * as intl from 'react-intl-universal';

const message = intl.get('i18nKey');import { service as resourceService } from "app/service/resource";to call APIs which has appended access token in request headerimport { getState as getAuthState } from "app/service/auth";to get current user information
-
Requires Visual Studio Code as IDE and extension Debugger for Chrome
-
npm startto run application -
Click menu Debug > Start Debugging to debug with generated .vscode/launch.json file as below:
{ "version": "0.2.0", "configurations": [ { "type": "chrome", "request": "launch", "name": "Launch Chrome against localhost", "url": "http://localhost:8080", "webRoot": "${workspaceFolder}" } ] } -
Set breakpoints in your vscode and operate in the new Chrome window Start Debugging opened
- React Developer Tools
- Redux DevTools
Above extensions will show you the Actions, States and Reducers in Chrome console.


