Grouptripper is an App to plan Trips with your friends and family.
🛠 currently not available
The Frontend and Backend were hosted on one Heroku Dyno, the database was served from the MongoDB Atlas Cloud.
 Setup a basic trip Itinerary with a short description, your country of destination along with your trip dates and add some stops.
Easily invite your Friends and Family to collaborate on your planning.
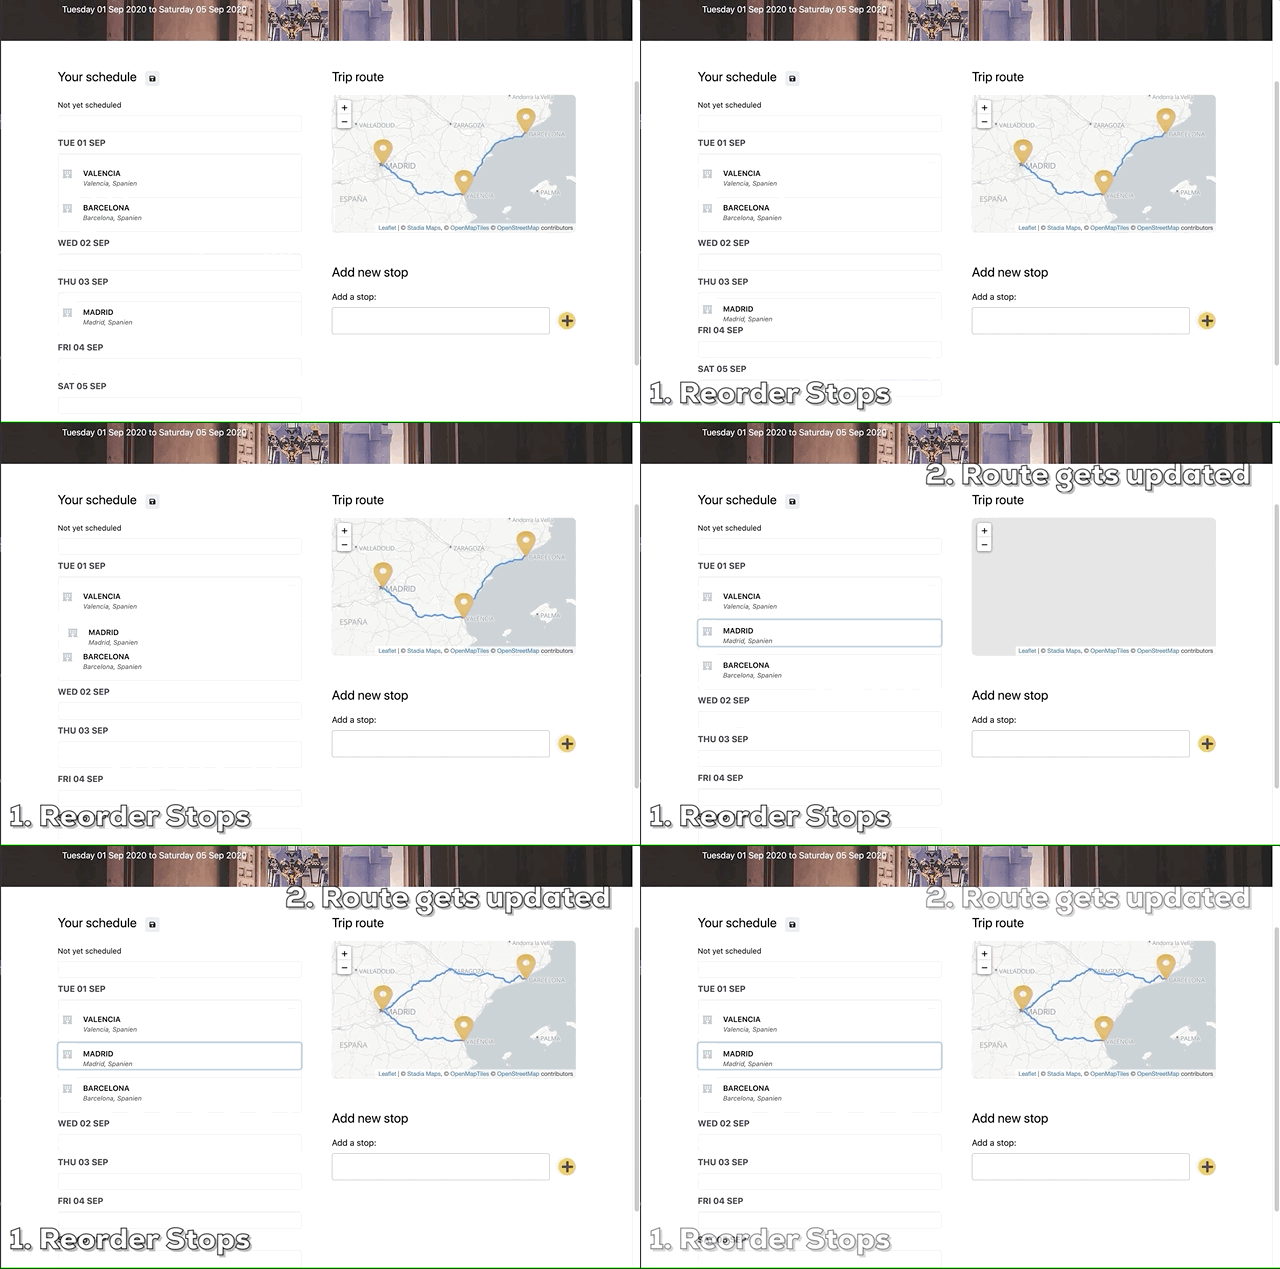
After accepting your invite, your co-travellers can add stops or reorder them and add comments to the your trip.
Grouptripper was developed as a Thesis Project for the Codeworks Bootcamp by Alex Marshall, Mohammed Abdul Khader and Stefan Huckschlag.
Here you can find a video of the project presentation:
These instruction will help you setup a local development instance of the app.
git clone https://github.com/hucki/grouptripper.git
npm install
For an example how to fill /server/.env see /server/.env.example
For an example how to fill /client/.env.local see /client/.env.local.example
- set up a mongoDB database locally or as a hosted service
- choose a database name and set
DB_NAMEin/server/.env - set
DB_USERandDB_PASSin/server/.env
Only if you want to run the DB locally follow theses steps:
- set
DB_LOCAL=truein/server/.env - set
DB_LOCAL_URIandDB_LOCAL_PORTin/server/.envas shown in the example file
Only if you want to run the DB remotely follow theses steps:
- set
DB_LOCAL=falsein/server/.env - set
DB_URI_PROTOCOL,DB_URI_HOSTandDB_URI_PARAMSin/server/.envas shown in the example file
Hint: For debugging and/or development purposes, you can set up databases both locally and remotely and switch between them by setting DB_LOCAL to true or false
- add
EMAIL_USERandEMAIL_PASSWORDto/server/.env
Set up an Application on auth0 and add AUTH0_DOMAIN, AUTH0_CLIENTID, AUTH0_CLIENT_SECRET and AUTH0_AUDIENCE to /server/.env
- unsplash: apply for an API key and add to
/server/.env - openrouteservice: apply for an API key and add to
/client/.env.local
Start client and server in dev mode locally
From the root folder of the project change into /server and npm start
From the root folder of the project change into /client and npm start
To create a build ready for Deployment, just run
npm run build
from the root folder of the project. The result will be created in server/dist and includes the compiled backend and frontend
To start the created build just run
npm start
from the root folder of the project.
- heroku for Frontend and Backend
- MongoDB Atlas for the Database
Thanks goes to these wonderful people (emoji key):
Mohammed Abdul Khader 💻 🤔 |
Alex Marshall 💻 |
Stefan Huckschlag 💻 🚇🎨 |
This project follows the all-contributors specification. Contributions of any kind welcome!


