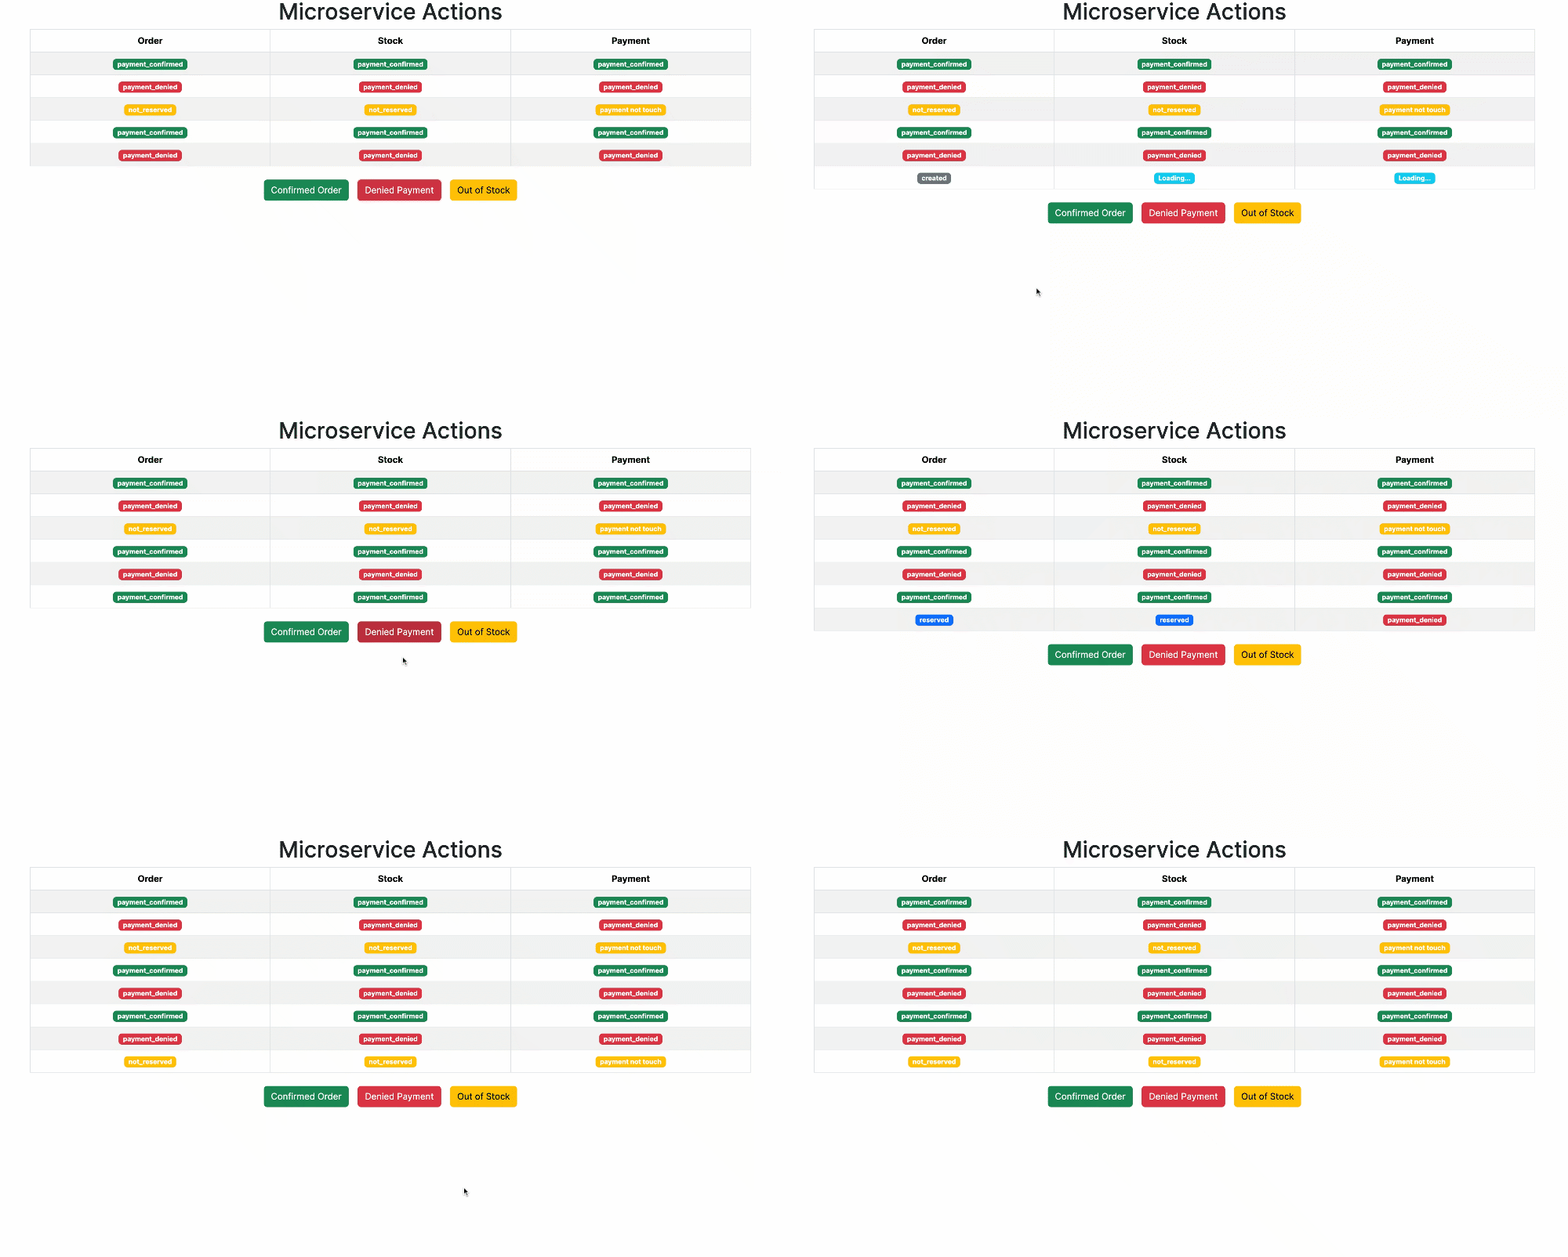
This repository demonstrates the Outbox Pattern in microservices, leveraging the Django Outbox Pattern library developed at @juntossomosmais.
An e-commerce system uses microservices (Order, Stock, and Payment) to manage orders, stock, and payments. The Saga pattern is implemented using the Outbox pattern for consistent communication.
-
📦 Order Service:
- Receives and processes customer orders.
- Creates order records in the database upon order reception.
-
📦 Stock Service:
- Manages product stock.
- Receives an order message to reserve products in stock.
- Confirms reservation, updates the database, and records a message in the Outbox table.
-
💳 Payment Service:
- Processes order payments.
- Receives an order message for payment authorization.
- Validates payment, authorizes it, updates the database, and records a message in the Outbox table.
- Customer places an order through the Order service.
- Order service creates a record in the Outbox table with order details.
- Message is sent to the Stock service to reserve products.
- Stock service confirms reservation, updates its database, and records a message in the Outbox table.
- Message is sent to the Payment service for payment authorization.
- Payment service validates payment, authorizes it, updates its database, and records a message in the Outbox table.
- Order service periodically checks the Outbox table to process pending messages.
- If successful, the order is marked as confirmed, and the customer is notified.
This repository provides configuration files for deploying three Django services (Order, Stock, Payment) on Kubernetes and Docker Compose. Each service has its PostgreSQL database, and RabbitMQ facilitates communication. Kong serves as an API gateway and microservices management layer.
- Django: A web framework for rapid Python application development.
- PostgreSQL: A robust relational database management system.
- RabbitMQ: Supports asynchronous communication between services.
- Kubernetes: Container orchestration for automating deployment and scaling.
- Docker Compose: Simplifies managing multi-container Docker applications.
- Kong: An API gateway and microservices management layer.
-
Navigate to the docker directory.
cd docker -
Run the start script:
./scripts/start.sh
-
Access services via:
- Order Admin: http://localhost:8000/admin
- Stock Admin: http://localhost:8001/admin
- Payment Admin: http://localhost:8002/admin
- API: http://localhost:8080
- Kong Admin: http://localhost:8082
- RabbitMQ Management UI: http://localhost:15672
-
Use these credentials:
- Django Admin: admin/admin
- RabbitMQ: guest/guest
-
Navigate to project root.
-
Run stop script:
./scripts/stop.sh
This guide will walk you through setting up a Kubernetes cluster using k3d. Make sure you have Docker installed on your system before proceeding.
To set up the Kubernetes cluster, follow these steps:
- Navigate to the k8s directory.
cd k8s - Run the
setup.shscript../setup.sh
This script will automatically:
🚀 Install k3d, kubectl, and Helm if not already installed.
🌟 Create a k3d cluster named "saga" with port mapping for load balancing.
After running the script, your Kubernetes cluster will be set up and ready to use.
-
Install the Gateway API CRDs before installing Kong Ingress Controller.
kubectl apply -f https://github.com/kubernetes-sigs/gateway-api/releases/download/v1.0.0/standard-install.yaml
-
Create a Gateway and GatewayClass instance to use.
kubectl apply -f kong/kong-gateway.yaml
-
Helm Chart Installation
- Add the Kong Helm charts:
helm repo add kong https://charts.konghq.com
- Update repo:
helm repo update
- Install Kong Ingress Controller and Kong Gateway with Helm:
helm install kong kong/ingress -n kong --create-namespace --values kong/values.yaml
-
Verify Installation
After installation, ensure that Kong Ingress Controller pods are running:
curl -i 'localhost:8080'The results should look like this:
HTTP/1.1 404 Not Found
Date: Sun, 28 Jan 2024 19:14:45 GMT
Content-Type: application/json; charset=utf-8
Connection: keep-alive
Content-Length: 103
X-Kong-Response-Latency: 0
Server: kong/3.5.0
X-Kong-Request-Id: fa55be13bee8575984a67514efbe224c

{
  "message":"no Route matched with those values",
  "request_id":"fa55be13bee8575984a67514efbe224c"
}
Note:
If you encounter
curl: (52) Empty reply from server, please wait a moment and try again. -
Create a RabbitMQ Cluster Kubernetes Operator.
- Install the RabbitMQ Cluster Operator:
kubectl rabbitmq install-cluster-operator
- Create a RabbitMQ cluster:
kubectl apply -f rabbitmq/rabbitmq.yaml
- Create a saga exchange:
The results should look like this:
kubectl exec svc/rabbitmq -c rabbitmq -- rabbitmqadmin declare exchange name=saga type=topic -u guest -p guest
Note:exchange declared
RabbitMQ cluster should be running
- Access The Management UI (optional):
kubectl rabbitmq manage rabbitmq
- Install the RabbitMQ Cluster Operator:
After setting up the Kubernetes cluster and installing the Kong Ingress Controller:
-
Use Helm to create the "order", "stock", and "payment" releases using the Saga chart and corresponding values:
helm install order ./saga --values services/order/values.yaml
helm install stock ./saga --values services/stock/values.yaml
helm install payment ./saga --values services/payment/values.yaml
This creates three Helm releases, "order", "stock", and "payment", with configurations specified in their
respective values.yaml files.
Please note that each command creates a specific Helm release with its own configurations.
- Run cluster delete command:
k3d cluster delete saga-
Install Postman.
-
Import the Postman collection.
-
Collection contains scenarios:
- Unreserved Stock: Create order with quantity > 10.
- Denied Payment: Create order with amount > $1000.
-
Run requests to observe system behavior.


