- HopfenCraft
- CI
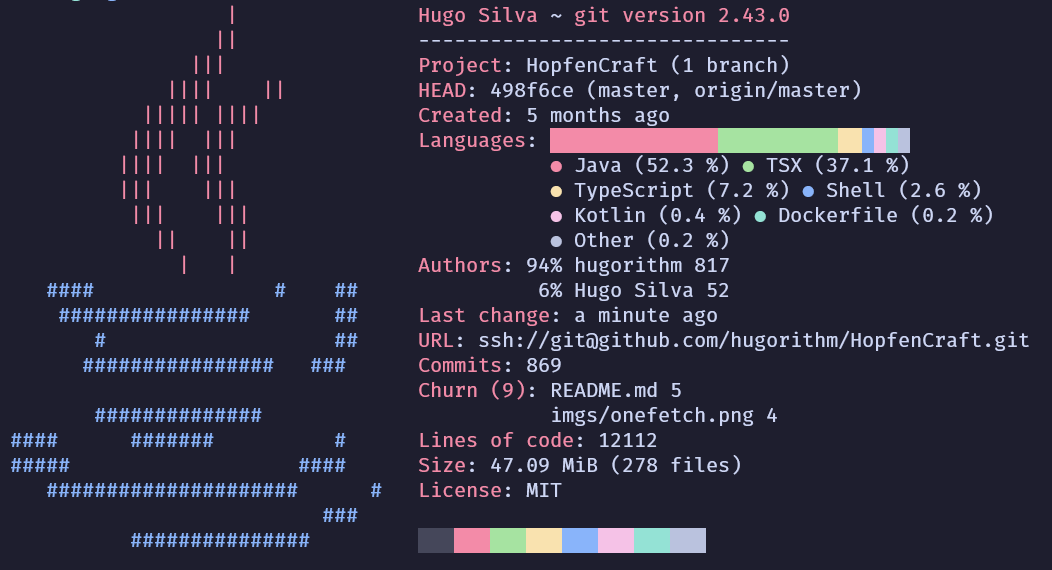
- Onefetch
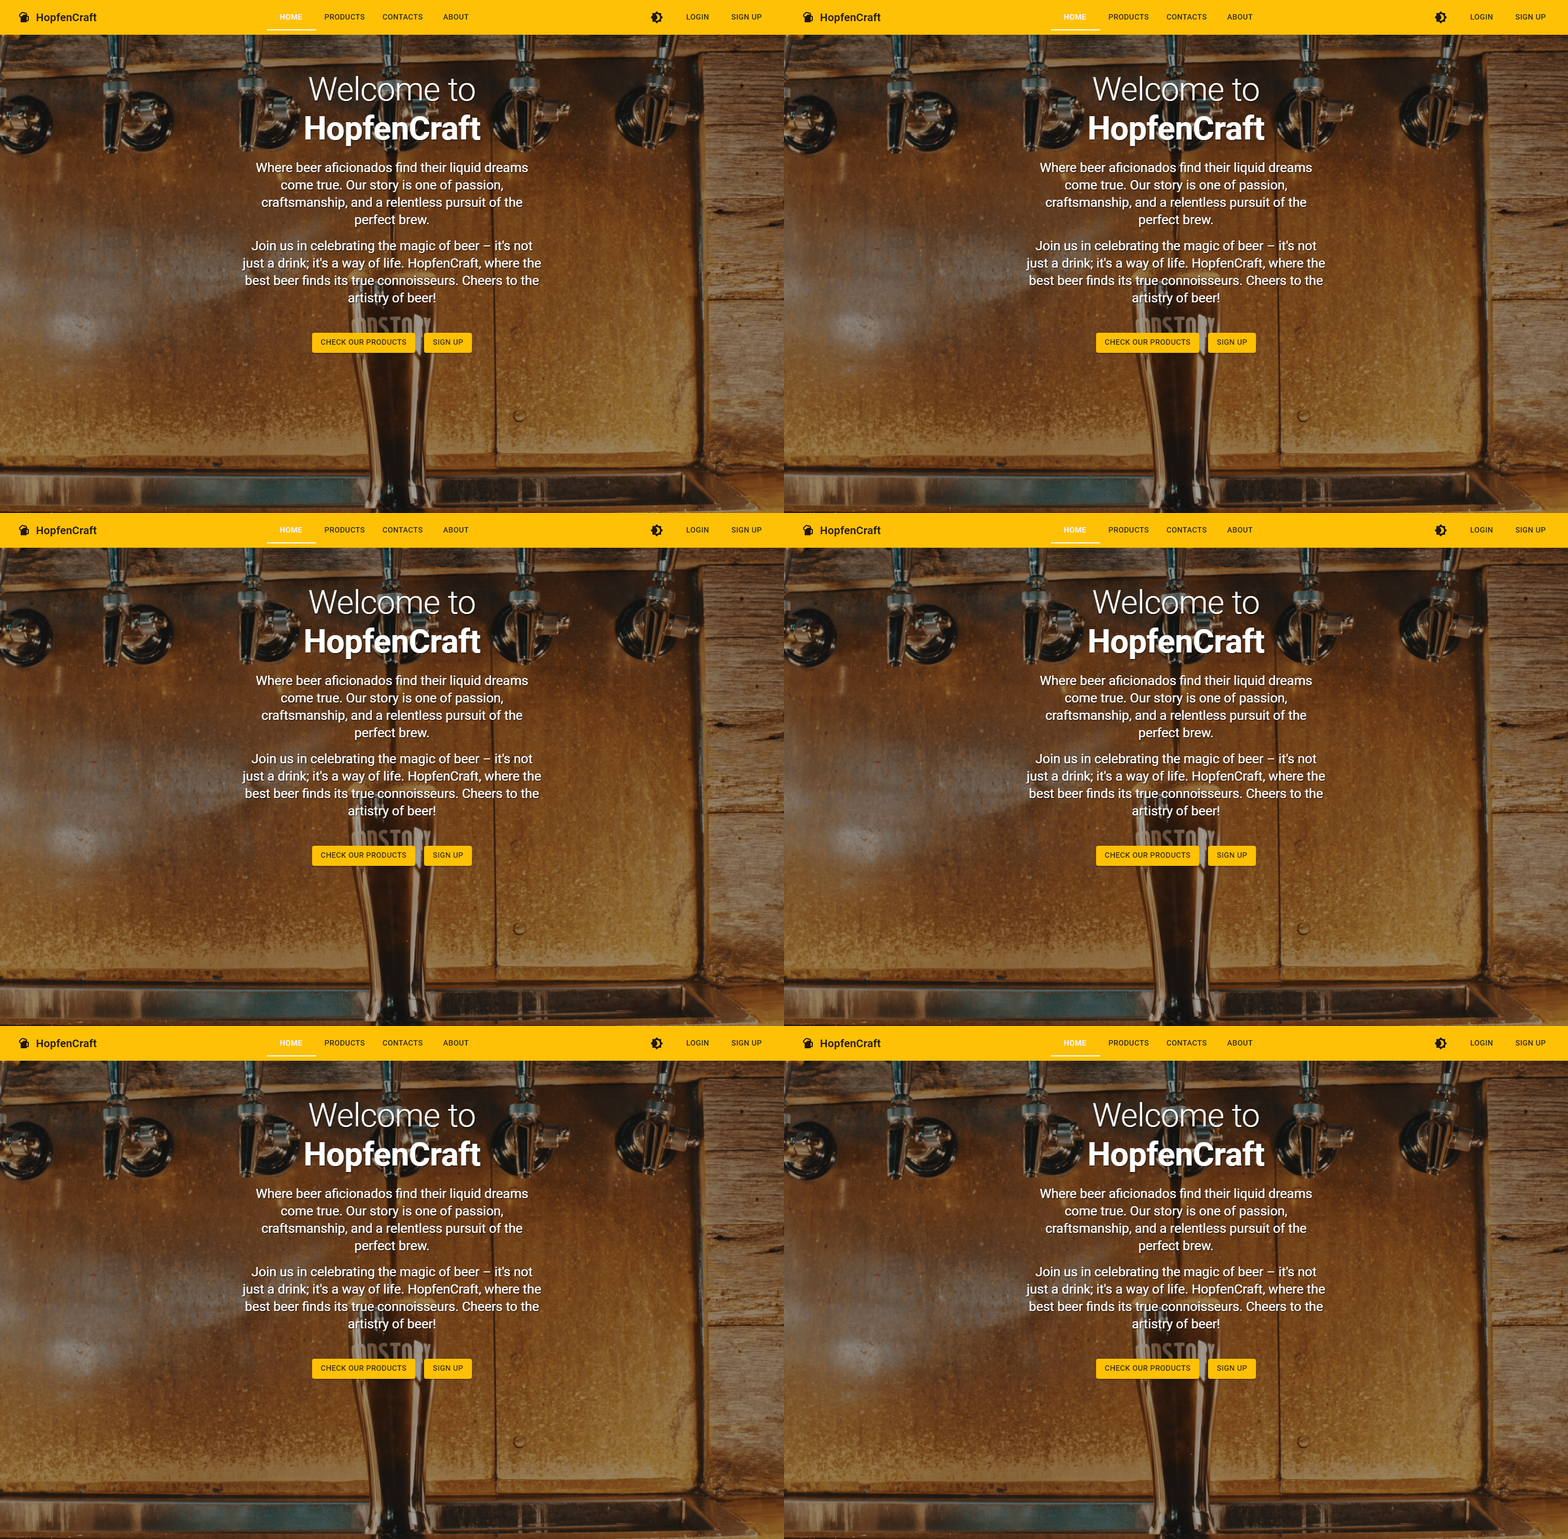
- Website
- Features
- Service Monitoring with Prometheus and Grafana
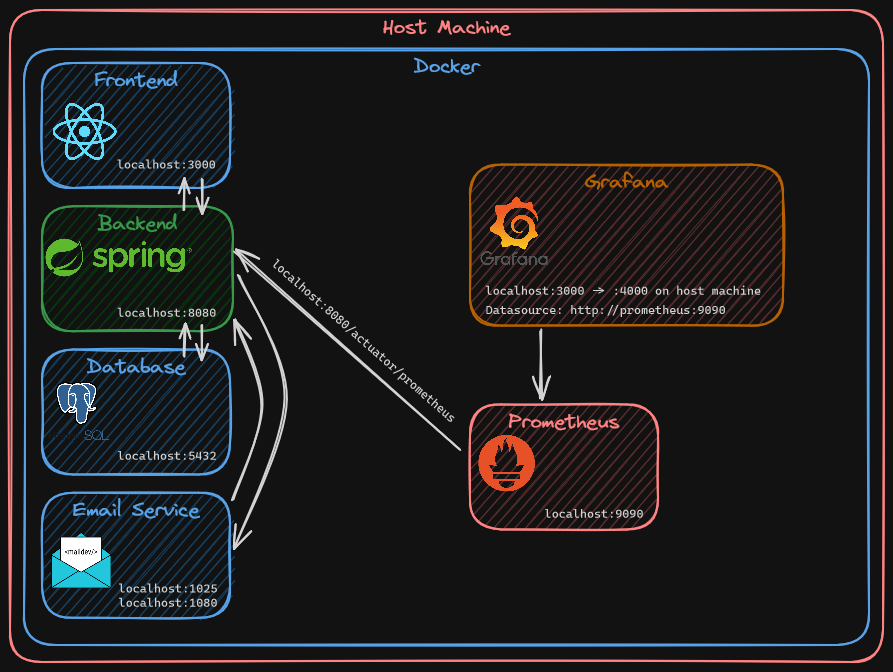
- Project Architecture
- Installation
- Generate RSA keys
- Compile the backend
- Create a Dashboard in Grafana
- License
- User Accounts: Register and log in to your personal HopfenCraft account.
- User Profiles: Update your user profile, change your password, and keep your information up to date.
- Admin Dashboard: Admins have access to a powerful dashboard.
- Product Management: Add, update, or remove new beer products.
- Stock Management: Manage product stock levels with ease.
- Add to Cart: Users can add their favorite beer products to the shopping cart.
- Update Cart: Modify quantities and remove items from your cart effortlessly.
- Checkout: Complete your beer order with our seamless checkout process.
- Create Orders: Place orders for your favorite beers.
- Order History: View your order history and keep track of your purchases.
- PayPal Integration: Pay for your beer orders using PayPal or credit card.
- Secure Transactions: Rest assured that your payment information is handled securely.
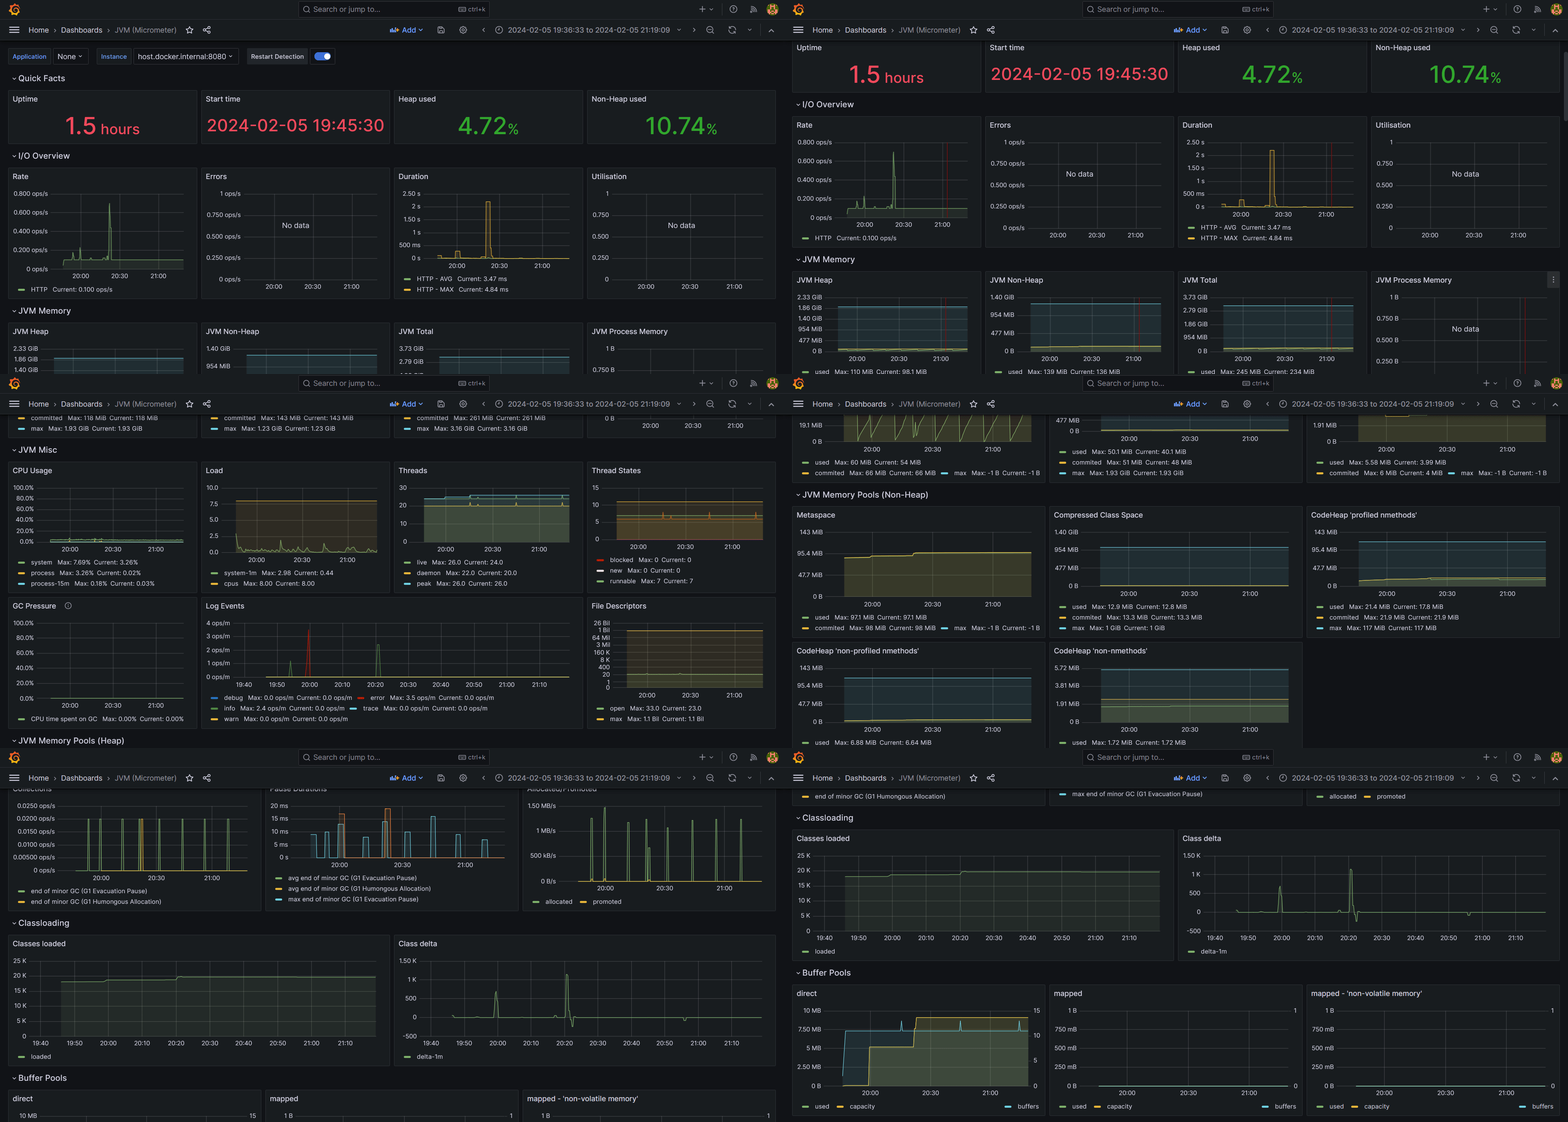
I've also integrated Prometheus and Grafana to monitor the spring boot application.
To run the HopfenCraft application, you'll need to set up the following environment variables in both the frontend and backend components:
To configure the backend of the HopfenCraft application, you'll need to set the following environment variables:
DATABASE_URL: Replace with your PostgreSQL database URL.DB_PASSWORD: Replace with your PostgreSQL database password.DB_USERNAME: Replace with your PostgreSQL database username.EMAIL_HOST: Replace with your email host configuration.EMAIL_PASSWORD: Replace with your email password.EMAIL_PORT: Replace with your email port number.EMAIL_USERNAME: Replace with your email username.GITHUB_CLIENT: Replace with your GitHub OAuth2 client ID.GITHUB_SECRET: Replace with your GitHub OAuth2 client secret.GOOGLE_CLIENT: Replace with your Google OAuth2 client ID.GOOGLE_SECRET: Replace with your Google OAuth2 client secret.PAYPAL_CLIENT_ID: Replace with your PayPal client ID.PAYPAL_CLIENT_SECRET: Replace with your PayPal client secret.RSA_PRIVATE_EXPONENT: Replace with your RSA private exponent.RSA_PRIVATE_MODULUS: Replace with your RSA private modulus.RSA_PUBLIC_EXPONENT: Replace with your RSA public exponent.RSA_PUBLIC_MODULUS: Replace with your RSA public modulus.UPLOAD_FOLDER_PATH: Replace with the path for file uploads.VITE_GOOGLE_RECAPTCHA_KEY: Replace with your Google reCAPTCHA site key.VITE_PAYPAL_CLIENT_ID: Replace with your PayPal Client ID:
Example .bashrc or .zshrc:
# bakend
export DATABASE_URL=your-database-url
export DB_PASSWORD=your-database-password
export DB_USERNAME=your-database-username
export EMAIL_HOST=your-email-host
export EMAIL_PASSWORD=your-email-password
export EMAIL_PORT=your-email-port
export EMAIL_USERNAME=your-email-username
export GITHUB_CLIENT=your-github-client-id
export GITHUB_SECRET=your-github-client-secret
export GOOGLE_CLIENT=your-google-client-id
export GOOGLE_SECRET=your-google-client-secret
export PAYPAL_CLIENT_ID=your-paypal-client-id
export PAYPAL_CLIENT_SECRET=your-paypal-client-secret
export RSA_PRIVATE_EXPONENT=your-rsa-private-exponent
export RSA_PRIVATE_MODULUS=your-rsa-private-modulus
export RSA_PUBLIC_EXPONENT=your-rsa-public-exponent
export RSA_PUBLIC_MODULUS=your-rsa-public-modulus
export UPLOAD_FOLDER_PATH=your-upload-folder-path

# frontend
export VITE_GOOGLE_RECAPTCHA_KEY=your-recaptcha-site-key
export VITE_PAYPAL_CLIENT_ID=your-paypal-client-idTo build and run, execute the following command in the project's root folder:
docker compose up -dThis command will download, build and deploy all the containers.
Please keep in mind that since we are using Docker, you must use the service name defined in docker-compose.yml instead of localhost in your environment variables
And that's it! The containers should be up and running and HopfenCraft is available on localhost:3000
There are also images on DockerHub:
hugorithm/hopfencraft-frontend
hugorithm/hopfencraft-backend
To generate the RSA keys you can execute the following command:
openssl genpkey -algorithm RSA -out private_key.pemopenssl rsa -pubout -in private_key.pem -out public_key.pemTo compile you must run the following commands inside the backend folder:
gradle clean build -x testWe will need to skip tests as we don't have a database yet.
The -x test flag indicates gradle to skip the test task.
If you have already setup a database just run gradle clean build
To create a dashboard you need to define the datasource.
You need to add a Prometheus datasoruce in the Grafana menu and then configure the endpoint.
In our case the endpoint is http://prometheus:9090.
After that it's just a matter of creating a dashboard with the already defined Prometheus datasource.
Here is the dashboard I've used.
This repository is released under the MIT license.
If distributing this application, credits to the original author must not be removed.


