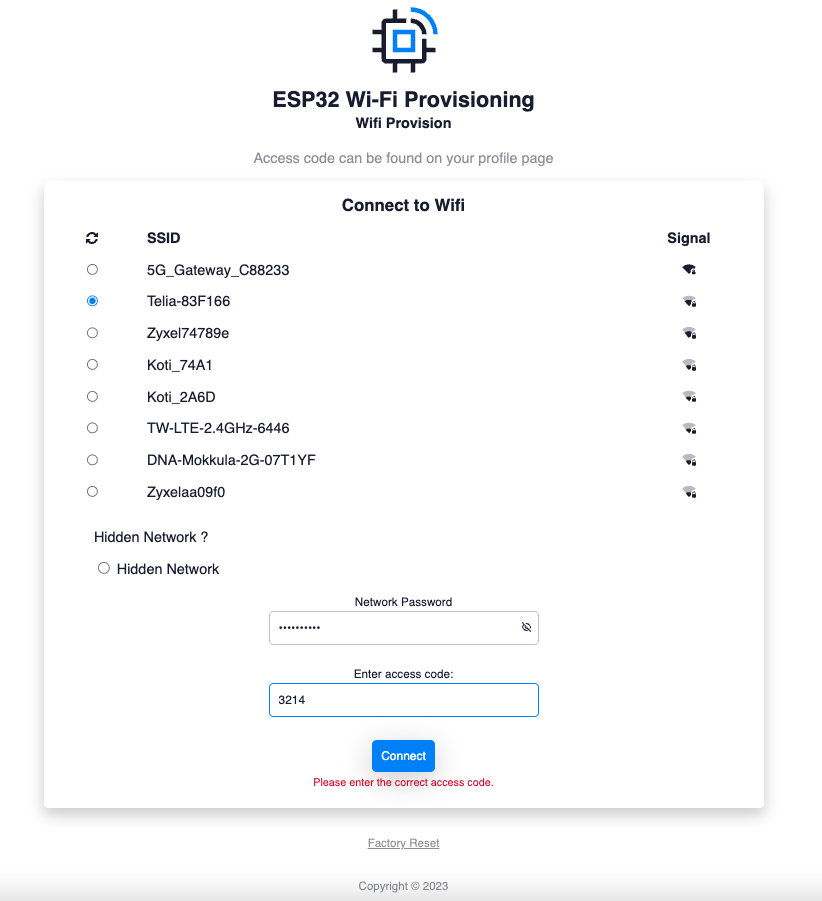
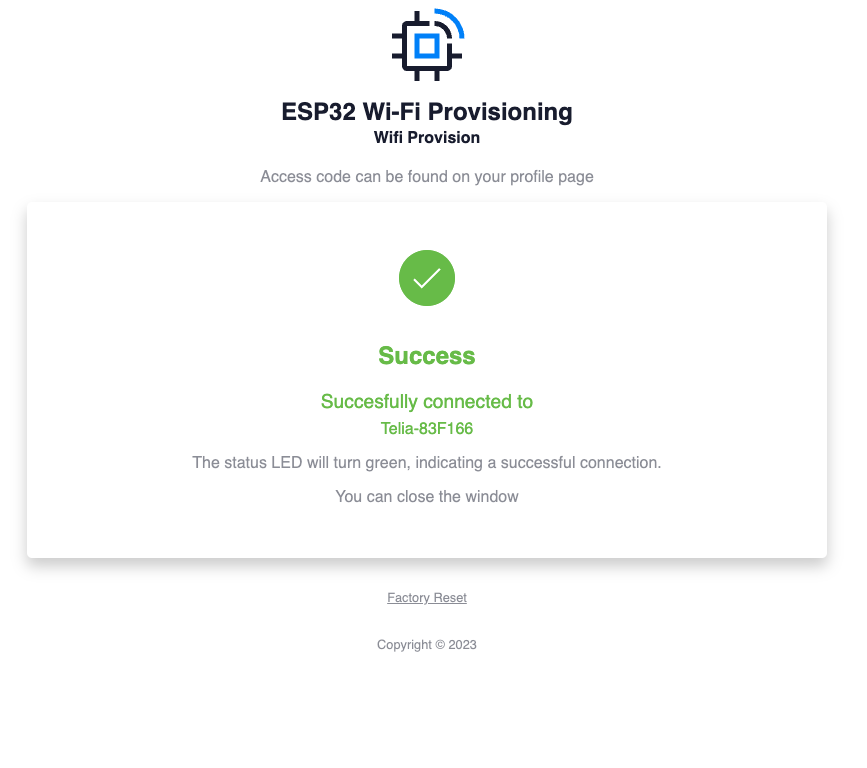
This library provides an easy-to-use, customizable solution for setting up a modern-looking WiFi provisioning captive portal on an ESP32 device. This allows you to effortlessly provision your ESP32 with WiFi credentials and get custom input via an intuitive user interface.
Note: This library is designed for ESP32 devices and depends on the ESP32 core and its specific libraries (DNSServer, WebServer, and WiFi). Make sure you have the ESP32 core installed in your Arduino IDE before using this library.
- Access Point mode with captive portal for WiFi provisioning
- Integrated web server featuring a modern and user-friendly interface
- Easily customizable HTML content, including logo, text, and error messages
- Callbacks for input validation and factory reset
- Optional input field for user-specific data
- Configurable connection timeout and behavior
- Download the library as a ZIP file.
- Open the Arduino IDE, go to Sketch > Include Library > Add .ZIP Library, and select the downloaded ZIP file.
- The library will be installed and available in the Examples menu.
- Open the Arduino IDE, go to Tools > Manage Libraries.
- In the Library Manager window, type
WiFiProvisionerinto the search bar. - Find the library in the search results, select the latest version, and click Install.
- Include the library in your Arduino sketch:
#include <WiFiProvisioner.h>

WiFiProvisioner::WiFiProvisioner provisioner;

void setup() {
  provisioner.connectToWiFi();
}

void loop() {
  // Your application logic here
}Initiates the connection to the WiFi network. If the device has stored credentials, it will use those. Otherwise, it will set up an access point and start the captive portal. For manual connection ip adress is http://192.168.4.1/
Sets up the access point and server for the captive portal. This function is called automatically by connectToWiFi() if necessary.
Resets the stored WiFi credentials.
Sets the connection timeout for the WiFi connection attempt. Default timeout for existing connection is forever. If you want to try connection for a certain time, you can assign a timeout:
provisioner.setConnectionTimeout(10000);This will try to connect for 10 seconds, and if not successful, will start the provisioning.
Shows or hides the input field in the captive portal.
Sets whether the device should restart upon successful connection and input validation.
Enables or disables serial debug messages.
A callback function type for input validation. The callback function should take a single const String& parameter and return a bool indicating if the input is valid or not.
This callback acts as a gatekeeper to ensure the input is correct before proceeding with the completion of the provisioning process and saving the WiFi credentials. If the input validation callback returns false, the error message specified by the INPUT_NOT_VALID customization option will be displayed. Note that to reach this callback, the WiFi connection must have been made successfully, allowing you to perform checks such as HTTP requests that require an active connection.
Example:
bool myInputCheckCallback(const String& input) {
  // Add your custom validation logic here
  return input == "1234";
}
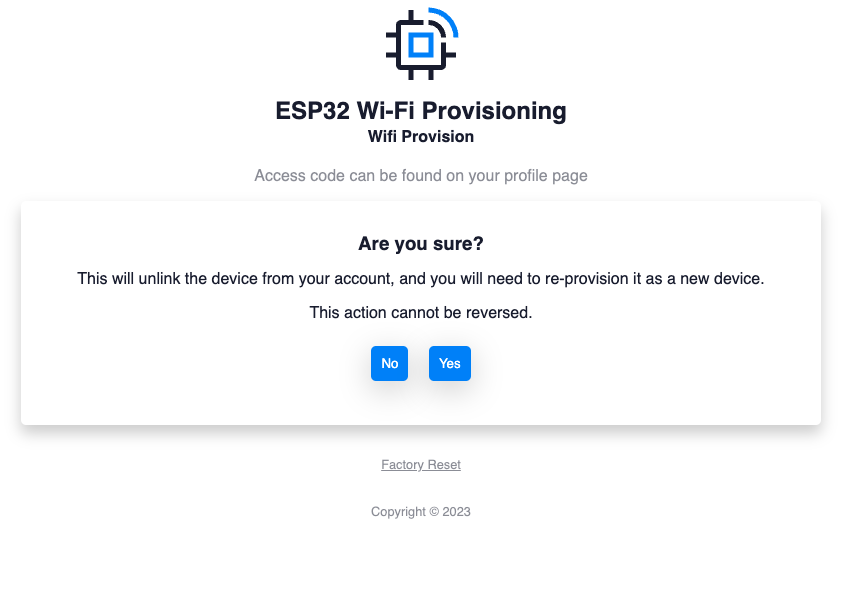
provisioner.setInputCheckCallback(myInputCheckCallback);A callback function for performing a factory reset. The callback function should take no parameters and return no value. Implement this callback to define custom behavior when a factory reset is requested. Note that resetCredentials is automatically called during the factory reset process, so you don't need to call it separately in the callback.
Example:
void myFactoryResetCallback() {
  // Add your custom factory reset logic here
  // For example, clear saved data or restore default settings
  // resetCredentials is automatically called, no need to call it here
}
provisioner.setFactoryResetCallback(myFactoryResetCallback);A callback function type for executing custom code before the provisioning process starts. The callback function should take no parameters and return no value. Implement this callback to perform any necessary setup or initialization tasks before the provisioning process begins.
Example:
void myOnProvisionCallback() {
  // Add your custom code to be executed before provisioning starts
  // For example, determine whether to show the input field or not and set text fields depending on that

  bool showInputCondition = true; // Replace this with your condition

  if (showInputCondition) {
    provisioner.setShowInputField(true);
    provisioner.PROJECT_INFO = "Please submit the code found on your profile page.";
  } else {
    provisioner.setShowInputField(false);
    provisioner.PROJECT_INFO = "";
  }
}

provisioner.setOnProvisionCallback(myOnProvisionCallback);You can customize various aspects of the library, such as the HTML content, input validation, and behavior after a successful connection. The following customization options are available:
AP_NAME: Access Point nameHTML_TITLE: Web page titleTHEME_COLOR: Theme colorSVG_LOGO: Custom logo in SVG formatPROJECT_TITLE: Title displayed on the provisioning pagePROJECT_INFO: Description or instructions for the userINPUT_TEXT: Label for the input fieldINPUT_PLACEHOLDER: Placeholder text for the input fieldINPUT_LENGTH: Maximum input lengthFOOTER_INFO: Footer textINPUT_INVALID_LENGTH: Error message for invalid input lengthINPUT_NOT_VALID: Error message for invalid inputCONNECTION_SUCCESSFUL: Success message displayed after a successful connectionRESET_CONFIRMATION_TEXT: Confirmation text for resetting the device
For example, to change the PROJECT_TITLE:
provisioner.PROJECT_TITLE = "Custom Project Title";To set a custom INPUT_LENGTH:
provisioner.INPUT_LENGTH = "5";To set a custom SVG logo:
provisioner.SVG_LOGO = R"rawliteral(<svg xmlns="http://www.w3.org/2000/svg" width="50" height="50" viewBox="0 0 50 50"><rect width="50" height="50" rx="10" ry="10" fill="#f00"/></svg>)rawliteral";All of these customization options are set as strings
The library includes examples that demonstrate different customization options. To access the examples, go to File > Examples > WiFiProvisioner in the Arduino IDE.
#include <WiFiProvisioner.h>

WiFiProvisioner::WiFiProvisioner provisioner;

void setup() {
  // Customize the Access Point name and theme color
  provisioner.AP_NAME = "CustomAPName";
  provisioner.THEME_COLOR = "#FFA500";

  provisioner.connectToWiFi();
}

void loop() {
  // Your application logic here
}#include <WiFiProvisioner.h>
WiFiProvisioner::WiFiProvisioner provisioner;
bool inputValidationCallback(const String& input) {
// Check if the input is valid, e.g., checking if it's the string "1234"
return input == "1234";
}
void setup() {
Serial.begin(115200);
// Set the input validation callback
provisioner.setInputCheckCallback(inputValidationCallback);
// Enable the input field
provisioner.setShowInputField(true);
// Customize the error message for invalid input
provisioner.INPUT_NOT_VALID = "Please enter the correct code.";
// Change the input text and placeholder text
provisioner.INPUT_TEXT = "Enter access code:";
provisioner.INPUT_PLACEHOLDER = "Access code";
// Connect to WiFi or start the provisioning process
provisioner.connectToWiFi();
}
void loop() {
// Your application logic here
}
#include <WiFiProvisioner.h>

WiFiProvisioner::WiFiProvisioner provisioner;

const int buttonPin = 2; // GPIO pin number for the button

bool inputValidationCallback(const String& input) {
  // Check if the input is valid, e.g., checking if it's "1234"
  return input == "1234";
}

void factoryReset() {
  // Perform your factory reset logic here
  Serial.println("Factory reset triggered.");

  // Disable the input field after factory reset
  provisioner.setShowInputField(true);
}

void onProvision() {
  // Use a simple if statement to conditionally show the input field
  // For example, if a certain condition is met, show the input field
  if (/* your condition */) {
    provisioner.setShowInputField(true);
  } else {
    provisioner.setShowInputField(false);
  }
}

void setup() {
  Serial.begin(115200);

  // Set the input validation callback
  provisioner.setInputCheckCallback(inputValidationCallback);

  // Set the factory reset callback
  provisioner.setFactoryResetCallback(factoryReset);

  // Set the onProvision callback
  provisioner.setOnProvisionCallback(onProvision);

  // Set the initial input text and placeholder text
  provisioner.INPUT_TEXT = "Enter custom value:";
  provisioner.INPUT_PLACEHOLDER = "Custom value";

  // Set the input length to 4
  provisioner.INPUT_LENGTH = "4"; // Limit the input length to 4 characters

  provisioner.connectToWiFi();

  // Set up the button pin as input
  pinMode(buttonPin, INPUT);
}

void loop() {
  // Read the state of the button
  int buttonState = digitalRead(buttonPin);

  // If the button is pressed, manually start the provisioning by calling the setupAccessPointAndServer() function
  if (buttonState == HIGH) {
    provisioner.setupAccessPointAndServer();
  }
}
This library is licensed under the MIT License. For more details, please see the LICENSE file in the repository.
We welcome contributions to this library! If you have found a bug, have a feature request, or want to contribute code, please open an issue or submit a pull request on the GitHub repository.


