In this repo, there are 2 services running with AWS Lambda and Serverless:
- Client application (Frontend)
- Backend service
This application will allow creating/removing/updating/fetching TODO items. Each TODO item can optionally have an attachment image. Each user only has access to TODO items that he/she has created.
The application should store TODO items, and each TODO item contains the following fields:
todoId(string) - a unique id for an itemcreatedAt(string) - date and time when an item was createdname(string) - name of a TODO item (e.g. "Change a light bulb")dueDate(string) - date and time by which an item should be completeddone(boolean) - true if an item was completed, false otherwiseattachmentUrl(string) (optional) - a URL pointing to an image attached to a TODO item
You might also store an id of a user who created a TODO item.
- Auth0 account
- GitHub account
- NodeJS version up to 12.xx
- Serverless
- Create a Serverless account user
- Install the Serverless Framework’s CLI (up to VERSION=2.21.1). Refer to the official documentation for more help.
npm install -g serverless@2.21.1
serverless --version
- Login and configure serverless to use the AWS credentials
# Login to your dashboard from the CLI. It will ask to open your browser and finish the process.
serverless login
# Configure serverless to use the AWS credentials to deploy the application
# You need to have a pair of Access key (YOUR_ACCESS_KEY_ID and YOUR_SECRET_KEY) of an IAM user with Admin access permissions
sls config credentials --provider aws --key YOUR_ACCESS_KEY_ID --secret YOUR_SECRET_KEY --profile serverless
- Clone this project by running:
git clone https://github.com/huynhphamduytruong/udacity-cd-capstone
- Deploy backend
- Change working directory to backend e.g.
cd .\backend\ - Install the dependencies for each project
npm install - Update Serverless app info & environment variables in
serverless.ymlwith your values - Deploy to Serverless by running:
serverless deploy -v
- Running frontend
- Change working directory to frontend e.g.
cd .\frontend\ - Install the dependencies for each project
npm install - Update variables in
config.tswith your values - Running application by running:
npm run start
An alternative way to test your API, you can use the Postman collection that contains sample requests. You can find a Postman collection in this project. To import this collection, do the following.
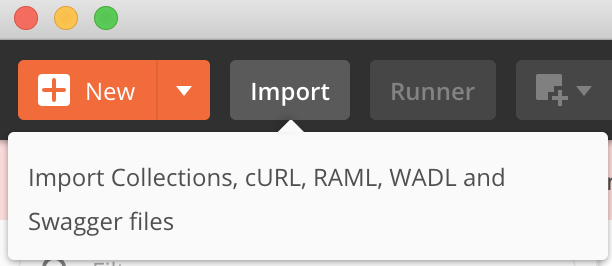
Click on the import button:
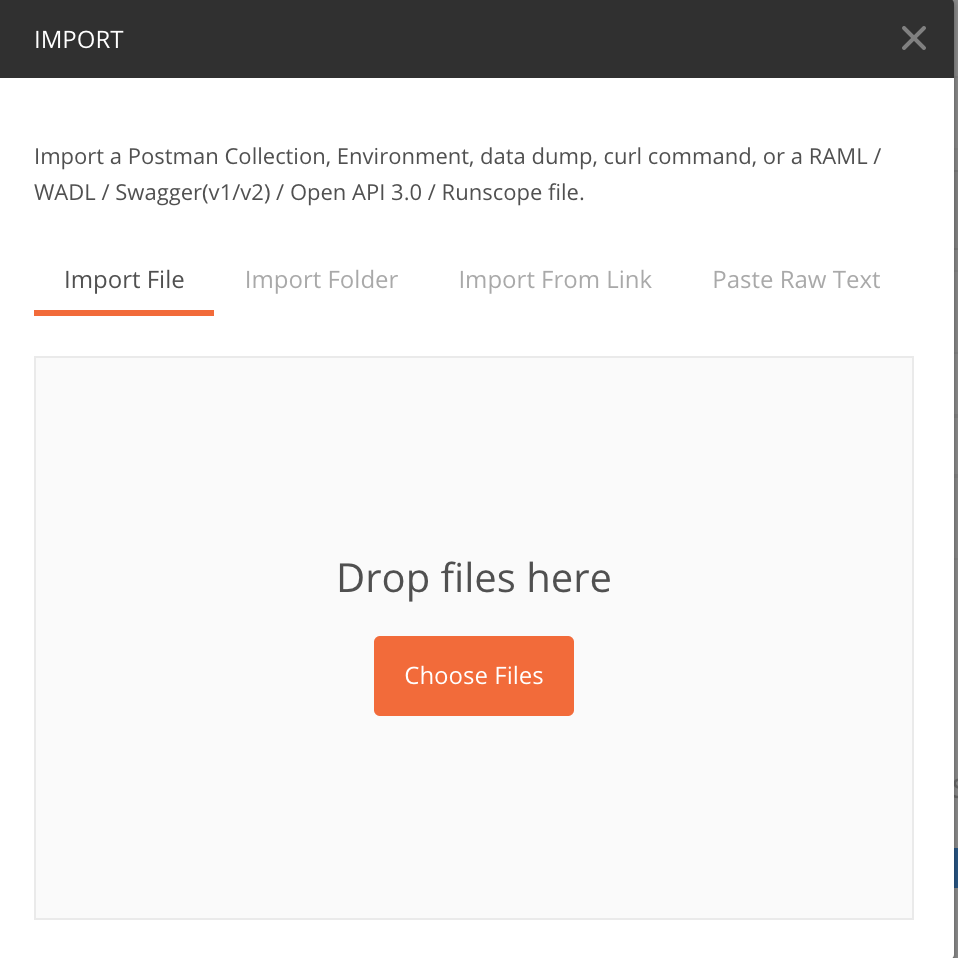
Click on the "Choose Files":
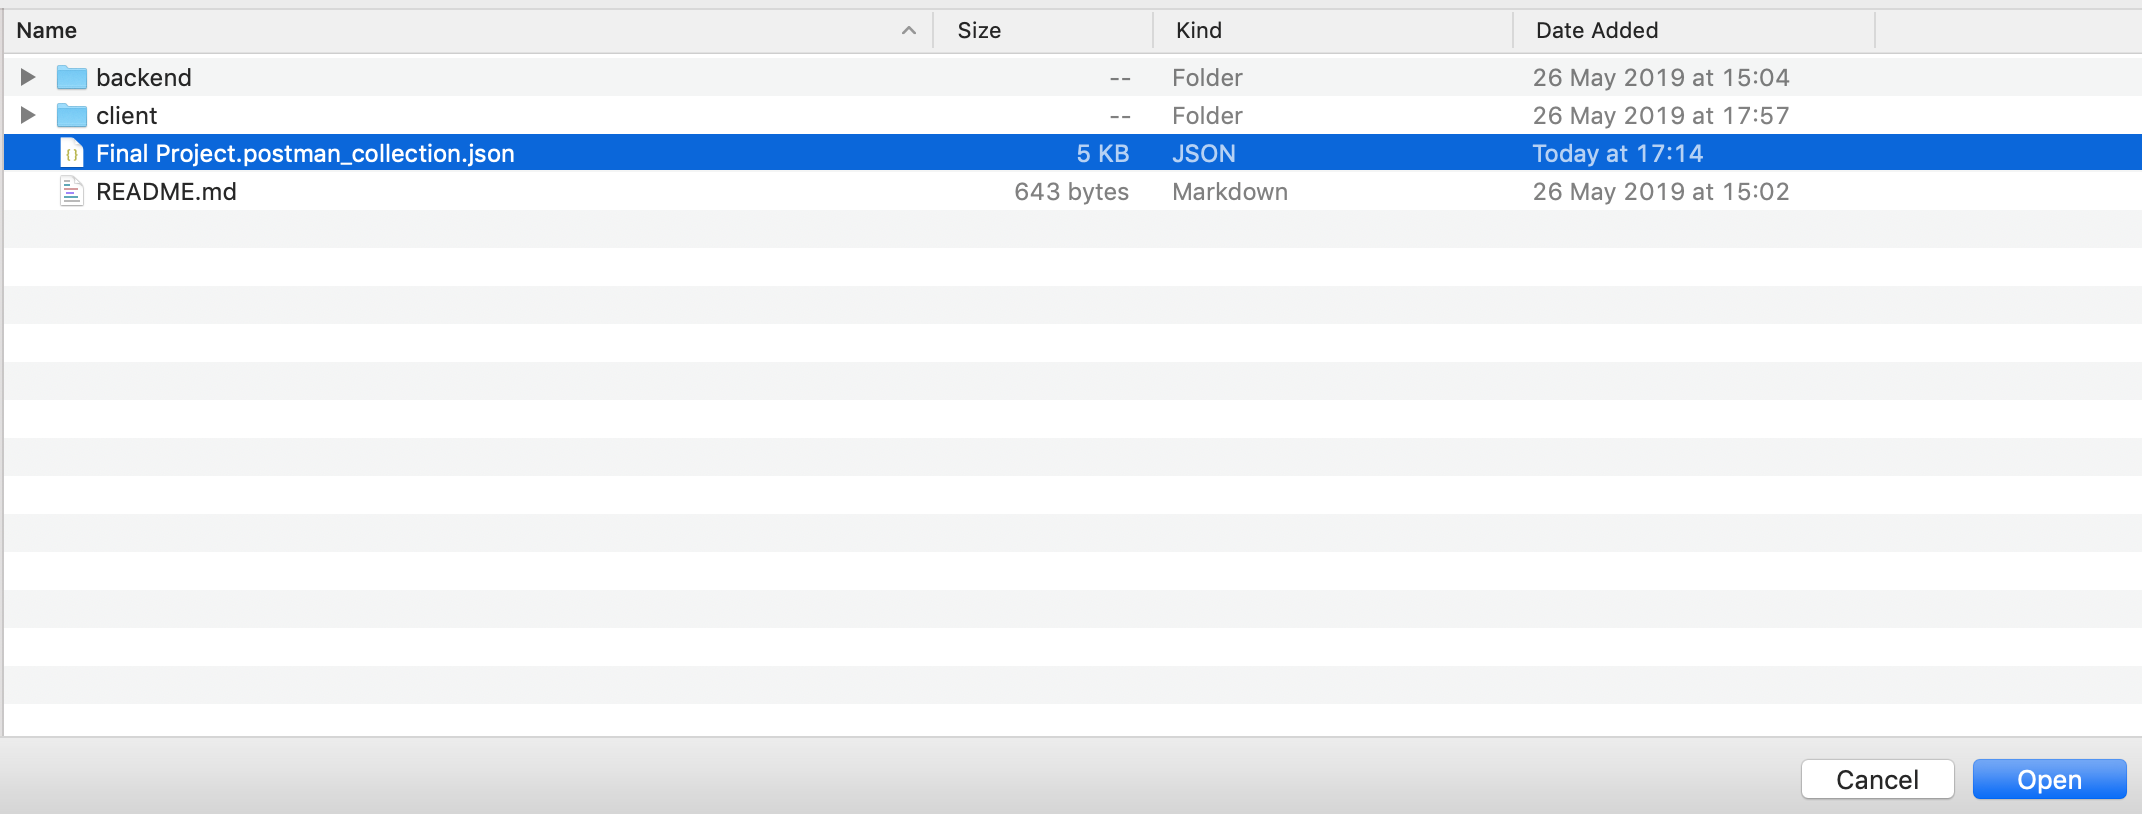
Select a file to import:
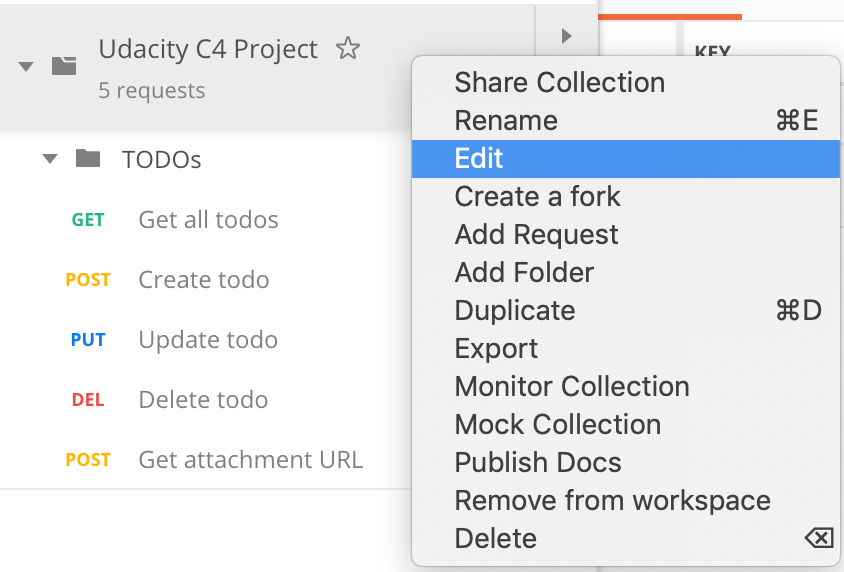
Right click on the imported collection to set variables for the collection:
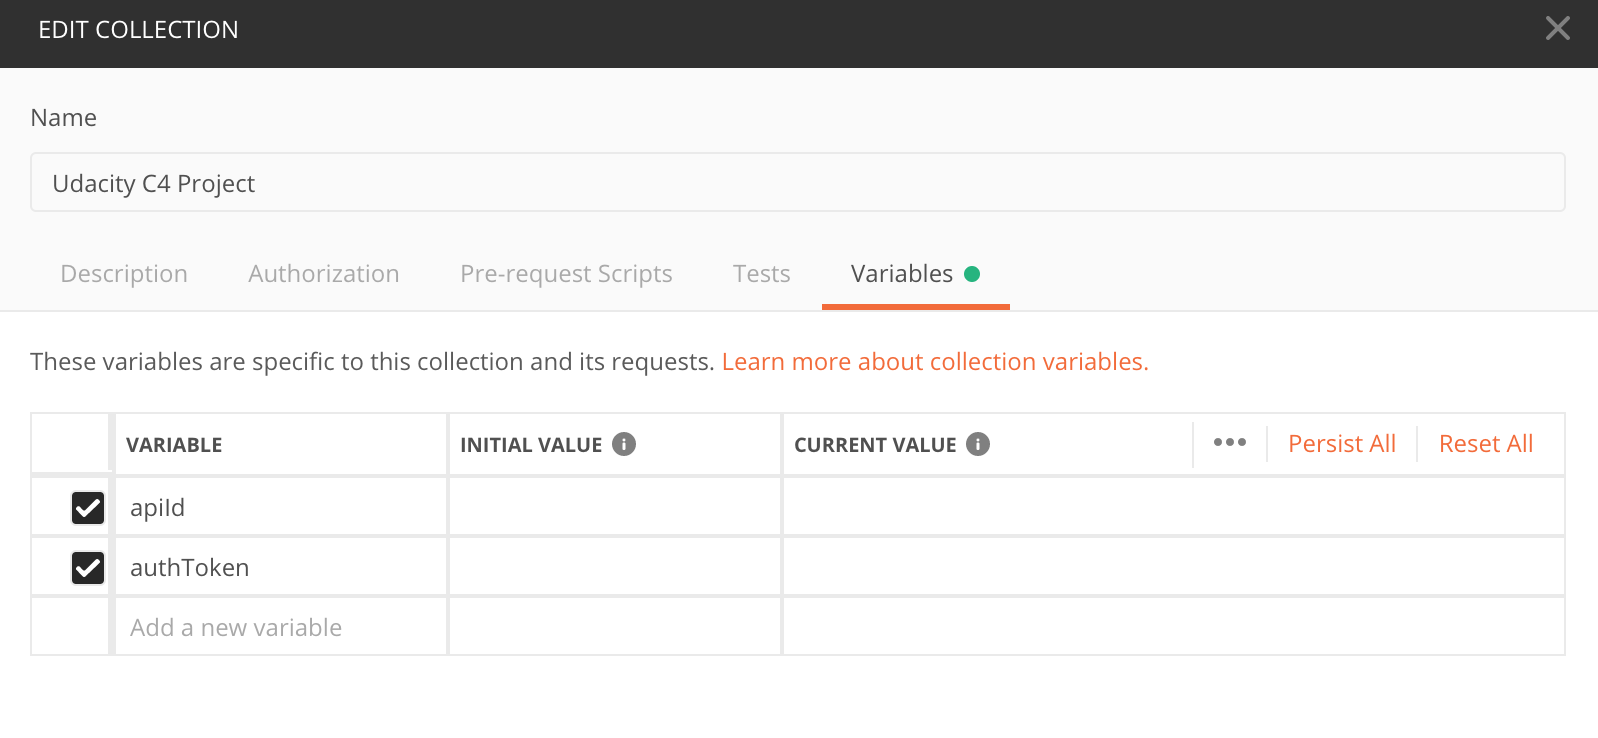
Provide variables for the collection (similarly to how this was done in the course):
