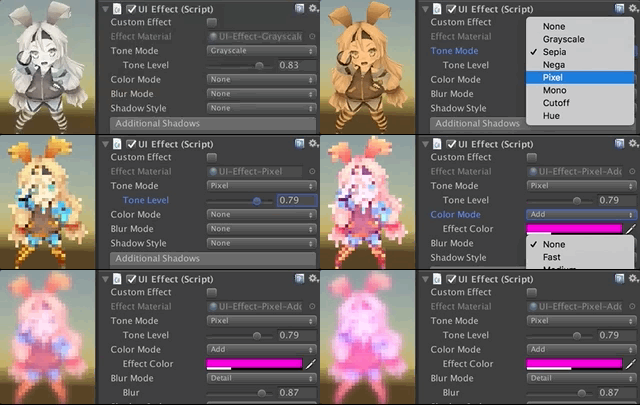
UIEffect is an effect component for uGUI in Unity.
Let's decorate your UI with effects!
<< Description | WebGL Demo | Download | Usage | Development Note | Change log >>
- Grayscale
- Sepia tone
- Nega tone
- Pixelation
- Hue shift
- Cutoff (alpha-based)
- Mono (alpha-based)
- Color overwrite
- Color additive
- Color subtract
- Blur fast(3x4)
- Blur medium(6x4)
- Blur detail(6x8)
- Shadow with effect
- Shadow
- Shadow3
- Outline
- Outline8
- Gradient vertex color
- Horizontal
- Vertical
- Angle
- Diagonal
- Control the effect parameters without instantiating the material
- Control the effect parameters with AnimationClip

- Use for screen transition

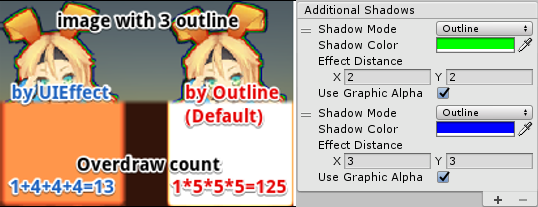
- Multiple shadow effect to reduce rendering vertices
- UICapturedEffectImage: The captured image with effect, like post effect
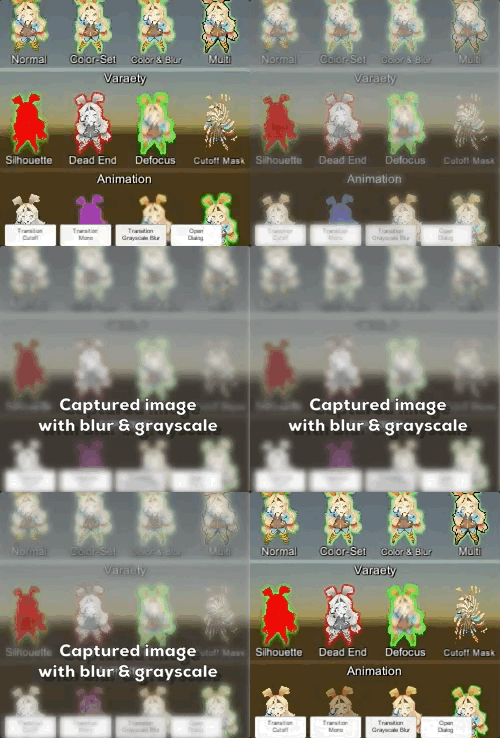
- UICapturedEffectImage: Dialog window with the captured image effect

- UIGradient: Change vertex color as gradient, with rotation, offset, color correction

- Effect sample
- Transition
- Dialog window with blured background
- Included in unitypackage
- Download UIEffect.unitypackage from Releases.
- Import the package into your Unity project. Select
Import Package > Custom Packagefrom theAssetsmenu. - Add
UIEffectcomponent to UI element (Image, RawImage, Text, etc...) fromAdd Componentin inspector. - Choose effect type and adjust values in inspector.

- Enjoy!
- Unity 5.5+ (included Unity 2017.x)
- No other SDK are required
UIEffectCapturedImage is similar to post effect, but uses CommandBuffer to give effect only on the rendering result (= captured image) of a specific frame.
This effect is non-realtime, light-weight, less-camera, blit only once, but effective.
- Camera for processing effect is unnecessary.
- Process effect only once after
UIEffectCapturedImage.Capture. - Using reduction buffer, keep used memory size small and keep rendering load are small.
- When GameObjects with motion are on the screen, a result texture may be stirred.
- You can overlay and display like as: [Screen] | [UIEffectCapturedImage] | [Dialog A] | [UIEffectCapturedImage] | [Dialog B].
See also Demo.
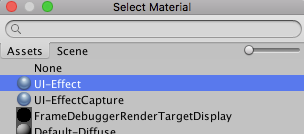
- UIEffect pre-generates material from a combination of effects. This has the following benefits.
- Draw call batching If possible, draw calls will decrease.
- Since only the required material and shader variants are included in the build, the build size will be smaller.
- In general, you can use MaterialPropertyBlock for renderers to control minor changes in the material without different batches.
- However, changing the MaterialPropertyBlock of the uGUI element from the script will cause different batches and draw calls to increase.
- So UIEffect encodes multiple effect parameters to UV1 channel with IMeshModifier.
- Pack four 6-bit [0-1] (64 steps) parameters into one float value.
- The parameters are low precision, but sufficient.
| uv1 | 6-bit [0-1] | 6-bit [0-1] | 6-bit [0-1] | 6-bit [0-1] |
|---|---|---|---|---|
| x(32bit float) | Tone level | Empty | Blur level | Empty |
| y(32bit float) | Red channel | Green channel | Blue channel | Alpha channel |
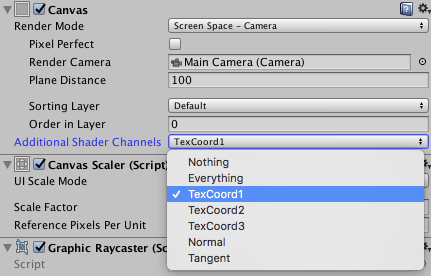
In Unity 5.6+, Canvas supports Additional Shader Channels.
Please enable TexCoord1 to use UIEffect.

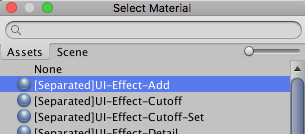
Use script define symbol UIEFFECT_SEPARATE.
Unused shader variants and materials will be excluded from AssetBundles.
- Use
ShaderVariantCollectionto preload shader.
https://docs.unity3d.com/Manual/OptimizingShaderLoadTime.html - Set camera's clear flag to "Solid Color".
- Enable multi thread rendering.
- MIT
- © UTJ/UCL
- GitHub page : https://github.com/mob-sakai/UIEffect
- Releases : https://github.com/mob-sakai/UIEffect/releases
- Issue tracker : https://github.com/mob-sakai/UIEffect/issues
- Current project : https://github.com/mob-sakai/UIEffect/projects/1
- Change log : https://github.com/mob-sakai/UIEffect/blob/master/CHANGELOG.md


