- consul server: 9500(HTTP)
- consul agent: 9510(HTTP)
- pipy proxy: 8500(HTTP)
- service A: 8080(HTTP)
- service B: 8090(HTTP)
在运行前,确保机器上已经安装了以下软件:
- JDK 8
- Docker 19.03+
- Docker Compose,与Docker版本匹配即可
- ClickHouse,最新版即可
- 在ClickHouse的default schema中,使用下面的语句创建日志表:
CREATE TABLE default.log
(
  `startTime` Int64 DEFAULT JSONExtractInt(message, 'startTime'),
  `endTime` Int64 DEFAULT JSONExtractInt(message, 'endTime'),
  `latency` Int64 DEFAULT JSONExtractInt(message, 'latency'),
  `status` Int16 DEFAULT JSONExtractInt(response, 'status'),
  `statusText` String DEFAULT JSONExtractString(response, 'statusText'),
  `protocol` String DEFAULT JSONExtractString(message, 'protocol'),
  `method` String DEFAULT JSONExtractString(message, 'method'),
  `path` String DEFAULT JSONExtractString(message, 'path'),
  `headers` String DEFAULT JSONExtractRaw(message, 'headers'),
  `body` String DEFAULT JSONExtractString(message, 'body'),
  `response` String DEFAULT JSONExtractRaw(message, 'response'),
  `response.protocol` String DEFAULT JSONExtractString(response, 'protocol'),
  `message` String
)
ENGINE = MergeTree
PARTITION BY (toYYYYMM(toDateTime(startTime / 1000)))
ORDER BY (status, startTime)
SETTINGS index_granularity = 8192;- 记录下ClickHouse的机器IP
- 修改根目录下的pipy.js第94行
connect('10.0.0.60:8123')中的IP为上面所记录的IP
.pipeline('mux')
  .encodeHttpRequest({
    method: 'POST',
    path: '/?query=insert%20into%20log(message)%20format%20JSONAsString',
    //headers: {Authorization: 'Basic ZGVmYXVsdDpmbG9tZXNo'}
  })
  .connect('10.0.0.60:8123')
.decodeHttpResponse()- 在项目根目录下,执行:
docker-compose up -d这样将会启动consul server,consul agent以及pipy proxy
▶ docker-compose up -d

Creating network "spring-cloud-consul-example_consul" with driver "bridge"
Pulling consul-server (consul:0.8.1)...
0.8.1: Pulling from library/consul
627beaf3eaaf: Pull complete
b1461e4eec1f: Pull complete
7fe97068ac22: Pull complete
09dbe139e0eb: Pull complete
5a5b9959a08b: Pull complete
Digest: sha256:32802ff926356afe416c4e7955abbd485eca23cb858d0da4143667d3778e572b
Status: Downloaded newer image for consul:0.8.1
Pulling pipy-proxy (flomesh/pipy-pjs:latest)...
latest: Pulling from flomesh/pipy-pjs
801bfaa63ef2: Pull complete
5d66922b09d2: Pull complete
e75adc4b5092: Pull complete
638cb4637d93: Pull complete
Digest: sha256:5e14ae55bedd6acaaf599d0c880fde0ce3088f925518dd2b9d3959f1301adae3
Status: Downloaded newer image for flomesh/pipy-pjs:latest
Creating pipy-proxy    ... done
Creating consul-agent  ... done
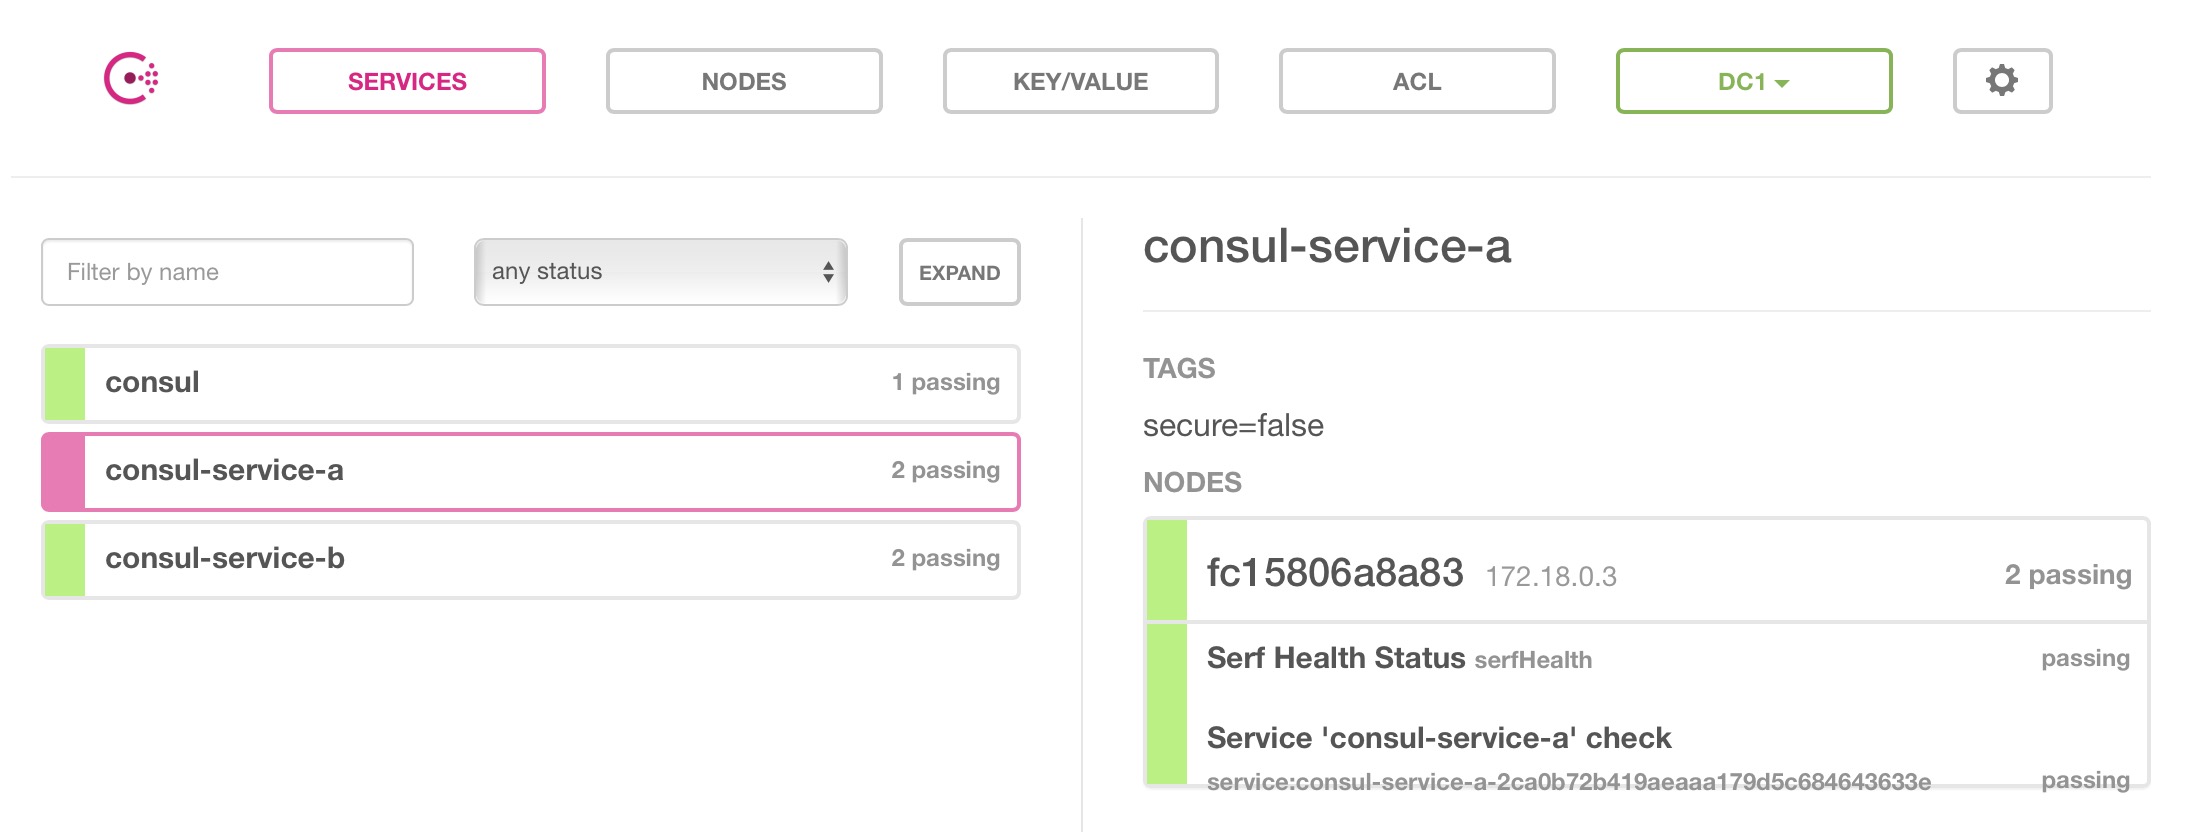
Creating consul-server ... done- 访问consul server的UI,如果能看到consul控制台,则已经启动成功:http://localhost:9500/ui/
- 运行service B,进入项目根目录下的service-b目录,执行:
../mvnw spring-boot:run- 测试service B是否已经运行成功:
▶ curl -i  http://127.0.0.1:8090/hello
HTTP/1.1 200
Content-Type: text/plain;charset=UTF-8
Content-Length: 45
Date: Thu, 17 Jun 2021 05:08:49 GMT

Hello from service B, timestamp=1623906529019- 运行service A,进入项目根目录下的service-a目录,执行:
../mvnw spring-boot:run- 测试service A是否已经运行成功:
▶ curl -i  http://127.0.0.1:8080/test
HTTP/1.1 200
Content-Type: text/plain;charset=UTF-8
Content-Length: 45
Date: Thu, 17 Jun 2021 05:08:58 GMT

Hello from service B, timestamp=1623906538444- 检查ClickHouse中是否已经有访问日志(略)。

