This workflow builds a workflow to save the information of lab management and animal management, using the following datajoint elements
This repository provides demonstrations for: Set up a workflow using different elements (see workflow_animal/pipeline.py)
The lab and animal management workflow presented here uses components from two DataJoint elements, element-lab, and element-animal assembled together to a functional workflow.
element-animal contains two modules, subject and genotyping.
subject contains basic information of subjects.
genotyping is designed for labs that handle animal care and genotyping themselves, which is optional.
This workflow serves as an example of the upstream part of a typical data workflow, for examples using these two elements more intact workflows, refer to:
- [workflow-array-ephys]https://github.com/datajoint/workflow-array-ephys
- [workflow-calcium-imaging]https://github.com/datajoint/workflow-calcium-imaging
- Launch a new terminal and change directory to where you want to clone the repository
cd C:/Projects - Clone the repository
git clone https://github.com/datajoint/workflow-animal - Change directory to
workflow-animalcd workflow-animal
It is highly recommended (though not strictly required) to create a virtual environment to run the pipeline.
-
You can install with
virtualenvorconda. Below are the commands forvirtualenv. -
If
virtualenvnot yet installed, runpip install --user virtualenv -
To create a new virtual environment named
venv:virtualenv venv -
To activated the virtual environment:
-
On Windows:
.\venv\Scripts\activate -
On Linux/macOS:
source venv/bin/activate
-
From the root of the cloned repository directory:
pip install -e .
Note: the -e flag will install this repository in editable mode,
in case there's a need to modify the code (e.g. the pipeline.py or paths.py scripts).
If no such modification required, using pip install . is sufficient
- Register an IPython kernel with Jupyter
ipython kernel install --name=workflow-animal
At the root of the repository folder,
create a new file dj_local_conf.json with the following template:
{
  "database.host": "<hostname>",
  "database.user": "<username>",
  "database.password": "<password>",
  "loglevel": "INFO",
  "safemode": true,
  "display.limit": 7,
  "display.width": 14,
  "display.show_tuple_count": true,
  "custom": {
      "database.prefix": "<neuro_>",
}-
Specify database's
hostname,username, andpasswordproperly. -
Specify a
database.prefixto create the schemas.
- At this point the setup of this workflow is complete.
-
Connect to database and import tables
from workflow_animal.pipeline import *This will create all tables defined in the elements in the database server.
-
Preview the tables created by calling the classes, for example:
lab.Lab() subject.Subject() genotyping.GenotypingTest() -
If required to drop all schemas, the following is the dependency order.
from workflow_animal.pipeline import * genotyping.schema.drop() subject.schema.drop() lab.schema.drop() -
For a more in-depth exploration of the tables created, please refer to the example notebook.
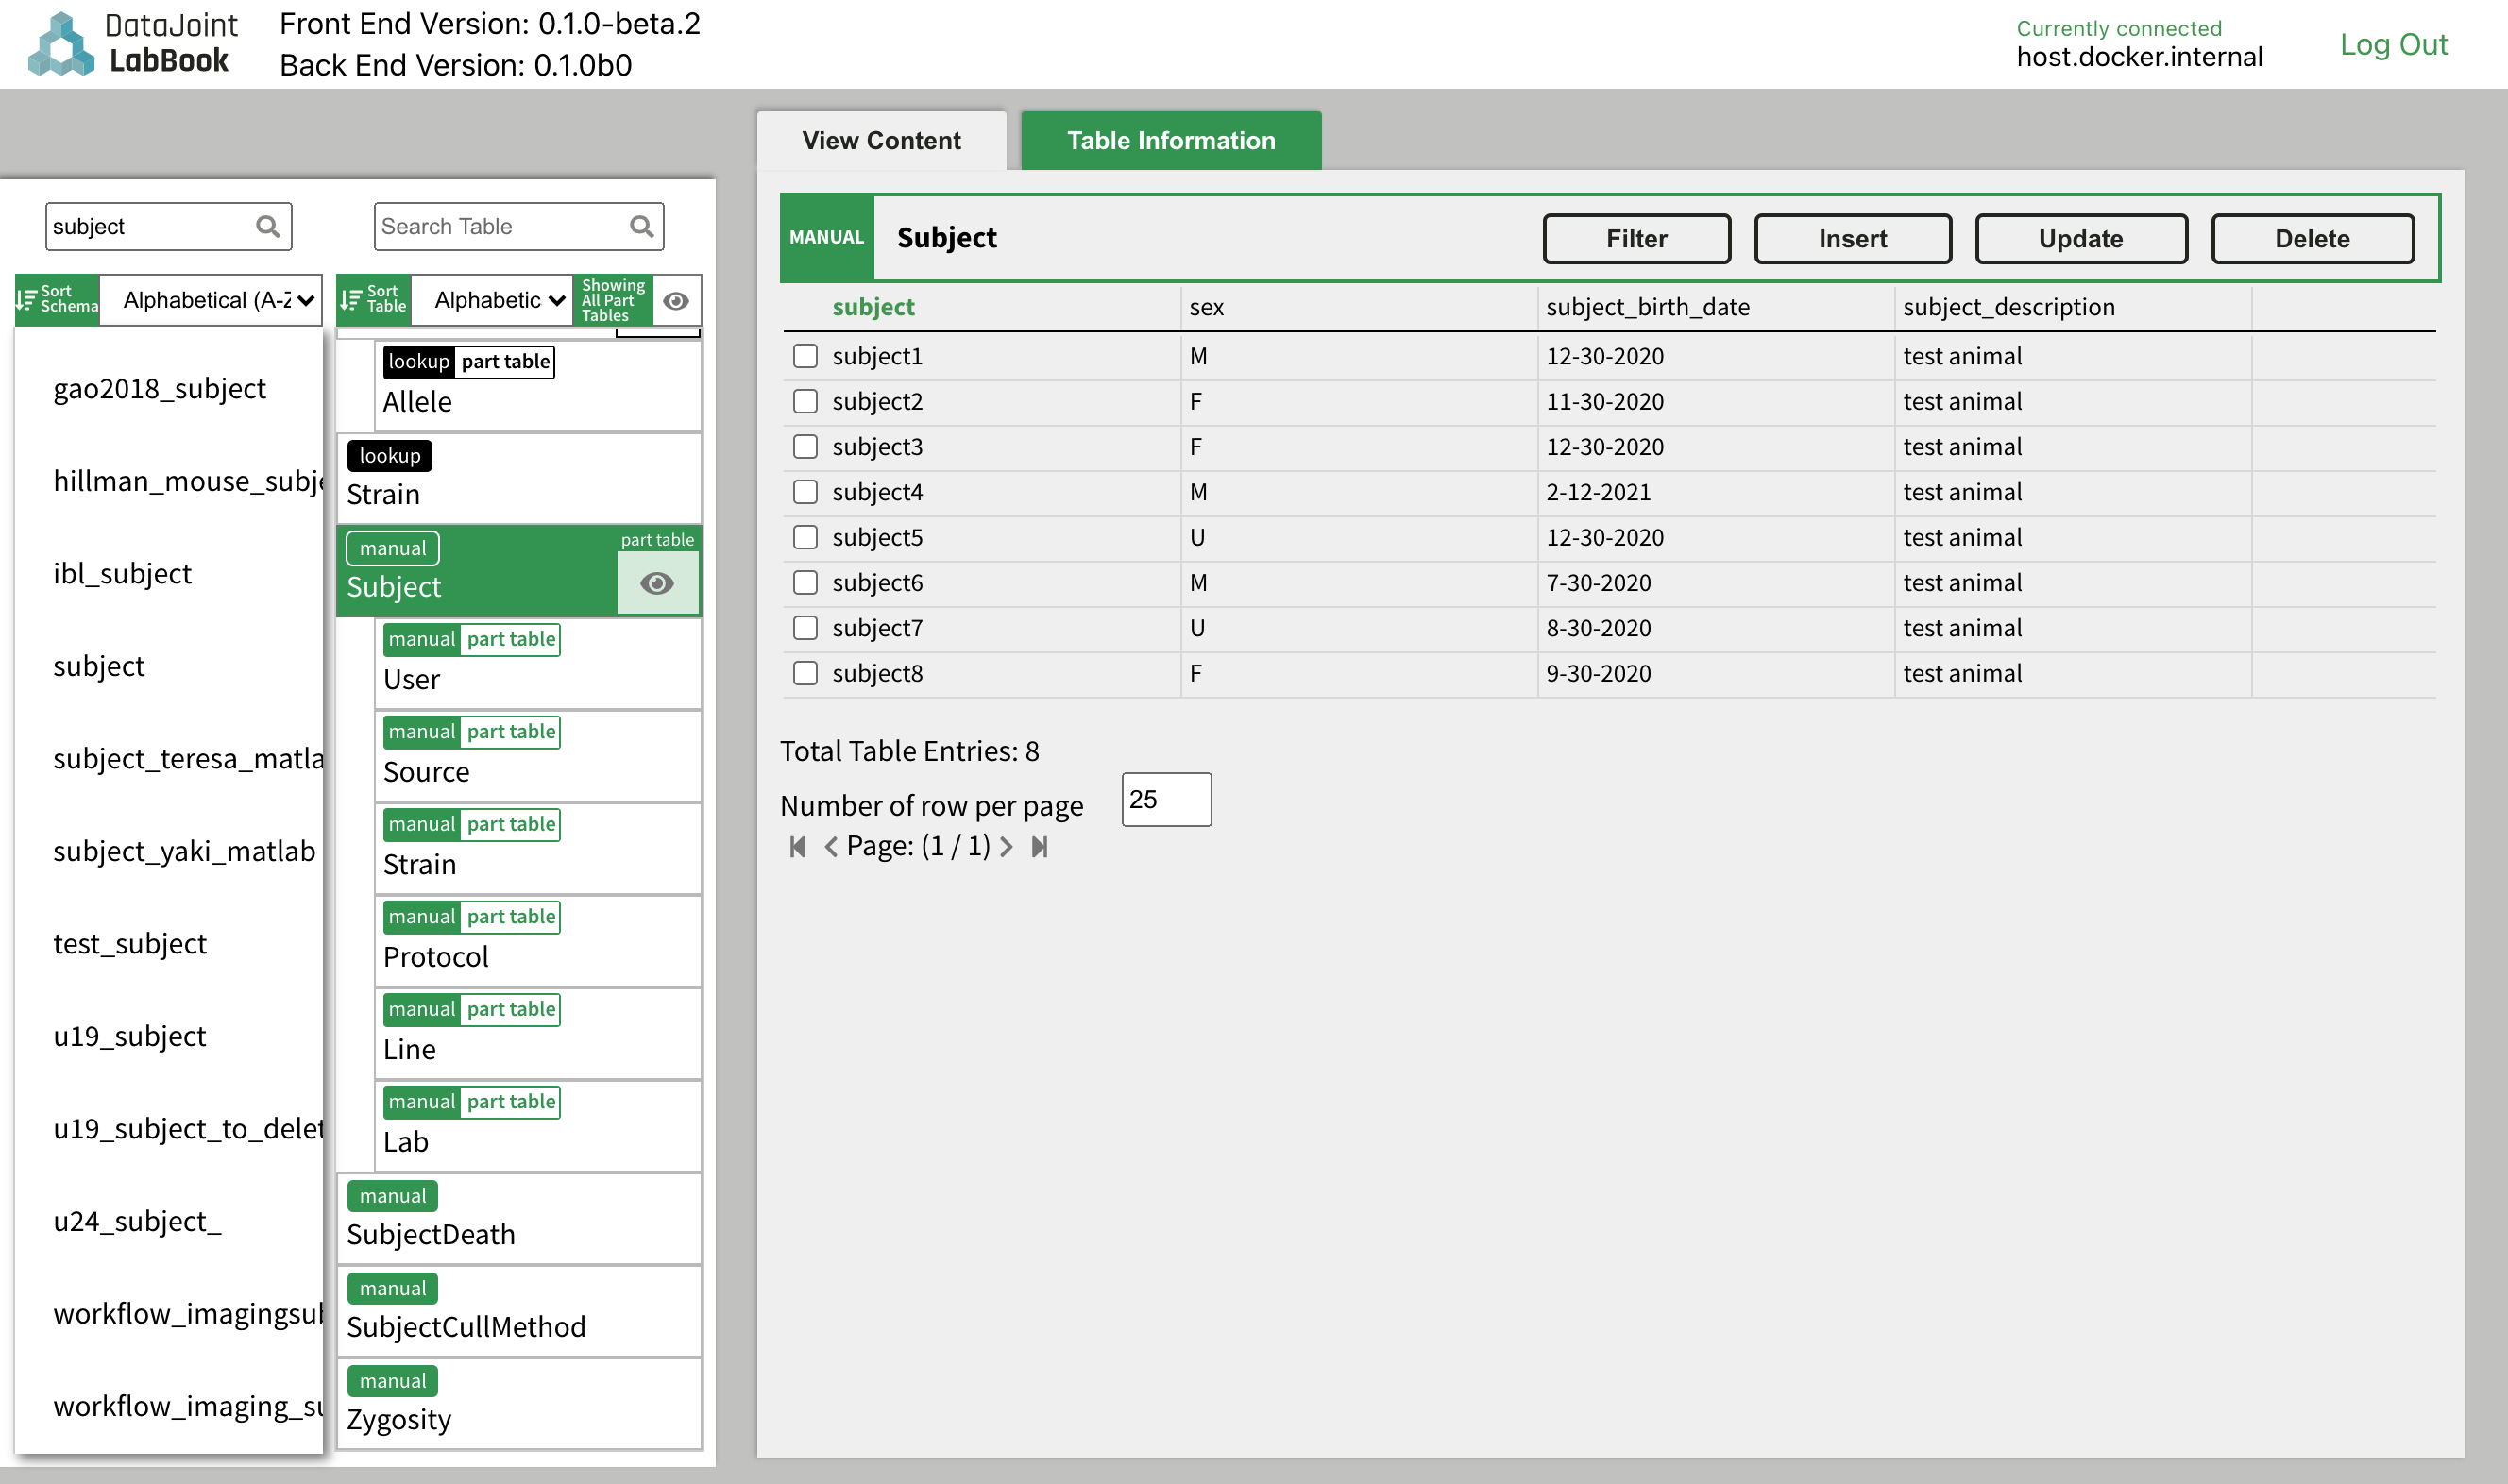
DataJoint Neuro also provides a Graphical User Interface DataJoint Labbook to support manual data insertions into DataJoint workflows.
Please refer to the DataJoint Labbook page for instructions to set it up.
This method allows you to modify the source code for workflow-calcium-imaging, element-calcium-imaging, element-animal, and element-lab.
- Launch a new terminal and change directory to where you want to clone the repositories
cd C:/Projects - Clone the repositories
git clone https://github.com/datajoint/element-lab git clone https://github.com/datajoint/element-animal git clone https://github.com/datajoint/workflow-animal - Install each package with the
-eoptionpip install -e ./workflow-animal pip install -e ./element-lab pip install -e ./element-animal


