PinThat is inspired by the simplicity of Pinterest and built using Ruby on Rails and React.
It is a full-stack web application built on the following:
- Rails backend
- React/Redux frontend
- Postgres RDBMS
PinThat uses React Router to keep all its content on a single root page.
<Provider store={store}>
  <Router history={ hashHistory }>
    <Route path="/" component={ App } >
      <IndexRoute component={ HomeContainer }
                  onEnter={_ensureLoggedIn}/>
      <Route path="/login" component={ SessionFormContainer }
                           onEnter={_redirectIfloggedIn}/>
      <Route path="/signup" component={ SessionFormContainer }
                          onEnter={_redirectIfloggedIn}/>
      <Route path="/" component={ HomeContainer }
                      onEnter={_ensureLoggedIn}>
        <Route path="search" component={ SearchPinContainer } />
        <Route path="pins" component={PinsContainer} />
        <Route path="boards/:boardId" component={ BoardContainer } />
        <Route path=":username" component={ UserContainer }>
          <IndexRoute component={ BoardsContainer } />
          <Route path="boards" component={ BoardsContainer } />
          <Route path="pins" component={ UserPinsContainer } />
          <Route path="followers" component={ FollowersContainer } />
          <Route path="following" component={ FollowingContainer } />
        </Route>
      </Route>
    </Route>
  </Router>
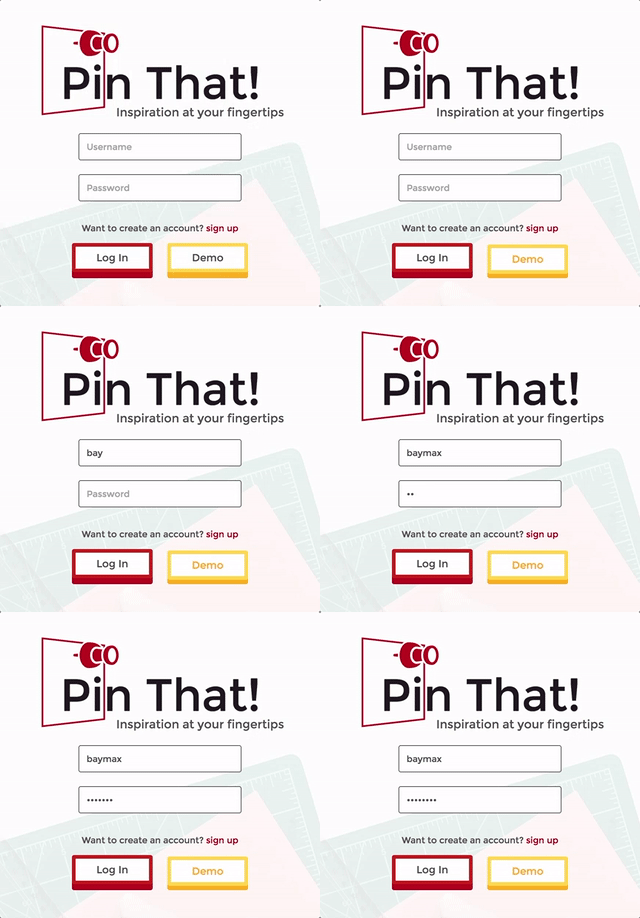
</Provider>Created a demo login button that features an auto animated login. Round of applause to Baymax for being the Demo user. A 'phantomLogin' if you will, which utilizes JS setInterval function and callbacks to create the autocompletion animation.
// Demo User
phantomLogin($el, word, callback){

  var typing = setInterval(function(){
    $el.val( $el.val() + word.slice(0,1) );
    word = word.substr(1);

    if (!word){
      clearInterval(typing);
      callback();
    }
  }, 60);
}

beMyGuest(e, username, password) {
  e.preventDefault();

  hashHistory.push('/login');

  let $username = $('.username');
  let $password = $('.password');
  let $submitButton = $('.submit-button');
  let that = this;
  this.phantomLogin($username, username, () => {
    this.phantomLogin($password, password, ()=> {
      that.setState({username, password });
      $submitButton.click();
    });
  });
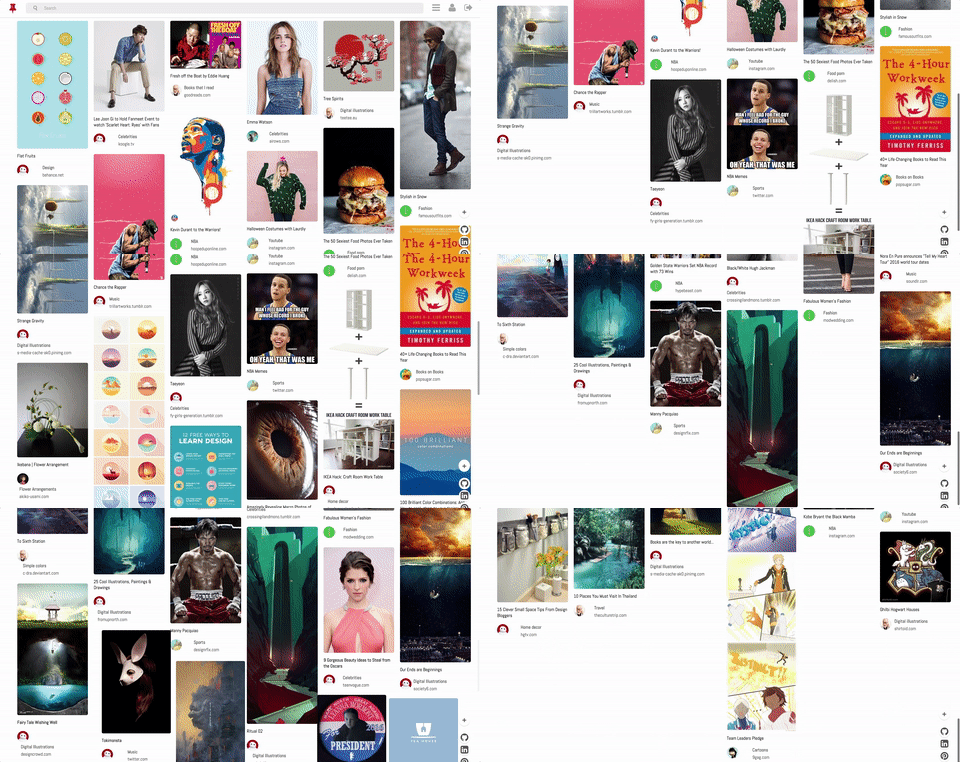
}I paired jQuery '.on()' and '.off()' method and underscore.js throttle function to create the infinite scroll feature.
The throttle function takes in a function and a wait period and will invoke the passed function at most once every 'wait' milliseconds.
listenForScroll() {
  $(window).off("scroll");
  let throttleCallback = _.throttle(this.nextPage.bind(this), 20);
  $(window).on("scroll", throttleCallback);
}

nextPage() {
  let view = this;
  if ($(window).scrollTop() > $(document).height() - $(window).height() - 10) {
    if (this.state.page < this.state.total_pages) {
      this.setState({page: this.state.page + 1});
      this.props.fetchAllPins(this.state.page);
    }
  }
}
The state of this react-component will hold 'page' and 'total_pages' which will contain 15 pins. Therefore each call to nextPage() will return the next page of pins.
class Pins extends React.Component {
  constructor(props) {
    super(props);
    this.state = {
      page: 1,
      total_pages: 15
    };
  }
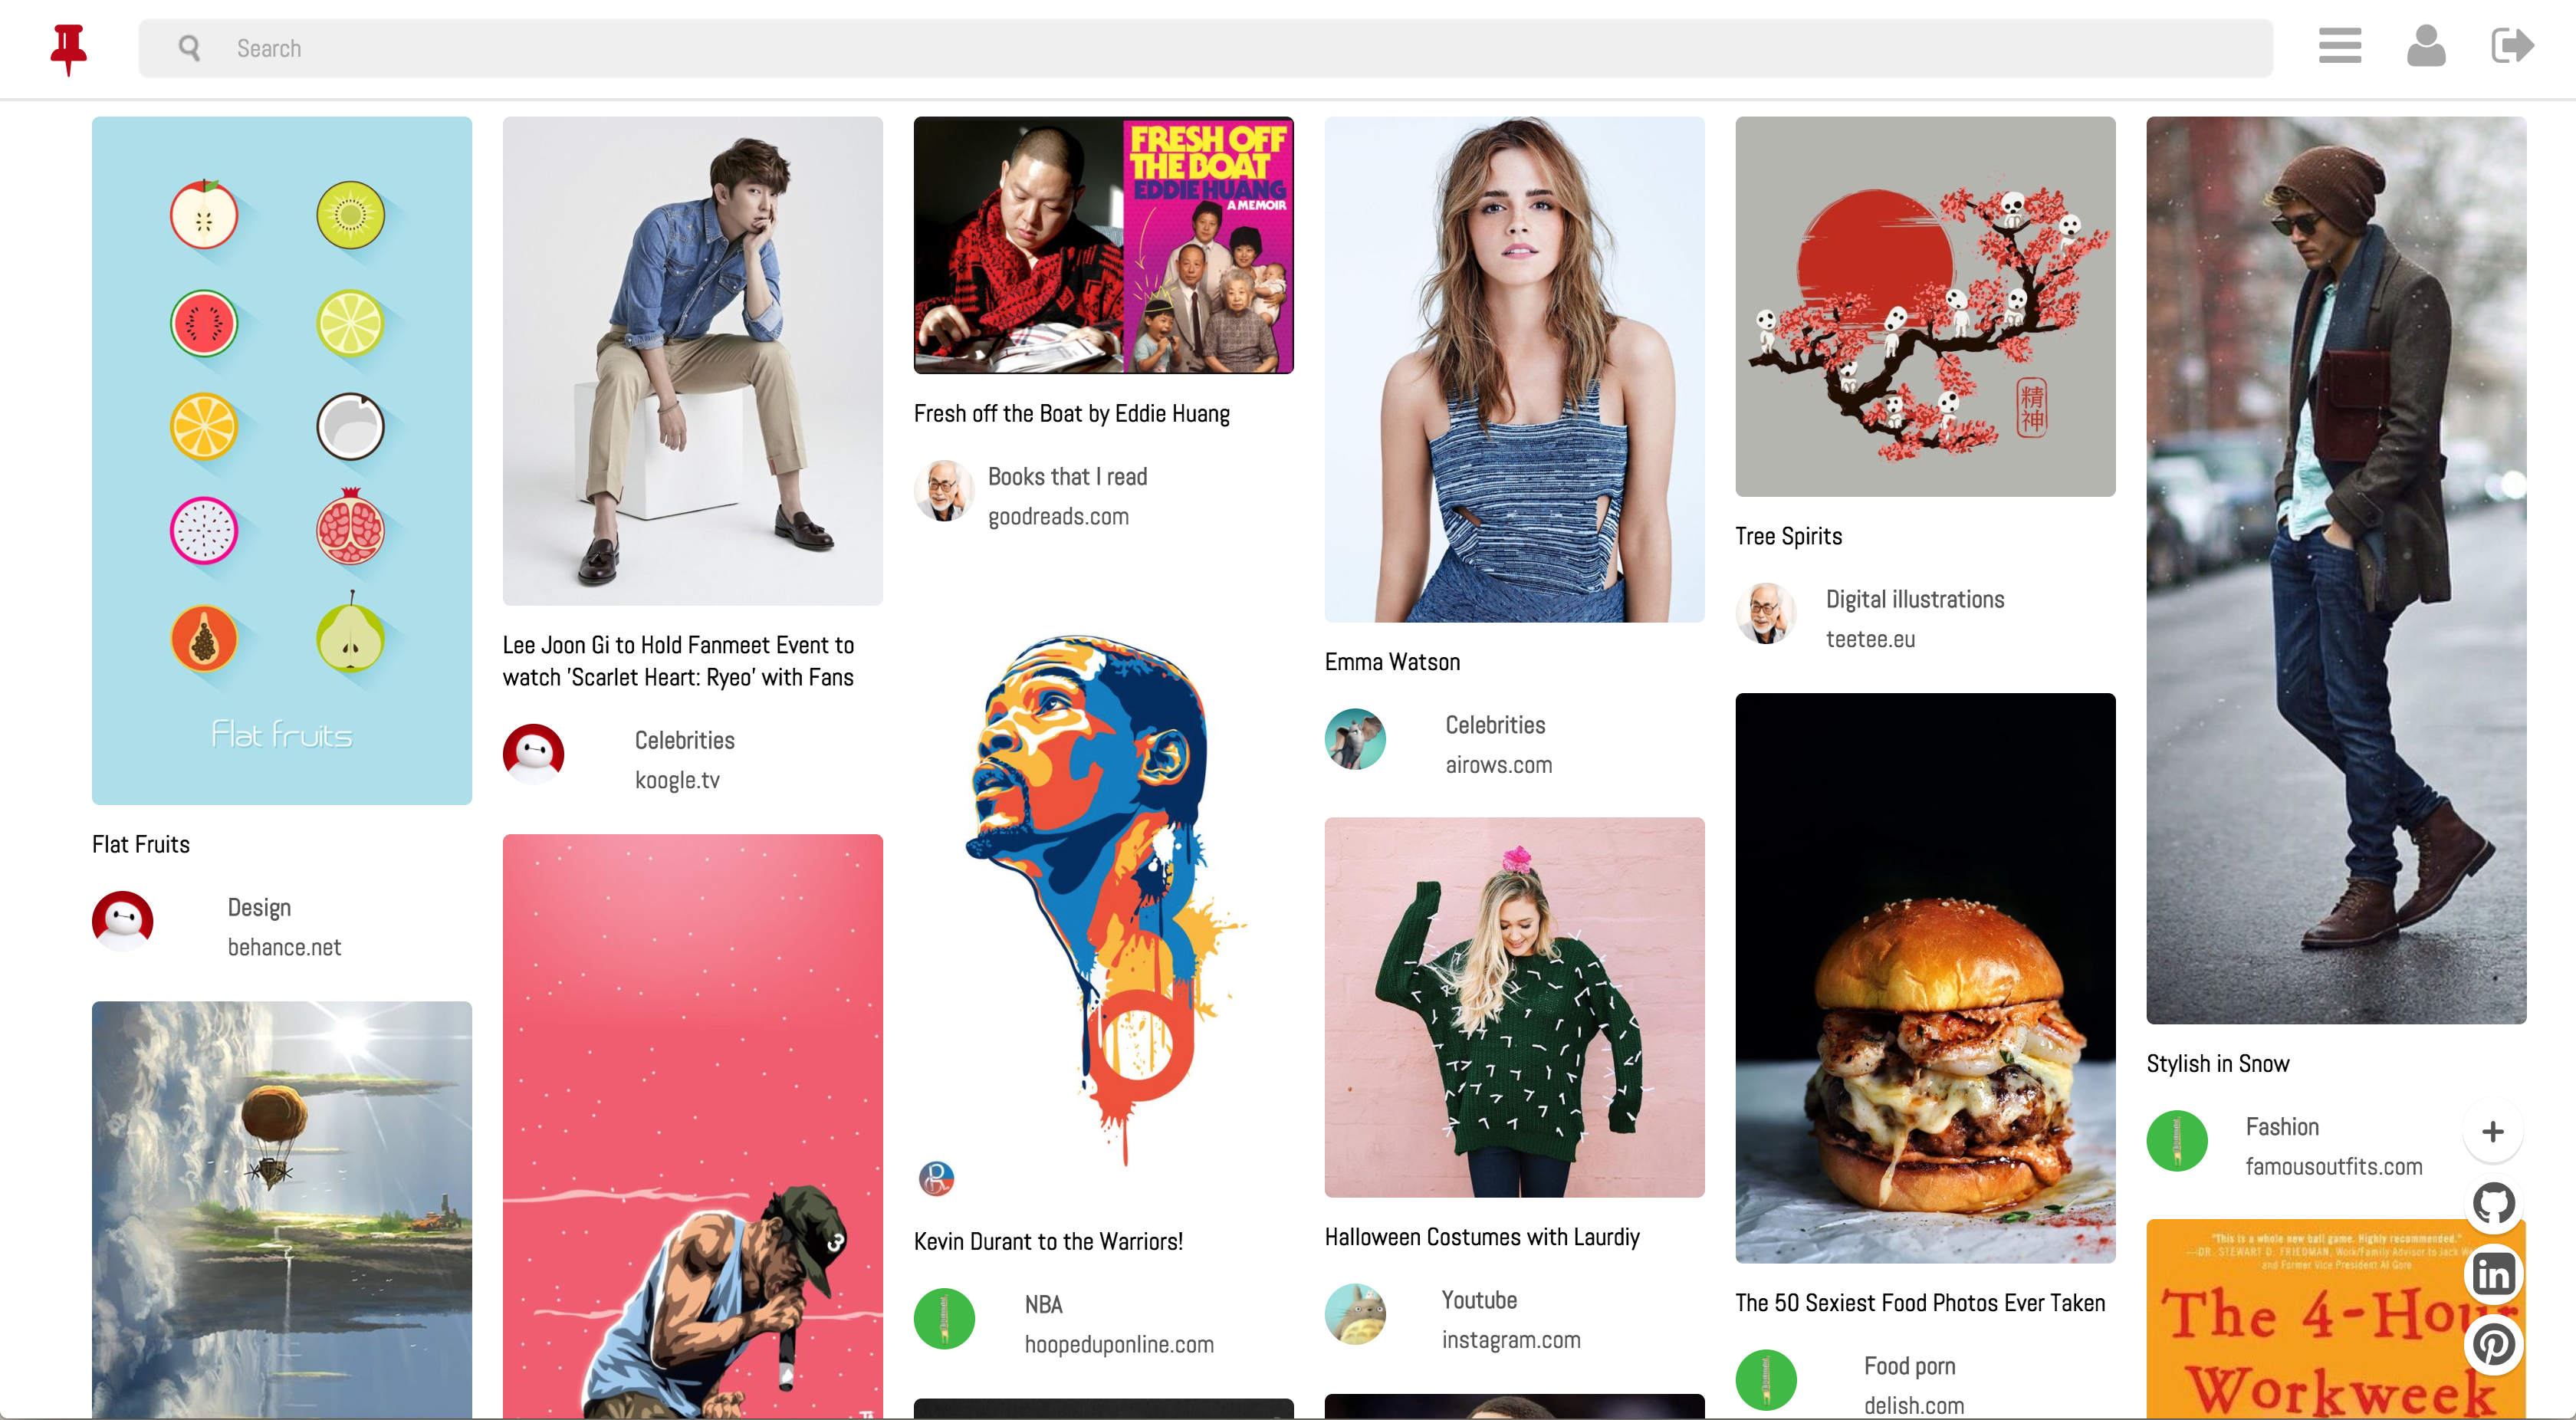
}Pins are displayed utilizing React Masonry Components
<Masonry
  className="pins-container"
  elementType={'ul'}
  disableImagesLoaded={false}
  updateOnEachImageLoad={false} >
  {pins}
</Masonry>User can search through pins matching search keyword to pin titles and descriptions
A 'keyup' event handler will run a search function to fetch any pins that match the search word
onKeyUp(e) {
  e.preventDefault();
  if (e.key !== "Enter") {
    this.setState({searchWord: e.currentTarget.value});
    this.props.fetchSearchPins(this.state.searchWord);
    this.props.router.push('/search');
  } else {
    $('.search-bar').val('');
    this.setState({searchWord: ""});
  }
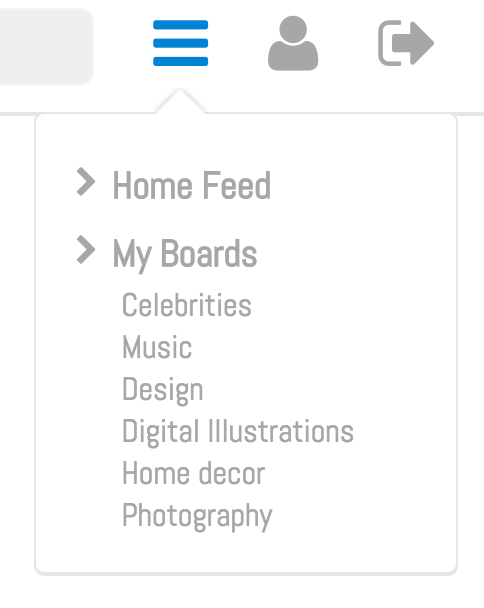
}User can access the dropdown menu for quick navigation to their boards and home feed
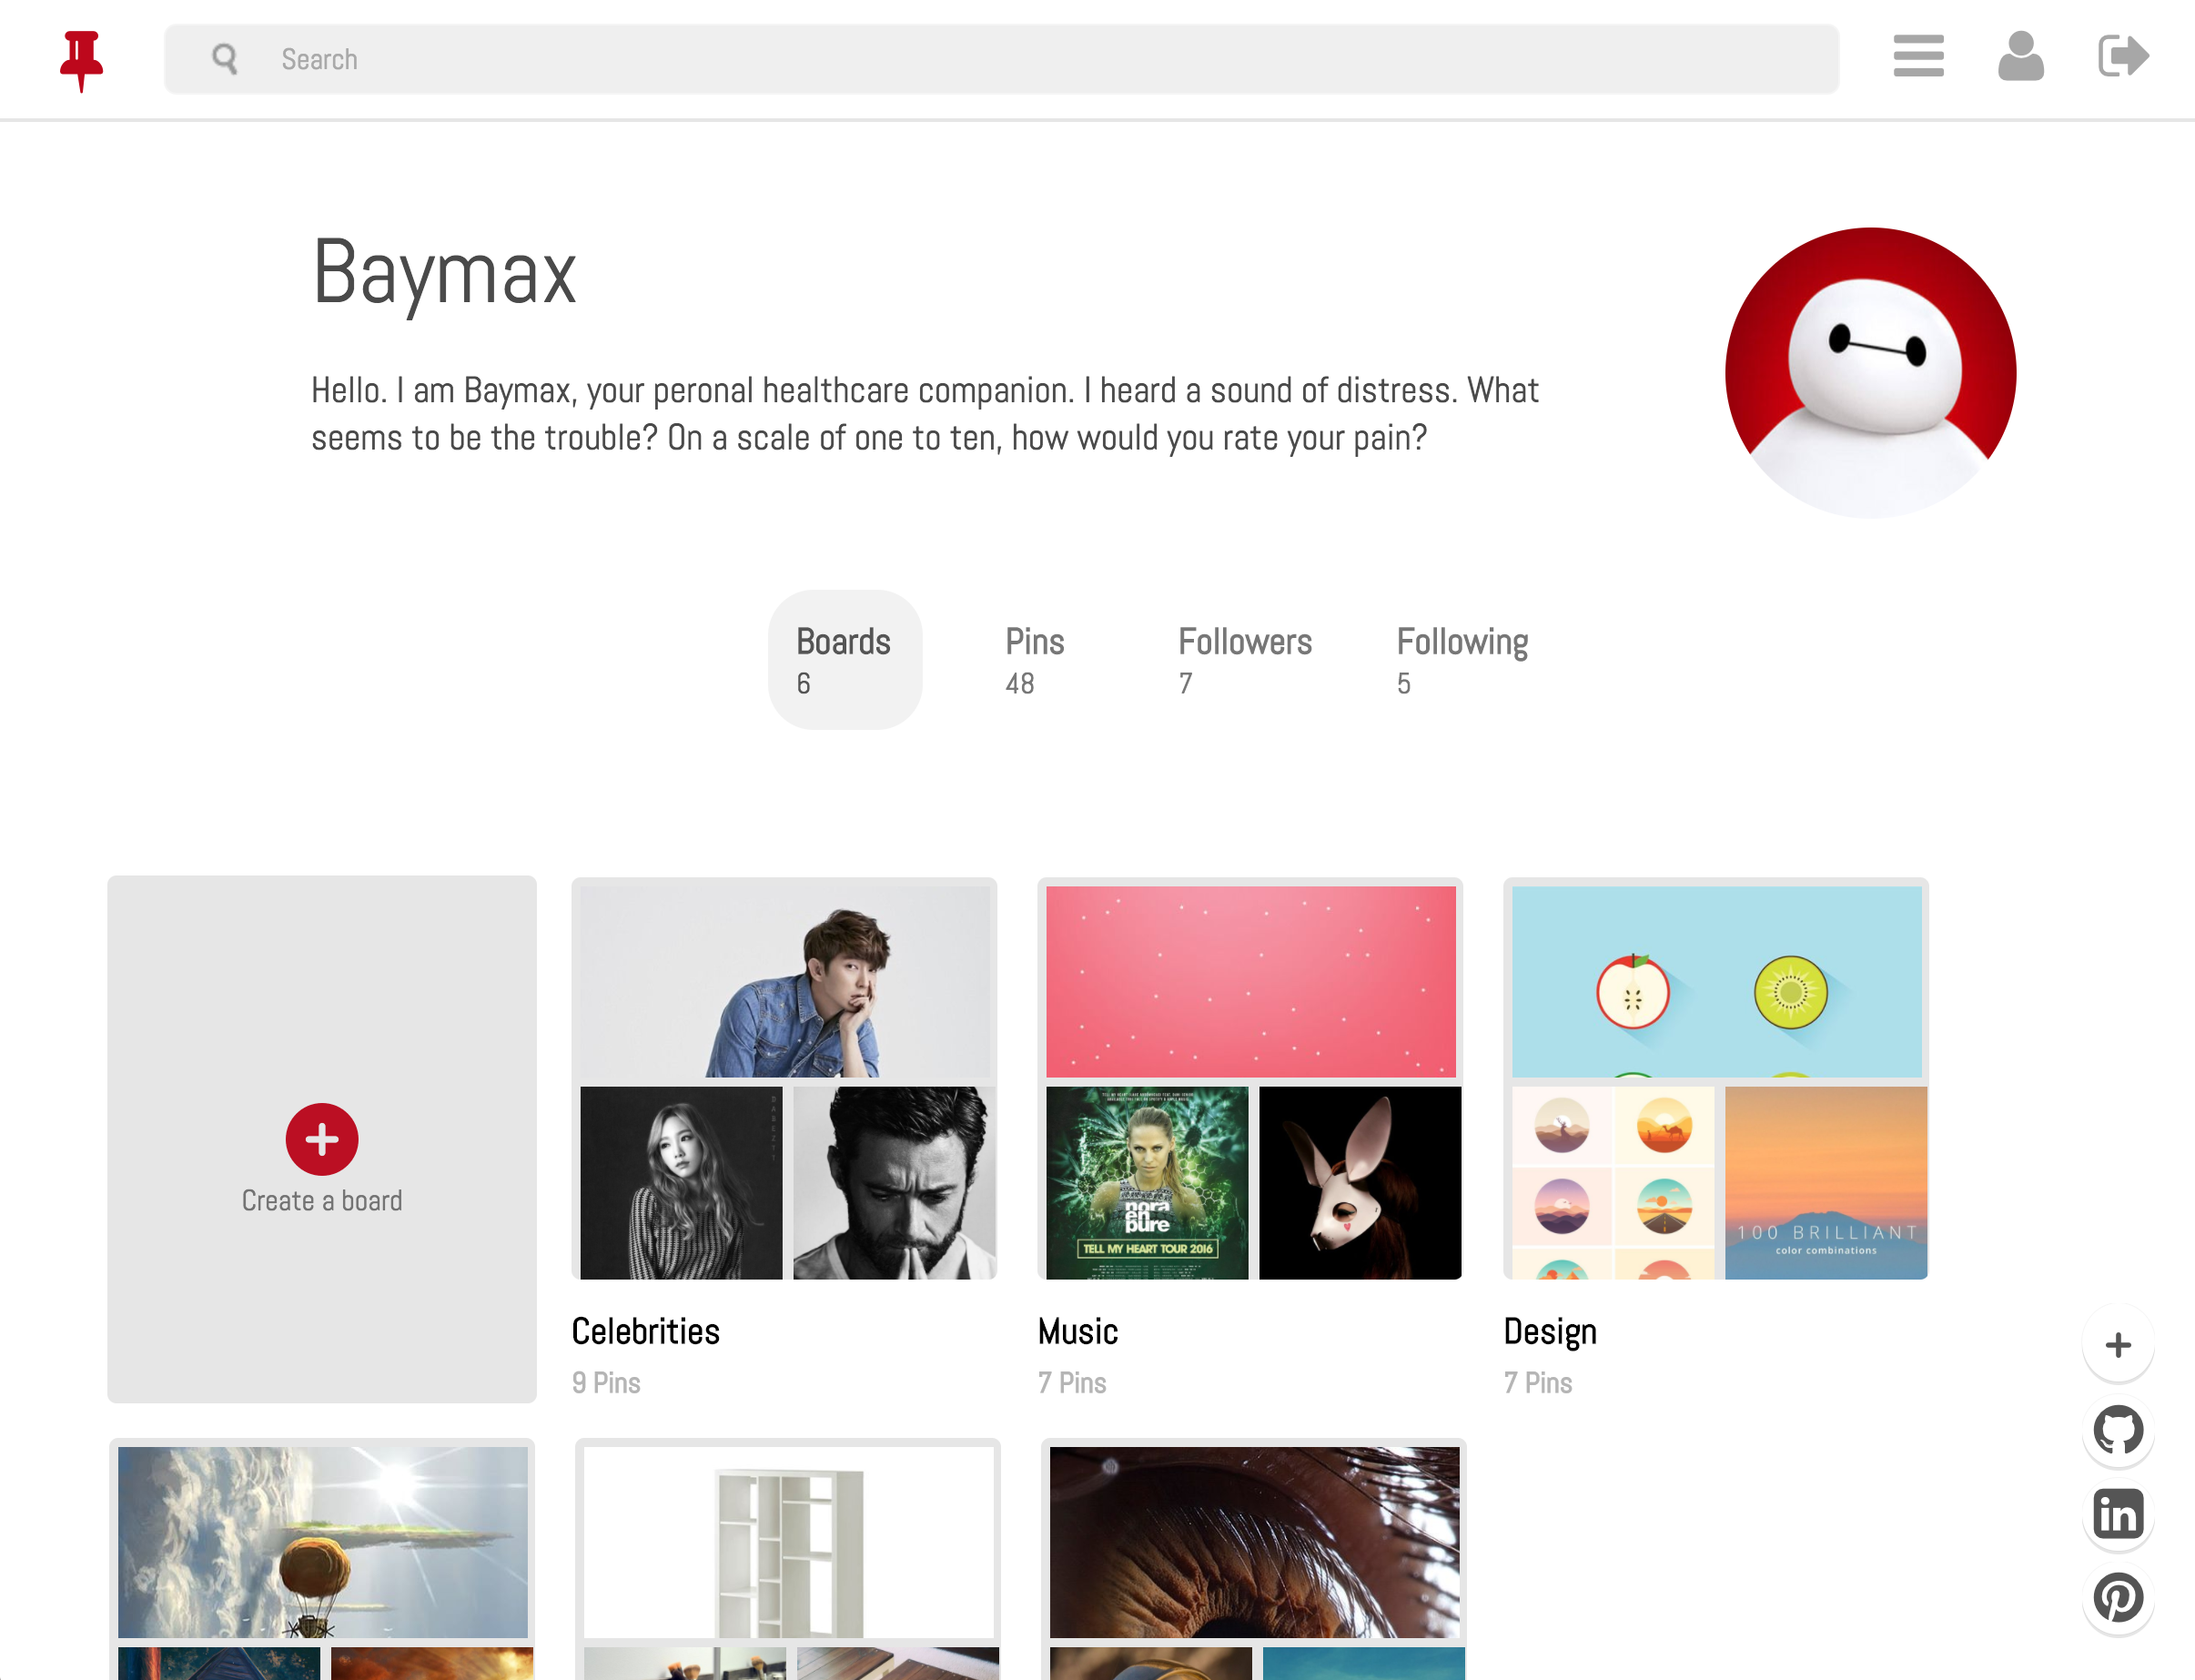
User's profile provides a live view of their boards, pins, followers and followings
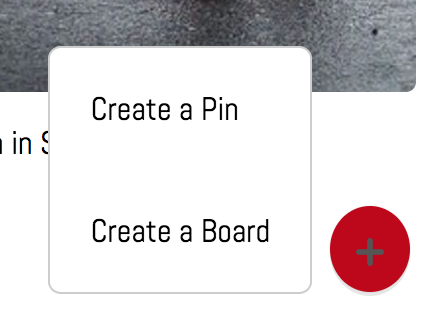
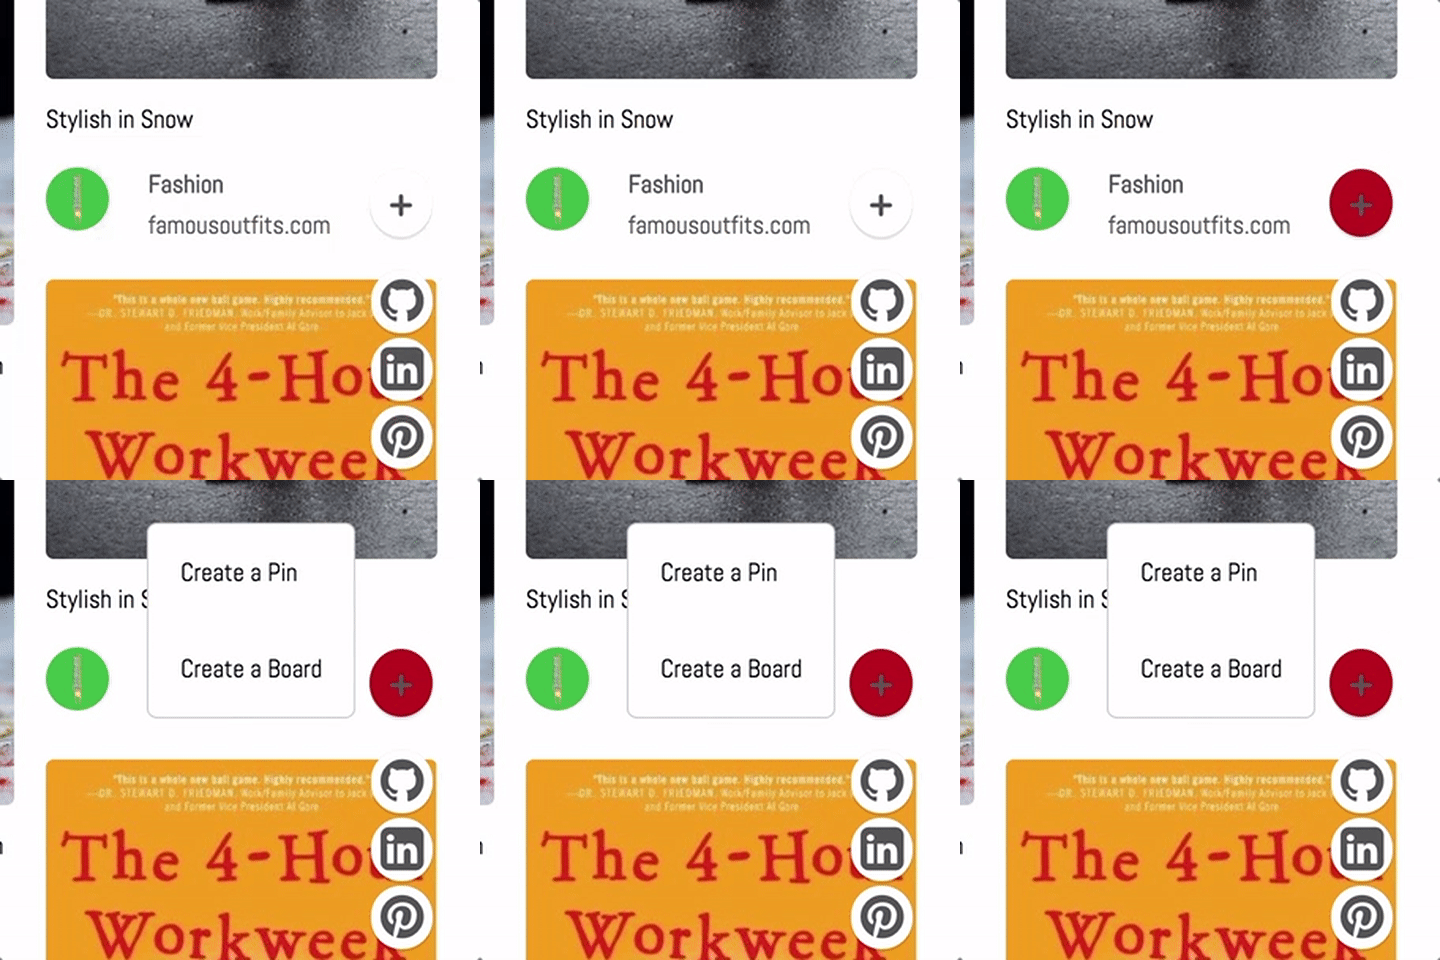
Located in the bottom right is a plus button that will trigger a popup menu with the options to "create a pin" and "create a board"
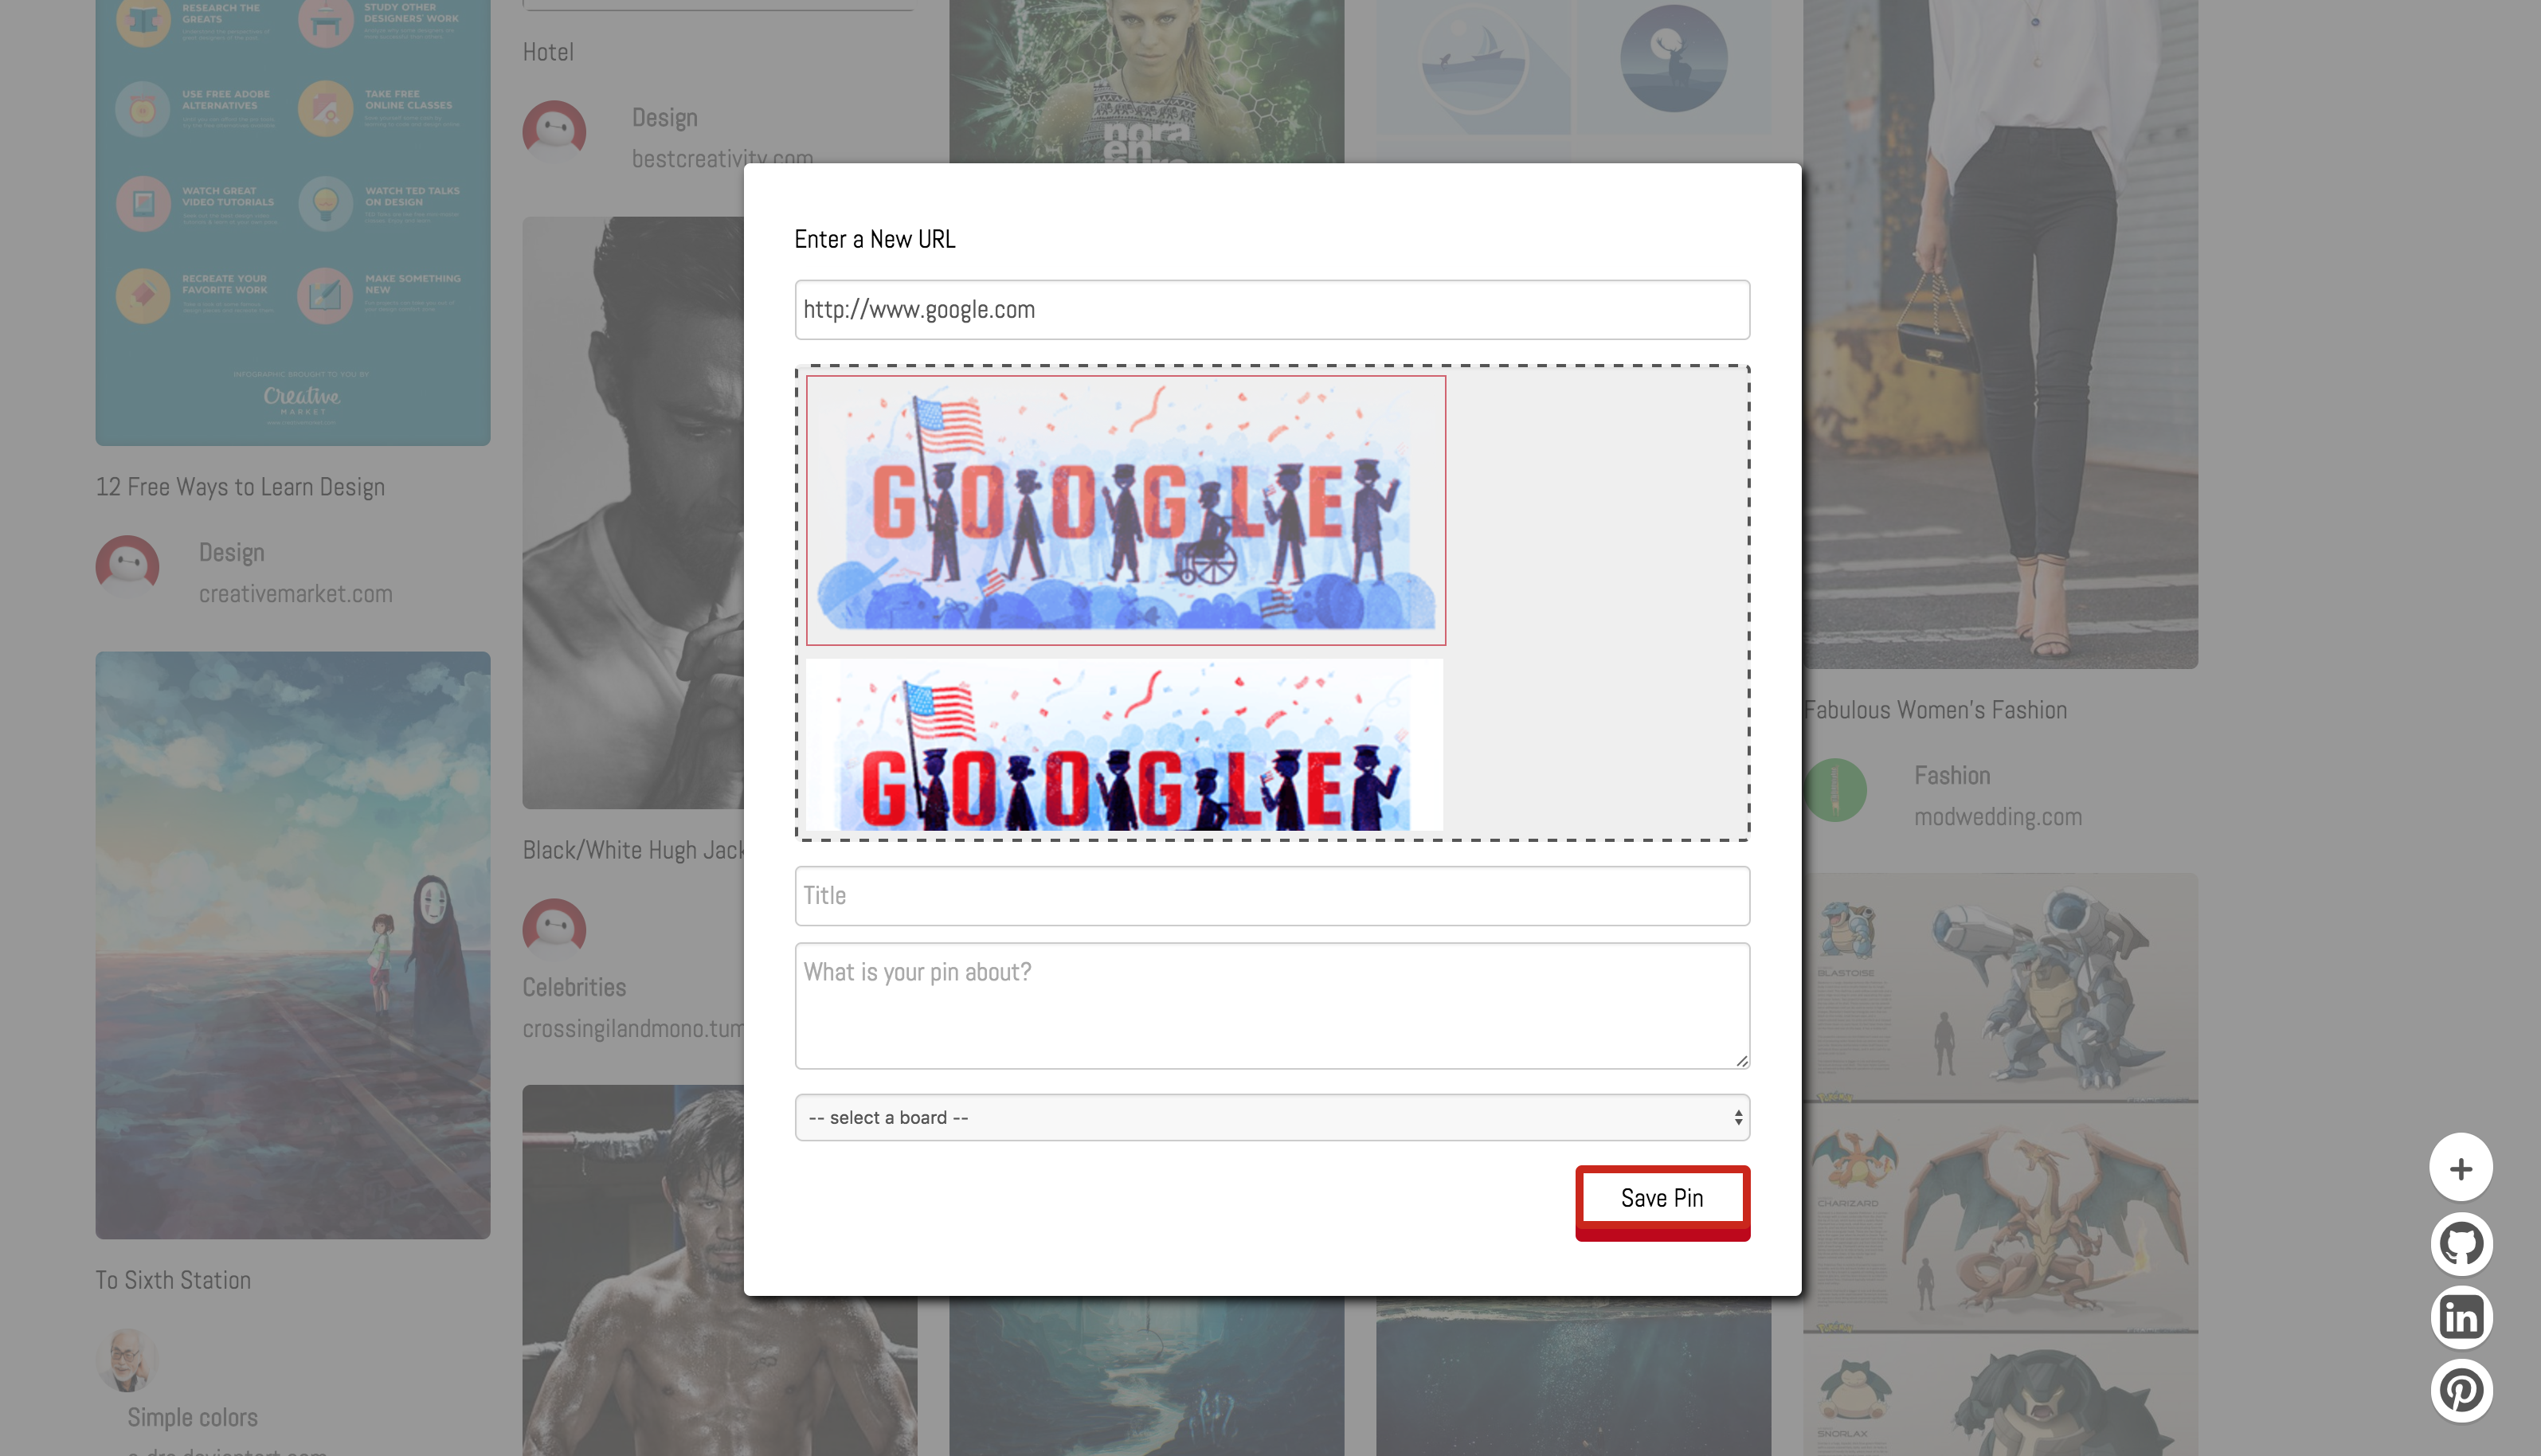
Using Embedly users can create pin and scrape real images from live websites by entering the website url in the create pin form
scrapeImages(e) {
  e.preventDefault();
  let url = e.currentTarget.value;
  this.setState({pin_url: url});

  $.embedly.extract(url).progress(data => {
    let images = data.images;
    let $container = $('<div class=\'image-container\'>');
    images.forEach( (image, idx) => {
      let imgUrl = $.embedly.display.resize(image.url, {query: {height: 400, width: 600}});
      let $img = $(`<img class=\'scraped-image-unchecked scraped-image${idx}\'>`);
      $img.on("click", (e2) => {
        this.setState({pin_image_url: imgUrl});
        $('.image-container').children().each(function() {
          $(this).attr('class', 'scraped-image-unchecked');
        });
        $img.attr('class', 'scraped-image-checked');
      }).bind(this);
      $img.attr('src', imgUrl);
      $container.append($img);
    });
    $('.new-pin-image-area').html($container);
  });
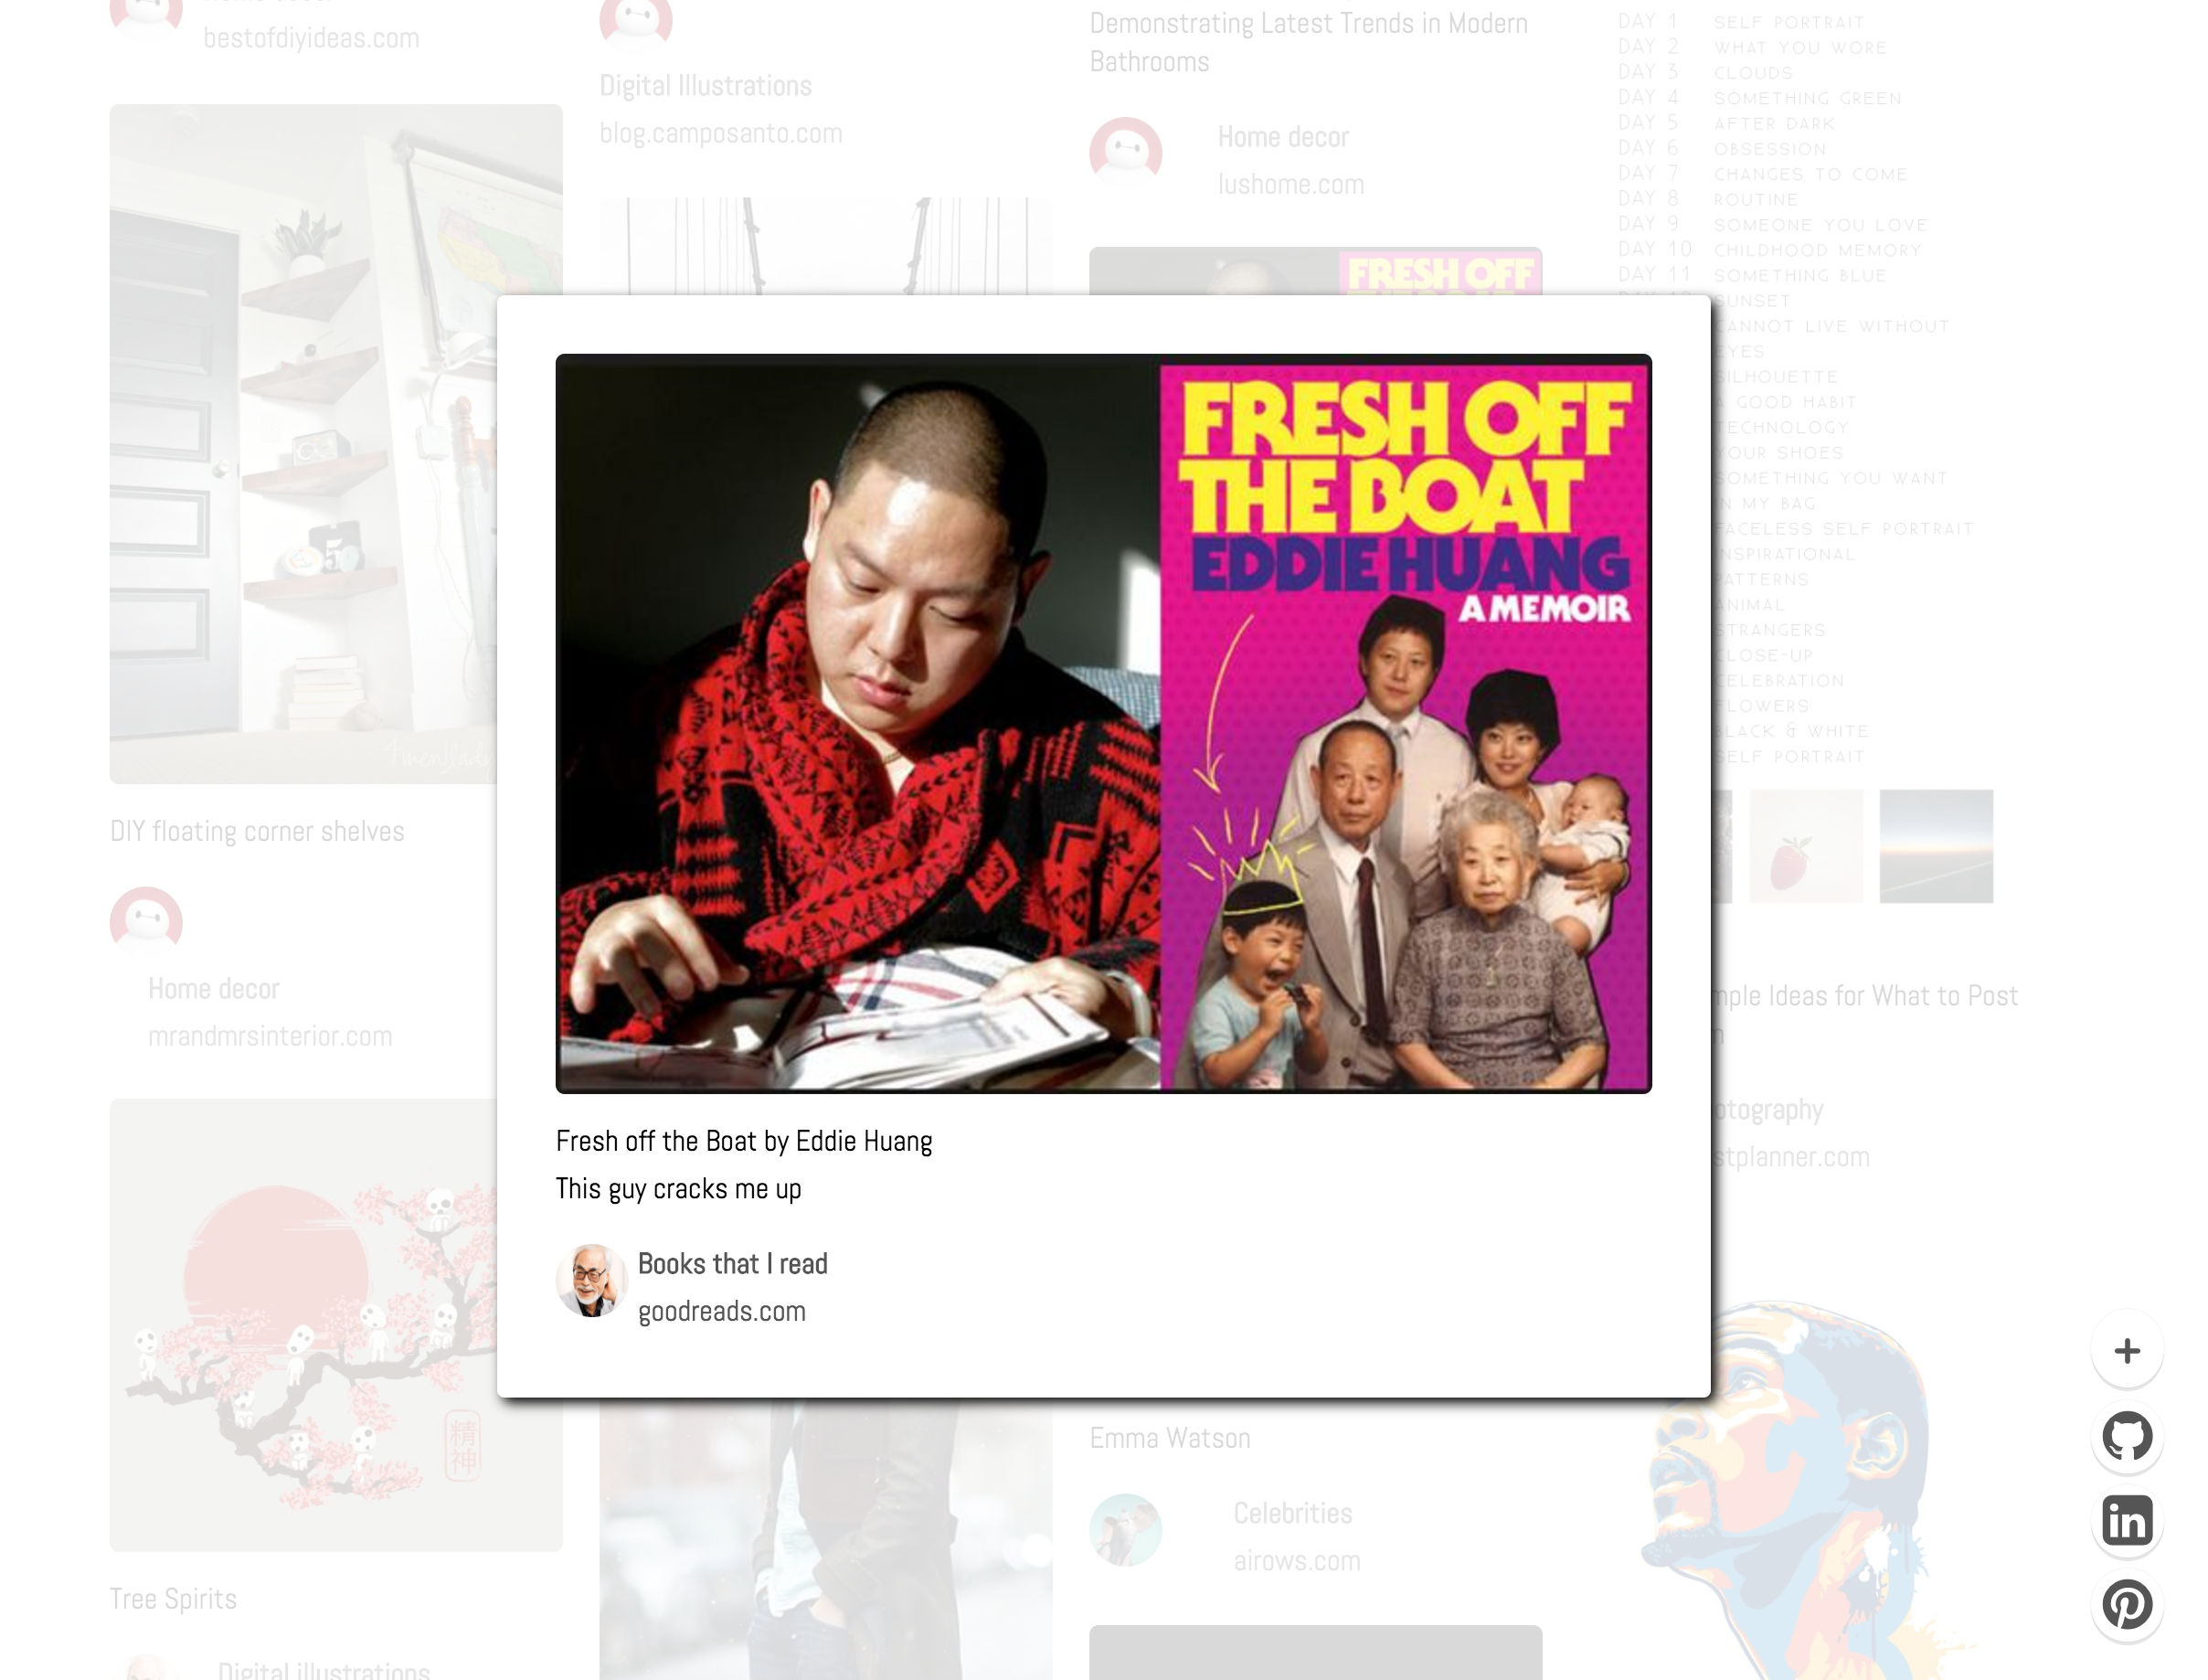
}Using React Modals to create a zoomed in view for users to get a clearer picture of their favorite pins
<Modal className='addNewPinModal'
  isOpen={this.state.openNewPinModal}
  onRequestClose={this.closePinModal.bind(this)}
  style={newPinStyle}>
  <section className="modal-form-container">
    <form	className="modal-form-box">
      <div className="modal-form">
        <label className='modal-label'>
          <p className='modal-label-text'>Enter a New URL</p>
          <input
            type='text'
            onChange={this.scrapeImages}
            defaultValue='http://'
            className="title-input modal-input" />
        </label>
        <div className='modal-input new-pin-image-area'>
          <i className="fa fa-picture-o fa-4x background-image" aria-hidden="true"></i>
          <span className="background-image-prompt">Click on image after entering valid URL</span>
        </div>
        <input
          type="text"
          onChange={this.update("pin_title")}
          className="title-input modal-input"
          placeholder='Title'/>

        <textarea name='description'
          onChange={this.update("pin_description")}
          className="description-input modal-input"
          placeholder='What is your pin about?'></textarea>
         <select className='modal-input modal-board-select' onChange={this.selectBoard}>
           <option disabled selected value> -- select a board -- </option>
           {boardList}
         </select>
        <div className="modal-save-button-box">
          <input type="submit"
            className="modal-save-button"
            value='Save Pin'
            onClick={this.handleNewPinSubmit}/>
        </div>
      </div>
    </form>
  </section>
</Modal>The next steps in developing PinThat! will be:
Allow users to leave comments on pins to further inspire one another.
Creating tags for each image will allow for a realtime search to be better utilized.

