A general python framework for single object tracking in LiDAR point clouds, based on PyTorch Lightning.
The official code release of BAT and M2 Track.
- Modular design. It is easy to config the model and training/testing behaviors through just a
.yamlfile. - DDP support for both training and testing.
- Support all common tracking datasets (KITTI, NuScenes, Waymo Open Dataset).
- The checkpoints we provide here achieve better performances than those reported in our main paper. Check below for more details.
- The supplementary material is now out. Please check this for more implementation details.
This repository includes the implementation of the following models:
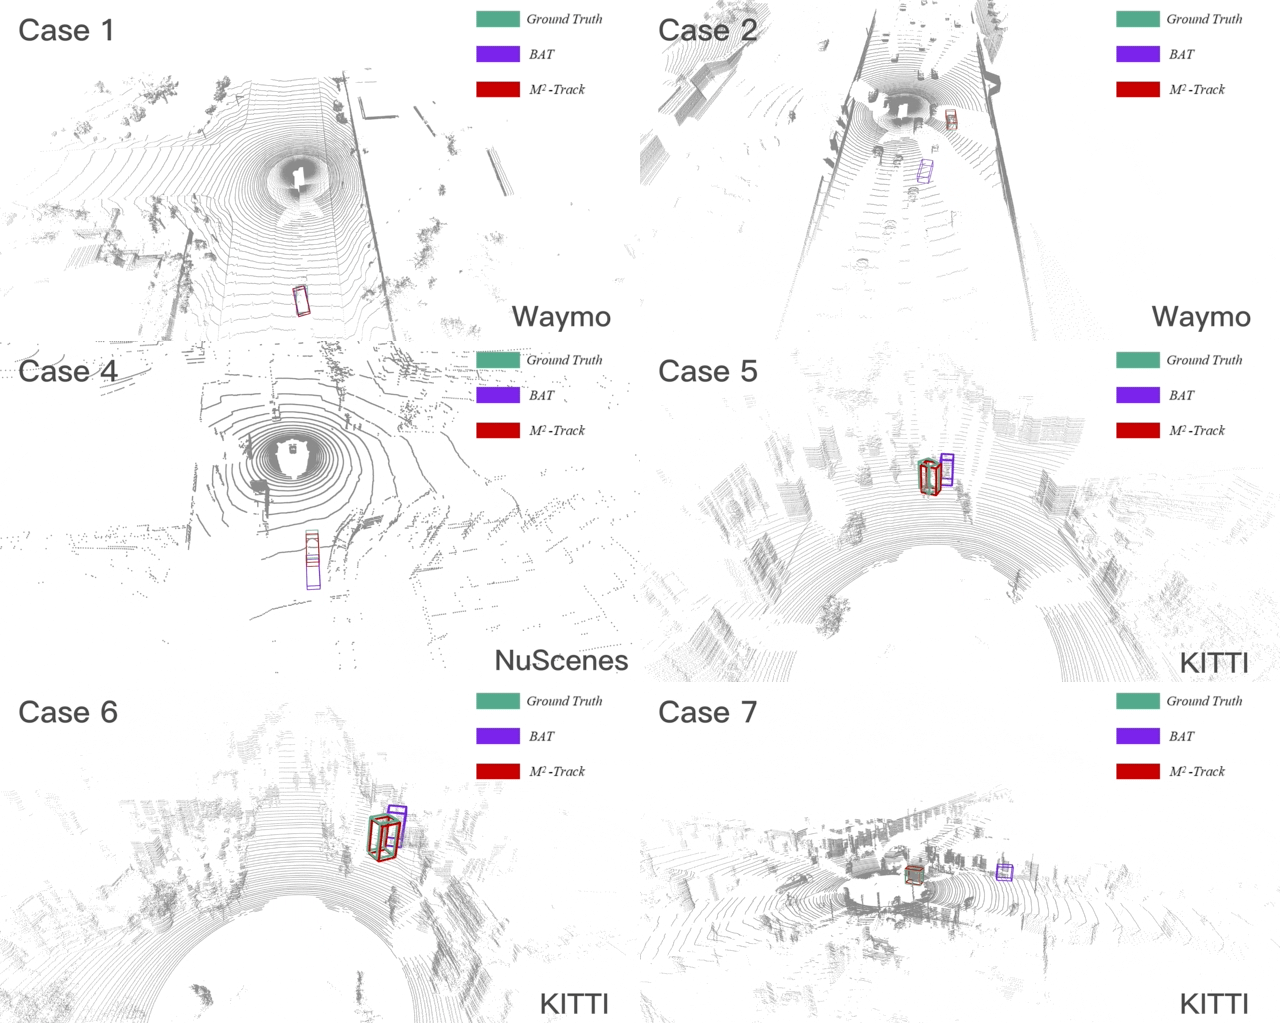
M2-Track is the first motion-centric tracker in LiDAR SOT, which robustly handles distractors and drastic appearance changes in complex driving scenes. Unlike previous methods, M2-Track is a matching-free two-stage tracker which localizes the targets by explicitly modeling the "relative target motion" among frames.
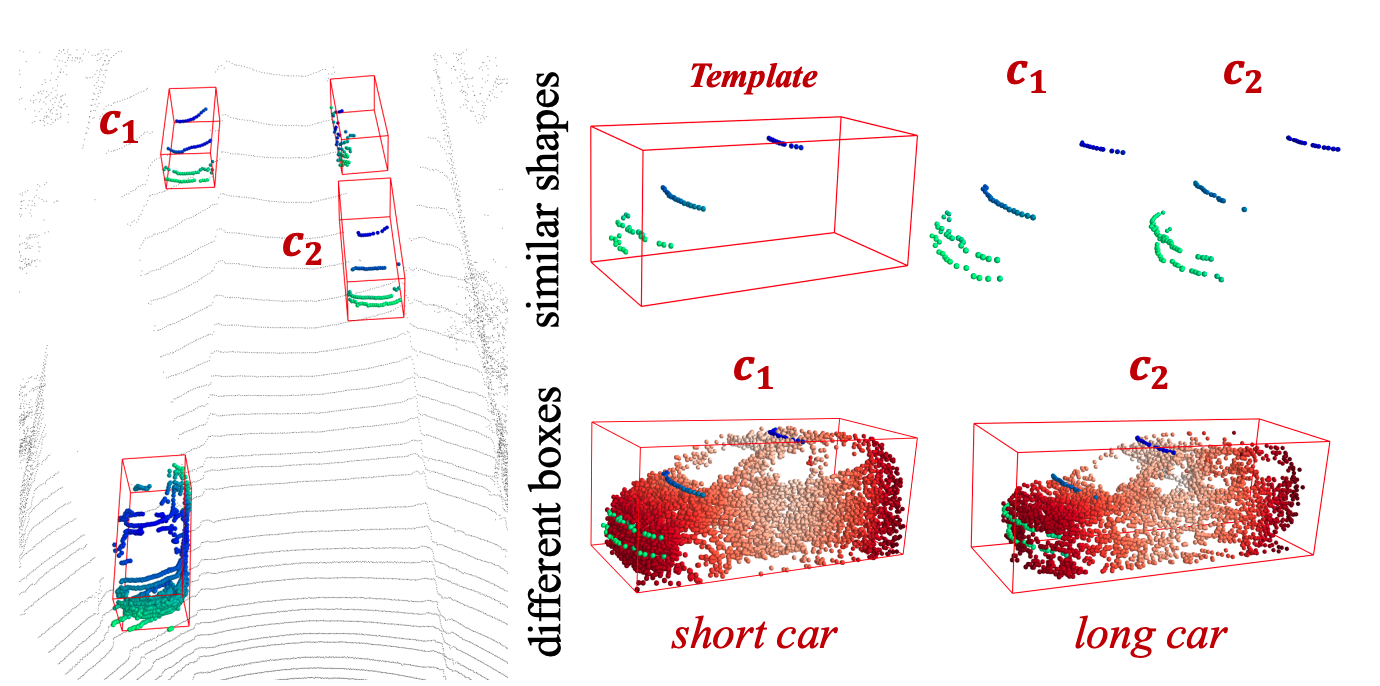
Official implementation of BAT. BAT uses the BBox information to compensate the information loss of incomplete scans. It augments the target template with box-aware features that efficiently and effectively improve appearance matching.
[Paper] [Official implementation]
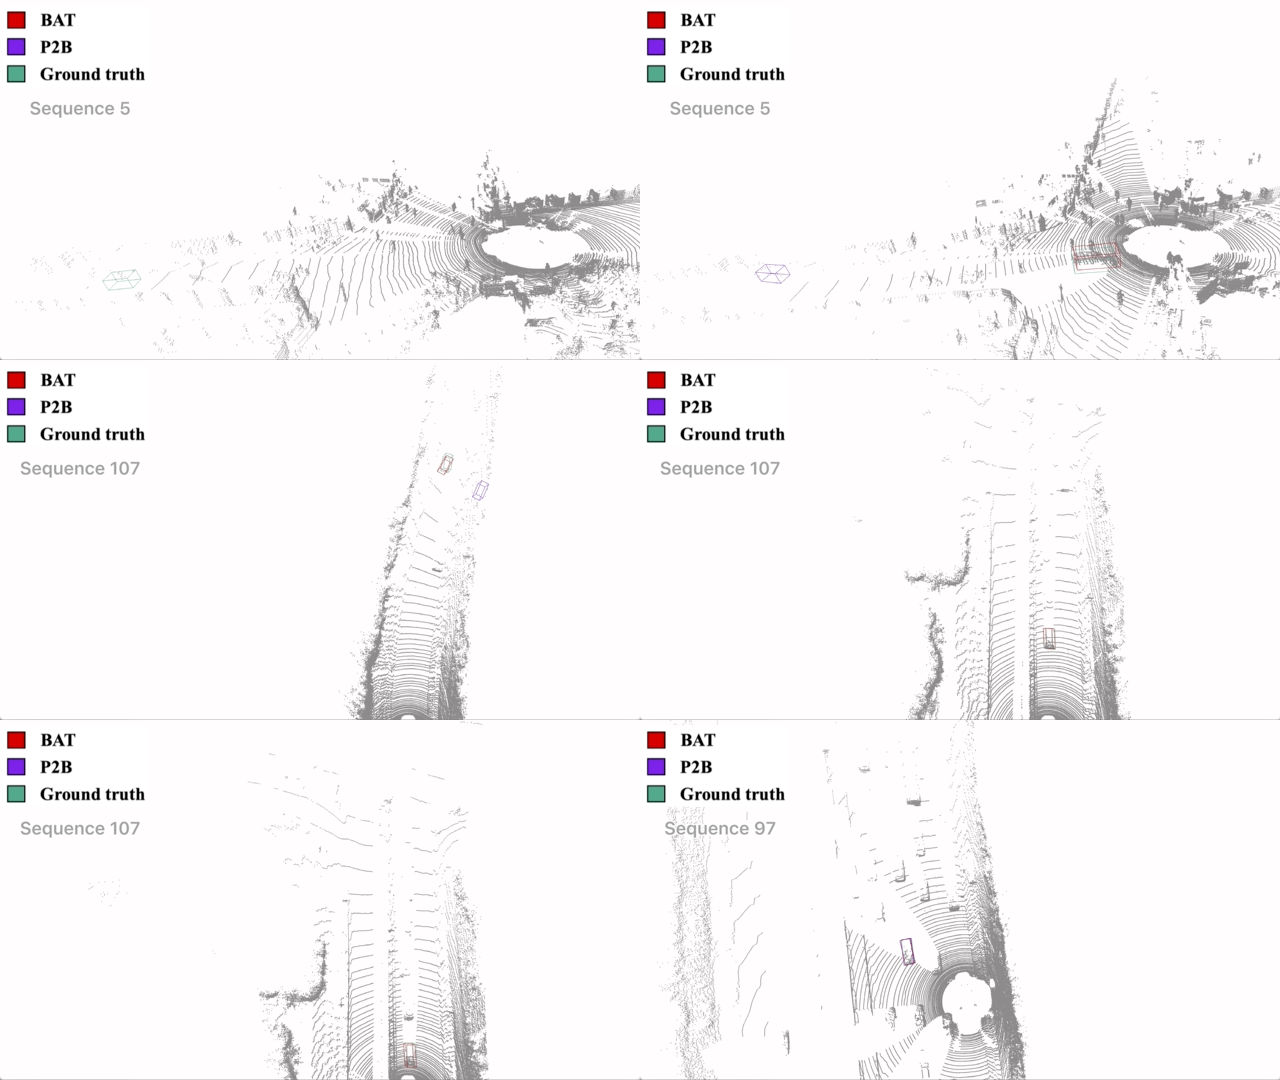
Third party implementation of P2B. Our implementation achieves better results than the official code release. P2B adapts SiamRPN to 3D point clouds by integrating a pointwise correlation operator with a point-based RPN (VoteNet).
Installation
-
Create the environment
git clone https://github.com/Ghostish/Open3DSOT.git cd Open3DSOT conda create -n Open3DSOT python=3.8 conda activate Open3DSOT -
Install pytorch
conda install pytorch==1.7.1 torchvision==0.8.2 torchaudio==0.7.2 cudatoolkit=11.0 -c pytorchOur code is compatible with other PyTorch/CUDA versions. You can follow this to install another version of pytorch. Note: In order to reproduce the reported results with the provided checkpoints of BAT, please use CUDA 10.x.
-
Install other dependencies:
pip install -r requirement.txt
KITTI dataset
- Download the data for velodyne, calib and label_02 from KITTI Tracking.
- Unzip the downloaded files.
- Put the unzipped files under the same folder as following.
[Parent Folder]
--> [calib]
    --> {0000-0020}.txt
--> [label_02]
    --> {0000-0020}.txt
--> [velodyne]
    --> [0000-0020] folders with velodynes .bin files
NuScenes dataset
- Download the dataset from the download page
- Extract the downloaded files and make sure you have the following structure:
[Parent Folder]
  samples	-	Sensor data for keyframes.
  sweeps	-	Sensor data for intermediate frames.
  maps	        -	Folder for all map files: rasterized .png images and vectorized .json files.
  v1.0-*	-	JSON tables that include all the meta data and annotations. Each split (trainval, test, mini) is provided in a separate folder.
Note: We use the train_track split to train our model and test it with the val split. Both splits are officially provided by NuScenes. During testing, we ignore the sequences where there is no point in the first given bbox.
Waymo dataset
- Download and prepare dataset by the instruction of CenterPoint.
[Parent Folder] tfrecord_training tfrecord_validation train - all training frames and annotations val - all validation frames and annotations infos_train_01sweeps_filter_zero_gt.pkl infos_val_01sweeps_filter_zero_gt.pkl - Prepare SOT dataset. Data from specific category and split will be merged (e.g., sot_infos_vehicle_train.pkl).
python datasets/generate_waymo_sot.pyTo train a model, you must specify the .yaml file with --cfg argument. The .yaml file contains all the configurations of the dataset and the model. We provide .yaml files under the cfgs directory. Note: Before running the code, you will need to edit the .yaml file by setting the path argument as the correct root of the dataset.
CUDA_VISIBLE_DEVICES=0,1 python main.py --cfg cfgs/M2_track_kitti.yaml --batch_size 64 --epoch 60 --preloadingFor M2-Track, we use the same configuration for all categories. By default, the .yaml is used to trained a Car tracker. You need to change the category_name in the .yaml file to train for another category.
In this version, we remove the --gpus flag. And all the available GPUs will be used by default. You can use CUDA_VISIBLE_DEVICES to select specific GPUs.
After you start training, you can start Tensorboard to monitor the training process:
tensorboard --logdir=./ --port=6006
By default, the trainer runs a full evaluation on the full test split after training every epoch. You can set --check_val_every_n_epoch to a larger number to speed up the training. The --preloading flag is used to preload the training samples into the memory to save traning time. Remove this flag if you don't have enough memory.
To test a trained model, specify the checkpoint location with --checkpoint argument and send the --test flag to the command.
python main.py --cfg cfgs/M2_track_kitti.yaml --checkpoint /path/to/checkpoint/xxx.ckpt --test| Model | Category | Success | Precision | Checkpoint |
|---|---|---|---|---|
| BAT-KITTI | Car | 65.37 | 78.88 | pretrained_models/bat_kitti_car.ckpt |
| BAT-NuScenes | Car | 40.73 | 43.29 | pretrained_models/bat_nuscenes_car.ckpt |
| BAT-KITTI | Pedestrian | 45.74 | 74.53 | pretrained_models/bat_kitti_pedestrian.ckpt |
| M2Track-KITTI | Car | 67.43 | 81.04 | pretrained_models/mmtrack_kitti_car.ckpt |
| M2Track-KITTI | Pedestrian | 60.61 | 89.39 | pretrained_models/mmtrack_kitti_pedestrian.ckpt |
| M2Track-NuScenes | Car | 57.22 | 65.72 | pretrained_models/mmtrack_nuscenes_car.ckpt |
Trained models are provided in the pretrained_models directory. To reproduce the results, simply run the code with the corresponding .yaml file and checkpoint. For example, to reproduce the tracking results on KITTI Car of M2-Track, just run:
python main.py --cfg cfgs/M2_track_kitti.yaml --checkpoint ./pretrained_models/mmtrack_kitti_car.ckpt --testThe reported results of M2-Track checkpoints are produced on 3090/3080ti GPUs. Due to the precision issues, there could be minor differences if you test them with other GPUs.
- This repo is built upon P2B and SC3D.
- Thank Erik Wijmans for his pytorch implementation of PointNet++
This repository is released under MIT License (see LICENSE file for details).


