Creating a dump of your personal browser history for analysis. This is a tool for people who want to research browsing behavior and content, starting with the only dataset you'll really be able to create: data about yourself.
This is for creating a browsing corpus for later analysis. It's not a feasible end-user tool, and it collects information that can't normally be shared. But if you are interested in browsing behavior and web content analysis, then this is the package for you!
The data collected here is specifically what you see and do via the browser. Unlike spidering or fetching documents via the command-line, you get fully rendered and personalized pages. This will help you include information in your corpus that specifically isn't available on the open web.
Using this tool you can:
- Extract your history from multiple browsers into a database
- Fetch high quality versions of your history items:
- Get frozen pages from the browser (no worries about JavaScript)
- Fetch pages using your cookies and authentication (get personal and personalized versions of pages)
- All HTML is well-formed, links are made absolute
- HTML can be re-rendered easily
- The frozen HTML has additional annotations to make it easier to interpret:
- Hidden elements are marked as such
- Elements whose
displaystyle is changed are marked as such (useful if you want to look for any block-like element) - The Readability library is used to extract a "readable" form
- Elements in the original document that form the readable view are marked as such
- The natural/rendered sizes of images are included
- A first-page screenshot is taken, and a full-length thumbnail
- Track ongoing browsing; collecting additional information not in normal browsing history:
- Reliably track what page leads to the next page
- Track what link click lead to the next page
- Track how often and for how long the page was the active tab
- And more!
- A Python library is included to help interpret your results:
- Load and query history items and pages
- Parse pages (using lxml)
- A growing list of miscellany...
This consists of two parts:
- A browser extension (for Firefox and Chrome) to save your history and activity
- A python library to use and analyze the history
You must check out this repository to use the package.
Run npm install to install the necessary packages, and to setup the Python 3 environment. (A virtualenv environment is created in .venv/)
After installation you must restart your Firefox browser (Chrome support is iffy right now), go to about:debugging and manually install the extension from build/extension/
Data will begin to be collected in data/
Once you have history uploaded, you may want to fetch static versions of your old history (from before you installed the extension).
Note: these instructions are incorrect, and need updating after #57 is fixed.
Use ./bin/launch-fetcher to launch a Firefox instance dedicated to that fetching. Probably use ./bin/launch-fetcher --use-profile "Profile Name" to use a copy of an existing profile (after doing that once, the profile copy will be kept for later launches). You'll want to use a profile that is logged into your services, so that you can get personalized versions of your pages.
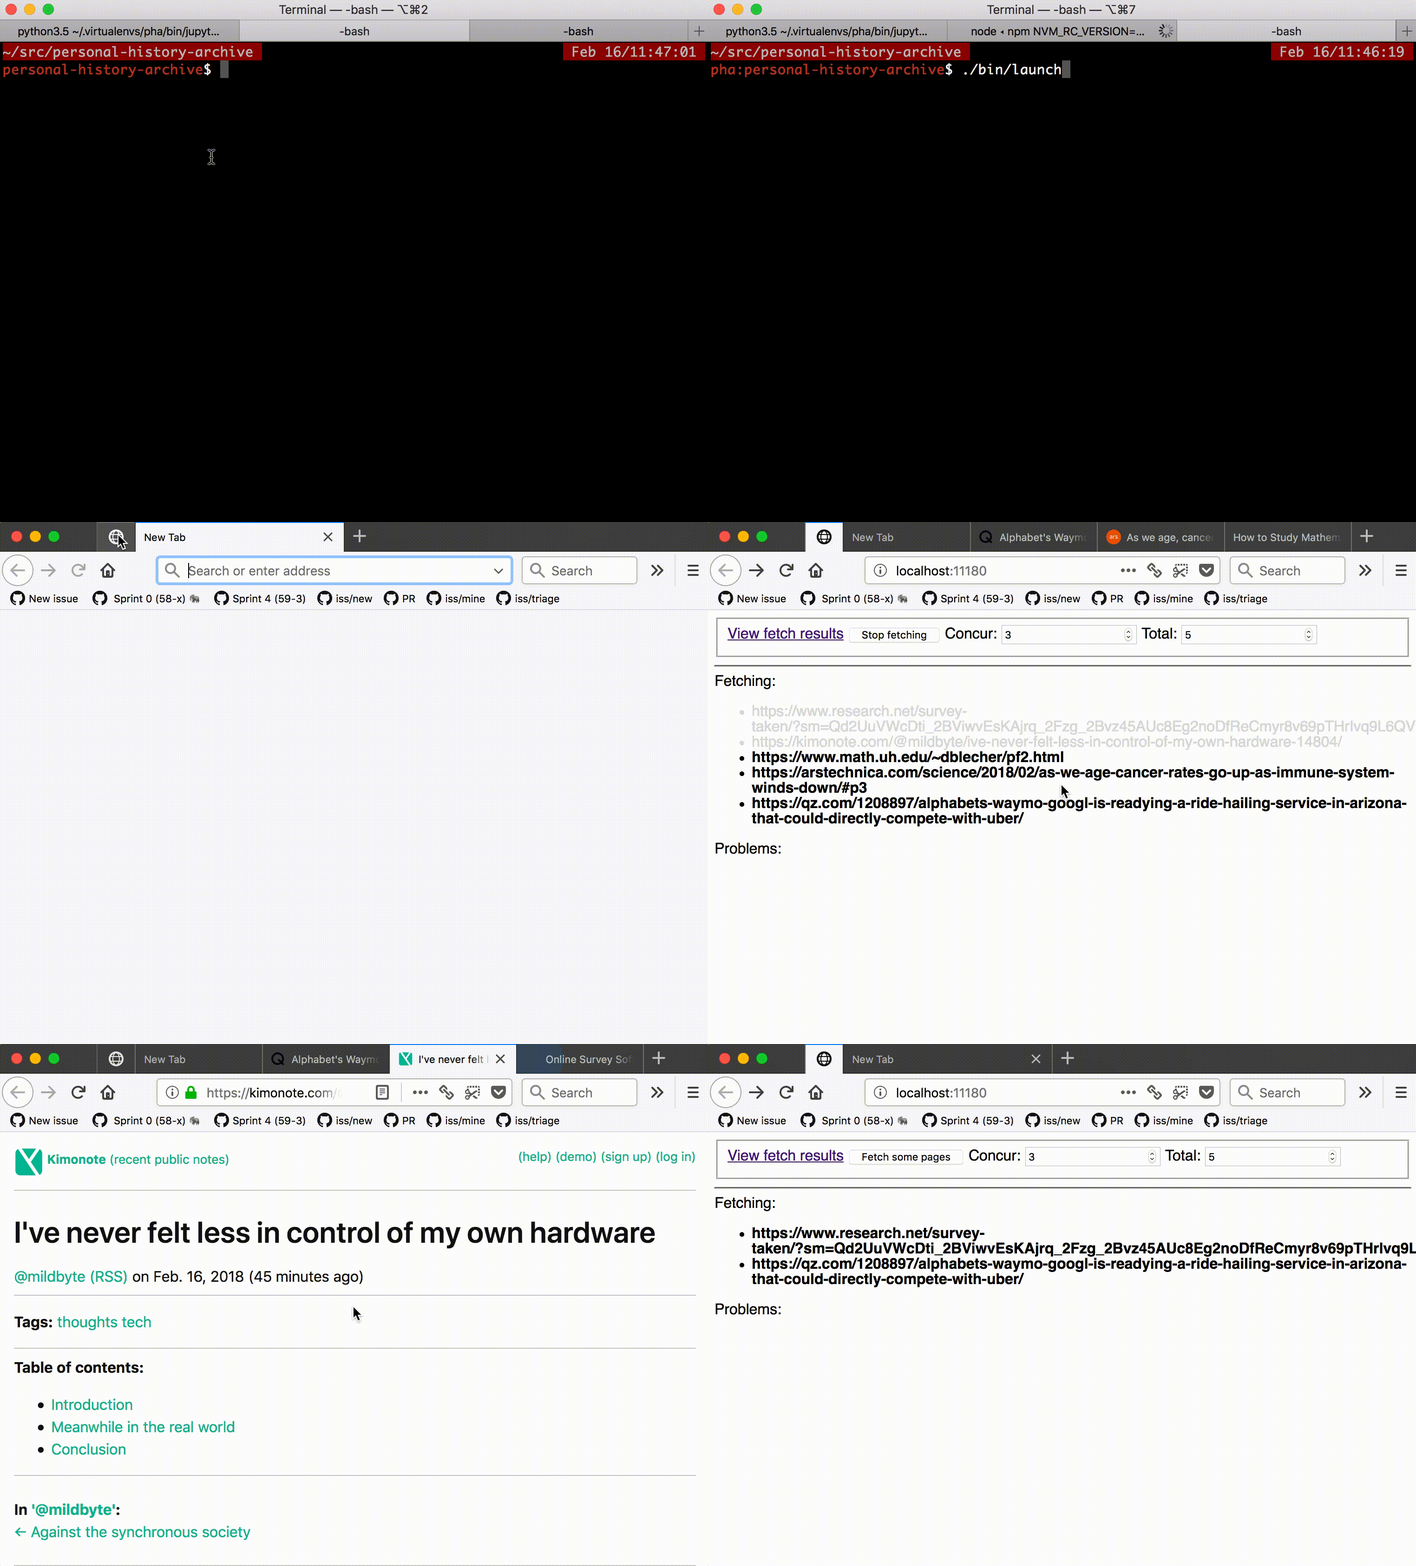
The page http://localhost:11180/ will be loaded automatically in the fetcher browser instance, and that lets you start fetching pages.
You may want to review http://localhost:11180/viewer/redirected to see pages that get redirects. These are often pages that required missing authentication. You can login to the pages, then delete the fetched page so it can be re-fetched.
There's a Python 3 library in the python/ subdirectory. It gets automatically installed into the .venv/ virtualenv, but you could install it elsewhere too.
You can install it like:
$ cd python
$ pip install -e .
# Optional packages:
$ pip install -r requirements.txt
This adds a package called pha. There is some information in the subdirectory, and the notebooks (*.ipynb) show many examples (though as of March 2018, they are out of date due to refactorings).
There's a script that will do random activity in the browser, saving data to test/walk-data/. Run:
$ npm run walk
# Or if you want to try a configuration in test/walk-configs/news.json that goes to news sites:
$ CONFIG=news npm run walkThe tests are in test/. To run the tests:
$ npm testYou can use NO_CLOSE=1 to leave the browser open after the test completes (this can be helpful to understand failures). Use TEST_ARGS="..." to add Mocha command-line arguments such as TEST_ARGS='-g 404s' npm test to run tests with "404s" in the test description.
The temporary data will be in test/test-data/ and you may find test/test-data/addon.log particularly interesting, as the Browser Console isn't very accessible from the test environment.
If you want to run it interactively in a fresh profile, use:
$ npm startThis will run a new browser profile, with data going into dev-data/ (and logs in dev-data/addon.log). Changes are not automatically picked up, so you have to restart the browser after changes. There is no migration, so you may have to wipe out dev-data/ after changes to the schema.
If you have a question, probably the best thing is to open a ticket. If you are interested in implementing something, it would also be great to open a ticket so we can discuss.
If you'd like to chat, I've created a channel #pha on irc.mozilla.org. I (ianbicking) am usually only online during business hours, Central Time/UTC-6.
The icon comes from Open Iconic
