Collection of config files and scripts for my personal Mac setup.
To setup this config for a new mac, simply clone this repo, follow the below steps, and then run bash install.sh from the root of this repo.
If you just want the zsh and nvim setup, simply clone this repo and run bash install.sh
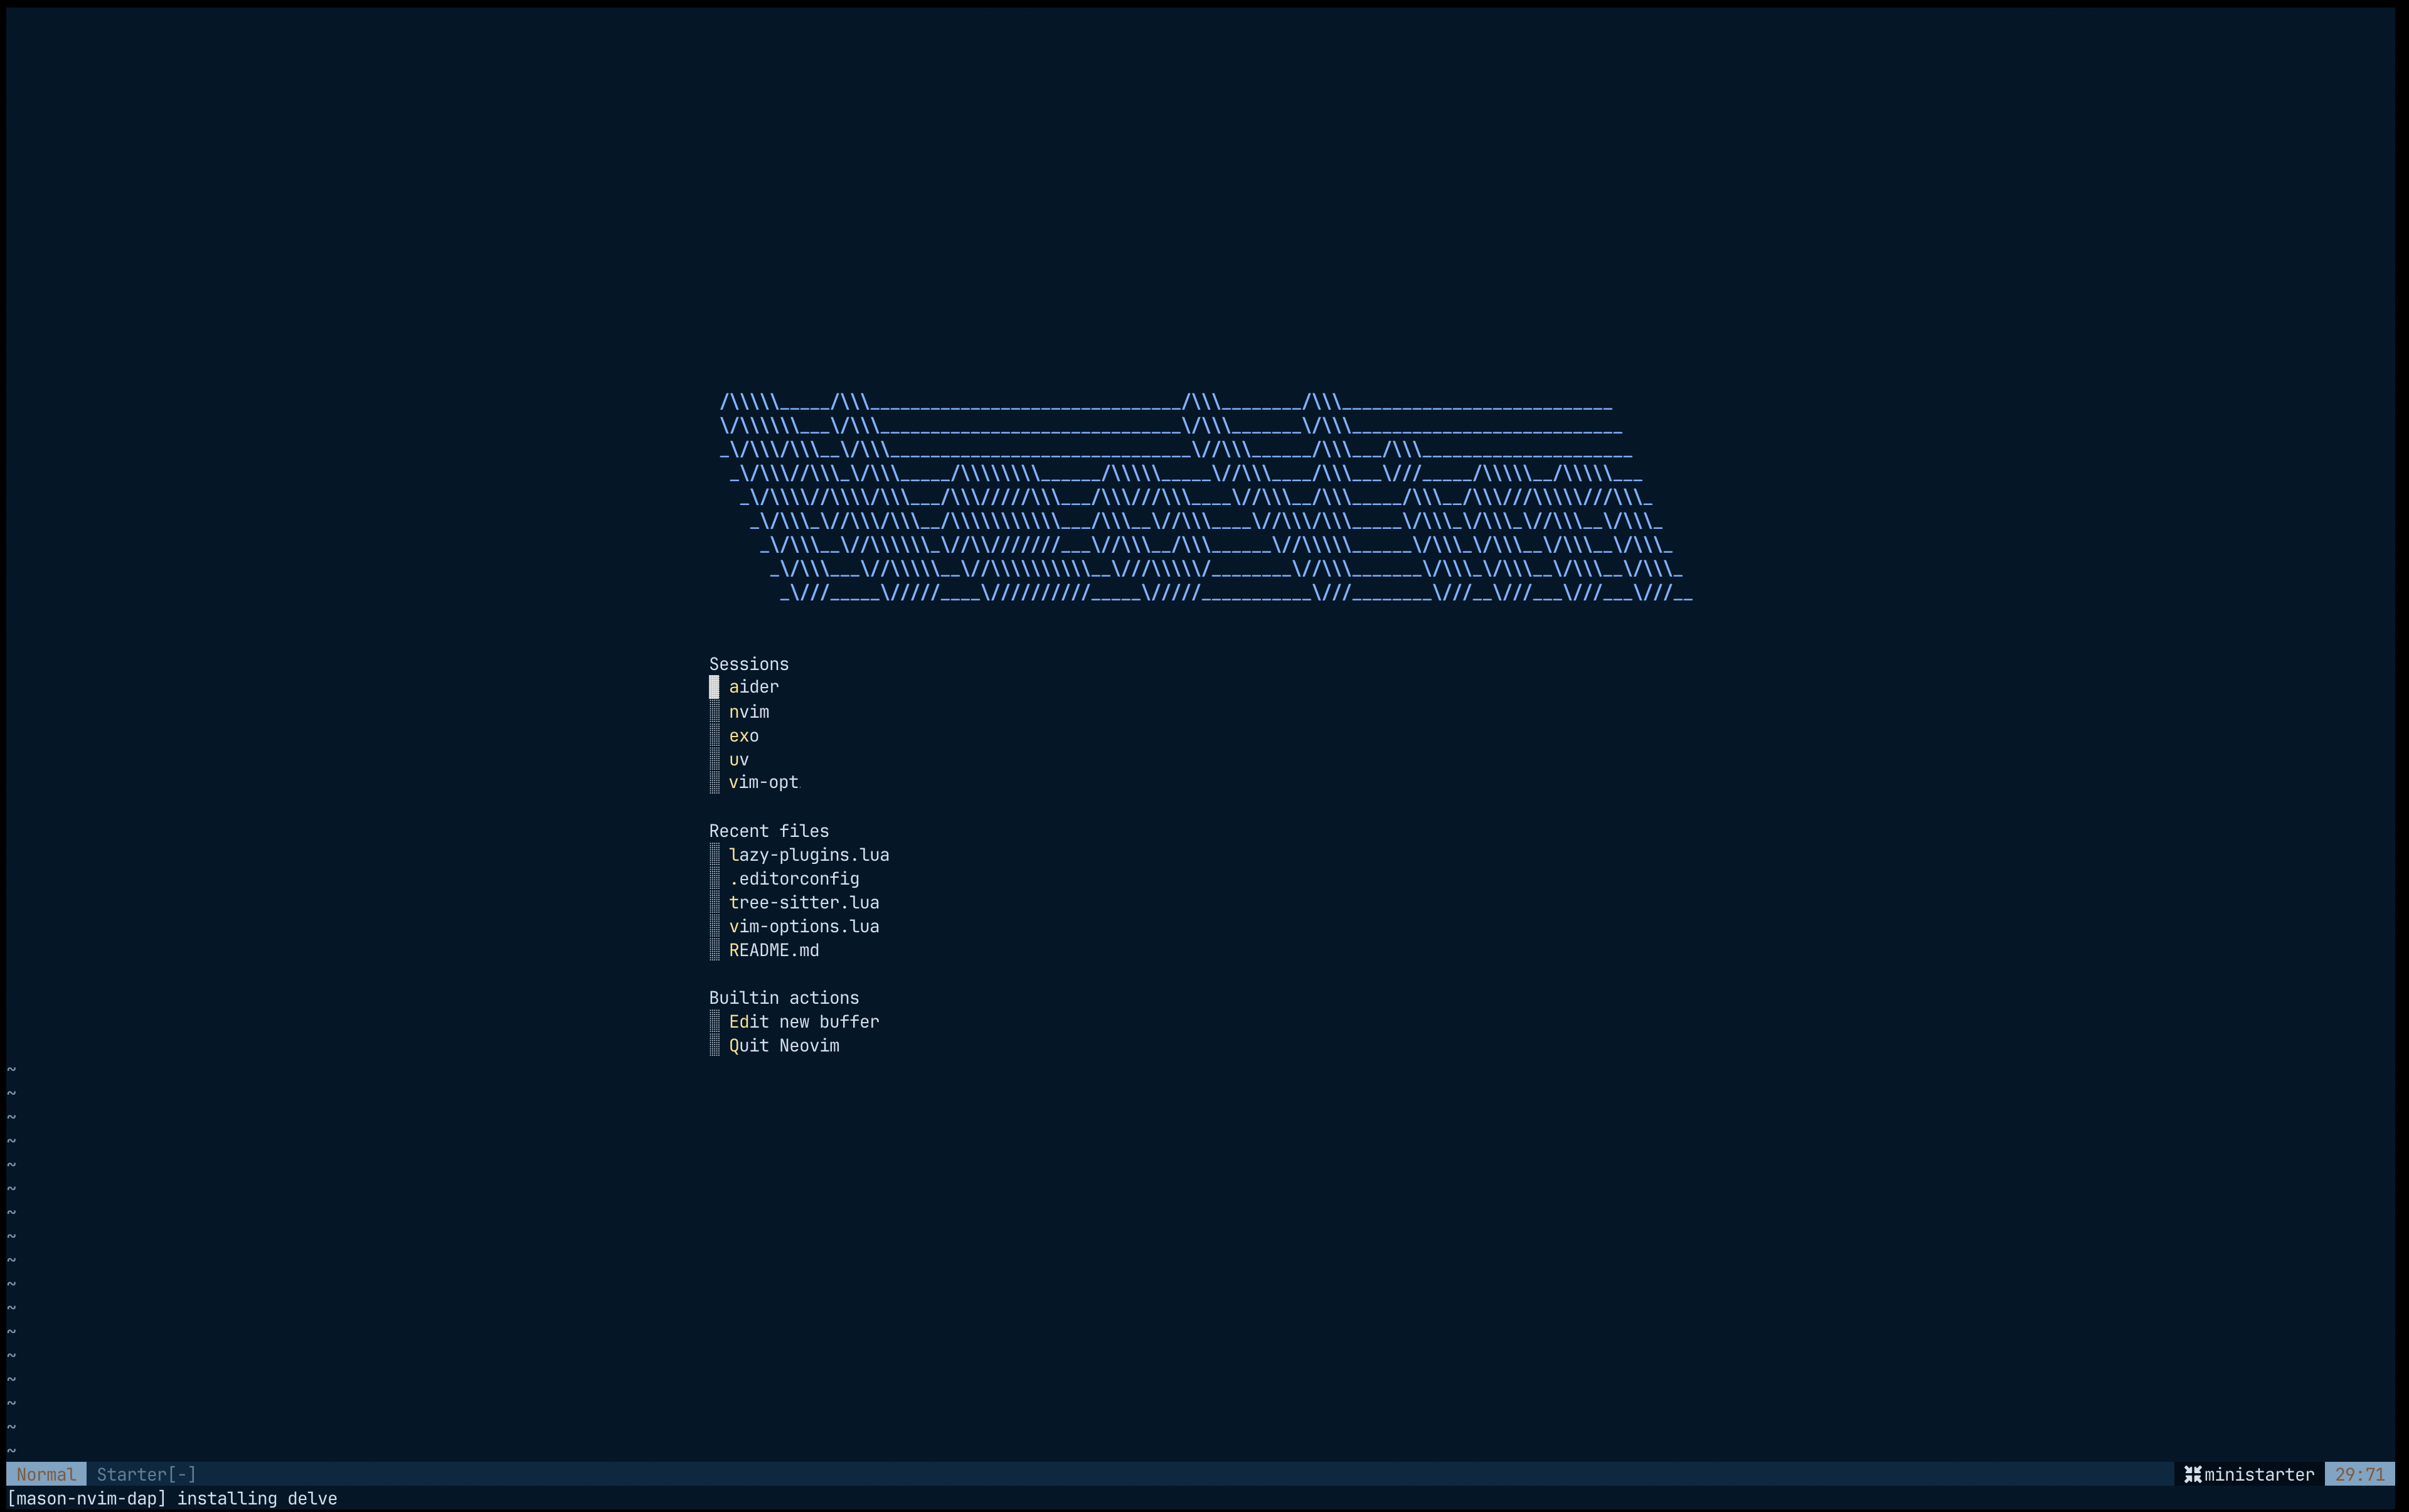
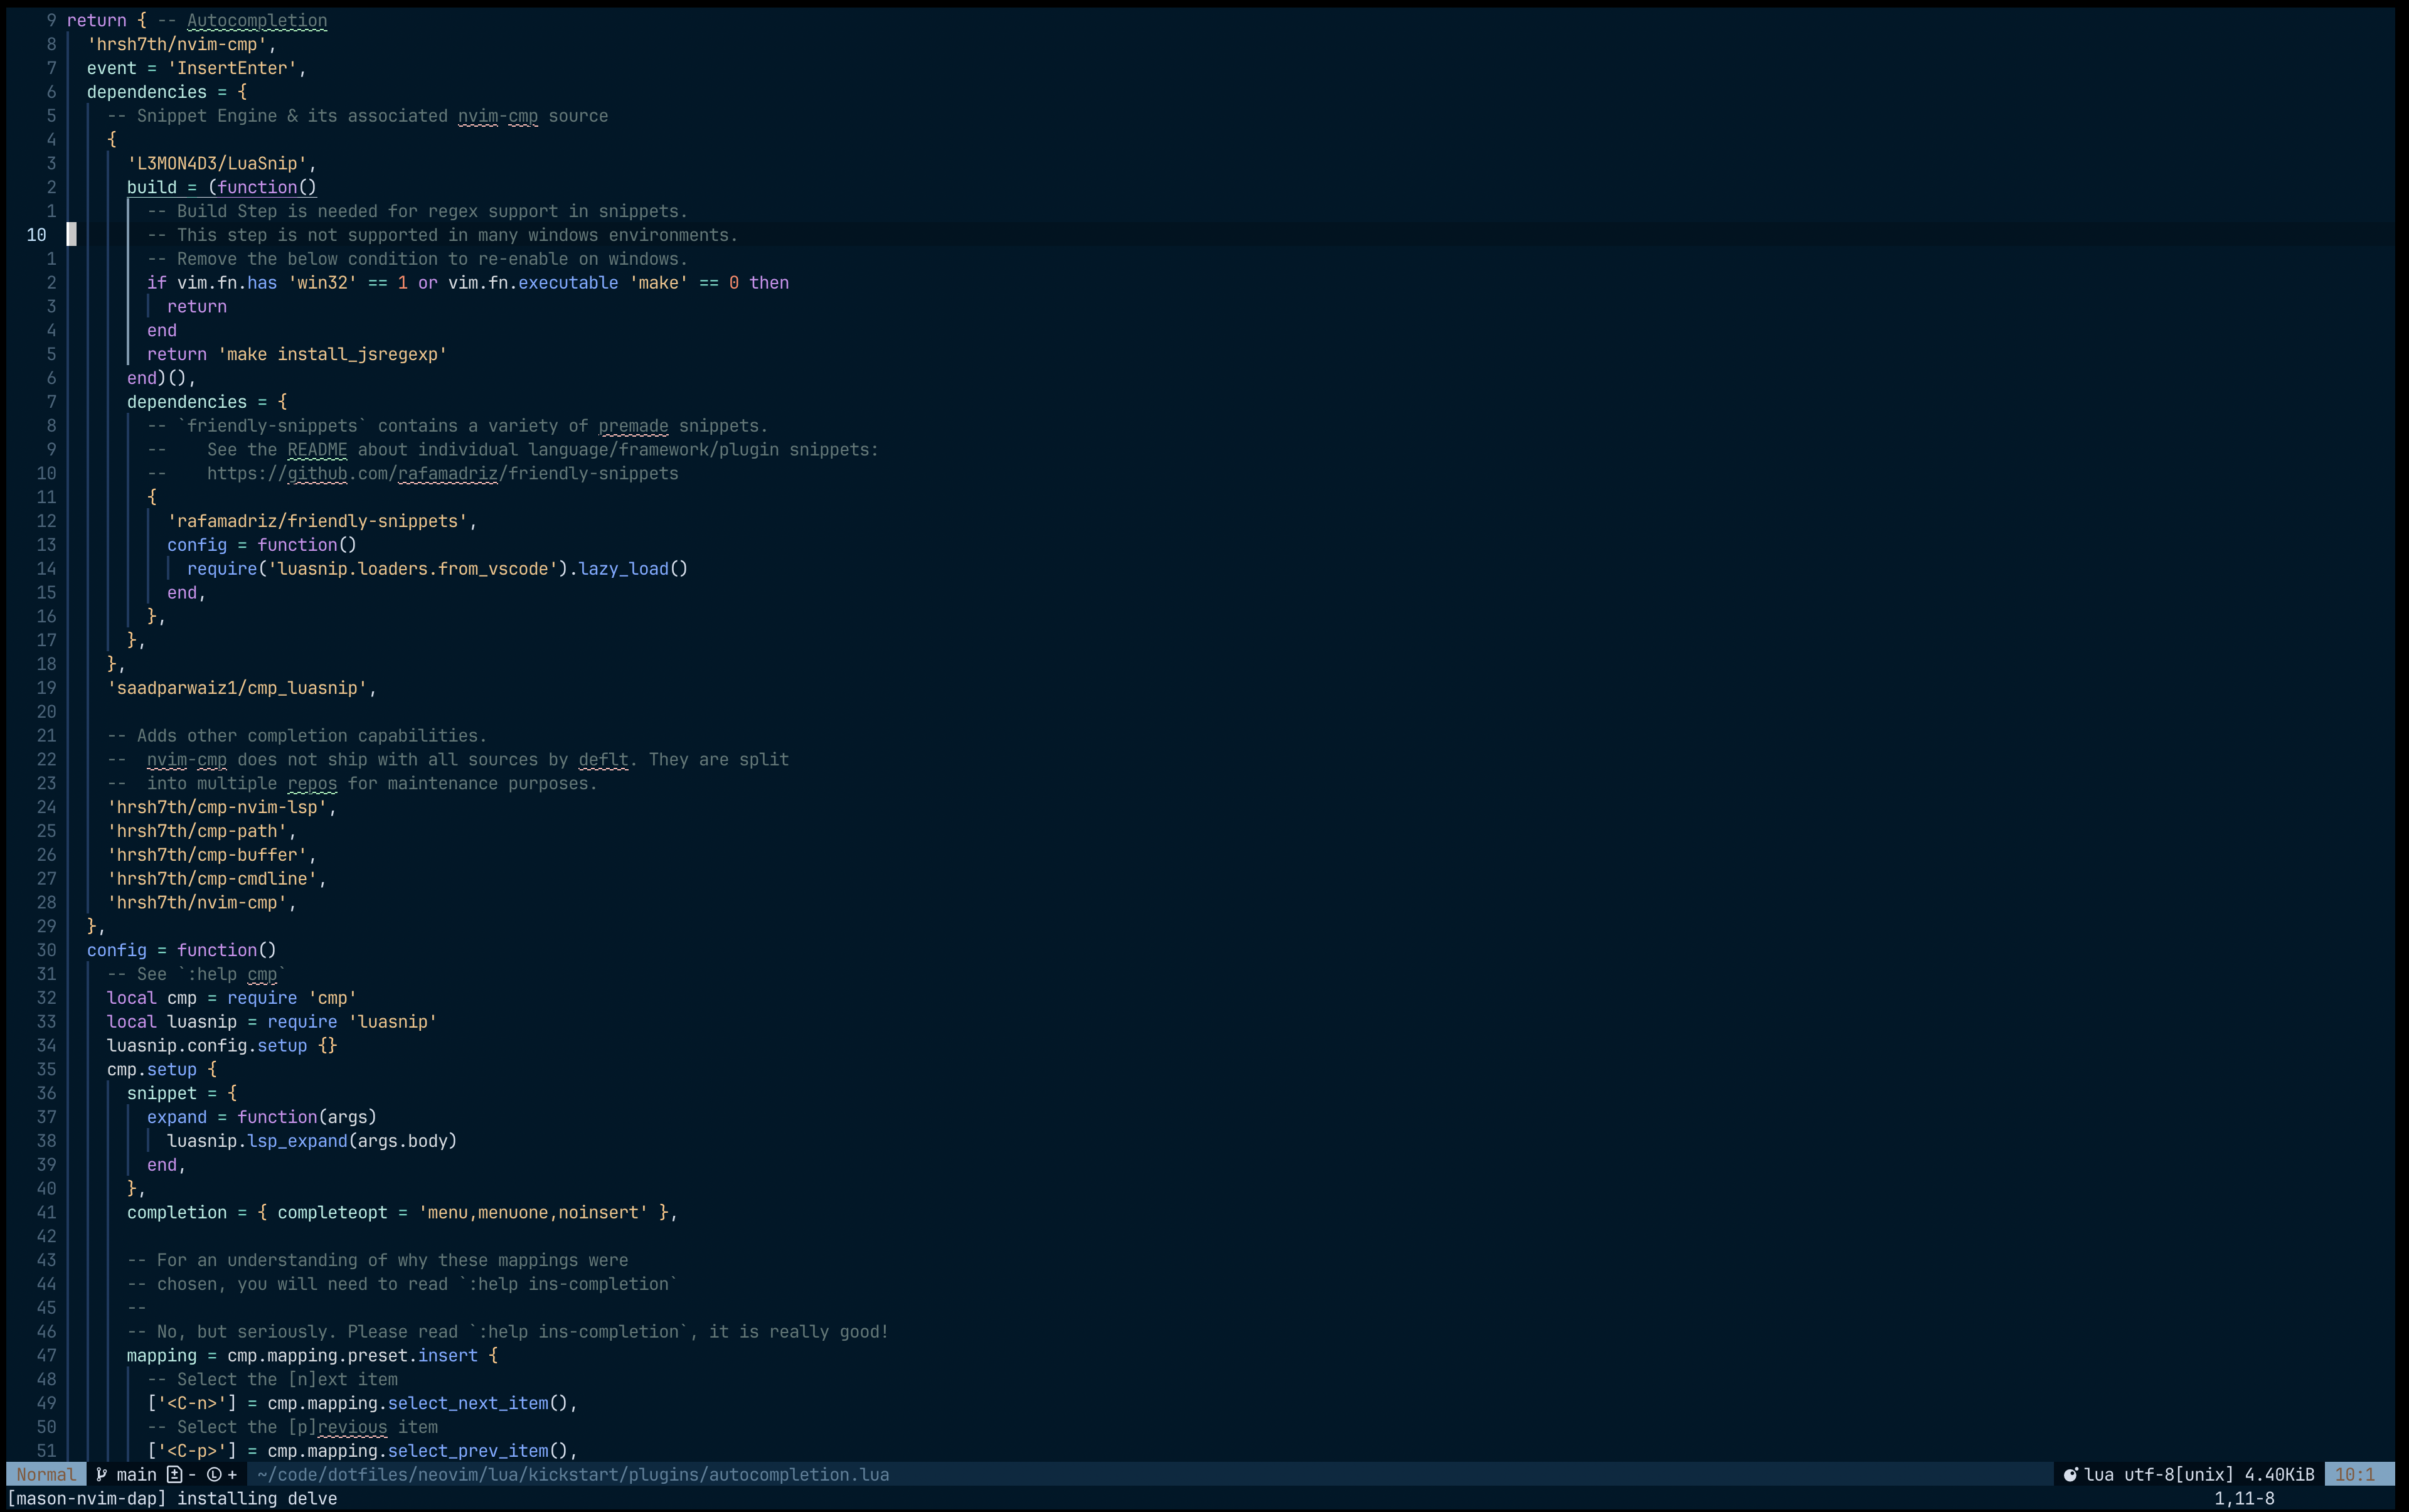
neovim/init.luais the main Neovim config file- all files in the
/neovimfolder can be copied into the~/.config/nvimfolder to setup your Neovim config
Instructions for setting up your new Mac (as of Feb 2024).
Inspired by and heavily referencing (Both courtesy of this tweet https://twitter.com/karpathy/status/1762648404029759758):
- Run
/bin/bash -c "$(curl -fsSL https://raw.githubusercontent.com/Homebrew/install/master/install.sh)" - Run
echo 'eval "$(/opt/homebrew/bin/brew shellenv)"' >> ~/.zprofile- To make the Homebrew-installed programs available in your shell, you need to add your Homebrew installation location to your $PATH
I'm using zen as my default browser for now.
- Download Chrome https://www.google.com/chrome/
- Update your
chrome://flags/to have all websites dark-mode
- Update your
- Install FireFox
- Install zen
- Privacy focused:
- Install wezterm
brew install --cask wezterm
- Download iTerm2
brew install --cask iterm2- Update the blue colour in
iTerm -> Settings -> Profiles -> [ choose needed profile ] -> Colorsfor a better exp with agnoster's theme
- Update the blue colour in
- Install oh-my-zsh
sh -c "$(curl -fsSL https://raw.github.com/ohmyzsh/ohmyzsh/master/tools/install.sh)" - Set
~/.zprofileand~/.zshrcto the files in this folder - Download nerd fonts and set iTerm2's font to it
brew tap homebrew/cask-fonts && brew install --cask font-source-code-pro && brew install --cask font-jetbrains-mono- If you want jetbrains mono nerd-font, install with
curl -OL https://github.com/ryanoasis/nerd-fonts/releases/latest/download/JetBrainsMono.tar.xz - iTerm2 settings -> Profile -> Text -> Font -> set to source code pro
- Shortcuts -- get better default shortcuts by setting the preset keys to
Natural Text Editing(e.g.CMD + Backspace&Option + Backspace)- iTerm2 Settings -> Profile -> Keys -> Presets -> Natural Text Editing
- Install github CLI
brew install gh- Run
gh auth login - add GitHub SSH key (NOT optional)
- Run
- Add
[dotenv](https://github.com/ohmyzsh/ohmyzsh/tree/master/plugins/dotenv)into your list of zsh plugins in.zshrc- This helps with loading
.envenv vars automatically when youcdinto a given folder
- This helps with loading
- Install vscode
- Run
brew install --cask visual-studio-code
- Run
- Nano should come pre-installed
- To ensure debugging works on vscode:
- System Preferences -> Desktop & Dock -> Keyboard & Mouse Shortcuts -> Show Desktop -> Keyboard Shortcut -> toggle off F11 key. (
F11should be reserved for step through debugging)
- System Preferences -> Desktop & Dock -> Keyboard & Mouse Shortcuts -> Show Desktop -> Keyboard Shortcut -> toggle off F11 key. (
- Run
code .to open a new file/folder in vscode
Should already come pre-installed. Simply run nano in the terminal to open a new file.
- Based on kickstart.nvim and this guide
- Follow the installation instructions in the kickstart.nvim repo
- Install these pre-requisites:
brew install neovim ripgrep xclip luajit luarocks - Run:
git clone https://github.com/ianpaul10/kickstart.nvim.git "${XDG_CONFIG_HOME:-$HOME/.config}"/nvim
- Install these pre-requisites:
- You're off to the races! Run
nvim .to open a new file/folder in neovim
- Install pyenv
brew install pyenv - Run
pyenv install 3to get the latest python 3 - Run
pip install virtualenvto install virtualenv locally - Run
git clone https://github.com/pyenv/pyenv-virtualenv.git $(pyenv root)/plugins/pyenv-virtualenvandpyenv global 3to activate what you just installed. - When starting/loading a new python repo:
- Start a new python virtual environment
python3 -m venv venv - Activate the python virtual environment
source venv/bin/activate - When done work in that repo, run
deactivate - This will help keep dependencies for a given repo local to that
/venvfolder inside the root repo dir - Be sure to include
venvin your.gitignorefile to not have the packages brought into source control
- Start a new python virtual environment
- Ruby install (for jekyll):
brew install ruby
- Install node version manager
brew install nvm- Ensure you update your
.zshrcwith the appropriate info to load node properly. - Install node.js
nvm install node # install most recent Node stable version- Node.js and nvm config included in
.zshrc
brew install dotnet
askcommand to ask GPT-4 a question from the command line- Run
pip install -r requirements.txtto install the required packages - Run
cp .env.example .envto create a.envfile - Update the
.envfile with your OpenAI API key
- Run
- If you want to add any new scripts, add them in the
/scriptsfolder and include analiasin your.zshrcfile to run them. Be sure to update the local scripts setup alias in.zshrcto point to the new script. - Heavily inspired from dnbt777
- Finder settings change
- Settings > advanced > show filename extensions
- Enable showing dotfiles (
Cmd + Shift + . (dot)in a Finder window) - Show path bar in footer for easier navigation (View -> Show Path Bar)
- System preferences
- Desktop & Dock
- Dock size nearly smallest & magnification to max
- Displays -> Night shift
- Enable Sunset to Sunrise
- Set color temperature to more warm
- Desktop & Dock
- Install FlyCut from the app store (copy/paste clipboard)
- Preferences -> Move pasted items to top of stack -> Select check box
- Install docker
- Run
brew install --cask docker
- Run
- Install spotify
- Run
brew install --cask spotify
- Run
- Install logitech mouse settings app
- Run
brew install --cask logitech-options
- Run
- Install protonVPN
- Run
brew install --cask protonvpn
- Run
- Desktop background
- Private env vars that you want access to in your terminal can be put into
.zshenv - If you see a blue arrow at the beginning of your terminal prompt, it's likely a iTerm2 issue. See here to fix it.
- Install loop for window/tile managment
brew install loop


