This repository can be used to get up and running on a local Enigma Blockchain developer testnet (enigmadev) to start working with the cosmwasm-based smart contracts (soon to be secret contracts!).
A few important notes:
- smart contracts in this repo are a precursor to Enigma's Secret Contracts, which enable data privacy
- smart contracts are written in Rust and based on cosmwasm, and the module is referred to as compute in the Enigma Blockchain. This will be also true of Secret Contracts!
- these cosmwasm-based smart contracts should be reusable and easily modified once we incorporate data privacy
The developer blockchain is configured to run inside a docker container. Install Docker for your environment (Mac, Windows, Linux).
Open a terminal window and change to your project directory. Then clone the EnigmaBlockchain repository:
$ git clone https://github.com/enigmampc/EnigmaBlockchain.git
Change directory:
$ cd EnigmaBlockchain
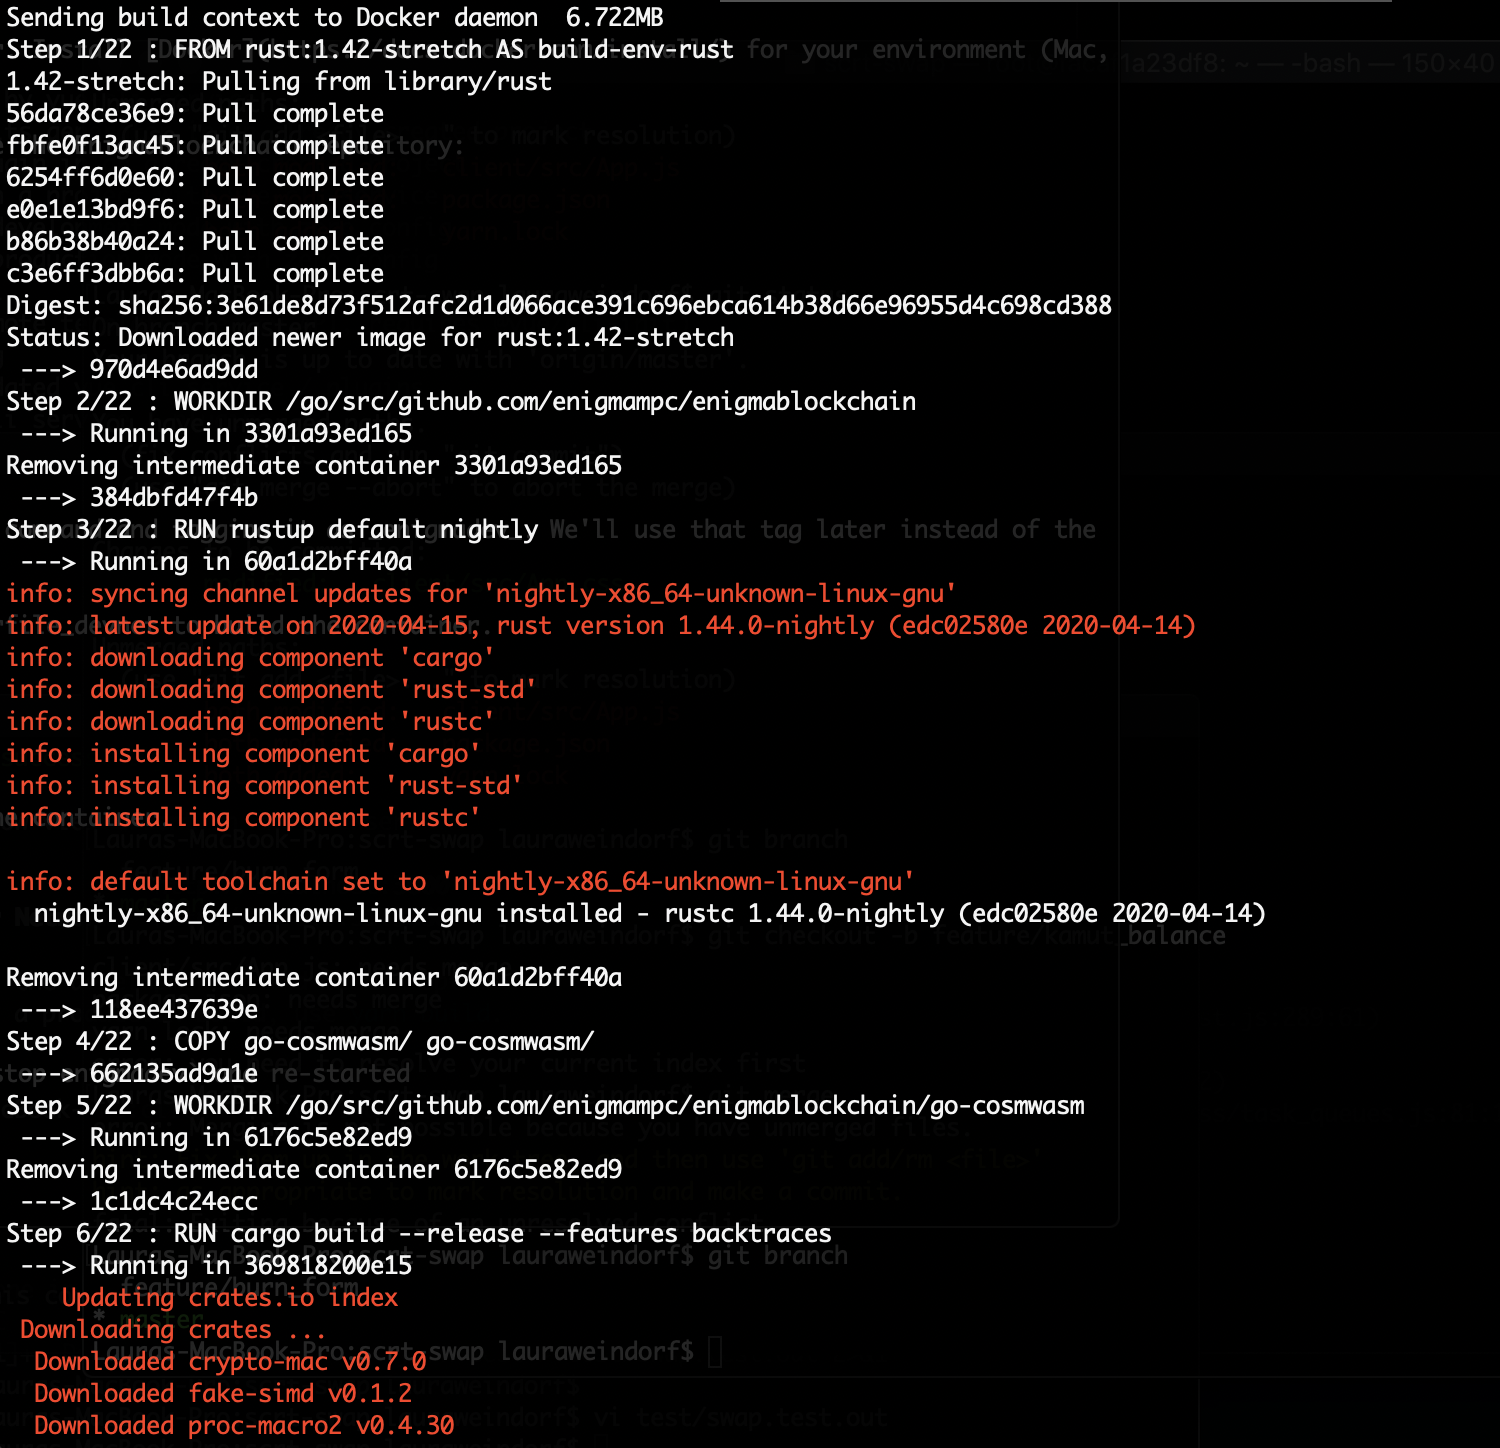
In the same terminal, create the docker image by issuing the build command and tagging it as enigmadev. We'll use that tag later instead of the container id, which can be a bit cryptic and hard to remember.
The command below tells Docker to follow the instructions in the Dockerfile_devnet file to build the image.
# Checkout and build with the compute module enabled, so we can deploy contracts.
git checkout 168d64f5b5bd5b998a171cd24bba5d405e3a8229

docker build -f Dockerfile_devnet -t enigmadev .
To verify the enigmadev docker image was created:
docker image ls enigmadev
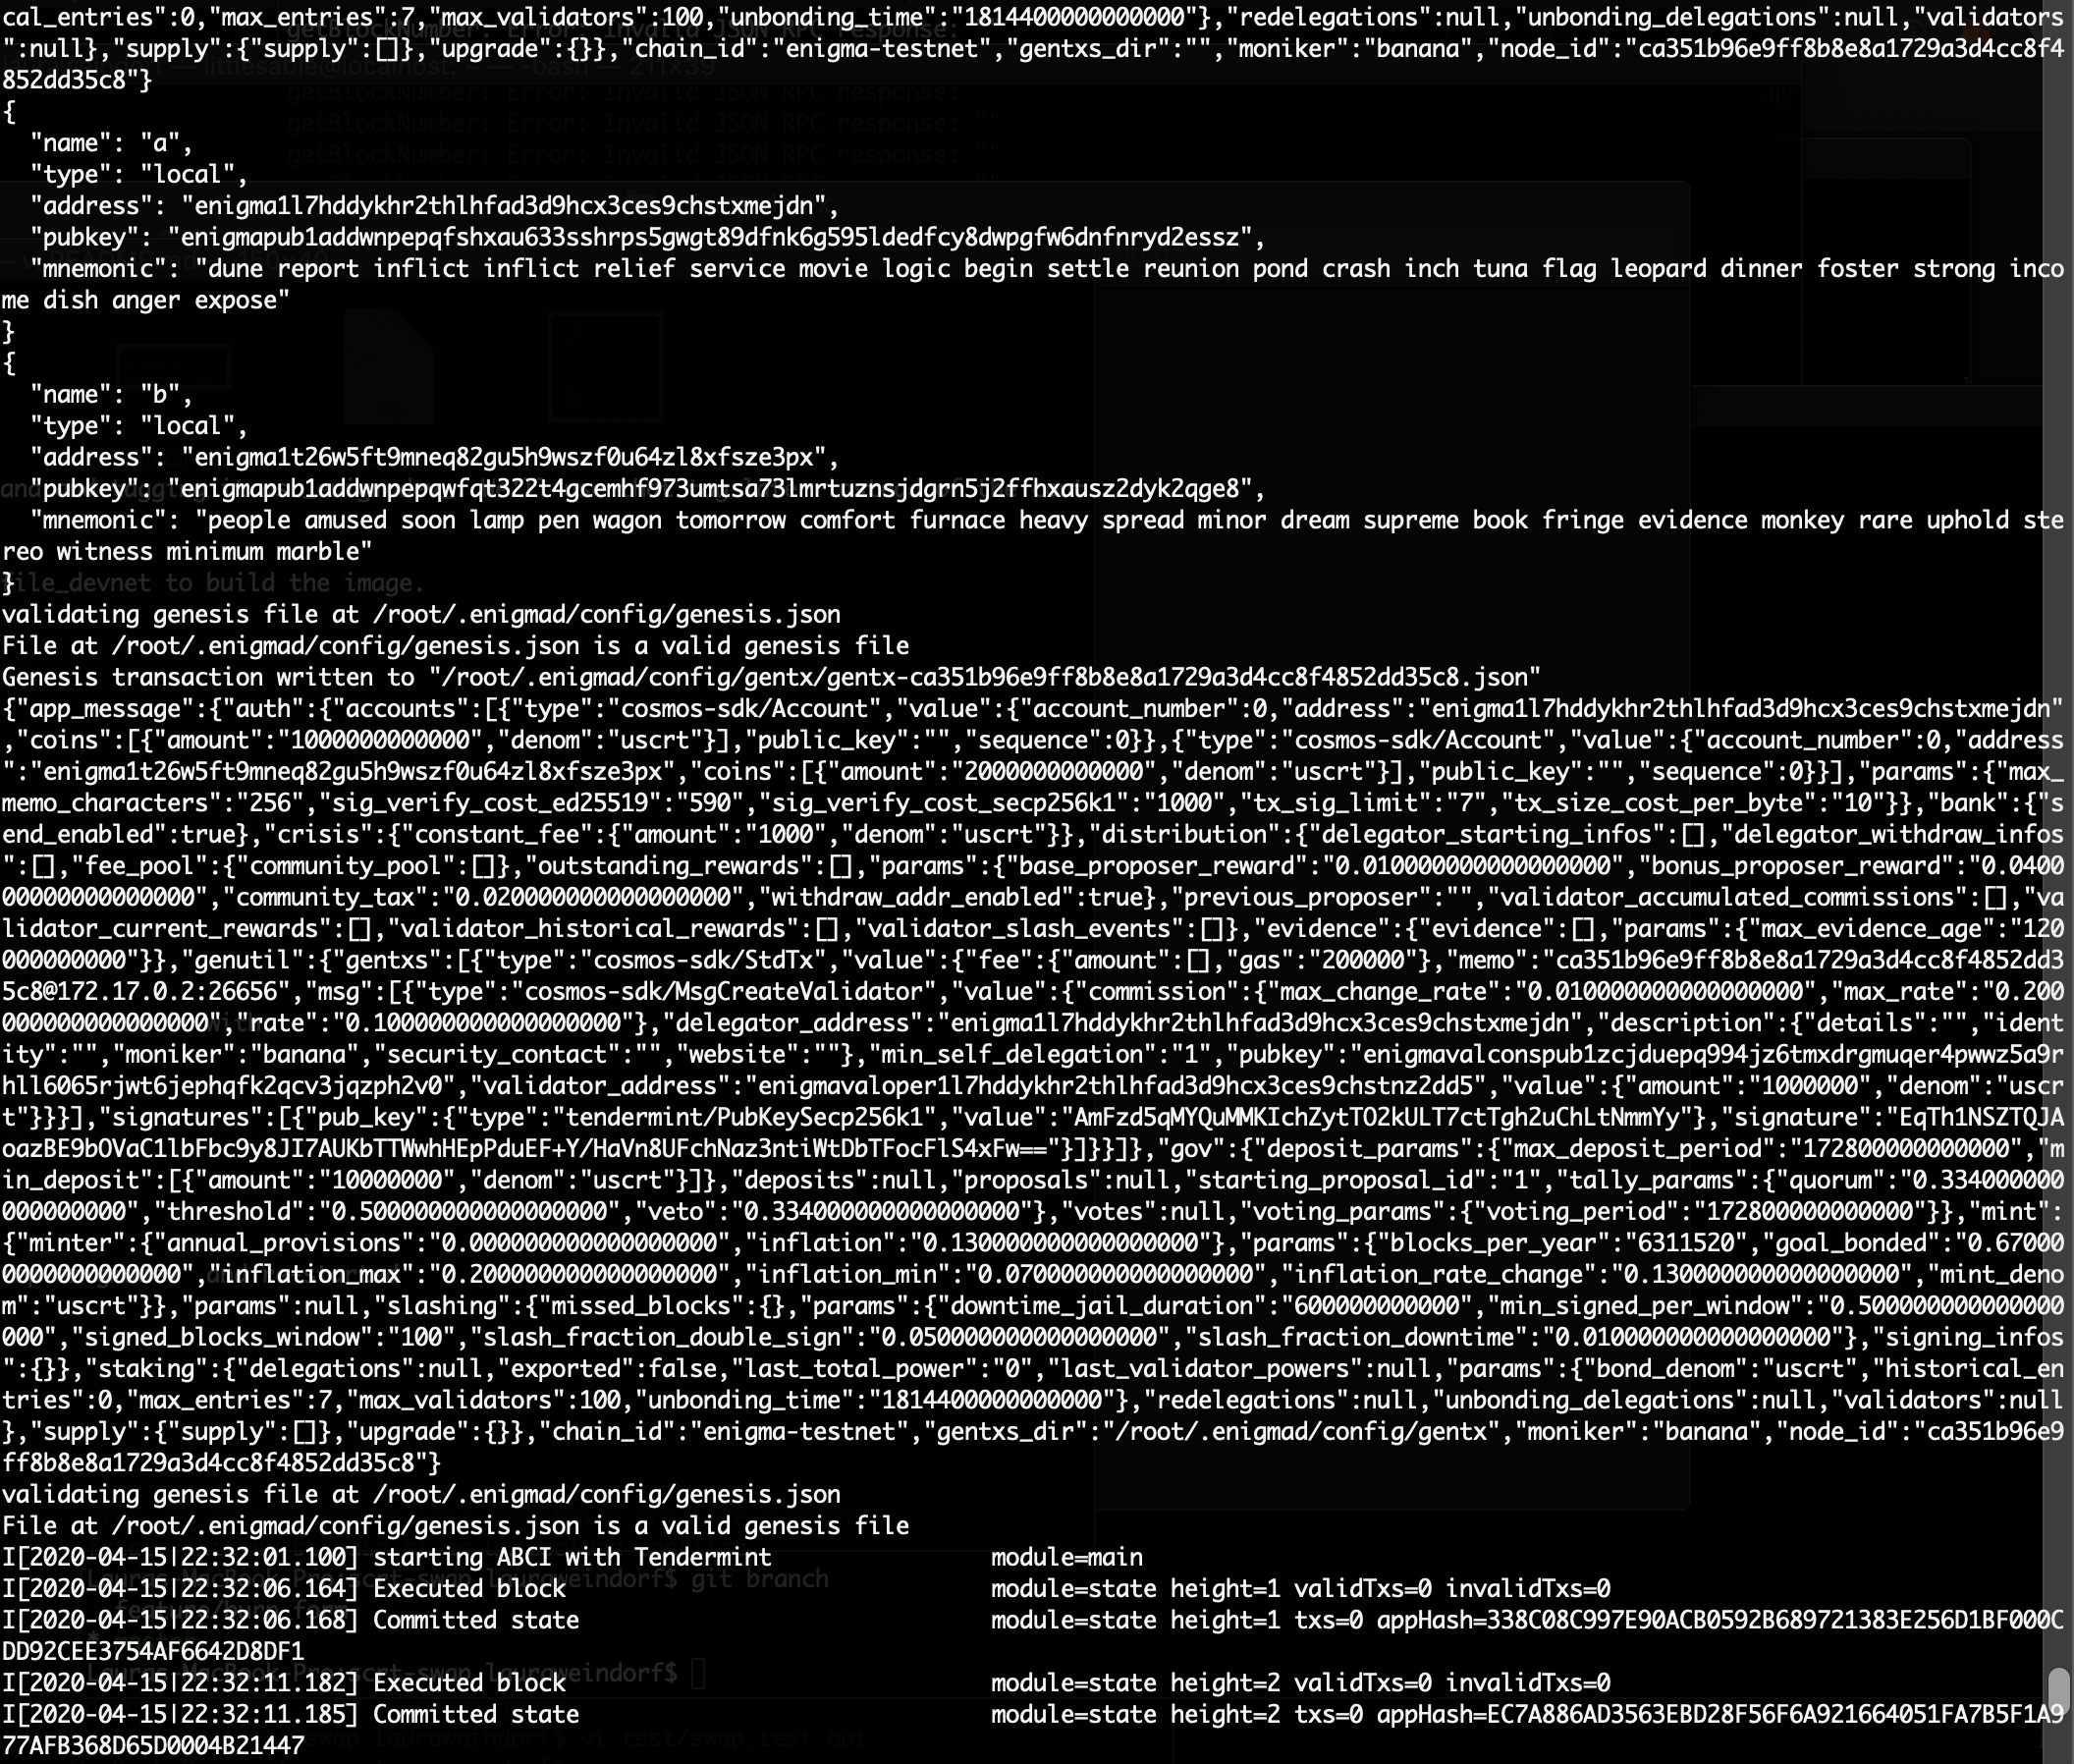
Now that we've created the local EnigmaBlockchain docker image we can run it as a container:
docker run -it --rm \
 -p 26657:26657 -p 26656:26656 -p 1317:1317 \
 --name enigmadev enigmadev
NOTE: The enigmadev docker container can be stopped by CTRL+C
At this point you're running a local EnigmaBlockchain full-node. Let's connect to the container so we can view and manage the enigma keys:
NOTE: In a new terminal
docker exec -it enigmadev /bin/bash
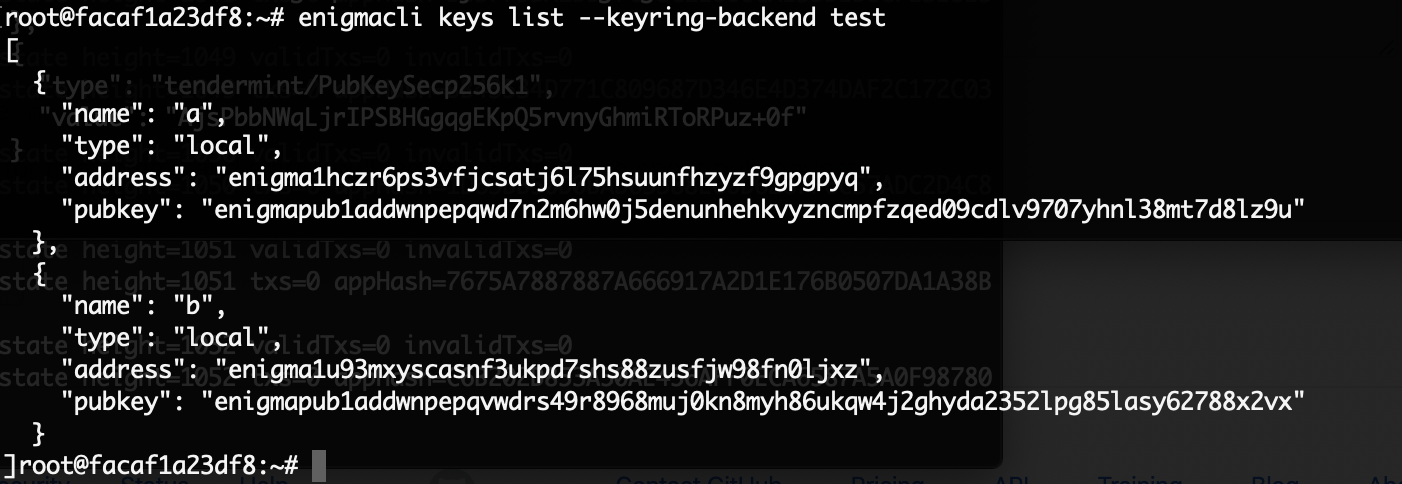
The local blockchain has a couple of keys setup for you (similar to accounts if you're familiar with Truffle Ganache). The keys are stored in the test keyring backend, which makes it easier for local development and testing.
enigmacli keys list --keyring-backend test
exit when you are done
At this point you've:
-
Created the local Enigma developer testnet
-
Started the EnigmaBlockchain
-
Listed the keys/accounts
This process is similar to the old discovery init and discovery start and may be streamlined in the future.
Enigma smart contracts are based on Cosmwasm which is an implementation on the Cosmos network. The CosmWasm smart contracts are like Ethereum's smart contracts except they can be used on other blockchains using the Inter Blockchain Protocol (IBC). CosmWasm smart contracts are written in the Rust language.
The EnigmaBlockchain has a compute module that we'll use to store, query and instantiate the smart contract. Once stored on the blockchain the smart contract has to be created (or instantiated) in order to execute its methods. This is similar to doing an Ethereum migrate using truffle which handles the deployment and creation of a smart contract.
Eventually the smart contracts will become secret contracts (in a future blockchain upgrade) running in an SGX enclave (Trusted Execution Environment) where computations are performed on the encrypted contract data (i.e. inputs, state).
Next we'll walkthrough steps to:
- install Rust (you can check out the Rust book, rustlings course, examples and more at https://www.rust-lang.org/learn)
- install the Rust dependencies
- create your first project
The Rust dependencies include the Rust compiler, cargo (package manager), toolchain and a package to generate projects (you can check out the Rust book, rustlings course, examples and more at https://www.rust-lang.org/learn).
- Install Rust
More information about installing Rust can be found here: https://www.rust-lang.org/tools/install.
curl --proto '=https' --tlsv1.2 -sSf https://sh.rustup.rs | sh
source $HOME/.cargo/env
- Add rustup target wasm32 for both stable and nightly
rustup default stable
rustup target list --installed
rustup target add wasm32-unknown-unknown

rustup install nightly
rustup target add wasm32-unknown-unknown --toolchain nightly
- If using linux, install the standard build tools:
apt install build-essential
- Run cargo install cargo-generate
Cargo generate is the tool you'll use to create a smart contract project (https://doc.rust-lang.org/cargo).
cargo install cargo-generate --features vendored-openssl
To create the smart contract you'll:
- generate the initial project
- compile the smart contract
- run unit tests
- optimize the wasm contract bytecode to prepare for deployment
- deploy the smart contract to your local EnigmaBlockchain
- instantiate it with contract parameters
Generate the smart contract project
cargo generate --git https://github.com/confio/cosmwasm-template.git --name mysimplecounter
The git project above is a cosmwasm smart contract template that implements a simple counter. The contract is created with a parameter for the initial count and allows subsequent incrementing.
Change directory to the project you created and view the structure and files that were created.
cd mysimplecounter
The generate creates a directory with the project name and has this structure:
Cargo.lock	Developing.md	LICENSE		Publishing.md	examples	schema		tests
Cargo.toml	Importing.md	NOTICE		README.md	rustfmt.toml	src
Use the following command to compile the smart contract which produces the wasm contract file.
cargo wasm
Run unit tests
RUST_BACKTRACE=1 cargo unit-test
The integration tests are under the tests/ directory and run as:
cargo integration-test
We can also generate JSON Schemas that serve as a guide for anyone trying to use the contract, to specify which arguments they need.
Auto-generate msg schemas (when changed):
cargo schema
Before deploying or storing the contract on the testnet, need to run the cosmwasm optimizer.
docker run --rm -v $(pwd):/code \
  --mount type=volume,source=$(basename $(pwd))_cache,target=/code/target \
  --mount type=volume,source=registry_cache,target=/usr/local/cargo/registry \
  confio/cosmwasm-opt:0.7.3
The contract wasm needs to be optimized to get a smaller footprint. Cosmwasm notes state the contract would be too large for the blockchain unless optimized. This example contract.wasm is 1.8M before optimizing, 90K after.
The optimization creates two files:
- contract.wasm
- hash.txt
# First lets start it up again, this time mounting our project's code inside the container.
docker run -it --rm \
 -p 26657:26657 -p 26656:26656 -p 1317:1317 \
 -v $(pwd):/root/code \
 --name enigmadev enigmadev
Upload the optimized contract.wasm to the enigma-testnet:
docker exec -it enigmadev /bin/bash

cd code

enigmacli tx compute store contract.wasm --from a --gas auto -y --keyring-backend test
List current smart contract code
enigmacli query compute list-code
[
  {
    "id": 1,
    "creator": "enigma1klqgym9m7pcvhvgsl8mf0elshyw0qhruy4aqxx",
    "data_hash": "0C667E20BA2891536AF97802E4698BD536D9C7AB36702379C43D360AD3E40A14",
    "source": "",
    "builder": ""
  }
]
At this point the contract's been uploaded and stored on the testnet, but there's no "instance."
This is like discovery migrate which handles both the deploying and creation of the contract instance, except in Cosmos the deploy-execute process consists of 3 steps rather than 2 in Ethereum. You can read more about the logic behind this decision, and other comparisons to Solidity, in the cosmwasm documentation. These steps are:
- Upload Code - Upload some optimized wasm code, no state nor contract address (example Standard ERC20 contract)
- Instantiate Contract - Instantiate a code reference with some initial state, creates new address (example set token name, max issuance, etc for my ERC20 token)
- Execute Contract - This may support many different calls, but they are all unprivileged usage of a previously instantiated contract, depends on the contract design (example: Send ERC20 token, grant approval to other contract)
To create an instance of this project we must also provide some JSON input data, a starting count.
INIT="{\"count\": 100000000}"
CODE_ID=1
enigmacli tx compute instantiate $CODE_ID "$INIT" --from a --label "my counter" -y --keyring-backend test
With the contract now initialized, we can find its address
enigmacli query compute list-contract-by-code 1Our instance is enigma18vd8fpwxzck93qlwghaj6arh4p7c5n89d2p9uk
We can query the contract state
CONTRACT=enigma18vd8fpwxzck93qlwghaj6arh4p7c5n89d2p9uk
enigmacli query compute contract-state smart $CONTRACT "{\"get_count\": {}}"
And we can increment our counter
enigmacli tx compute execute $CONTRACT "{\"increment\": {}}" --from a --keyring-backend testThe source directory (src/) has these files:
contract.rs lib.rs msg.rs state.rs
The developer modifies contract.rs for contract logic, contract entry points are init, handle and query functions.
init in the Counter contract initializes the storage, specifically the current count and the signer/owner of the instance being initialized.
We also define handle, a generic handler for all functions writing to storage, the counter can be incremented and reset. These functions are provided the storage and the environment, the latter's used by the reset function to compare the signer with the contract owner.
Finally we have query for all functions reading state, we only have query_count, returning the counter state.
The rest of the contract file is unit tests so you can confidently change the contract logic.
The state.rs file defines the State struct, used for storing the contract data, the only information persisted between multiple contract calls.
The msg.rs file is where the InitMsg parameters are specified (like a constructor), the types of Query (GetCount) and Handle[r] (Increment) messages, and any custom structs for each query response.
use schemars::JsonSchema;
use serde::{Deserialize, Serialize};

#[derive(Serialize, Deserialize, Clone, Debug, PartialEq, JsonSchema)]
pub struct InitMsg {
    pub count: i32,
}

#[derive(Serialize, Deserialize, Clone, Debug, PartialEq, JsonSchema)]
#[serde(rename_all = "lowercase")]
pub enum HandleMsg {
    Increment {},
    Reset { count: i32 },
}

#[derive(Serialize, Deserialize, Clone, Debug, PartialEq, JsonSchema)]
#[serde(rename_all = "lowercase")]
pub enum QueryMsg {
    // GetCount returns the current count as a json-encoded number
    GetCount {},
}

// We define a custom struct for each query response
#[derive(Serialize, Deserialize, Clone, Debug, PartialEq, JsonSchema)]
pub struct CountResponse {
    pub count: i32,
}
Unit tests are coded in the contract.rs file itself:
#[cfg(test)]
mod tests {
    use super::*;
    use cosmwasm::errors::Error;
    use cosmwasm::mock::{dependencies, mock_env};
    use cosmwasm::serde::from_slice;
    use cosmwasm::types::coin;

    #[test]
    fn proper_initialization() {
        let mut deps = dependencies(20);

        let msg = InitMsg { count: 17 };
        let env = mock_env(&deps.api, "creator", &coin("1000", "earth"), &[]);

        // we can just call .unwrap() to assert this was a success
        let res = init(&mut deps, env, msg).unwrap();
        assert_eq!(0, res.messages.len());

        // it worked, let's query the state
        let res = query(&deps, QueryMsg::GetCount {}).unwrap();
        let value: CountResponse = from_slice(&res).unwrap();
        assert_eq!(17, value.count);
}Smart Contracts in the Enigma Blockchain use cosmwasm. Therefore, for troubleshooting and additional context, cosmwasm documentation may be very useful. Here are some of the links we relied on in putting together this guide:


