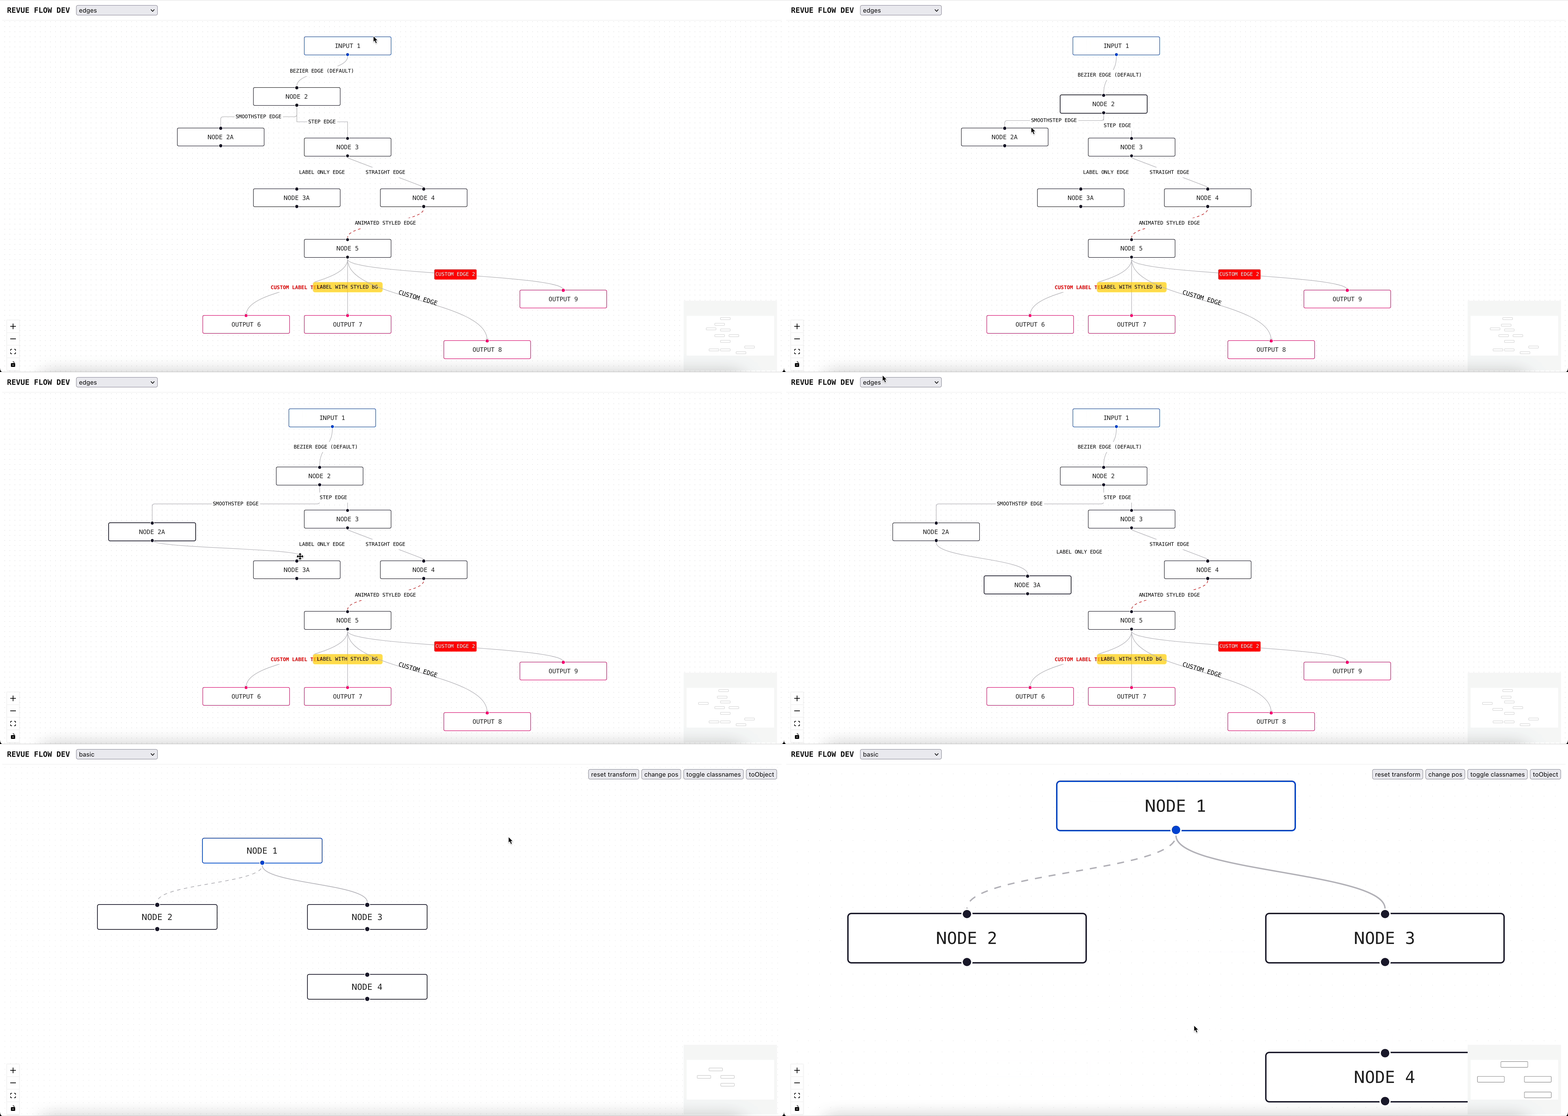
With Vue Flow you can build your own, customized node-based applications like static diagrams or even more complex and interactive editors!
You can find a detailed explanation on how to get started in the documentation or check the examples.
If you want to see how it's used with Nuxt3, check out the docs repo!
-
👶 Easy to use: Seamless zooming & panning behaviour and single and multi-selections of elements
-
🎨 Customizable: Different and edge types and support for custom nodes with multiple handles and custom edges
-
🚀 Fast rendering: Only nodes that have changed are re-rendered and only those that are in the viewport are displayed (optionally)
-
🧲 Utils: Snap-to-grid and graph helper functions
-
📦 Additional Components:
-
🖼 Background
-
🧭 Minimap
-
🕹 Controls
-
-
🦾 Fully written in TypeScript
$ npm i @braks/vue-flow
# or
$ yarn add @braks/vue-flowA flow consists of nodes and edges (or just nodes). Together we call them elements. You can pass a set of elements as a prop to the Flow component. Each element needs a unique id. A node needs a position and a label and an edge needs a source (node id) and a target (node id). These are the most basic parameters for a flow. A simple setup could look like this:
<!-- Flowchart.vue -->
<template>
  <VueFlow :elements="elements"></VueFlow>
</template>
<script lang="ts" setup>
import { VueFlow, Elements, Position } from '@braks/vue-flow'

const elements = ref<Elements>([
  {
    id: '1',
    data: {
      label: 'node 1',
    },
    position: { x: 100, y: 100 },
    targetPosition: Position.Right
  },
  {
    id: '2',
    data: {
      label: 'node 2',
    },
    position: { x: 100, y: 200 },
    sourcePosition: Position.Left
  },
  {
    id: 'e1-2',
    label: 'default edge',
    target: '2',
    source: '1',
  },
])
</script>
Make sure to import the necessary styles:
/* main.css */

/* import the required styles */
@import "node_modules/@braks/vue-flow/dist/style.css";

/* import the default theme (optional) */
@import "node_modules/@braks/vue-flow/dist/theme-default.css";This library doesn't work with Vue2.
# start (dev)
$ yarn dev

# build dist
$ yarn buildThanks to webkid for creating React Flow! Without their work this would've been impossible for me.


