- 3/27/2015: Rev. 0.5.0. Samples used in VIZBI tutorials
Please read this wiki first!
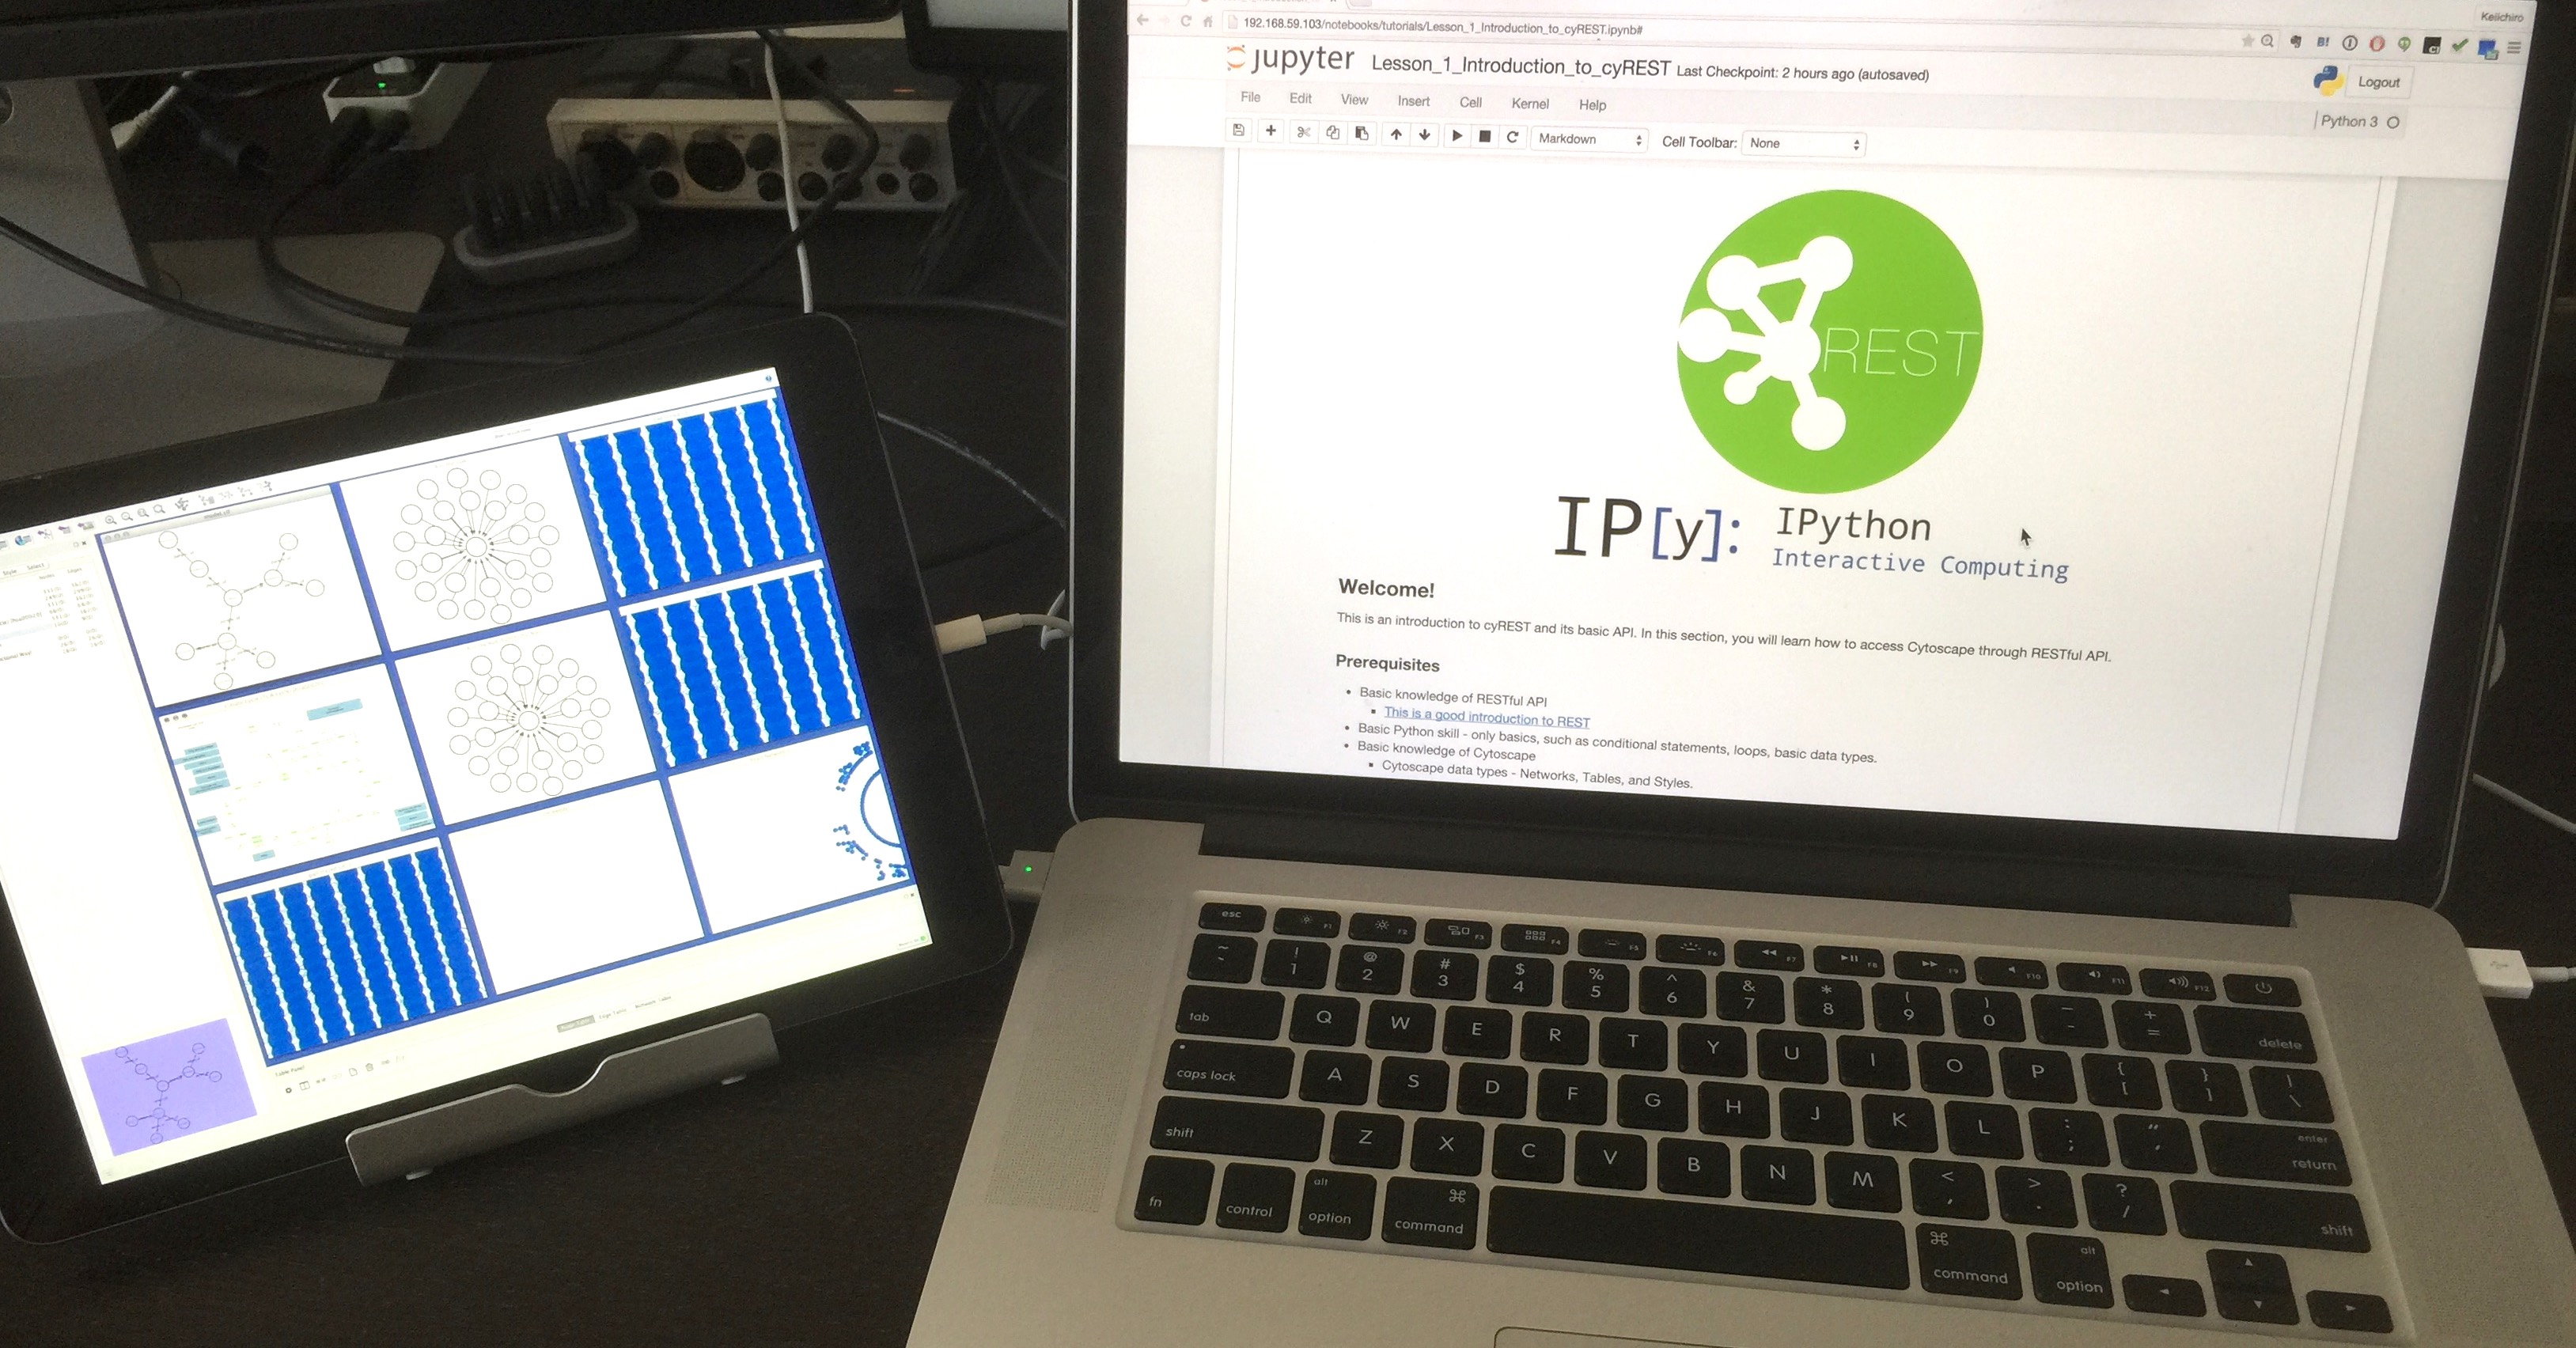
This is the repository for the course material used in VIZBI 2015 tutorial session. By following these lessons, you will learn:
- How to use basic features of IPython Notebook (or Jupyter. Essentially those two are the same.)
- Basics of RESTful API for Cytoscape (cyREST)
- Data round trip between cyREST-compatible JSON (same as the one used in Cytoscape.js. See the example below) and NetworkX
- Simple data analysis with NetowrkX and other libraries (igraph and graph-tool)
- How to creaet reproducible data visualization scripts in Python
Make sure your machine has the following to run these notebooks:
For the cyREST part, you also need the following:
If you just want to run these workflows, simply follow this instruction:
- (Optional) Fork this repo to your own account
- Clone this repo:
git clone https://github.com/idekerlab/vizbi-2015.git cd vizbi-2015- Run Docker image:
docker run -d -p 80:8888 -v $PWD:/notebooks -e "PASSWORD=you_can_use_your_own_pw" -e "USE_HTTP=1" idekerlab/vizbi-2015 - Mac & Windows users: If you use boot2docker to run Docker commands, check the VM's IP address:
boot2docker ip - Open the URL:
http://192.168.59.103orhttp://localhost - Type your password and start rom Lesson 0 in tutorials directory
If you want to edit the container image first, follow this instruction:
- Fork this repo to your own account
- Clone the repo you just forked to your account
- cd into the dir
- Edit Dockerfile and add whatever you want to add to this sample image
- Build the image:
docker build -t cyrest-tutorials . - Run Docker image:
docker run -d -p 80:8888 -v $PWD:/notebooks -e "PASSWORD=you_can_use_your_own_pw" -e "USE_HTTP=1" cyrest-tutorials - Follow the instruction above from #4
For more information and backgrounds, please read this page.
{
	data: {name: 'network_name'},
	elements: {
    nodes: [
      { data: { id: 'foo' } }, // NB no group specified

      { data: { id: 'bar' } },

      {
        data: { weight: 100 }, // elided id => autogenerated id
        group: 'nodes',
        position: {
          x: 100,
          y: 100
        },
      }
    ],

    edges: [
      { data: { id: 'baz', source: 'foo', target: 'bar' } } // NB no group specified
    ]
  }
}Send them to me (kono ucsd edu).