This is a project I undertook with Jonah Simpson (jonahs99) to learn some image manipulation. We had several primary objectives...
- synthetically blur an image
- select areas within an image and cut them out
- transform an image into a more primitive polygon composite, ie poly art
We have successfully implemented such processes.
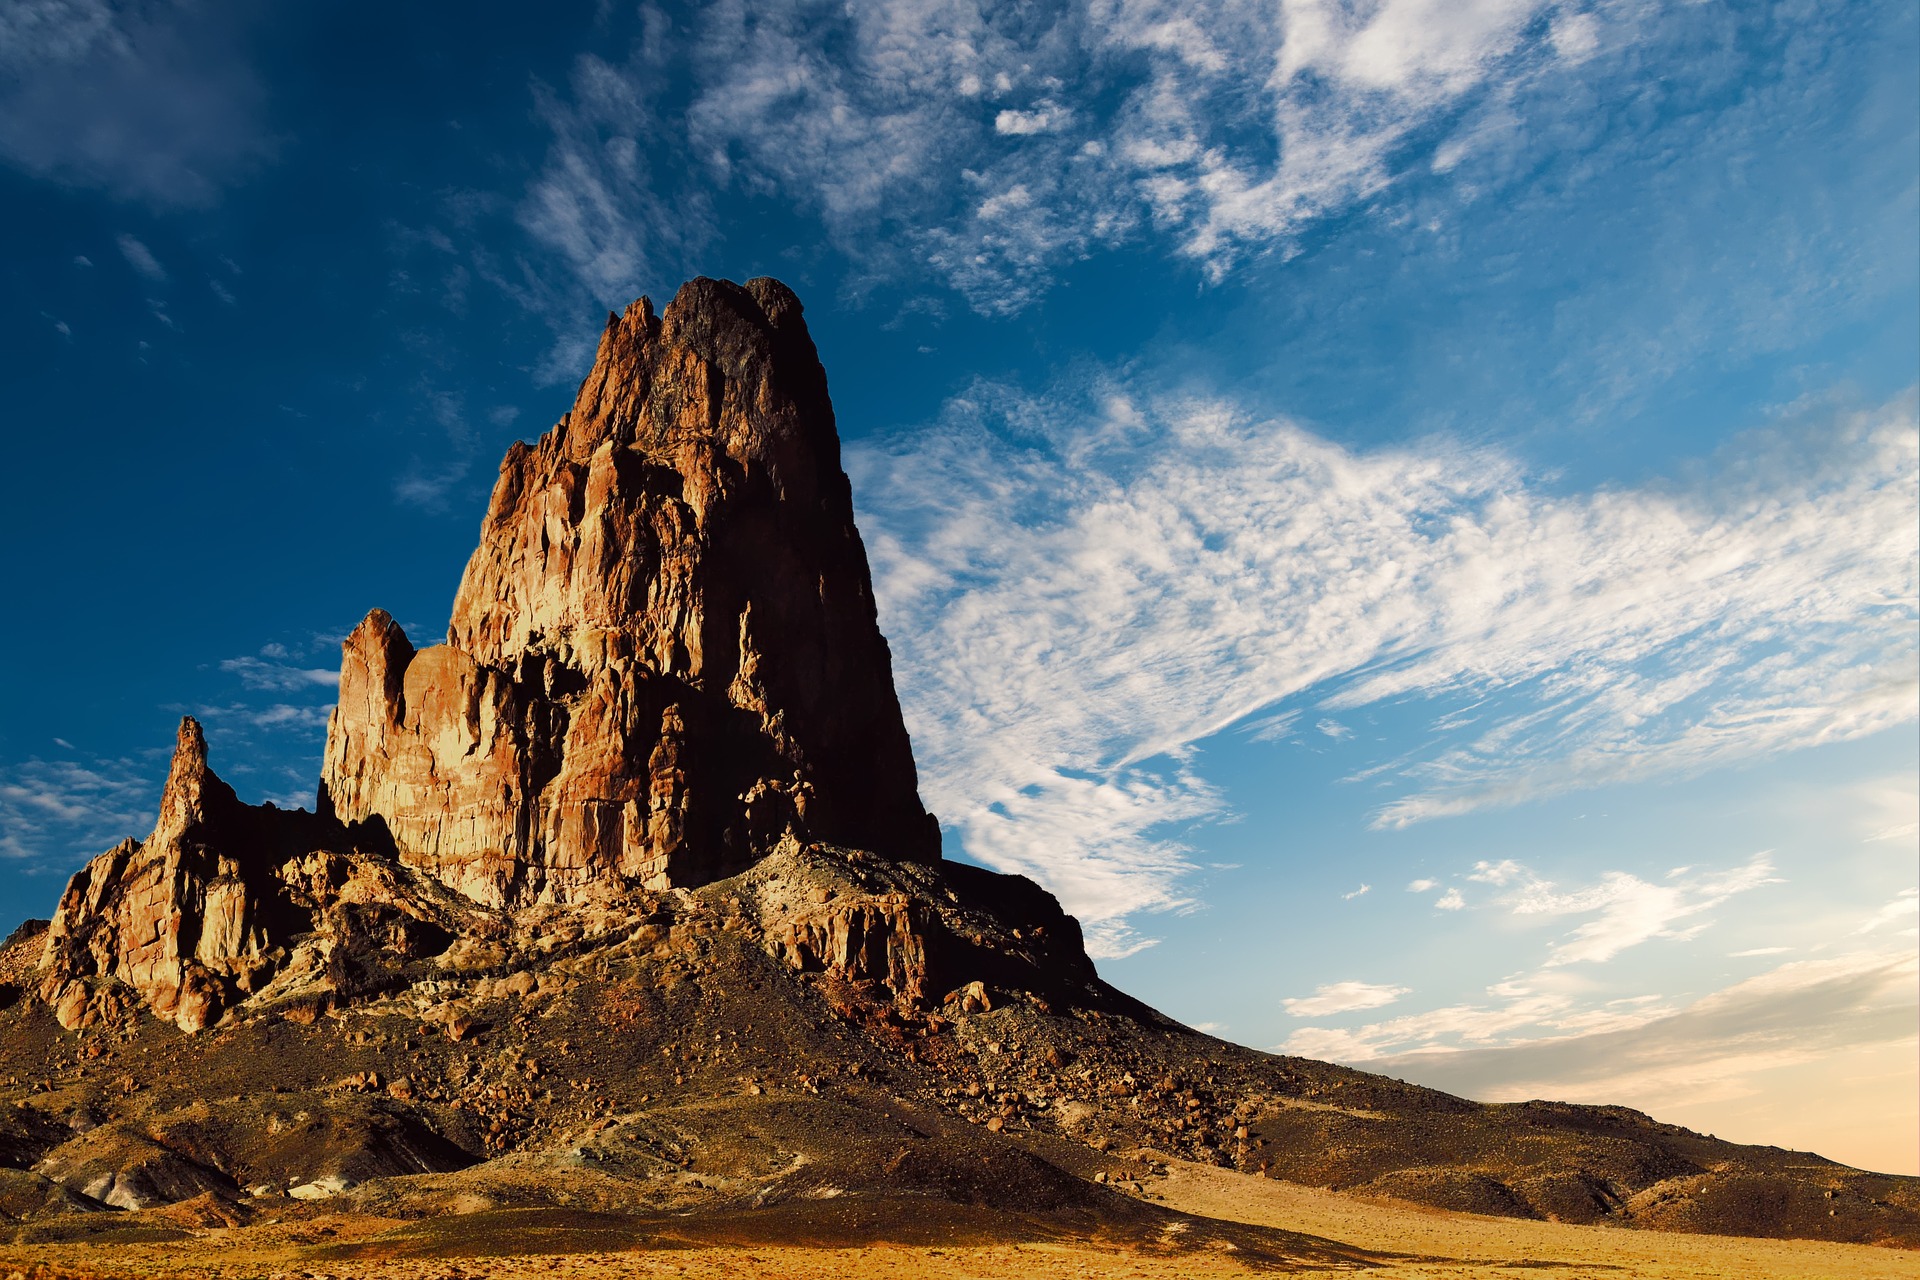
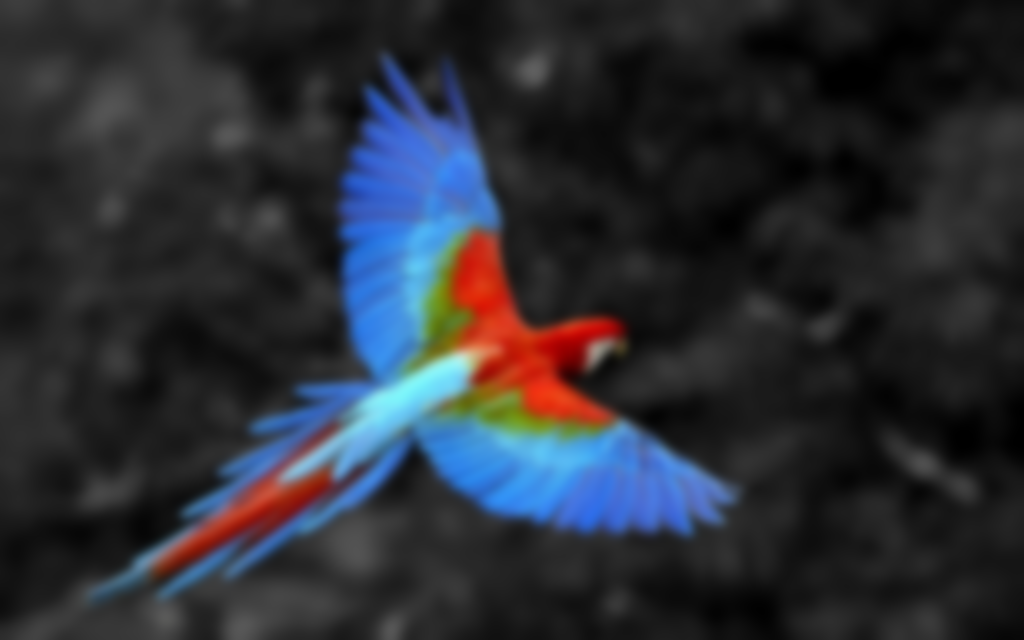
pre-blur:
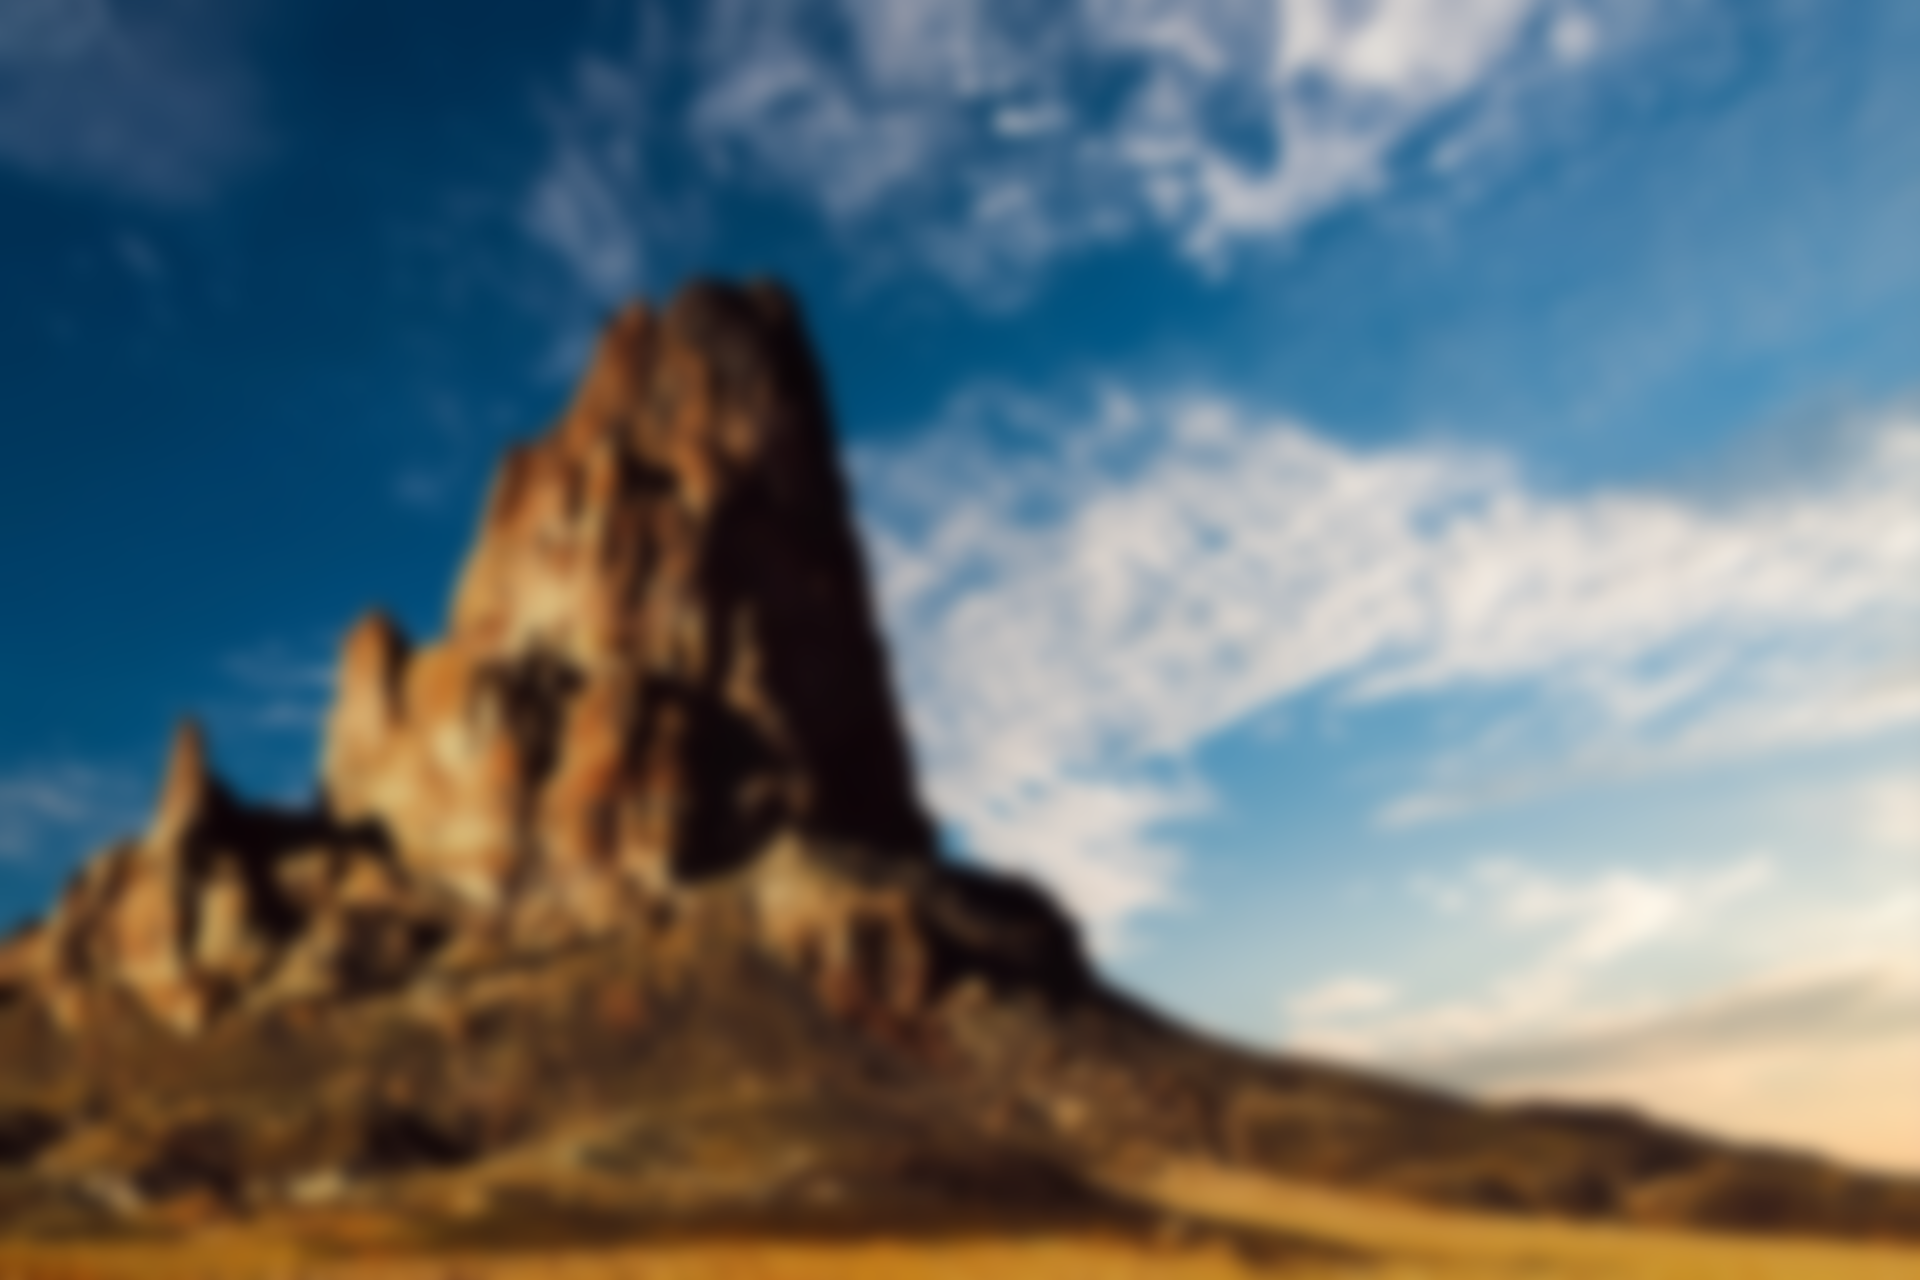
post-blur:
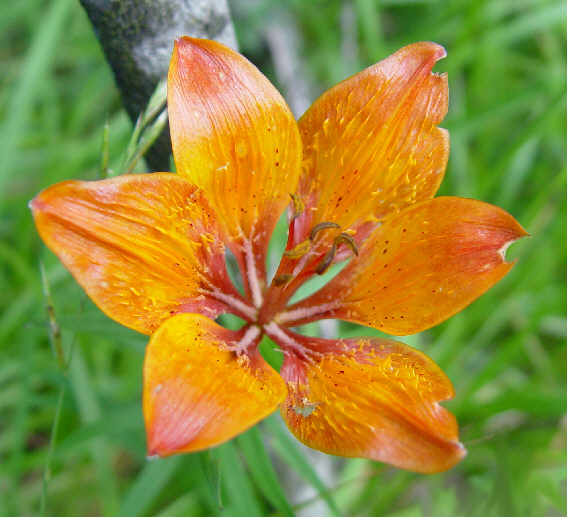
pre-select:
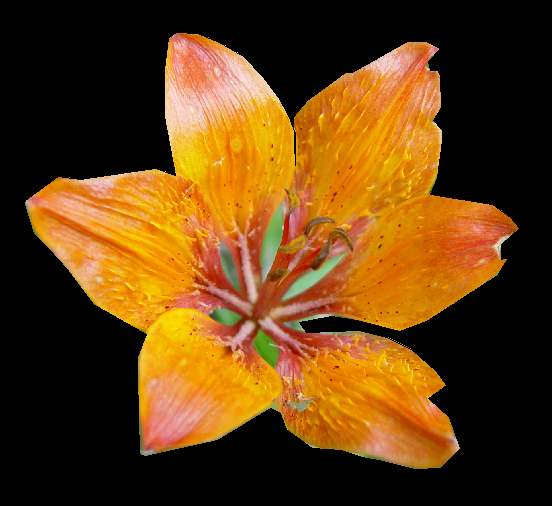
post-select:
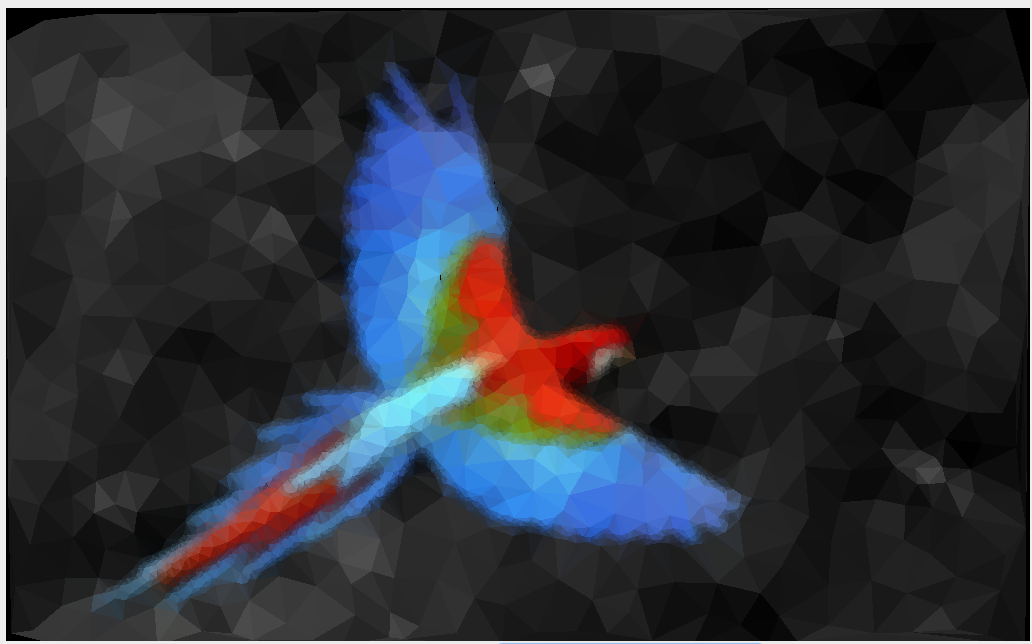
pre-polygons (polygons works best when image is a little blurred before):

post-polygons:
- Make sure you have git and java functional on your computer
- Clone the repository for local use
- "cd" into the repository in your terminal
- Move desired image into example folder, and adjust main.java line 24 to match
- If desired, adjust window.java line 106 to increase or decrease polygon amount.
- In the terminal "sh scripts/compile.sh"
- In the terminal "sh scripts/run.sh"
- +BLUR, -BLUR, POLYGONIZE work as probably inferred. However, to use select first click on the image to make whatever shape you desire, then click select and it will cut it out. (right click will undo a selected point)
- To undo polygonize or select simply click +BLUR
We have finished our semester and are busy during the summer, but these are things we made add or work on for this project in the future...
-
Saving Images in Output. (We currently have some code commented out that saves the image as blurred, however we should work on making a save button that saves whatever edited version of the image that is constructed by the user. This would hopefully include that in the case of cutouts the image would be a png that would literally be only the cutout and not the bordering black left over from the original image.)
-
Gradient Blur. (We could see it being that you click a button and then draw a line, and the image would increasingly blur along the line from the origin to the end, thus creating fake depth.)
-
Affecting the Selected and Non-selected Part Separately. (We could try to make it so you could blur just what's inside the selected portion, or polygonize it, or just do those things to the outside part of the selection. Also an invert selection button.)