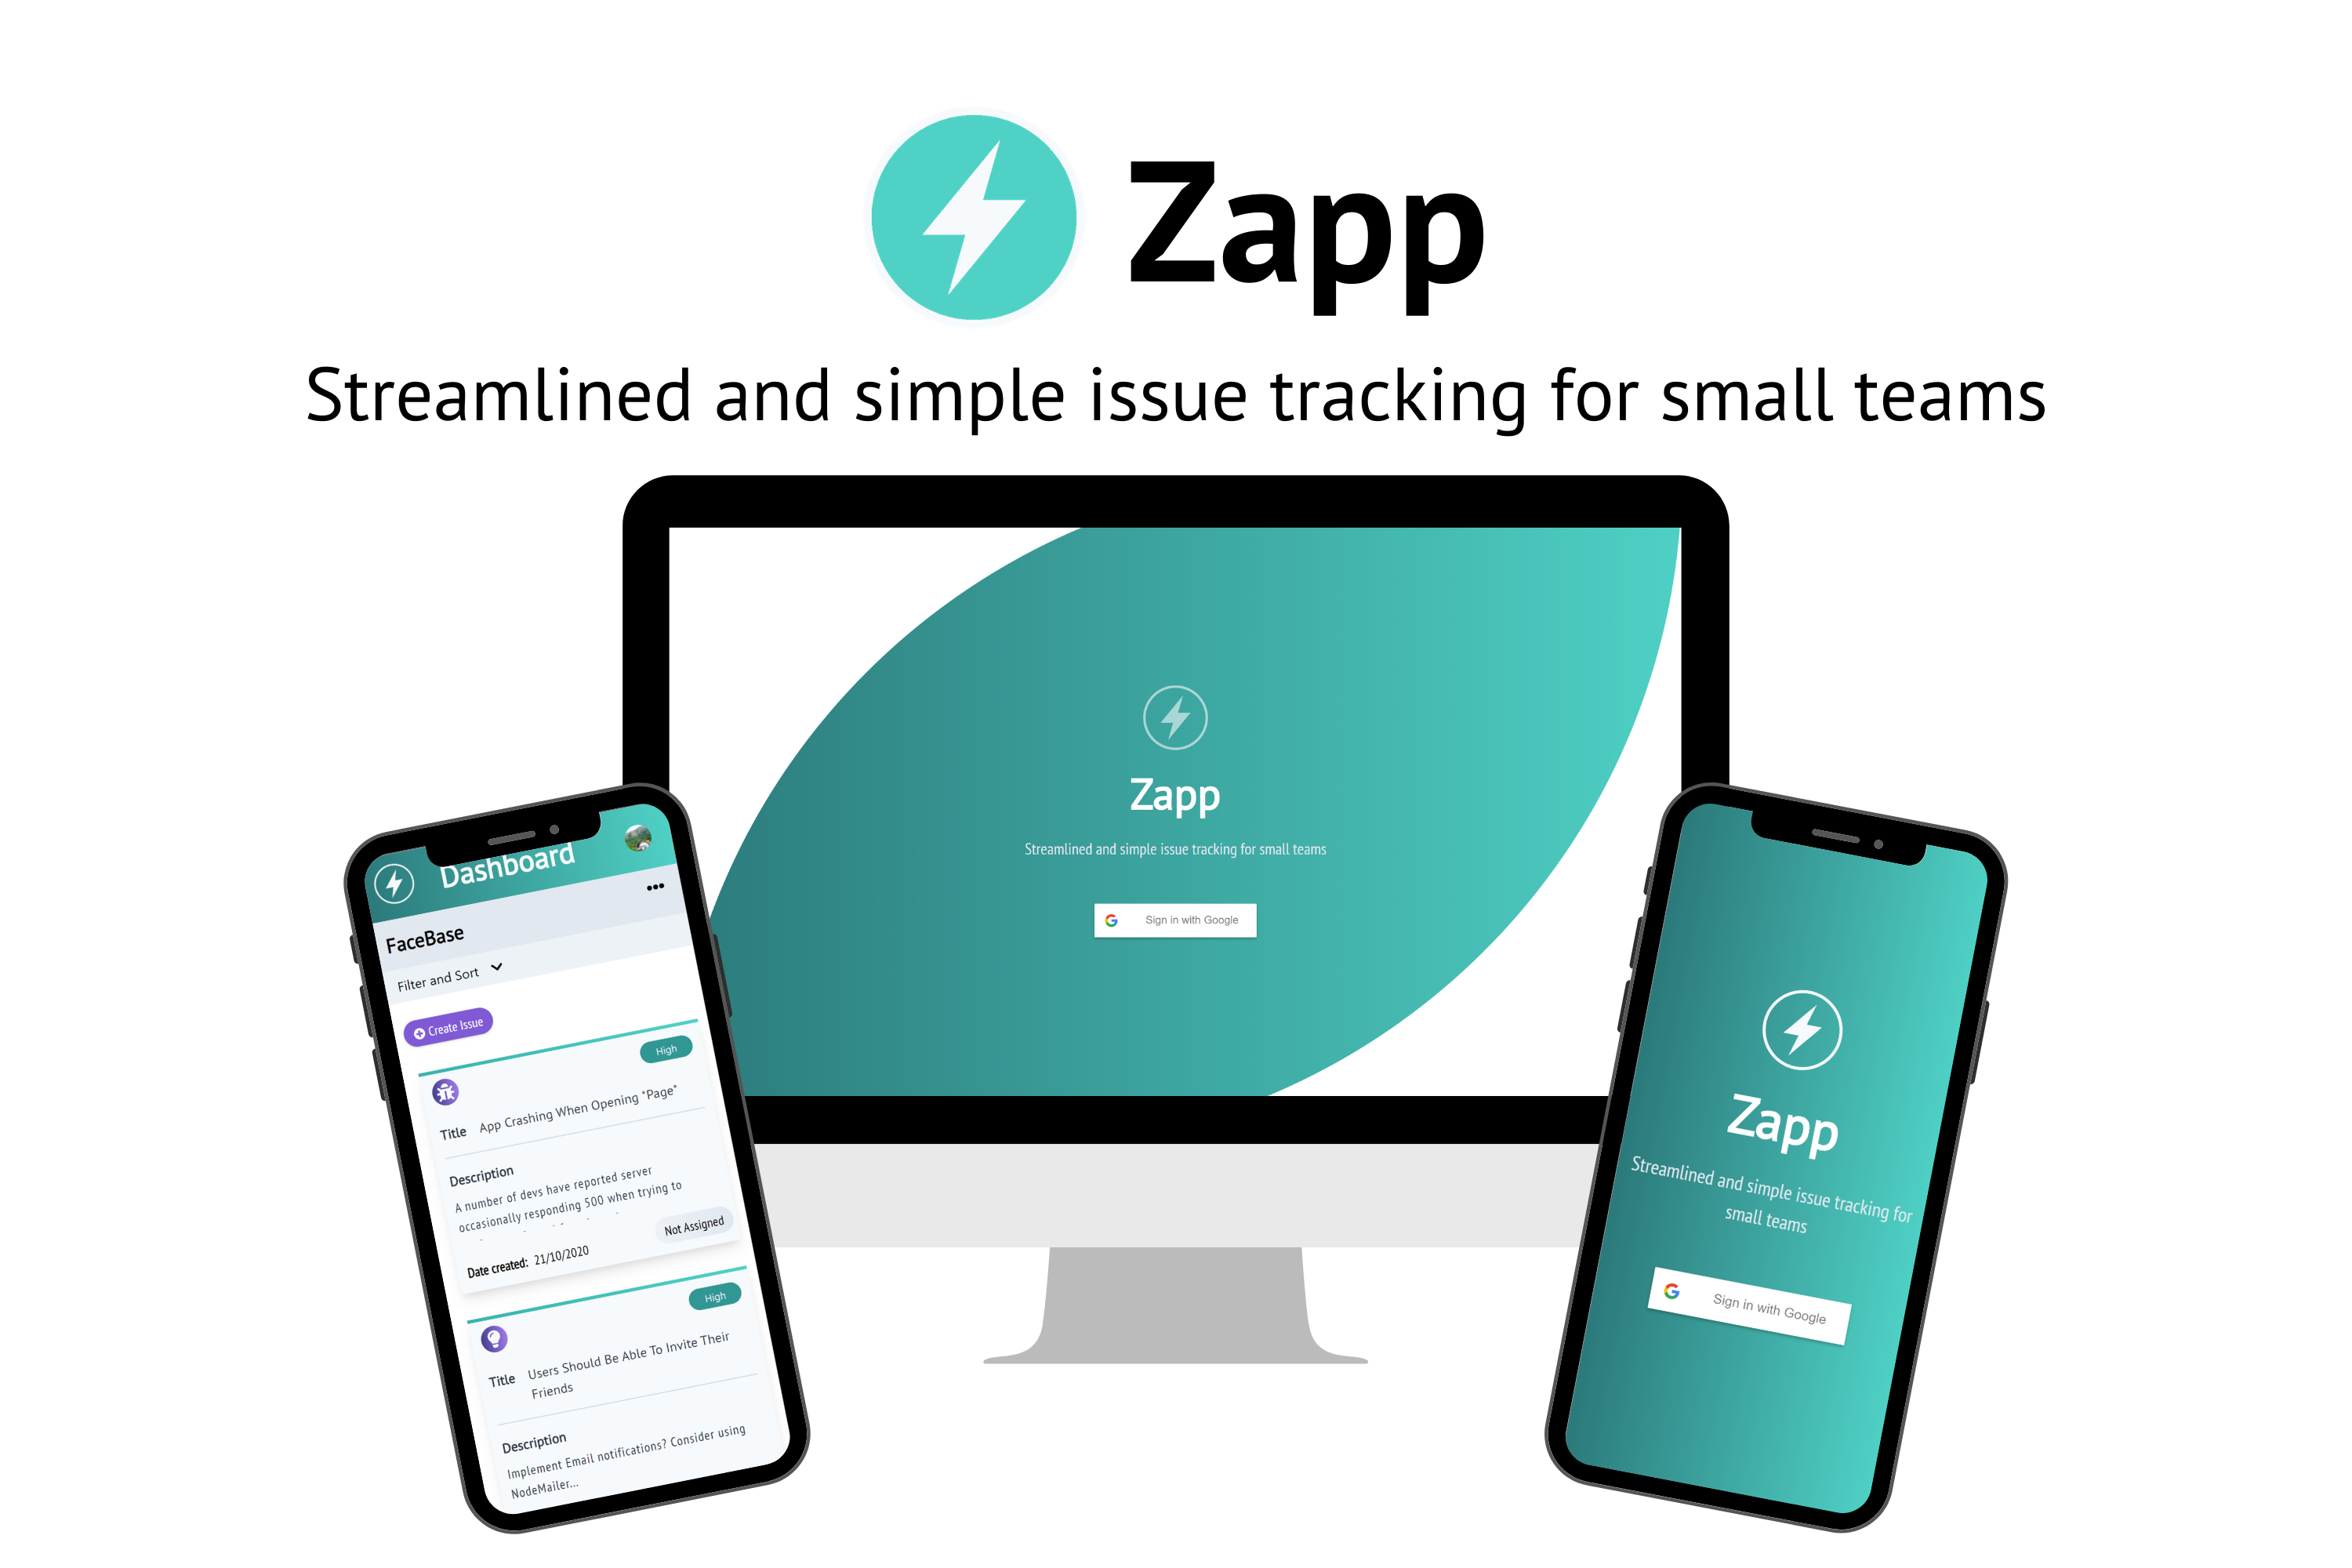
Zapp is an app for managing issues in the software development lifecycle. Zapp is designed with small teams in mind and aims to make issue tracking simple and straightforward.
You can find a deployed version of the App here.
Client and Server are hosted on Heroku. Database is hosted on ElephantSQL.
Make issue tracking easy with Zapp. With a minimalist and highly focused UI we have aimed to solve issues for the user rather than creating them.
Zapp allows users to login through Google Authentication, create projects, log and filter issues, add user comments and receive email notifications when they have been invited to a project.
Easily invite collaborators to your projects, assign them to issues and clearly track their progress.
Zapp was developed as a Thesis Project for the coding boot camp Codeworks by Hamish Chan, Rupert Bright and Stephen Head-Rapson.
You can watch the presentation of the project below:
These instructions will help you setup a local development instance of the app.
git clone https://github.com/ilyadusoleil/zapp.git
npm install
For an example how to fill /server/.env see /server/.env.example
For an example how to fill /client/.env see /client/.env.example
In order to set up authentication you will need to register an app with Google and then provide your google client ID and Google Client Secret in your .env file as GOOGLE_CLIENT_ID & GOOGLE_CLIENT_SECRET respectively.
-
Install server dependencies:
cd servernpm install -
Make sure you have Docker installed on your local machine.
-
Create a
.envfile in the server directory (/server/.env) and fill it following the example/server/.env.example -
Create docker image:
docker-compose up -d -
Initialise the database:
npx sequelize-cli db:migrate -
The server is now ready to run. If you wish, you can seed the database with some test data by running the command
npx sequelize-cli db:seed:all. You can change the seed or add your own data by navigating to/server/db/seeders/and filling in your own data. -
You can also use Postman to send requests to the server without using the client. Use this link inside the postman client to import a small library of requests: https://www.getpostman.com/collections/a578db24de24499a361d
-
For more information on Sequelize migrations read the docs here.
- In the client directory run
npm start - In the server directory run
npm run dev
Hamish Chan - Github - LinkedIn
Rupert Bright - Github - LinkedIn
Stephen Head-Rapson - Github - LinkedIn
This project is licensed under the MIT License.

