Inngest AWS Lambda Template
This is an AWS Lambda container image, intended to be deployed as a Lambda using Docker and AWS ECR. Based on the public Node Lambda images, this is a reference on how to react to events using AWS Lambda and Inngest.
Testing Locally
# Build and start
npm install
docker build -t example .

# Run your container and set the base URL for the dev server to use the Docker host network
docker run -p 9000:8080 -e INNGEST_BASE_URL=http://host.docker.internal:8288 example

# Run the dev server to test your functions
npx inngest-cli@latest dev -u http://localhost:9000/2015-03-31/functions/function/invocations
Then open http://localhost:8288 to view and test your functions.
Deploying to AWS Lambda
This template is intended to be deployed to AWS Lambda using Docker and AWS ECR. To do so, you will need to:
- Create an AWS ECR repository
- Build and push the image to AWS ECR
- Create a Lambda function using the image
- Create a function URL
You'll need to install the AWS CLI and Docker to complete these steps.
Create an AWS ECR repository
You can create an Elastic Container Registry (ECR) repository using the AWS web console or the AWS CLI. To create a repository using the AWS CLI, run:
aws ecr create-repository --repository-name inngest-exampleThis will output the following:
{
    "repository": {
        "repositoryArn": "arn:aws:ecr:us-east-1:YOUR_REPOSITORY_ID:repository
      /inngest-example",
        "registryId": "YOUR_REPOSITORY_ID",
        "repositoryName": "inngest-example",
        "repositoryUri": "YOUR_REPOSITORY_ID.dkr.ecr.us-east-1.amazonaws.com/inngest-example",
        "createdAt": "2023-09-29T13:15:57-07:00",
        "imageTagMutability": "MUTABLE",
        "imageScanningConfiguration": {
            "scanOnPush": false
        },
        "encryptionConfiguration": {
            "encryptionType": "AES256"
        }
    }
}
The repositoryUri is the URI of your repository, which you will need to push images to.
[!note] the YOUR_REPOSITORY_ID is the ID of your repository, which you
will need to push images to. It will vary from the example above. You can
set it in your shell with the following command and then access it with ${YOUR_REPOSITORY_ID}:
export YOUR_REPOSITORY_ID=YOUR_REPOSITORY_ID_FROM_OUTPUT_ABOVEBuild and push the image to AWS ECR
To build and push the image to AWS ECR, you will need to:
- Login to public AWS ECR
- Login to your AWS ECR repository
- Build the image
- Tag the image
- Push the image
Login to public AWS ECR by running:
aws ecr-public get-login-password --region us-east-1 | docker login --username AWS --password-stdin public.ecr.awsThen you need to login to your new AWS ECR repository. To do so, run:
aws ecr get-login-password --region us-east-1 | docker login --username AWS --password-stdin ${YOUR_REPOSITORY_ID}.dkr.ecr.us-east-1.amazonaws.comNow you can build the image, run:
docker build --platform linux/amd64 -t inngest-example .NOTE: If you are on a computer that isn't running amd64 architecture, you
will need to add --platform linux/amd64 to the build command for the
Docker image you intend to push.
To tag the image, run:
docker tag inngest-example:latest ${YOUR_REPOSITORY_ID}.dkr.ecr.us-east-1.amazonaws.com/inngest-example:latestTo push the image, run:
docker push ${YOUR_REPOSITORY_ID}.dkr.ecr.us-east-1.amazonaws.com/inngest-example:latestCreate a Lambda function using the image
To create a Lambda function using the image, you will need to:
- Create an IAM Lambda role
- Create a Lambda function
- Add a function URL
First you'll need to create an IAM Lambda role. To do so, run:
aws iam create-role --role-name lambda-inngest-ex --assume-role-policy-document '{"Version": "2012-10-17","Statement": [{ "Effect": "Allow", "Principal": {"Service": "lambda.amazonaws.com"}, "Action": "sts:AssumeRole"}]}'grant the role lambda:invokeFunctionUrl to the role. To do so, run:
aws iam attach-role-policy --role-name lambda-inngest-ex --cli-input-json '{"Version": "2012-10-17","Statement": [{ "Effect": "Allow", "Principal": "*", "Action": "lambda:InvokeFunctionUrl"}]}'This allows the Lambda function to write logs to CloudWatch.
To create a Lambda function, run:
aws lambda create-function --function-name inngest-example --package-type Image --code ImageUri=${YOUR_REPOSITORY_ID}.dkr.ecr.us-east-1.amazonaws.com/inngest-example:latest --role arn:aws:iam::${YOUR_REPOSITORY_ID}:role/lambda-inngest-ex --timeout 10 --memory-size 128To create a function URL, run:
aws lambda create-function-url-config --function-name inngest-example --auth-type NONEThis will give you output that contains the URL for your new function. You'll also be able to find the URL in the AWS Console.
This is SO CLOSE, but we need to log in to the AWS Console and perform
click-ops to add resource based permissions to the Lambda function.
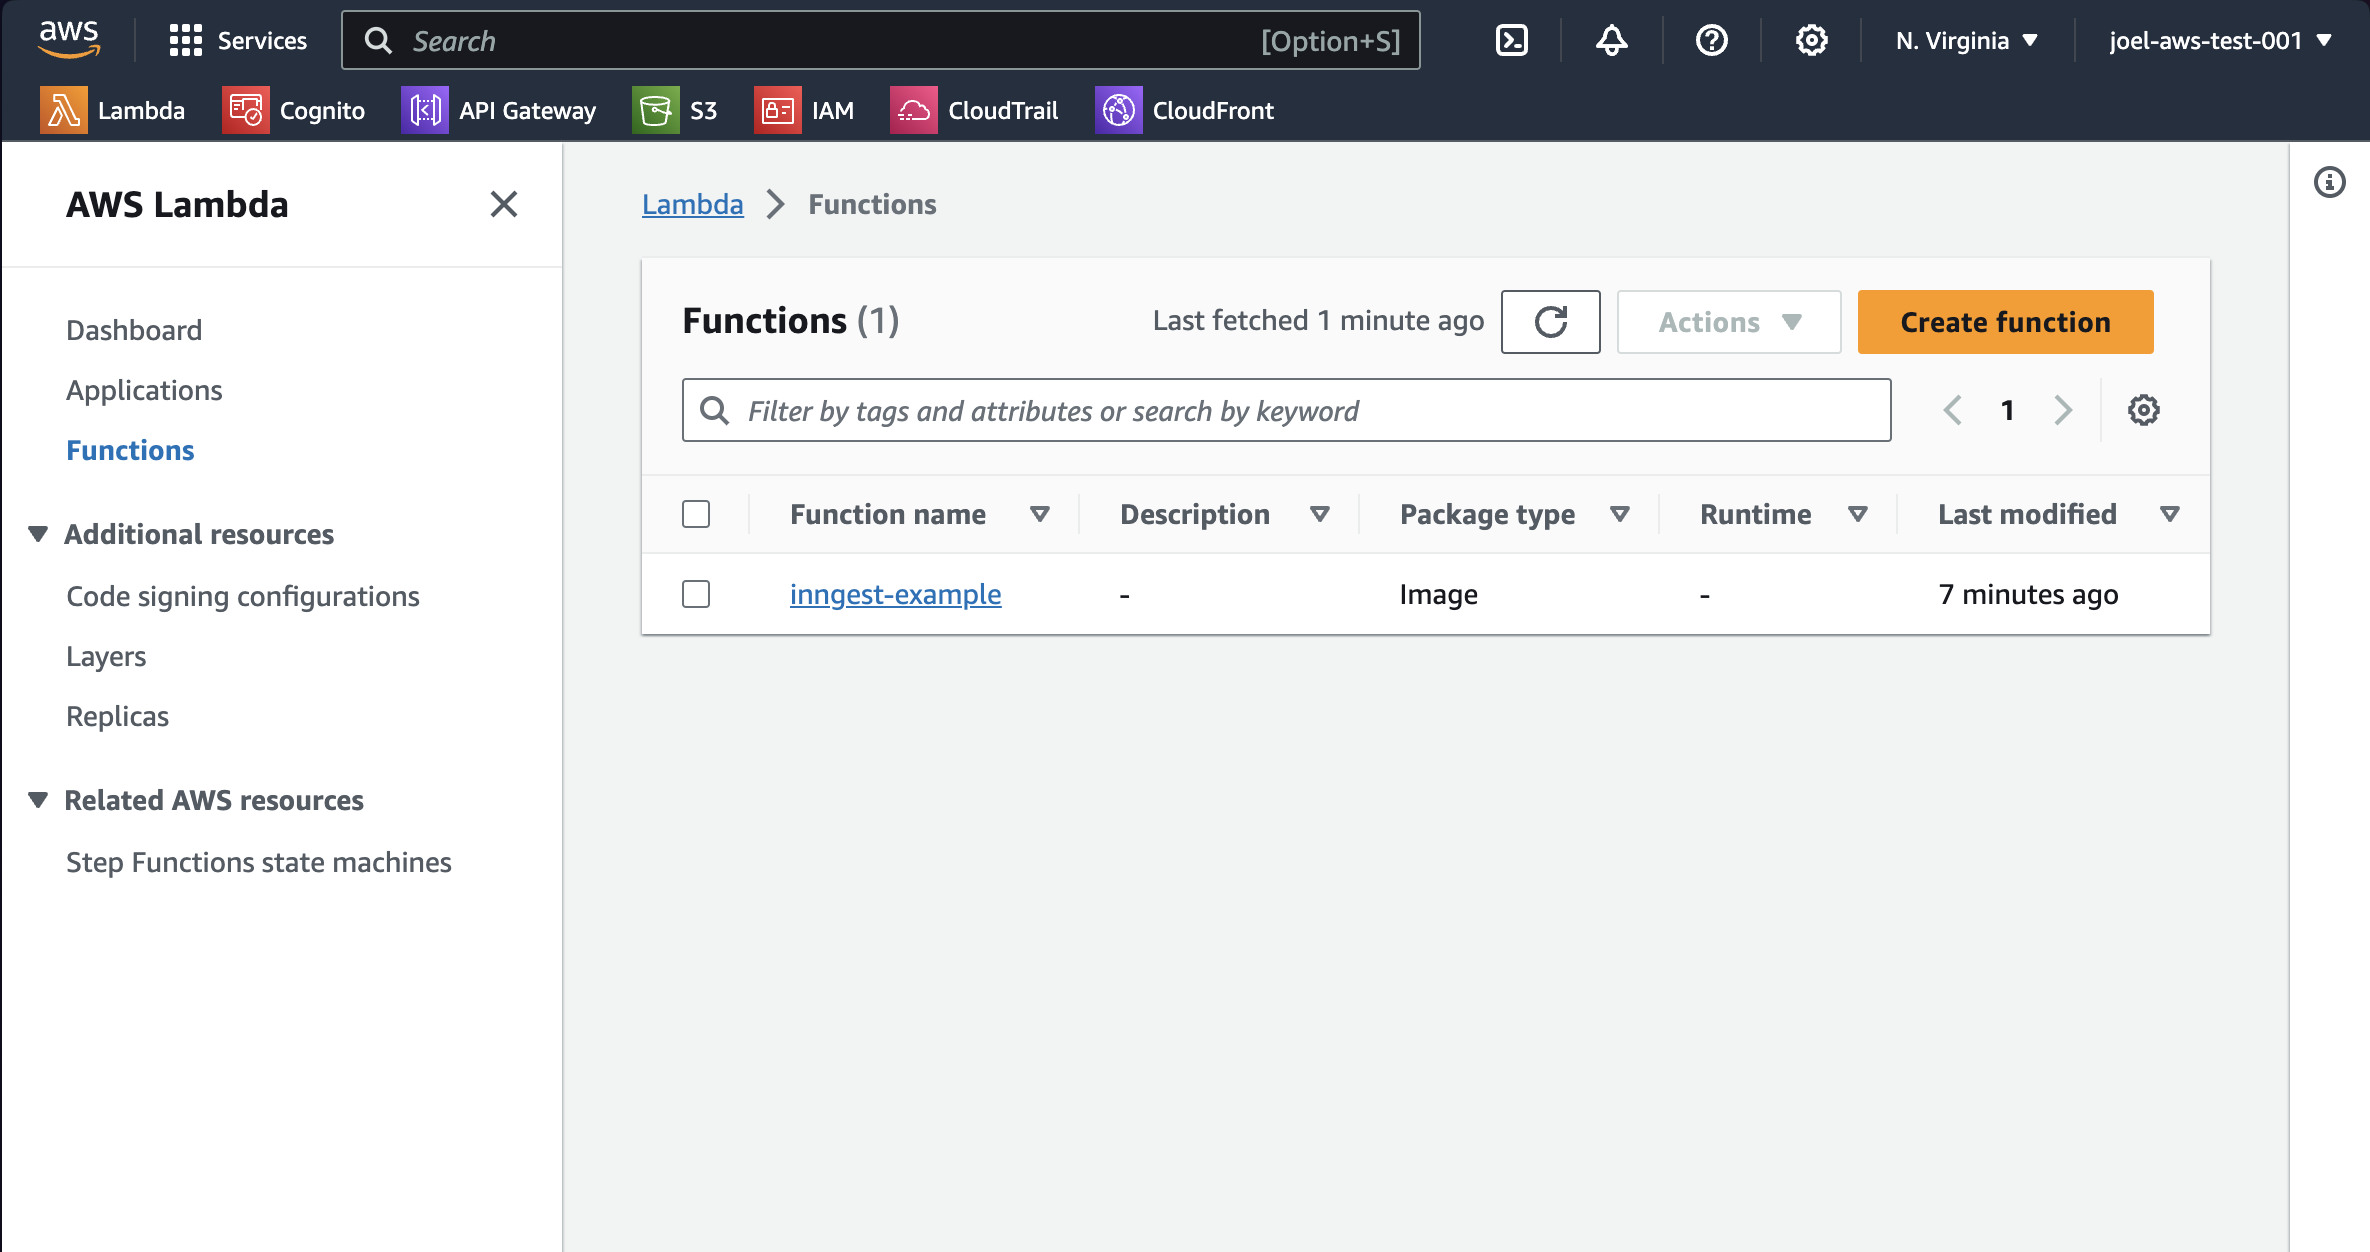
Log in to the AWS Console and navigate to the Lambda function you just created.
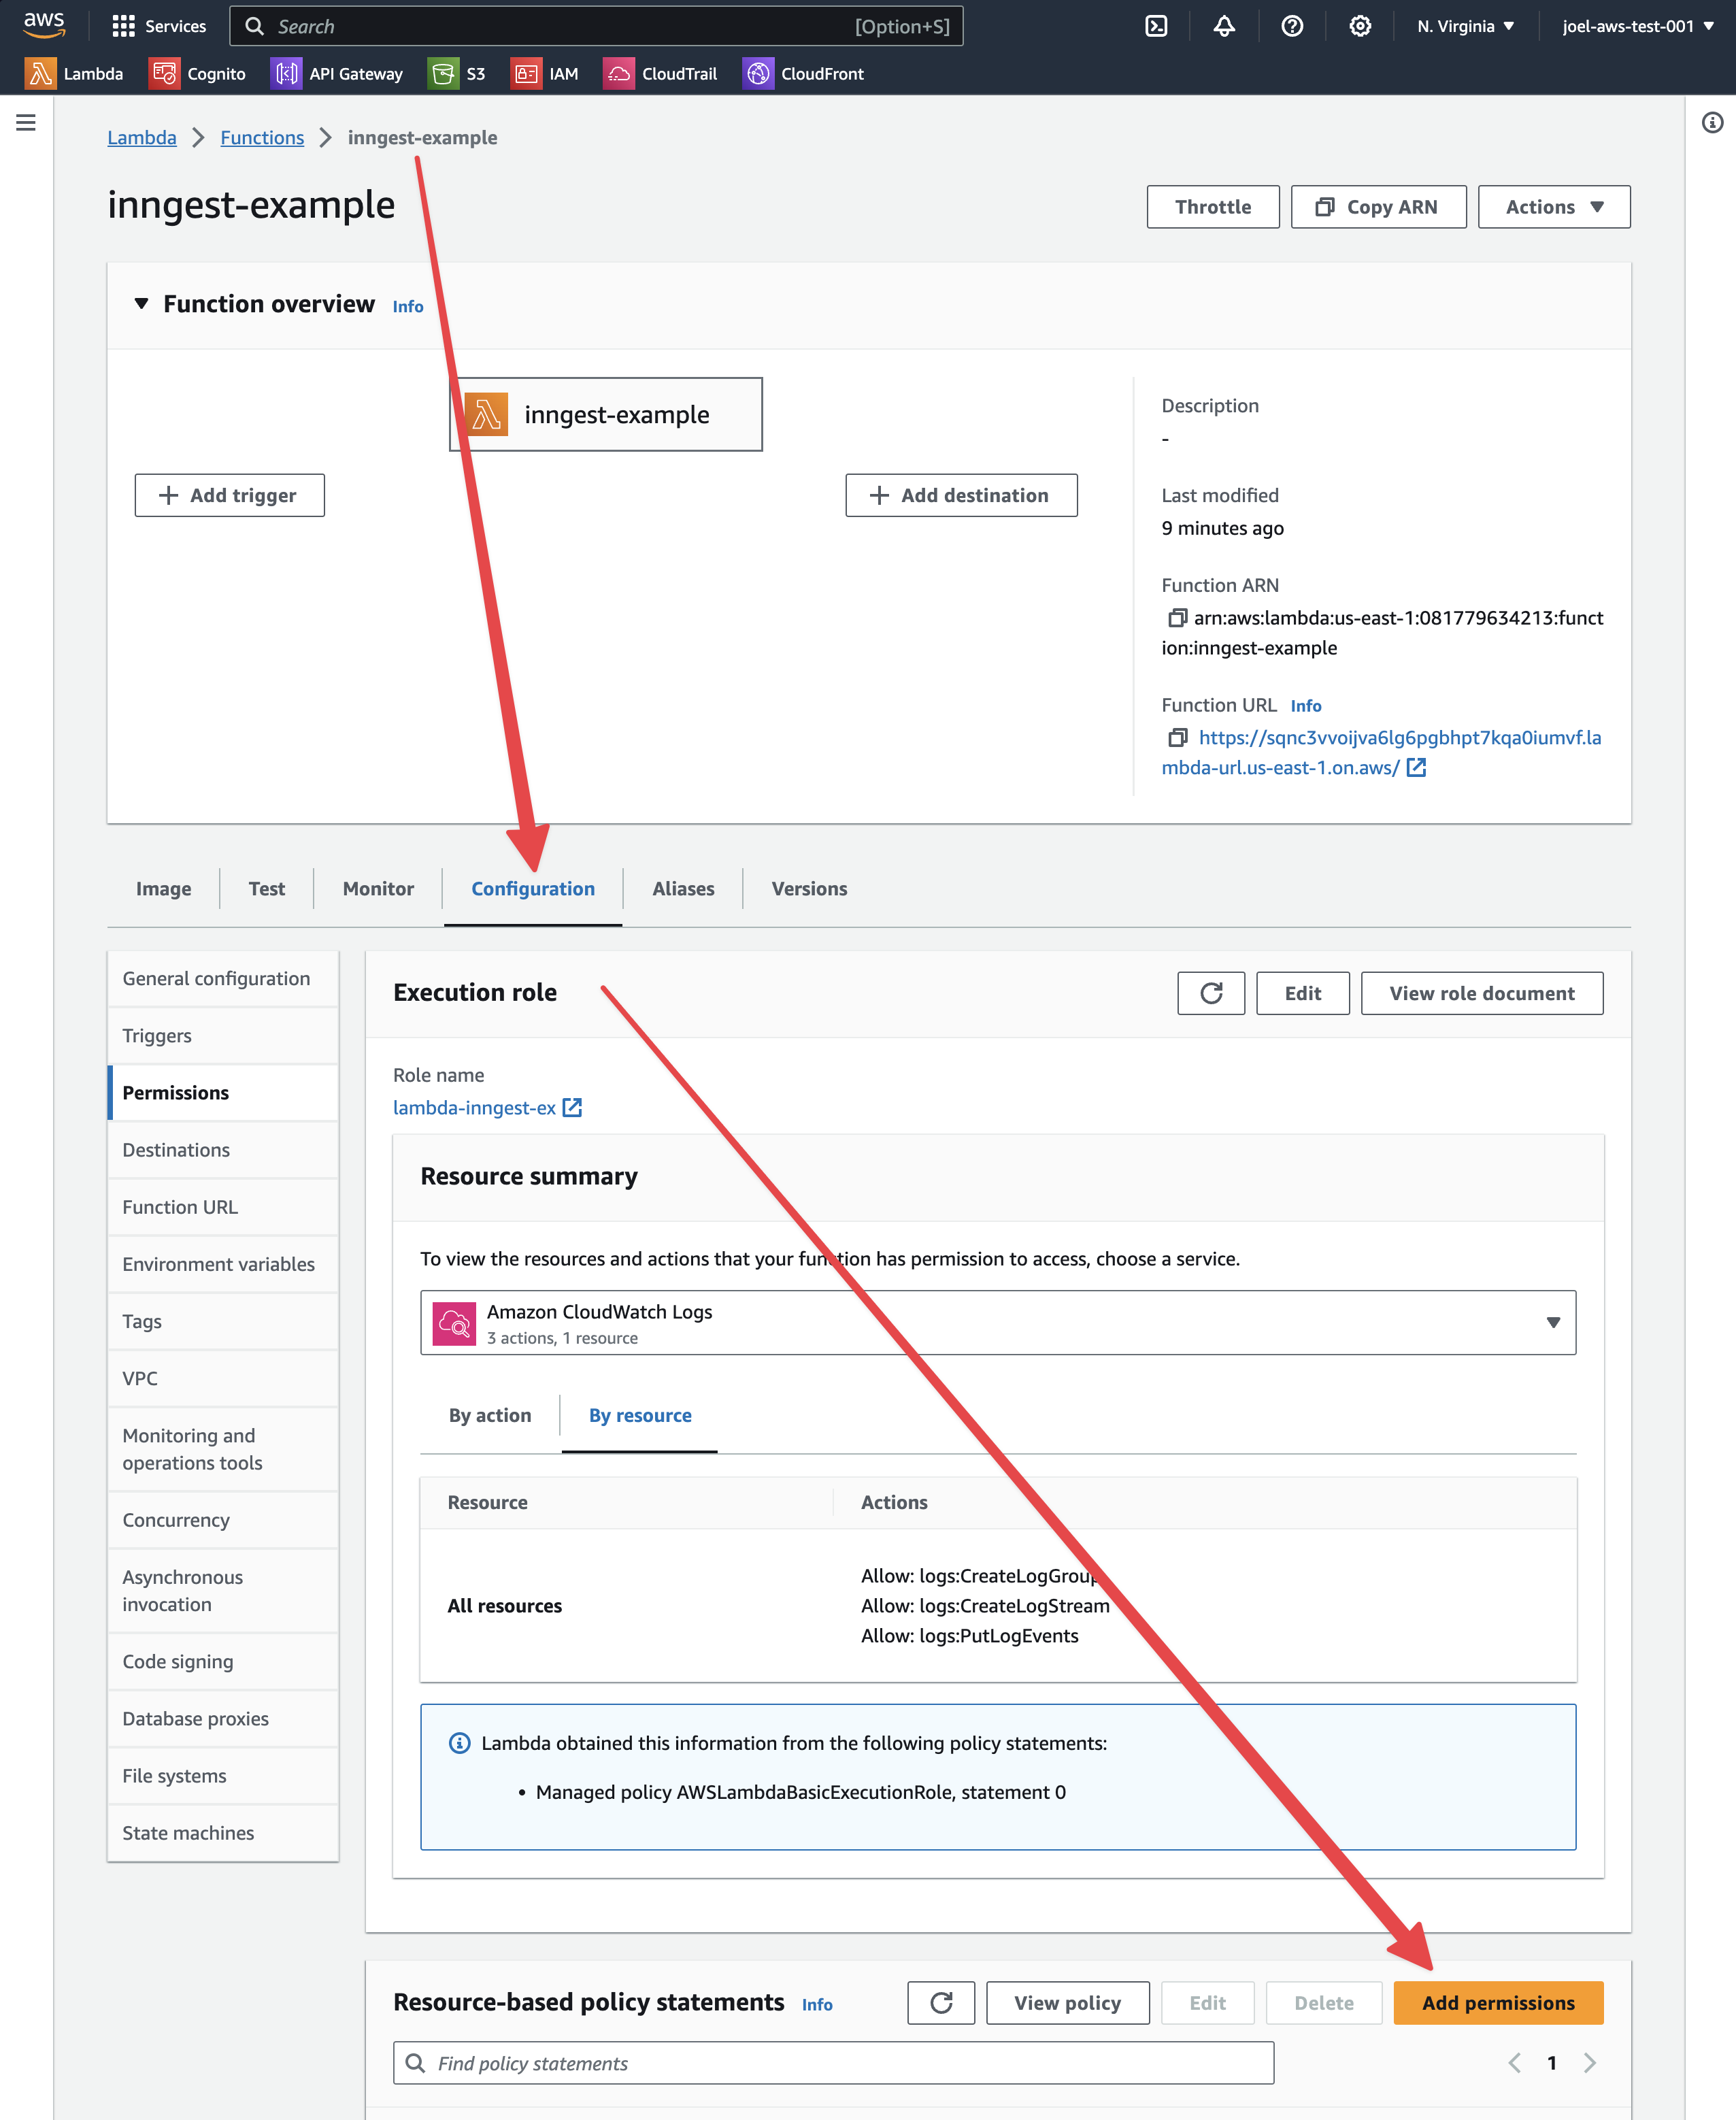
Now open the configuration tab, scroll down to Resource-based policy statements and click Add Permission:
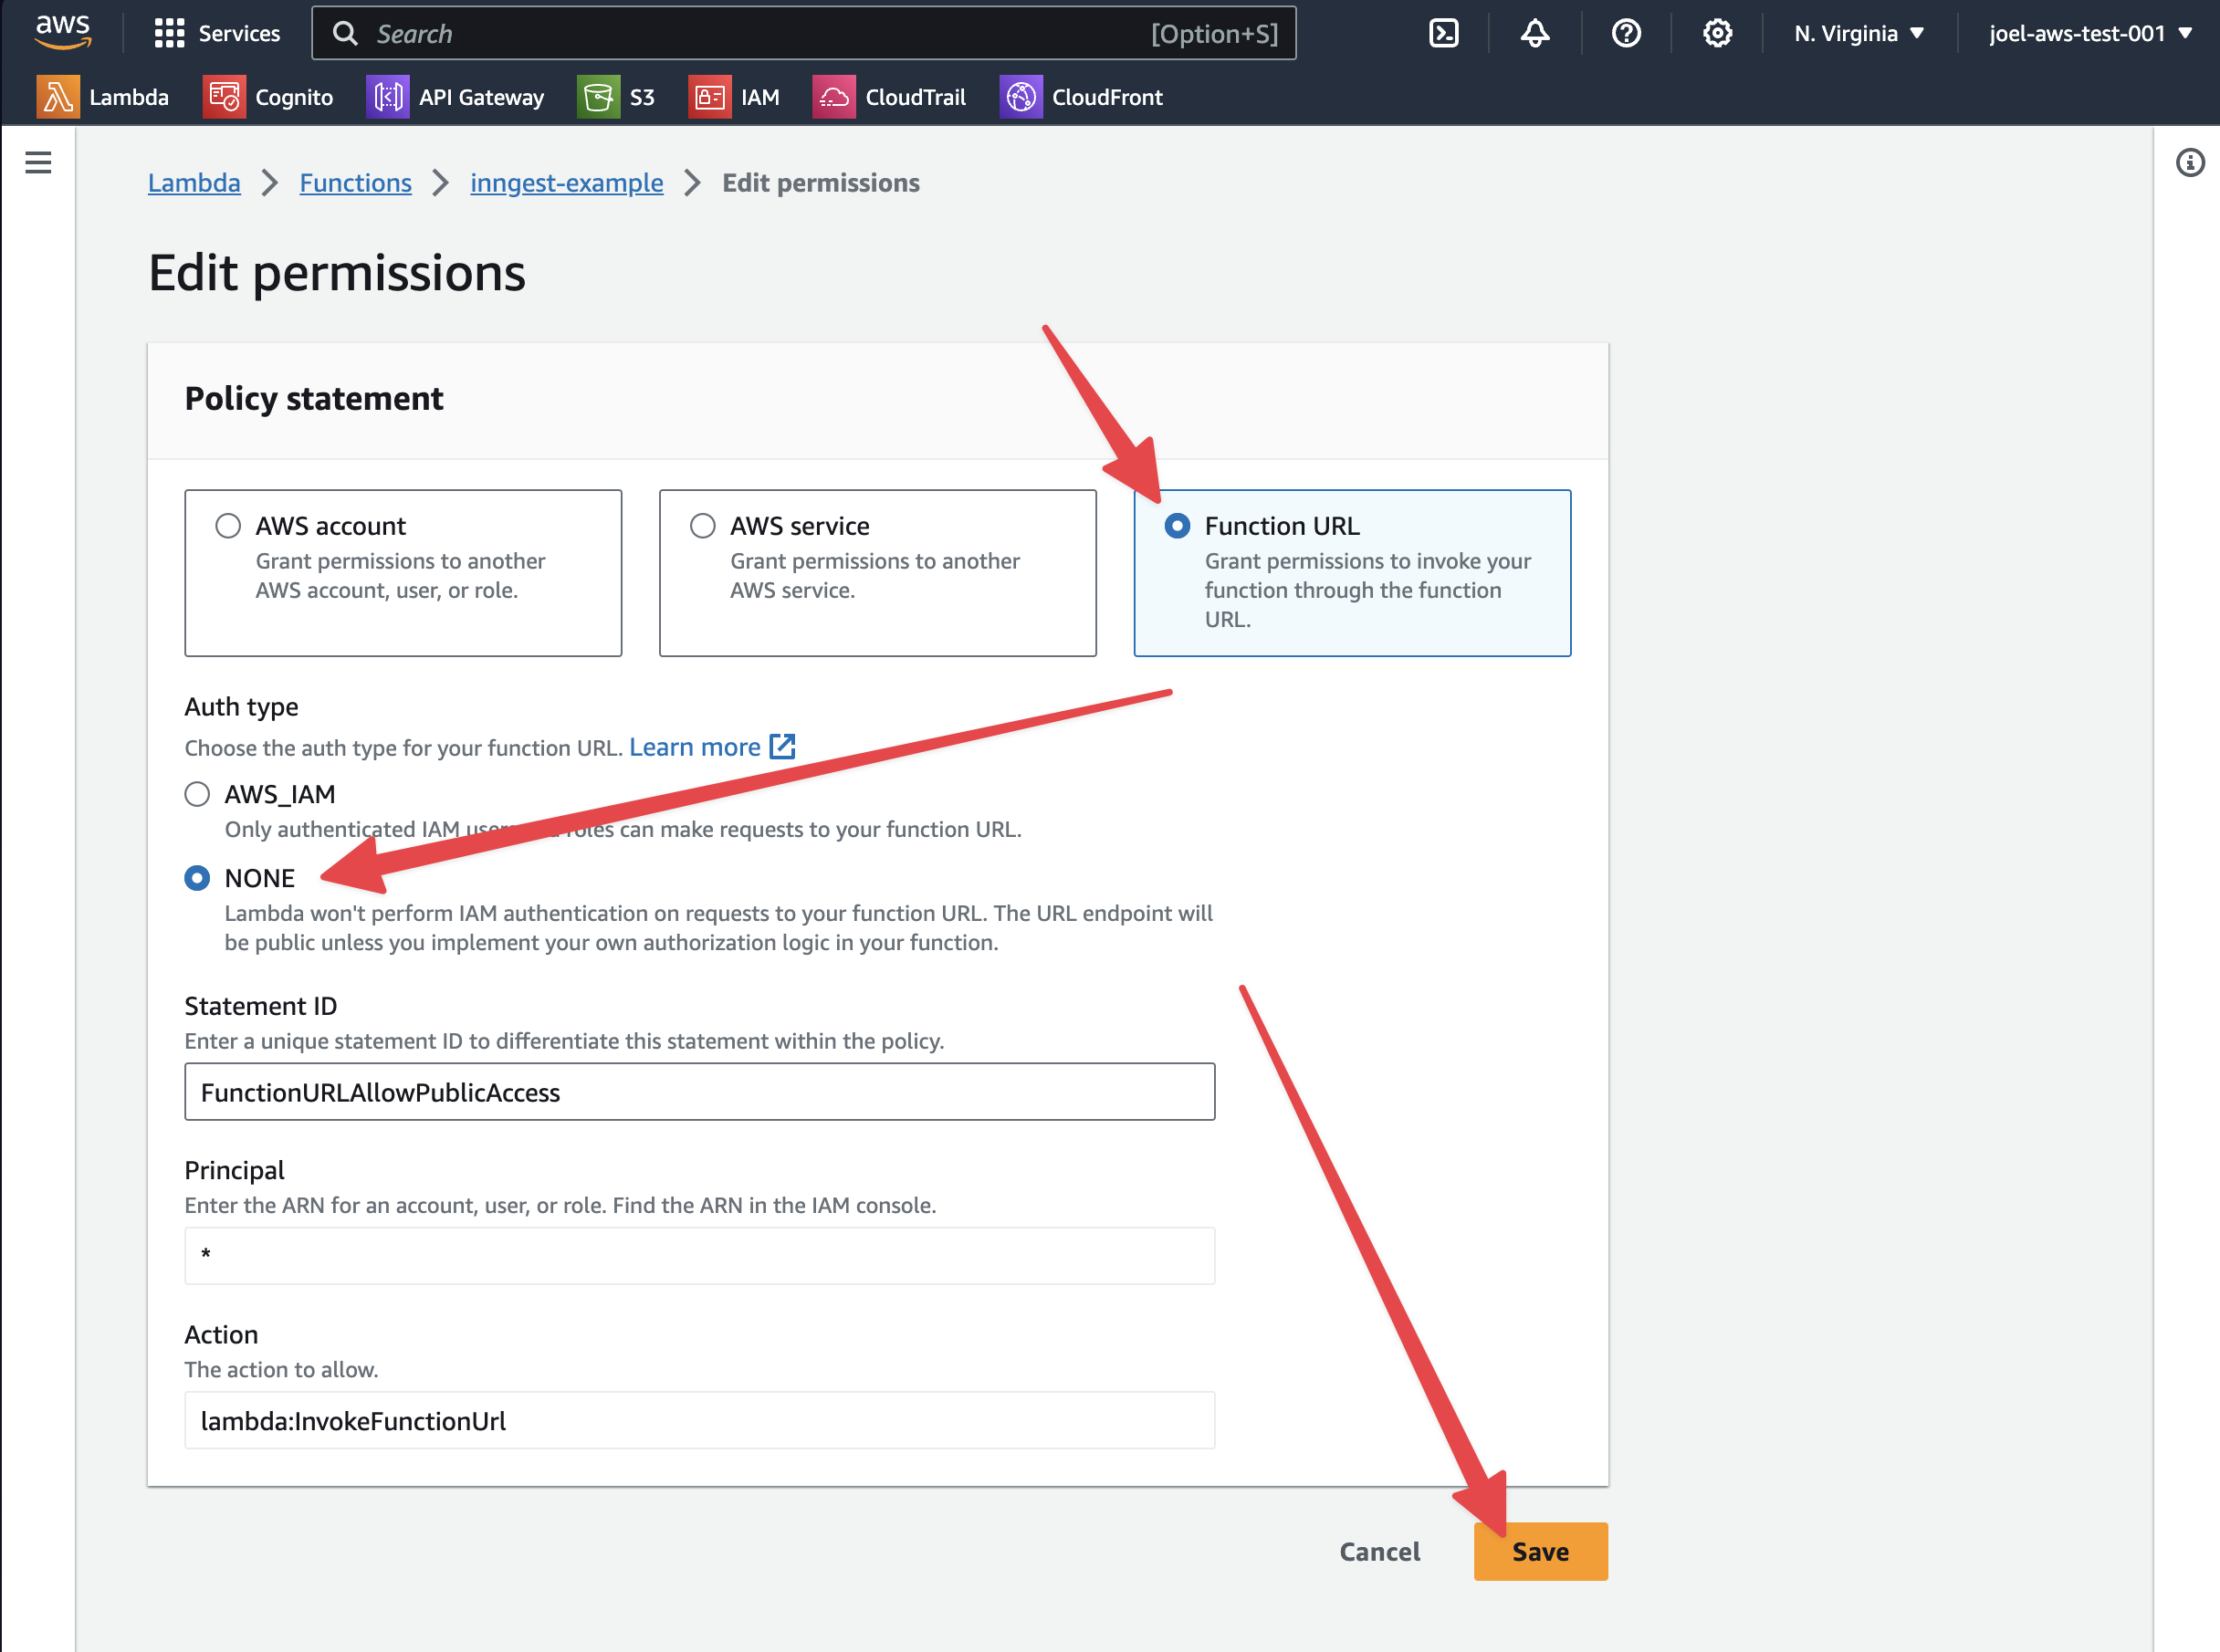
Select Function URL with Auth type of None and click Save.
Note that you could do all of the Lambda function configuration outlined above in the AWS console, but since you are uploading Docker images and doing the rest in the cli, it's easier to do it all in the cli.
It's also likely possible to do the last step in the cli, but I haven't figured it out. If you know the command, please submit a PR!
Testing the Lambda function
Visit the URL for your Lambda function in a browser or with curl.
{
  "message": "Inngest endpoint configured correctly.",
  "hasEventKey": false,
  "hasSigningKey": false,
  "functionsFound": 1
}
🎉🎉🎉
We are missing two key pieces here. The Event Key and the Signing Key. Both of these can be found in your Inngest Cloud dashboard.
Find your Signing key here: https://app.inngest.com/env/production/deploys/
Find your Event key here: https://app.inngest.com/env/production/manage/keys
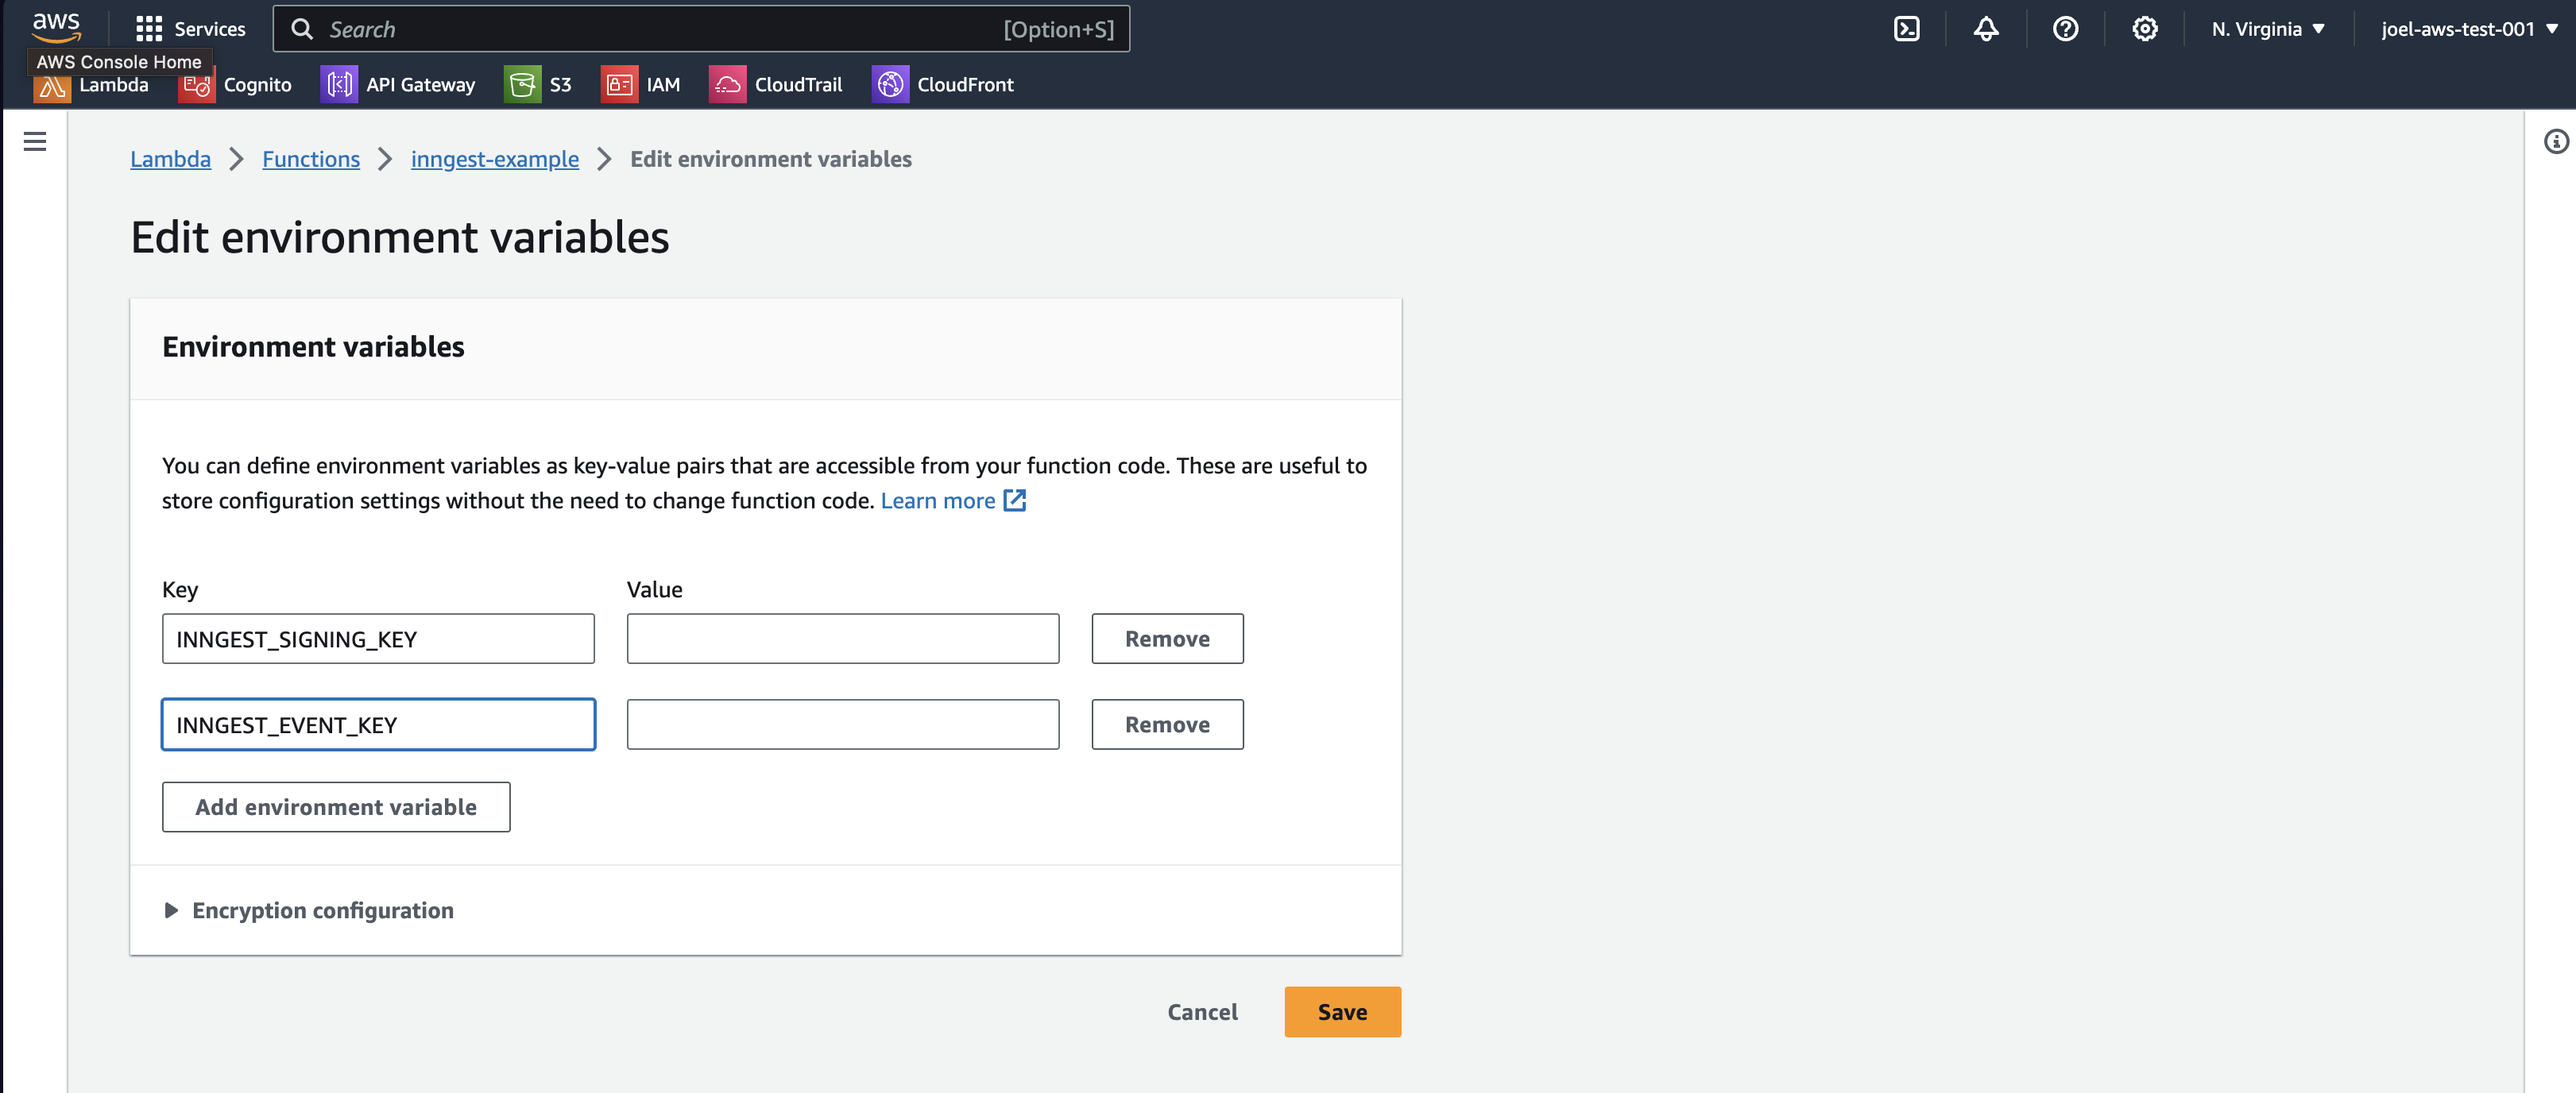
Within the Lambda configuration tab, scroll down to Environment variables
and open that page:
Add your Signing Key and Event Key as environment variables.
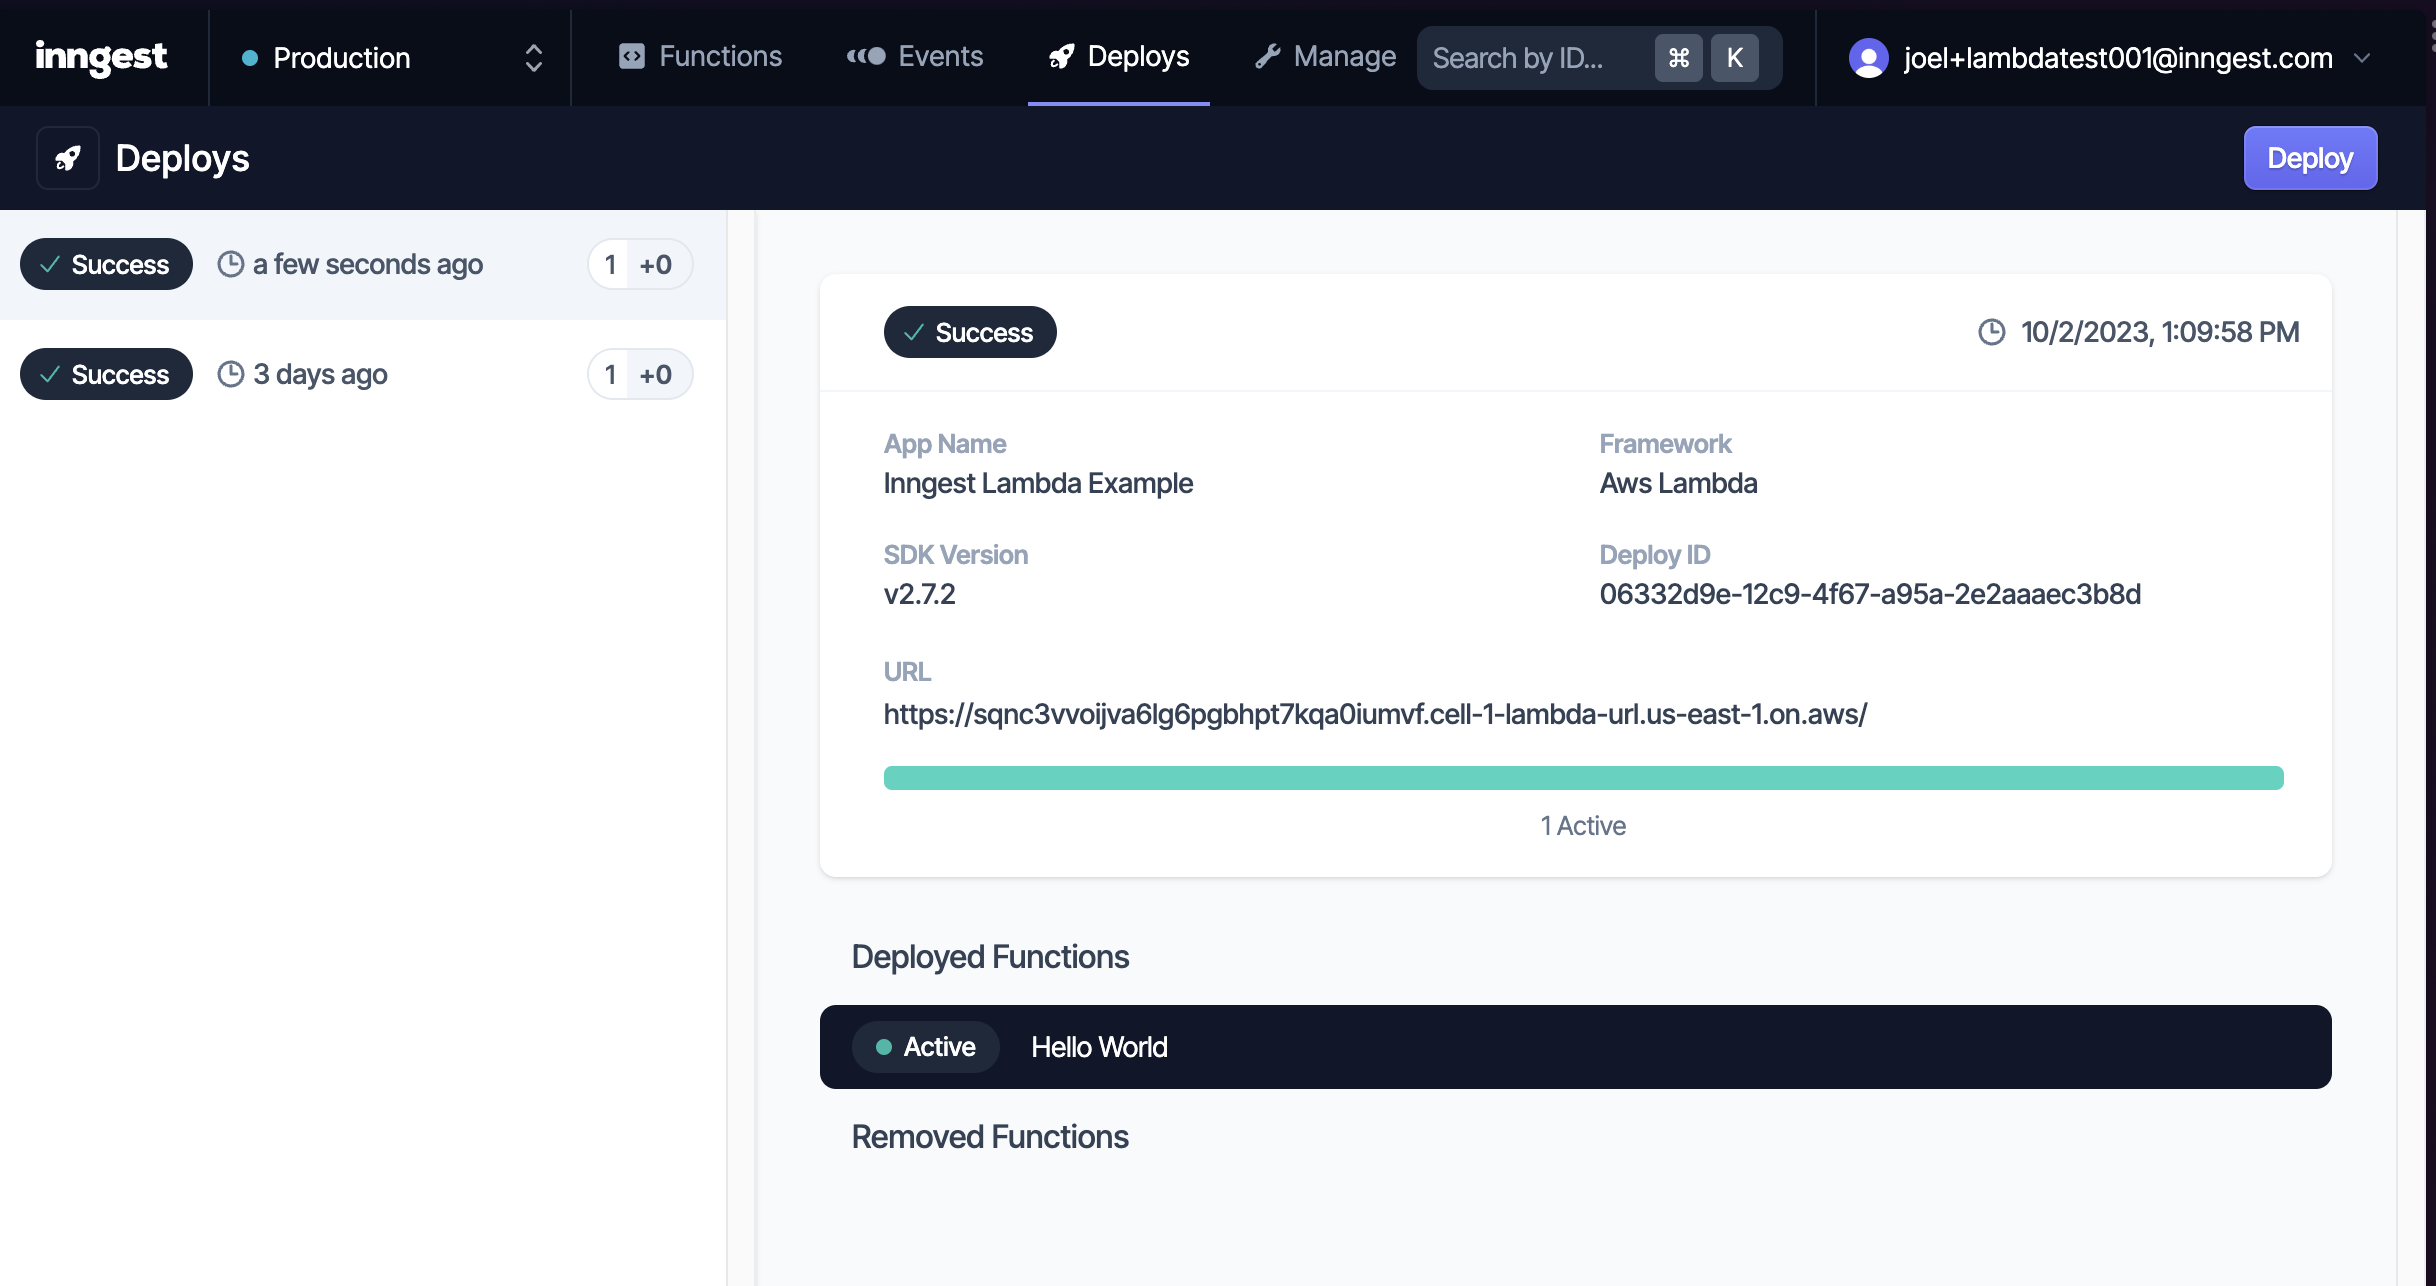
You can add your function URL to your deploy in Inngest Cloud. If successful, you should see something like this:
Learn More
- Inngest Documentation - learn about the Inngest SDK, functions, and events
- AWS Lambda container images - learn about AWS Lambda container images and deployment
