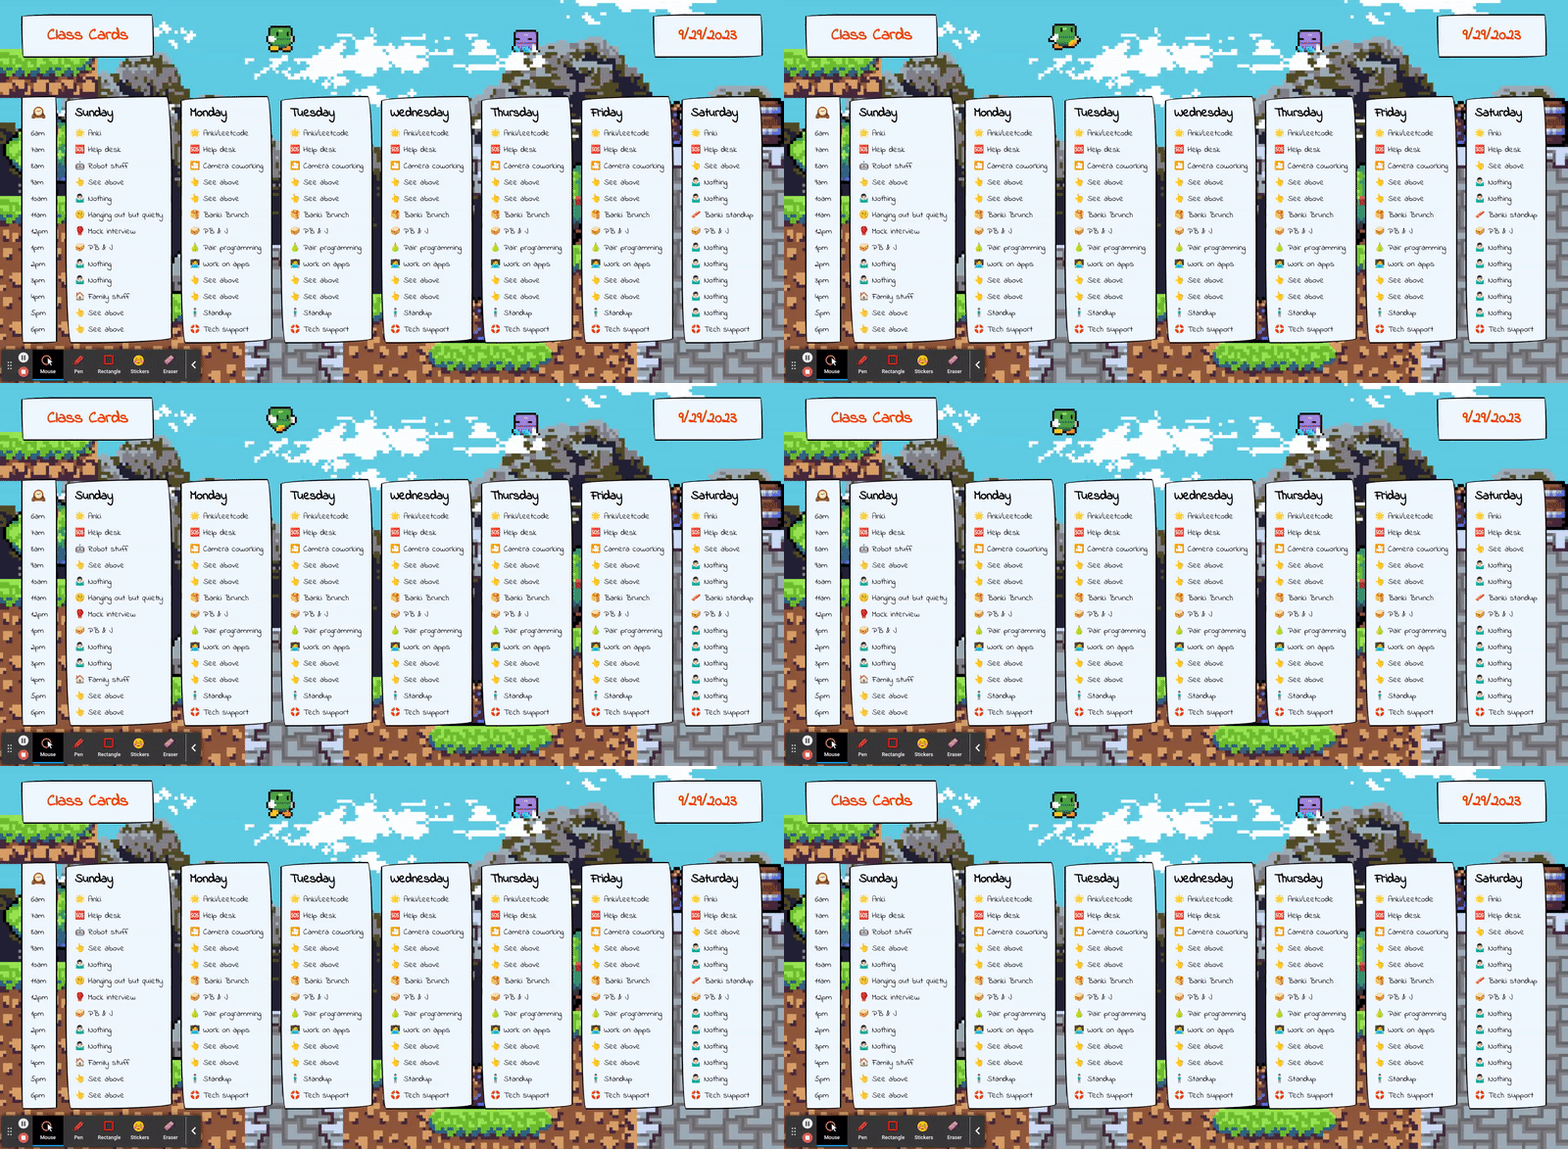
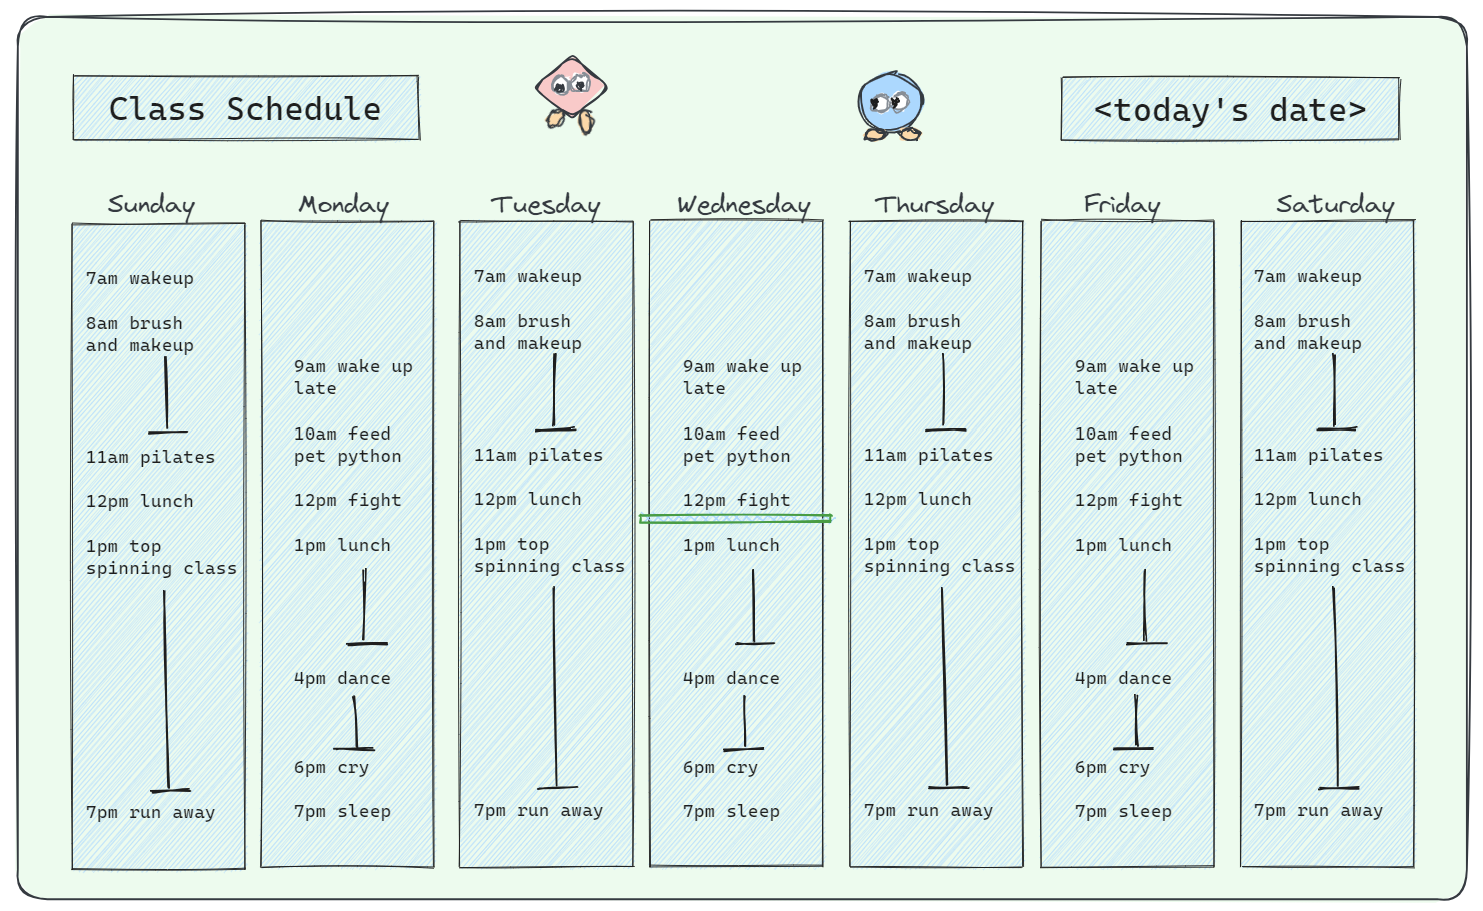
A weekly schedule with a hand-drawn look on top of pixel graphics.
🥈Place winner of the Codédex September 2023 Monthly Challange 🎉
Tech used: TypeScript, Next.js with Styled-Components
- Add ability to edit schedule and store data in local storage
- Optimize the site further for mobile display
- Add the ability to host and run outside of development
- Modularize styled-components into files
-
Fork and Clone the Repository:
- First, fork the repository on GitHub if you haven't already.
- Then, clone the forked repository to your local environment using the following command:
git clone <repository_url> - Replace
<repository_url>with the URL of your forked repository.
-
Install Dependencies:
- Open your terminal and navigate to the project's directory using
cd <project_directory>. - Run the following command to install the project's dependencies:
npm install
- Open your terminal and navigate to the project's directory using
-
Run the Application:
- Once the dependencies are installed, you can start the development server by running:
npm run dev - This command will build and run Class Cards locally.
- Once the dependencies are installed, you can start the development server by running:
-
View Your App:
- Open your web browser and go to the following address:
http://localhost:3000 - This is where your locally running Next.js app can be accessed.
- Open your web browser and go to the following address:
-
Access Schedule Data:
- If you need to access schedule data, it's located in the following file:
src/app/data/seedData.tsx - You can edit or view the schedule data in this file as needed.
- If you need to access schedule data, it's located in the following file:

