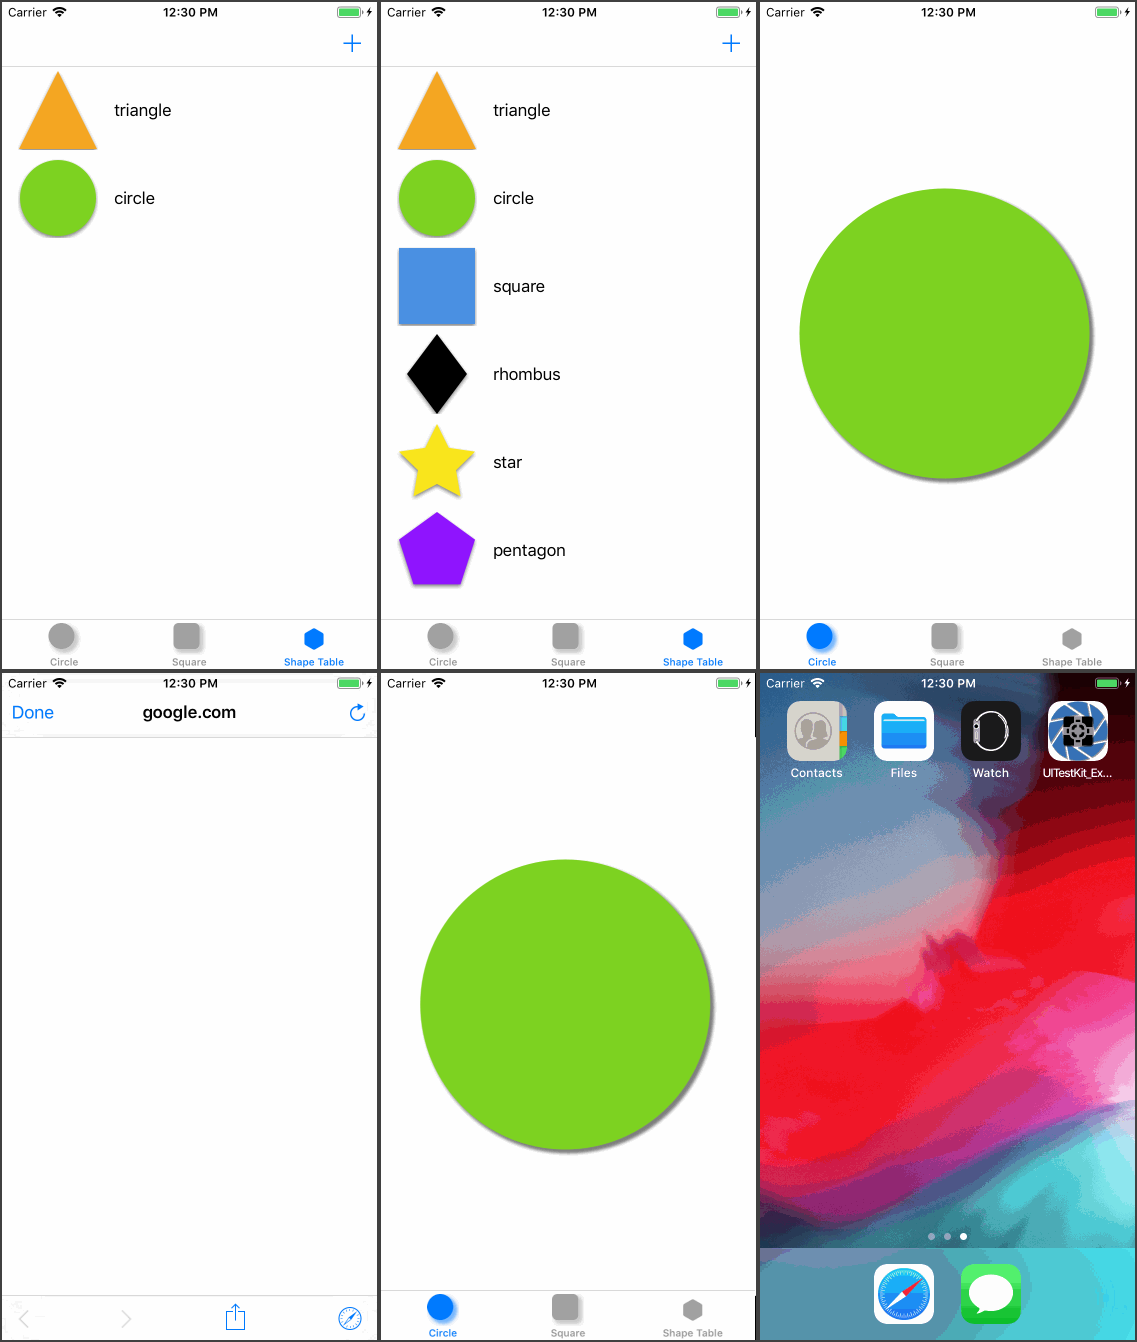
- UI Testing from a vanilla
XCTesttarget- Enable / Disable UI Animations
- Take screenshots on test assertion failures
waitForConditionfunction to free up the UI thread and wait for your block condition to become true (or timeout and move on)pauseForUIDebug()function to allow you to pause a (configurable) amount of time between steps in your tests- function becomes a no-op when
shouldPauseUIis false (the default)
- function becomes a no-op when
- variables to get you the top view controller
- Example App to demonstrate capabilities
- UITestKit lets you interact with the application code directly from test code
- Easier mocking of model objects
- Easier invocation of ViewControllers
- Lower level access to your application
- UITestKit provides convenience variables for taking screenshots from failures
- UITestKit can be far less rigid than XCUITests
To run the example project, clone the repo, and run pod install from the Example directory first.

- iOS 9.0 or higher
UITestKit is available through CocoaPods. To install it, simply add the following line to your Podfile:
pod 'UITestKit'/// Pre-test initialization
override func setUp() {
super.setUp()
// Don't show view transitions - this will help prevent timing related failures
disableAnimations()
// pause when pauseForUIDebug() is called
shouldPauseUI = true
// how long to pause for when pauseForUIDebug() is called
pauseTimer = 0.3
// Now do other setup tasks
}/// Tests logging in to the application
func testLoginSuccess() {
// Verify that we're at the Main VC or fail and take a screenshot
XCTAssertTrue(waitForCondition({ self.mainVC != nil }, timeout: 3), topVCScreenshot)
pauseForUIDebug()
mainVC?.loadEmailLoginScreen()
// Verify that we're at the Sign in VC or fail and take a screenshot
XCTAssertTrue(waitForCondition({ self.signInVC != nil}, timeout: 1), topVCScreenshot)
pauseForUIDebug()
// Simulate typing email
if let emailText = signInVC?.emailText {
emailText.text = "user@domain.com"
pauseForUIDebug()
}
// simulate typing password
if let passwordText = signInVC?.passwordText {
passwordText.text = "UserPassword"
pauseForUIDebug()
}
// log in
signInVC?.login()
// Verify that we've signed in successfully and are at the Welcome VC or fail and take a screenshot
XCTAssertTrue(waitForCondition({ self.welcomeVC != nil}, timeout: 5), topVCScreenshot)
}- It is recommended to create a
BaseUITestclass that specializesUITestKitBaseand provides convenience variables for your application's view controllers:
/// Gets you the `SquareTabVC` if it's the topVC
var squareTabVC: SquareTabVC? {
    return topVC as? SquareTabVC
}

/// Gets the `ShapesTableViewController`
var shapeTableVC: ShapesTableViewController? {
    return topVC as? ShapesTableViewController
}- It is recommend that you use the screenshot capability when checking for specific UI's to be visible or in a specific UI state:
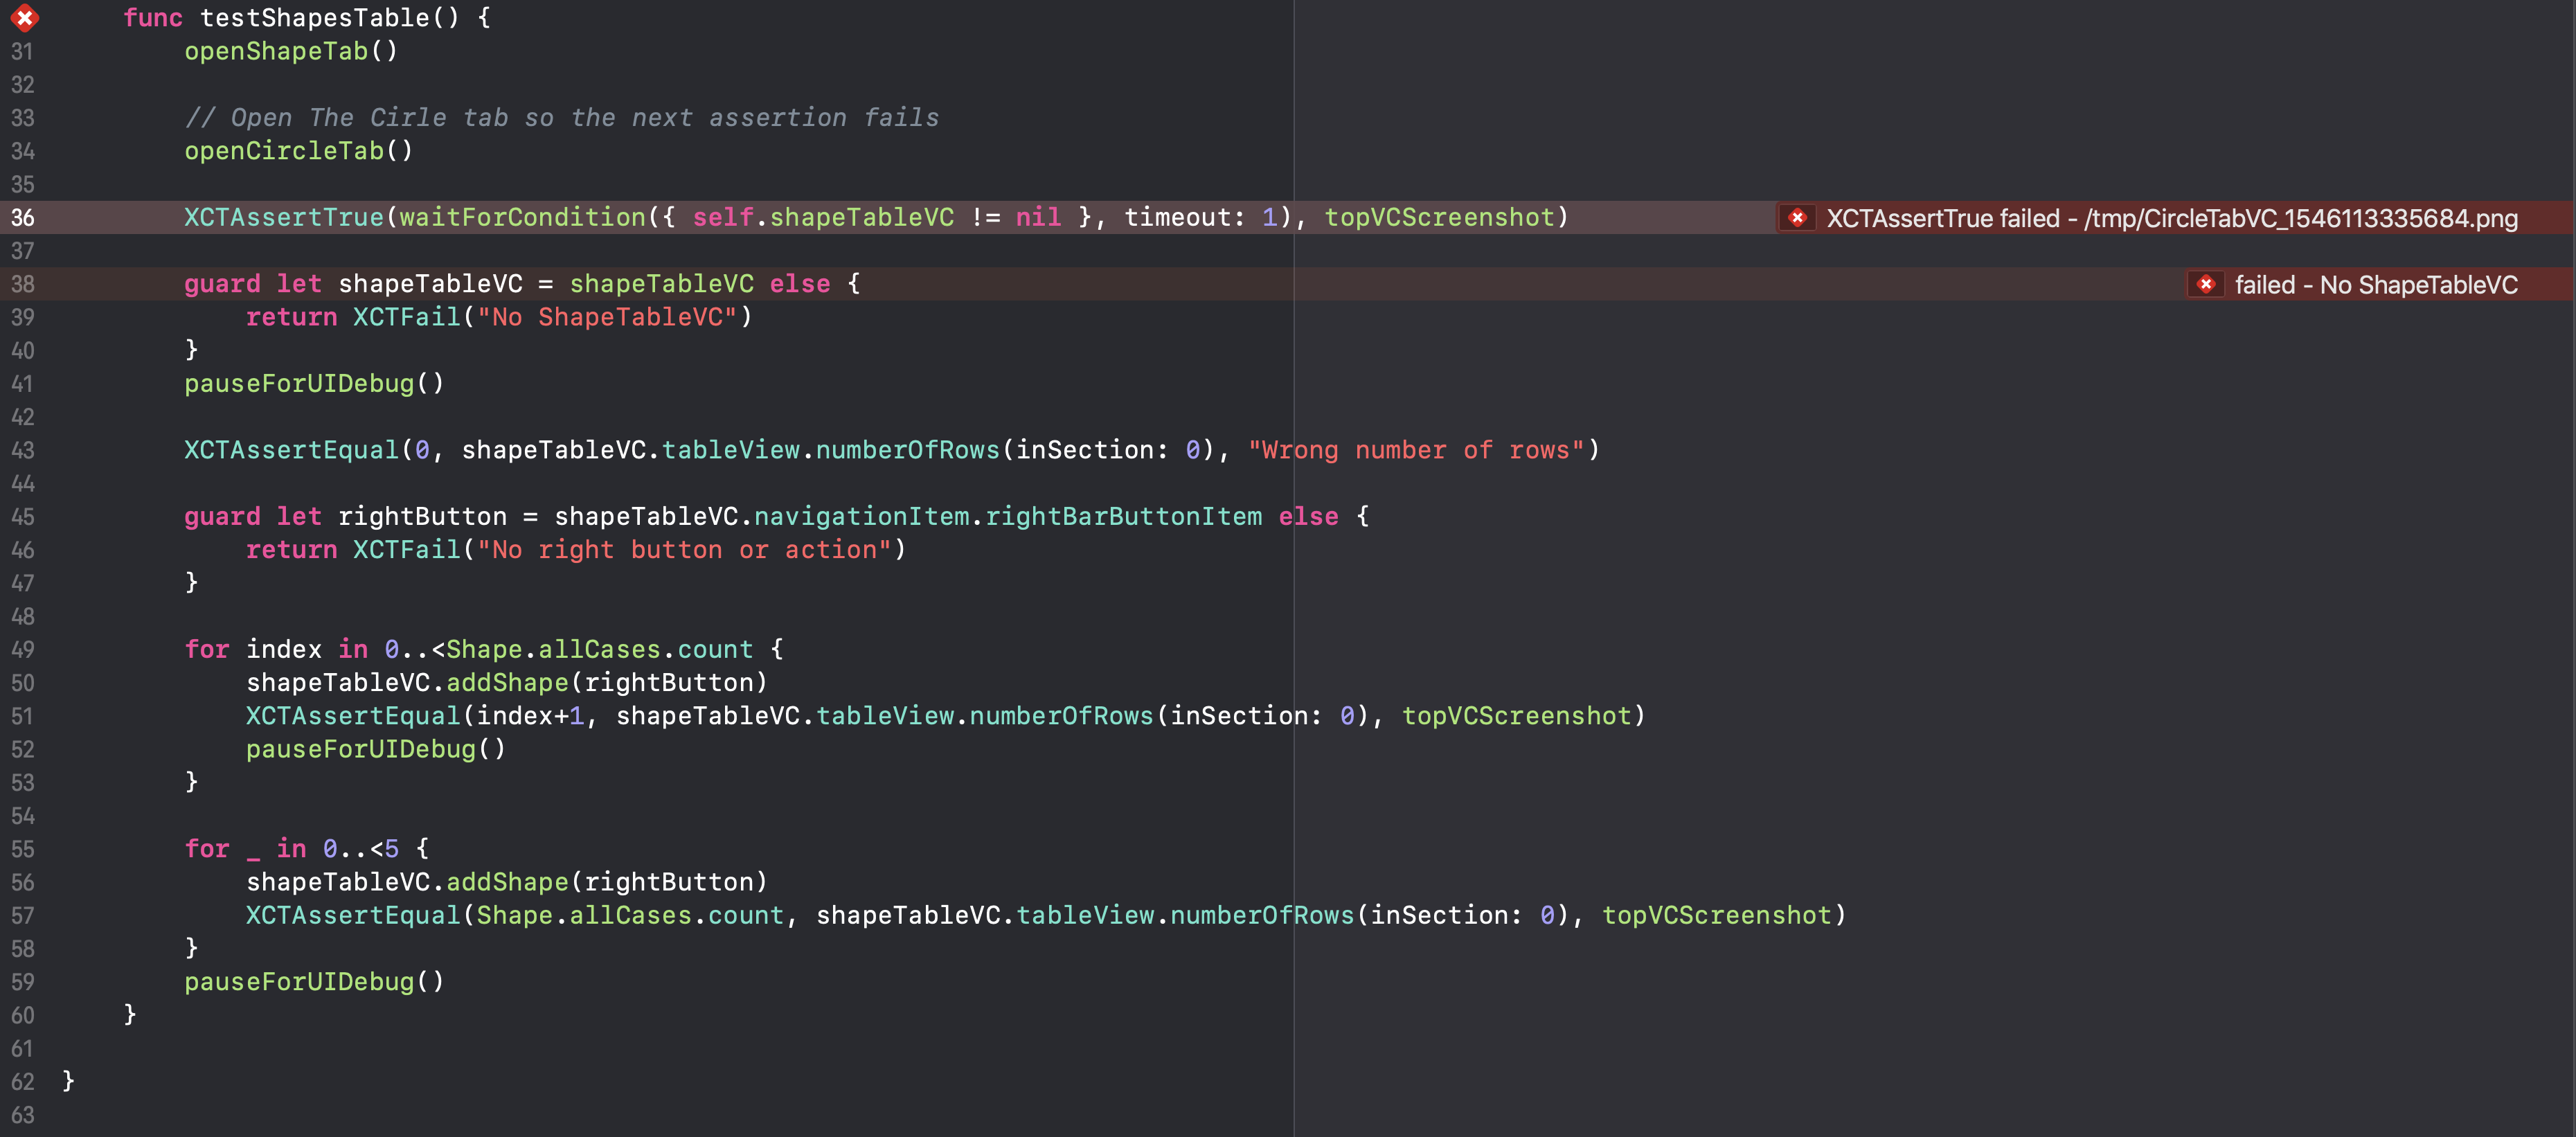
XCTAssertTrue(waitForCondition({ self.shapeTableVC != nil }, timeout: 1), topVCScreenshot)topVCScreenshot will produce failures like this:
The Screenshot that is produced will look something like the following:
Eric Internicola | Eric's Github Site
UITestKit is available under the MIT license. See the LICENSE file for more info.


