phiflow2blender Tutorial
This repo demonstrates a pipeline for creating a smoke simulation in phiflow and rendering the result in Blender. It aims to focus on the visualisation in Blender part, so more in depth tutorials on phiflow can be found in phiflow's github repo and also this exciting new YouTube series by it's main developer.
Using the scripts provided in this repo, we will produce this visualization:

Looks cool right? Let's dive into it!
Workflow
- Write a phiflow simulation and save the resulting frames as compressed numpy arrays (.npz). For example, see plume.py or TUM.py
- Process the frames in mantaflow and output them in OpenVDB format. Blender has great support to easily import OpenVDB volumes. To convert your simulation files, you have to run the manta2vdb.py script using mantaflow, with the following arguments:
-d path-to-the-input-file-res X-resolution Y-resolution Z-resolution
IMPORTANT: This script assumes your simulation has a scalar field named "smoke" and a vector field named "velocity". You can tweak this to your needs.
For example:
./path/to/manta path/to/manta2vdb.py -d path/to/scene/data -res 64 64 64
Note: It is also possible to do this using the pyopenvdb module, but when I had issues installing the module and abandoned the effort.
- Load the OpenVDB frame sequence in Blender, setup the scene in Blender and render! Since this is quite complicated to describe in text format, I have created this video for you to follow along! :)
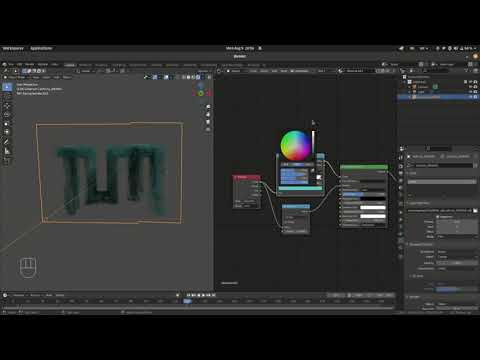
The resulting file from the video is tutorial_video.blend and the file I used for the final version is final.blend.
Dependencies:
Contributions:
Feel free to open an issue or a PR if you have any improvements or suggestions!