| page_type | products | languages | description | extensions | ||||||||||||||||
|---|---|---|---|---|---|---|---|---|---|---|---|---|---|---|---|---|---|---|---|---|
sample |
|
|
A sample Bot that uses adaptive cards and the .NET Graph SDK to send actionable messages requesting approval to release files on OneDrive. |
|
Follow these steps to enable running the bot locally for debugging.
- ngrok
- Bot Framework Emulator
- Azure Cosmos DB Emulator
- Visual Studio 2017
-
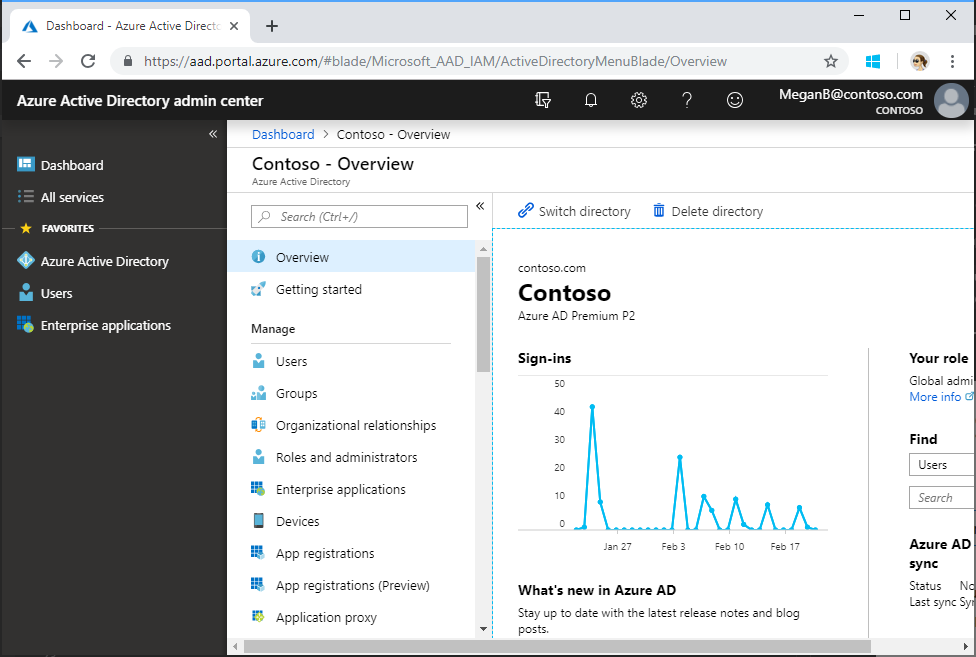
Open a browser and navigate to the Azure Active Directory admin center. Login using a Work or School Account.
-
Select Azure Active Directory in the left-hand navigation, then select App registrations (Preview) under Manage.
-
Select New registration. On the Register an application page, set the values as follows.
- Set a preferred Name e.g.
Approval Bot. - Set Supported account types to Accounts in any organizational directory.
- Under Redirect URI, set the first drop-down to
Weband set the value tohttp://localhost:3979/callback.
- Set a preferred Name e.g.
-
Choose Register. On the Approval Bot page, copy the value of the Application (client) ID and save it, you will need it in the next step.
-
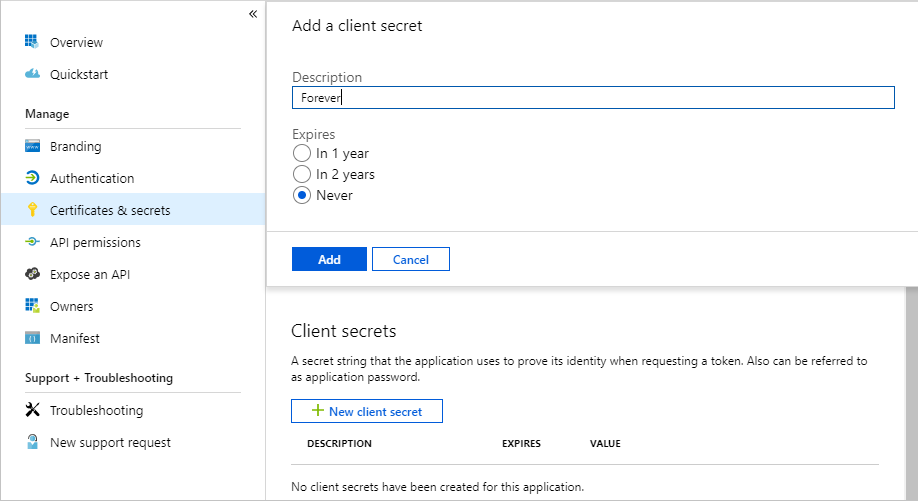
Select Certificates & secrets under Manage. Select the New client secret button. Enter a value in Description and select one of the options for Expires and choose Add.
-
Copy the client secret value before you leave this page. You will need it in the next step.
[!IMPORTANT] This client secret is never shown again, so make sure you copy it now.
You must expose a public HTTPS endpoint to receive notifications from the Bot Framework Emulator. While testing, you can use ngrok to temporarily allow messages from the Bot Framework Emulator to tunnel to a localhost port on your computer.
You can use the ngrok web interface (http://127.0.0.1:4040) to inspect the HTTP traffic that passes through the tunnel. To learn more about using ngrok, see the ngrok website.
-
Download ngrok for Windows.
-
Unzip the package and run ngrok.exe.
-
Run the following command line on the ngrok console:
ngrok http 3979 --host-header=localhost:3979
-
Copy the HTTPS URL that's shown in the console. You'll use this to configure your
NgrokRootUrlin the sample.Note: Keep the console open while testing. If you close it, the tunnel also closes and you'll need to generate a new URL and update the sample.
-
Clone the repository locally.
-
Make a copy of the ./ApprovalBot/PrivateSettings.example.config file in the same directory, and name the copy
PrivateSettings.config. -
Open ApprovalBot.sln in Visual Studio, then open the PrivateSettings.config file.
-
Set the value of
MicrosoftAppIdto the Application (client) ID you generated in the previous step, and set the value ofMicrosoftAppPasswordto the secret you generated afterwards. -
Paste the ngrok HTTPS URL value copied from the previous step into the value of
NgrokRootUrlin PrivateSettings.config, and save your changes.IMPORTANT: Leave ngrok running while you run the sample. If you stop ngrok and re-start it, the forwarding URL changes, and you'll need to update the value of
NgrokRootUrl. -
Start the Azure Cosmos DB Emulator. This needs to be running before you start the sample.
-
Press F5 to debug the sample.
-
Run the Bot Framework Emulator. At the top, where it says Enter your endpoint URL, enter
https://localhost:3979/api/messages. -
That will prompt for app ID and password. Enter your app ID and secret, and leave Locale blank.
-
Click Connect.
-
Send
hito confirm the connection.
When running the sample locally, the approval request email that sent is a little different. Because it's not running on a confirmed, registered domain, we must send the message to and from the same account. What that means is that when you get to the point where you request approval, you must include yourself in the list of approvers.
You can include other approvers, but the message they receive won't show the adaptive card. Login to your own mailbox with Outlook to test the adaptive card.
This project welcomes contributions and suggestions. Most contributions require you to agree to a Contributor License Agreement (CLA) declaring that you have the right to, and actually do, grant us the rights to use your contribution. For details, visit https://cla.microsoft.com.
When you submit a pull request, a CLA-bot will automatically determine whether you need to provide a CLA and decorate the PR appropriately (e.g., label, comment). Simply follow the instructions provided by the bot. You will only need to do this once across all repos using our CLA.
This project has adopted the Microsoft Open Source Code of Conduct. For more information see the Code of Conduct FAQ or contact opencode@microsoft.com with any additional questions or comments.
Copyright (c) 2019 Microsoft. All rights reserved.


