This is a data engineering task to extract the 10 latest prices for the cryptocurrency Ethereum, from CoinGecko's public API. I will be using the Python wrapper for CoinGecko's API, provided on their GitHub page. However, I ended up not using the Python wrapper.
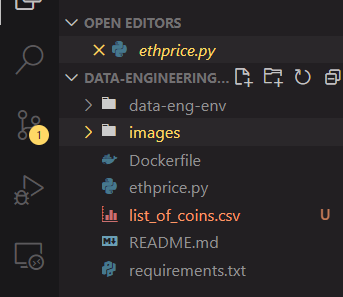
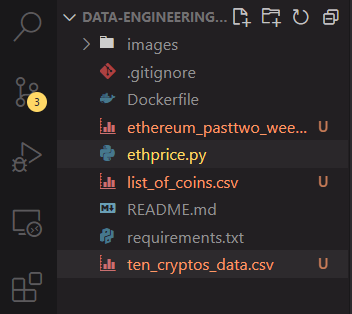
The Python script sends GET requests based on the APIs on CoinGecko, converts the JSON responses into a Pandas dataframe, performs some transformations on the data (such as renaming columns and converting Unix timestamp to datetime), and writes the dataframe as a CSV into the local host. This process is written in a Dockerfile, which can be built and ran using Docker, and upon doing that, outputs three CSV files into the user's machine.
The list_of_coins.csv cointains the ID, name and symbol of all the
cryptocurrencies listed on CoinGecko, the ten_cryptos_data.csv contains the
current price and details of 10 example cryptocurrencies including Ethereum,
and the ethereum_pasttwo_weeks.csv file contains the OHLC
(open-high-low-close or candlestick data) data of only Ethereum in the past two
weeks, with a granularity of 4 hours.
If you have Git installed, you can navigate to a folder where you want to place the files, and clone this repository by typing into the terminal:
git clone https://github.com/ismaildawoodjee/Data-Engineering-Task
Otherwise, you can download the ZIP file and unzip it in the current directory of your choice. Yet another way would be to use VS Code and clone the repository with one click.
Once that is done, ensure that you have Docker installed by typing:
docker --version
If you don't have Docker, install it from this website, assuming that you are on windows. Open Docker Desktop and go back to your terminal.
The next step is to build a Docker image from the Dockerfile by typing:
docker build -t name_of_your_image .
In my case, I typed docker build -t trialtask .. The -t flag stands for
"tag", which tags my image with the name "trialtask". The dot . at the end
indicates that the Dockerfile is located in the current directory that I am in.
Building the image may take a few minutes. For me, it took about 7-8 minutes
for the first build.
Once the image has been built, go to the Images tab on Docker Desktop to see your new image with the given name. It is currently not running yet. To create a container from this image and run it, type:
docker run -v directory\for\saving\your\files:/app/data name_of_your_image
This run command mounts a volume driver so that the data that was created
inside the container at /app/data gets written into the
directory\for\saving\your\files. In my case, I typed
docker run -v C:\Users\DELL\Desktop\Stuff\Data-Engineering-Task:/app/data trialtask, which ran successfully and produced three CSV files as expected.
The first thing I did was to create a new folder in my local machine (Linux
OS), and initialize a Git repository using git init. After that, I checked my
Python version using python3 --version. It wasn't the latest version (it was
3.8.5), so I installed the latest version following the instructions from this
website
, and then set up a virtual environment using python3.9 -m venv data-eng-env.
I was already inside the repo that I created, so before doing anything, I
activated the venv using source data-eng-env/bin/activate. Next, I created a
README.md file using touch README.md and wrote the title of this project
there. To ensure that I am inside the venv, I can use env | grep VIRTUAL_ENV,
by piping grep with env, and checking that I am in the correct virtual environment.
Now, I want to track all the changes I made since the initialization. I stage
all the changes using git add . and make a commit by writing git commit -m "First commit; created venv and README". But before pushing my changes, I will
need a GitHub repo first. I am using VS Code with the source control extension,
so I simply create a new repository with the name "Data-Engineering-Task" from
the "Branches" tab (after signing in with my GitHub account). Once created, it
automatically pushes the changes to the new repo. Finally, I install
CoinGecko's Python wrapper and create a new Python script using touch ethprice.py. I write these steps in the README file and push the new changes
to my repo using git push origin main (I already configured my GitHub to use
main instead of master as the default branch).
I am ready to start writing the Python script.
First, I try to understand the APIs given in the
CoinGecko API page, pinging
the API server to test it out. It works when it gives a 200 status code, which
it does. Also, I was going to use the Python wrapper, then I realized it might
be better to just use requests where I can specify the parameters more
easily.
Next, I want to test out the simple/price request since it provides the
current price of a crypto in terms of other currencies/cryptos while also
including the 24h change and last update time. However, I don't know what the
ID for Ethereum is, so I will need to look at the coins/list request to see
the specific ID for Ethereum. To do this, I wrote a couple of functions to
print out the data and put it into a Pandas dataframe. The ID for Ethereum
turned out to be ethereum and there are over 7600 coins listed on CoinGecko.
Before going any further with data collection, I want to write the coins_df
list of coins dataframe as a CSV file into my system, create a
requirements.txt and Dockerize the script so that anyone can run it on their
own local machine. However, this proved to be more complicated than I expected.
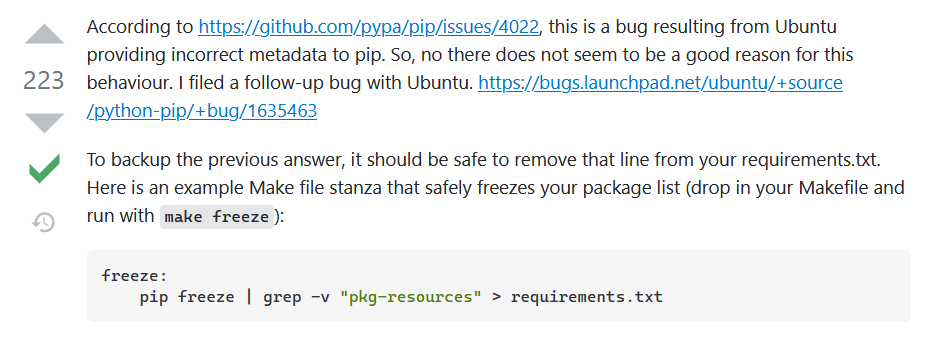
In my Ubuntu laptop, I created the requirements.txt file using
pip freeze > requirements.txt because surprisingly, in contradiction to the
info given here,
using pipreqs resulted in generating over 100 dependencies but pip freeze
generated much less. I also created a Dockerfile according to the
instructions
, using a Python 3.9.5 image, telling Docker to install the dependencies from
requirements.txt and running the Python script.
However there was a bug that occurs within Python virtual envs created in Ubuntu.
I only found out about this after building the Docker file in my Windows laptop, to test if my script works on Windows.
In this case, I fixed the bug by excluding the line containing pkg-resources
from pip freeze, following the accepted answer in Stackoverflow:
pip freeze | grep -v "pkg-resources" > requirements.txt
The grep command with the -v flag excludes the line containing
pkg-resources from appearing in the requirements.txt file, so it will no
longer be installed as a dependency.
After fixing this bug, I went back to my Windows machine, cloned the latest
repo and successfully built the Dockerfile using docker build -t trialtask ..
However, just using docker run trialtask did not produce the CSV output that
I expected. It took me some digging around to find out that I needed to mount a
file drive, so that the CSV that is produced by running the container is also
outputted into my local machine. According to a post from
here, Docker
containers remove all the data they produce after they stop running. The
solution is to mount a volume from your local host and write the CSV file into
a separate folder /data that won't get destroyed after the container stops
running. In my case, instead of running docker run trialtask, I needed to run
docker run -v C:\Users\DELL\Desktop\Stuff\Data-Engineering-Task:/app/data trialtask
I also modified the Dockerfile to create a /data directory for this purpose.
Running the above command successfully outputted the CSV file that I wanted
into my local machine (and I deleted it afterwards).
Now that I have a CSV file about the names, symbols and IDs of all the coins
listed on CoinGecko, I can get the latest/current price of all of these cryptos
(not only Ethereum) using the /simple/price GET request provided on the API
page. Unfortunately, passing in all the coin IDs by looping over them gave a
JSONDecodeError, with the program complaining that nothing was returned by the
server when something was expected. After Stackoverflowing around, I suspect
that most of the 7600 coins might be so obscure that there may not be enough
data about their 24hr change in price or last update time or etc., resulting
in empty responses to my requests.
No problem. I don't need the details of all 7000 irrelevant cryptos anyway. I make a list of 10 easy to spell cryptos and get their details into a dataframe, sorting them by market cap, converting from Unix timestamps to datetime and outputting the result as a CSV file.
Finally, I want to get historical time-dependent data about Ethereum only. I can do this using the OHLC GET request, by specifying the coin ID, the currency to measure against (US$) and the number of days into the past, which I specified as 14 days. This provides me with candlestick data about Ethereum in intervals of 4 hours, so that I collected the latest 84 instances of Ethereum price. One minor problem was that the Unix timestamp data provided by the API was mistakenly multiplied by 1000, which I discovered when converting timestamp to datetime and got an error saying Year 54000 does not exist, or something along those lines. Dealing with this was straightforward: just divide the timestamps by 1000 before converting.
In this project, I wanted to extract the latest 10 prices of the cryptocurrency
Ethereum, from the public API provided by CoinGecko. There wasn't an official
GET request that provided both the 10 historical prices and all the details
that come with the /simple/price GET request, so I obtained the OHLC data
for Ethereum and opted to extract the details of 10 different cryptos instead,
along with a list of all coins listed on CoinGecko.
Building the Docker image and then running the Docker container for this project should output the 3 datasets mentioned above. This was successful both on my Linux and Windows PCs and produced 3 CSV files as expected. One final improvement that I could have done was to explore more Docker in terms of writing a Docker-Compose file, although it might not be needed for such a simple Docker file.


