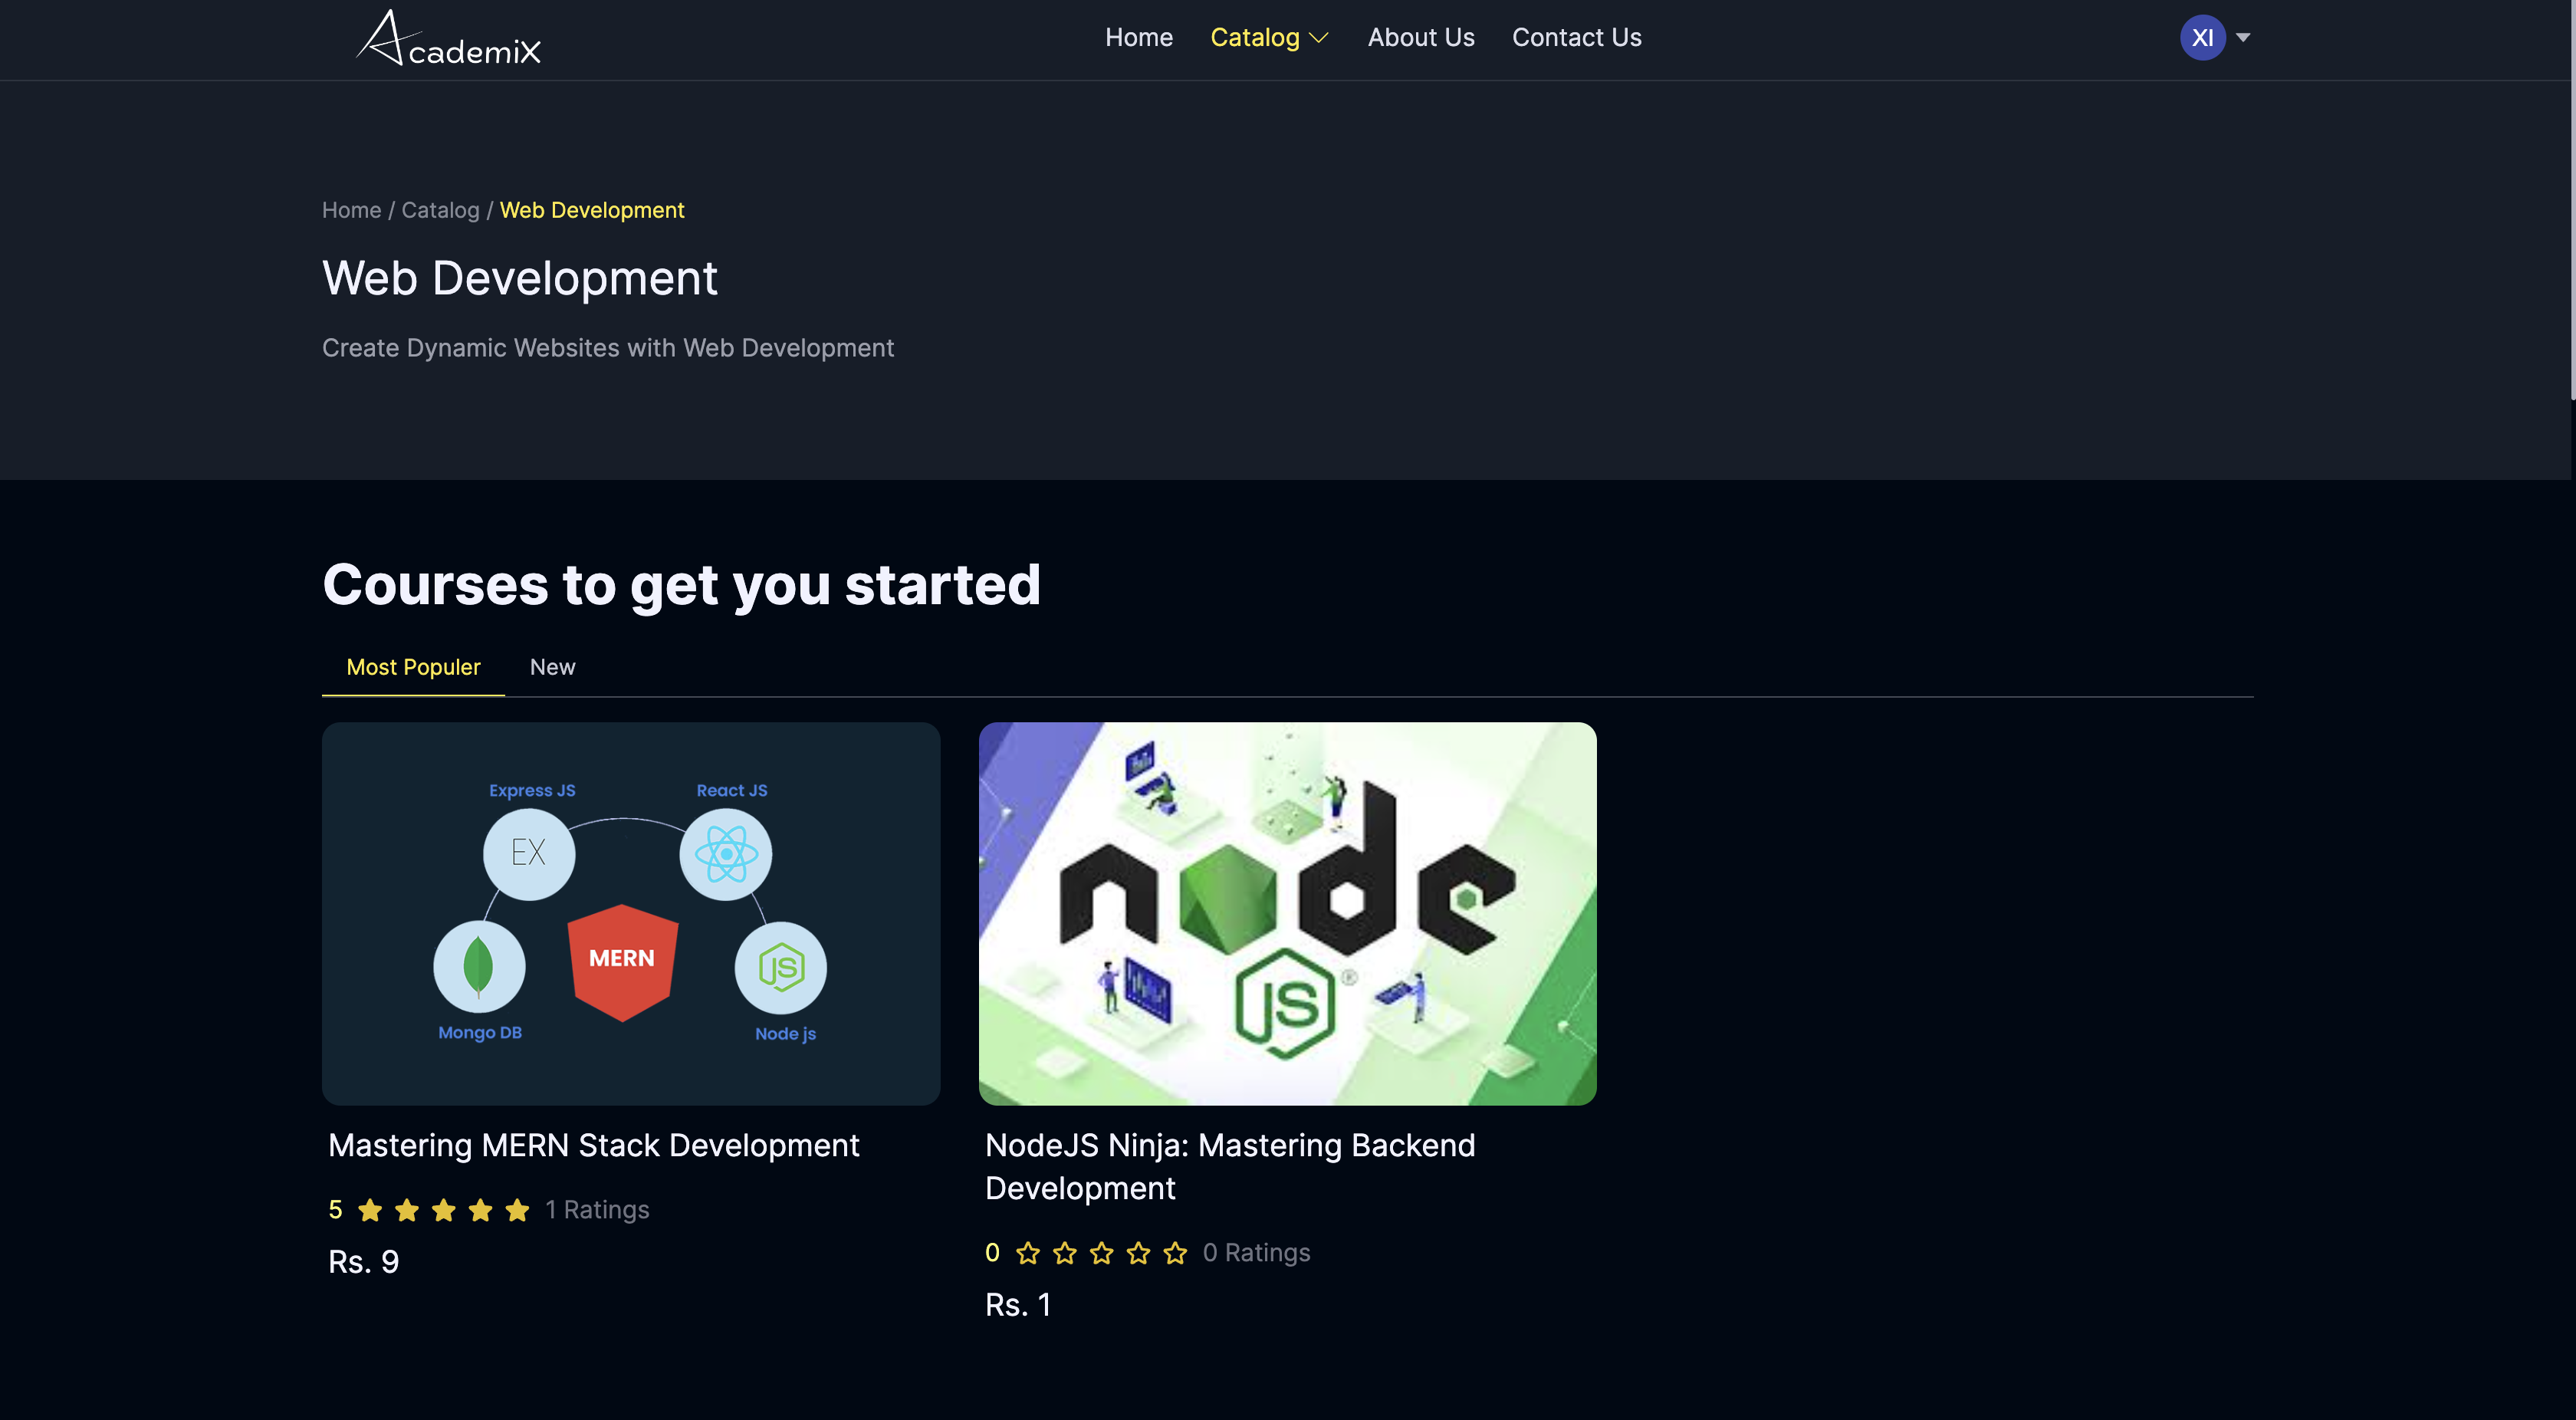
Welcome to AcademiX - an innovative e-learning platform designed to revolutionize the education system! 🌐
AcademiX is dedicated to enhancing accessibility to education by providing courses taught by experts. Our platform is not just about learning. it’s about making education affordable and enabling educators to monetize their expertise on a global scale.
- Node.js & Express.js - Robust backend development
- MongoDB - Efficient data storage with MongoDB Atlas
- JWT Token Authentication - Secure user authentication
- Razorpay - Payment integration (currently in test mode)
- Cloudinary - Media storage (photos, videos)
- Nodemailer - Sending emails (confirmation, OTP, etc.)
- React.js - Dynamic and responsive user interface
- Redux Toolkit: For efficient state management, we've created various slices to handle different parts of our application state seamlessly.
- React Router: For navigation and routing between pages.
- Axios: For making HTTP requests to our backend API.
- Tailwind CSS: For styling and responsive design.
- react-hook-form : For form handling and validation.
For a live demo, check out our deployed version: AcademiX.
- Expert-Led Courses: Learn from the best in the industry.
- Monetize Expertise: Educators can offer their courses to a global audience.
- Secure Payments: Integrated with Razorpay for seamless transactions.
- Media Management: Store and manage videos and photos with Cloudinary.
- Comprehensive Authentication: OTP, reset password, forgot password functionalities.
- Email Notifications: Automated emails for confirmations, OTPs, and more.

|

|

|

|
By working on AcademiX, I gained hands-on experience with:
- Cloudinary for media storage
- Razorpay Integration for payment processing
- Node Mailer for sending emails
- Authentication Systems: Implementing OTP, password reset, and more
- Node.js
- MongoDB
- Razorpay Account (for payment integration)
- Cloudinary Account (for media storage)
To run this project, you will need to add the following environment variables to your .env files.
Create a .env file in the backend directory and add the following:
MAIL_HOST = your_mail_host
MAIL_USER = your_mail_user
MAIL_PASS = your_mail_pass

JWT_SECRET = your_jwt_secret
FOLDER_NAME = your_folder_name

RAZORPAY_KEY = your_razorpay_key
RAZORPAY_SECRET = your_razorpay_secret

CLOUD_NAME = your_cloudinary_cloud_name
API_KEY = your_cloudinary_api_key
API_SECRET = your_cloudinary_api_secret

MONGODB_URL = your_mongodb_url
PORT = your_port_number
Create a .env file in the frontend directory and add the following:
REACT_APP_BASE_URL = your_backend_base_url
-
Clone the repository:
git clone https://github.com/its-mahi/AcademiX.git cd AcademiX -
Install backend dependencies:
cd backend npm install -
Install frontend dependencies:
cd ../frontend npm install -
Set up environment variables:
- Create a
.envfile in bothbackendandfrontenddirectories and add the necessary environment variables (e.g., MongoDB URI, JWT Secret, Razorpay credentials, Cloudinary credentials).
- Create a
-
Run the application:
- Backend:
cd backend npm start - Frontend:
cd frontend
npm start
- Backend:
- Backend: Deployed on Render
- Frontend: Deployed on Vercel
- Database: Hosted on MongoDB Atlas
- Students: Access to a variety of courses, track progress, and receive certificates.
- Instructors: Create, manage, and monetize courses.
We welcome contributions from everyone. Please follow these steps to contribute:
- Fork the repository.
- Create a new branch (
git checkout -b feature-branch). - Make your changes.
- Commit your changes (
git commit -m 'Add some feature'). - Push to the branch (
git push origin feature-branch). - Open a pull request.
If you found this useful, make sure to give it a star 🌟
