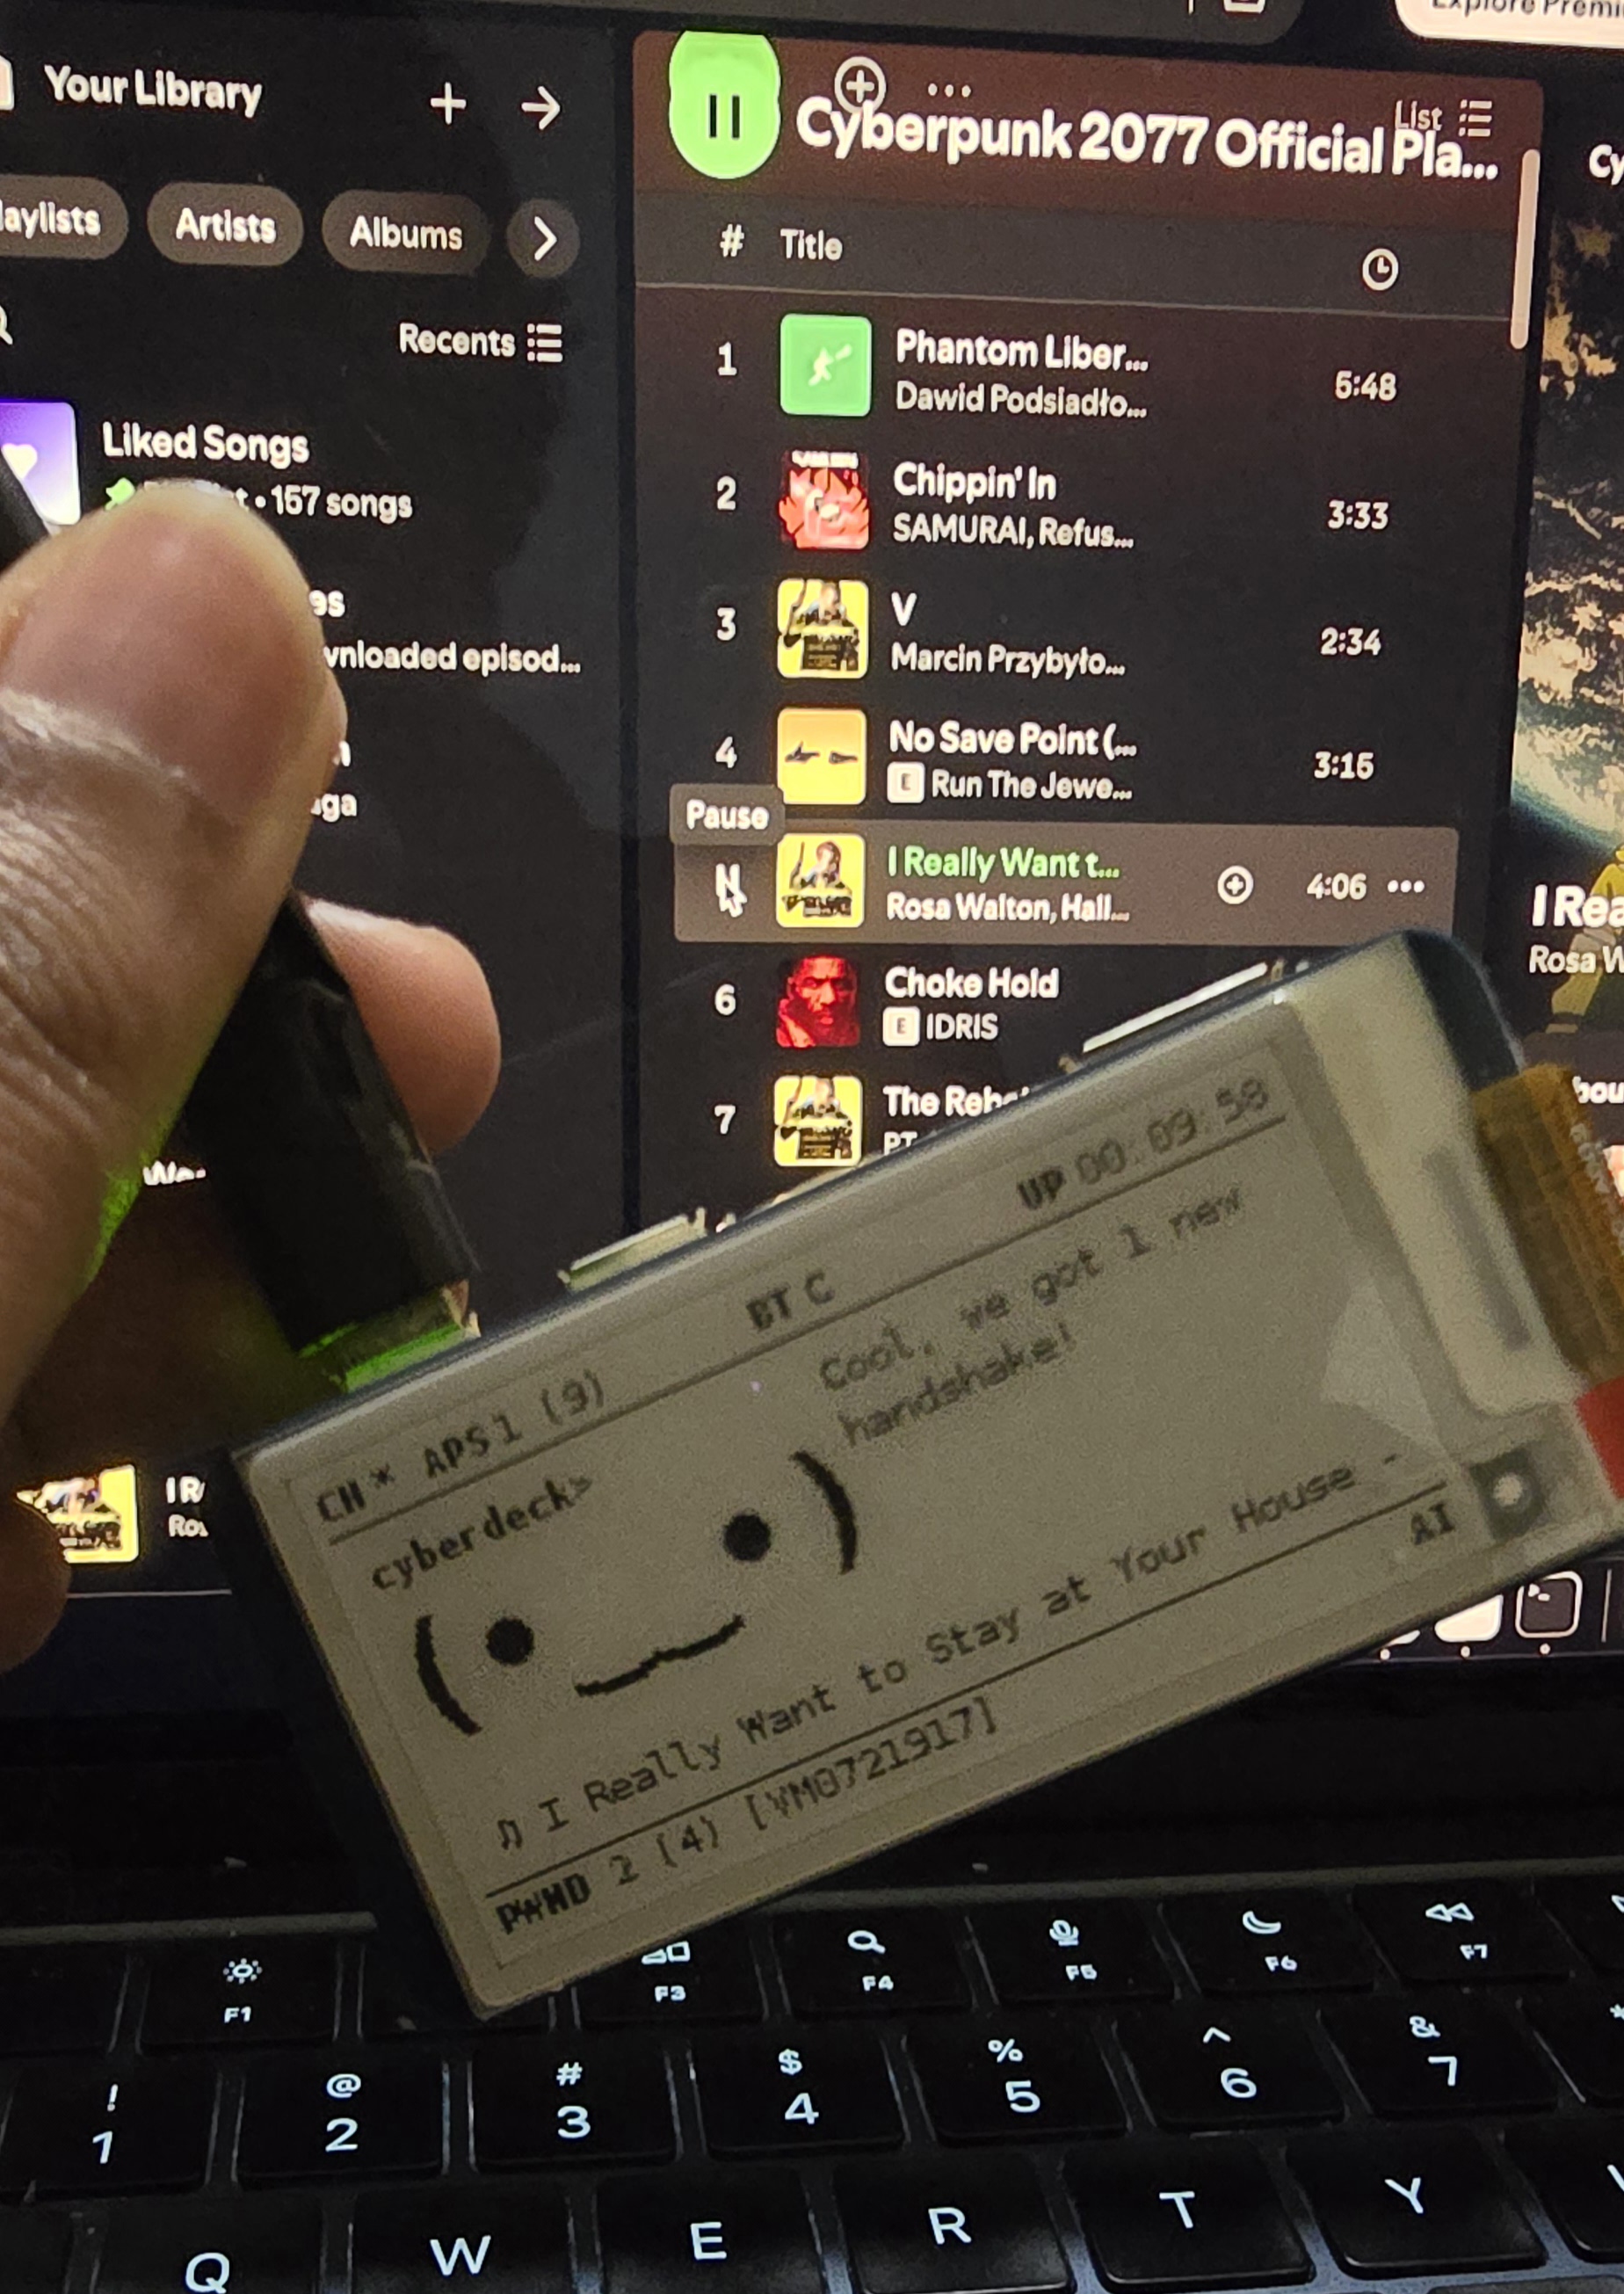
Turn your Pwnagotchi into a music companion! Display your currently playing Spotify tracks with a sleek scrolling animation. Now your Pwnagotchi listens to your playlist 🎧
    ┌──────────────────┐
    │    ⊙    ⊙       │
    │      ▼          │
    │  ♫ Bohemian... >│
    └──────────────────┘
Watch the YouTube Shorts video
- 🔄 Real-time display of currently playing Spotify tracks
- 📱 Smooth scrolling text animation
- 🎯 Configurable display position and scroll speed
- 🔁 Automatic token refresh
- 💪 Robust error handling and reconnection
- 🎨 Clean and minimal UI integration
- Control songs directly via your pwnagotchi.
- More animations.
- Pwnagotchi react to the songs!
- Pwnagotchi with display
- Active Spotify account
- Spotify Developer Access
- Internet connectivity for your Pwnagotchi
- Copy the
pwnspotify.pyfile to your Pwnagotchi plugins directory:
Figure it our yourself mate!
-
Visit the Spotify Developer Dashboard 🌐
-
Click
Create an App -
Fill in the application details:
- Name:
Pwnagotchi Spotify - Description:
Spotify integration for Pwnagotchi - Website: (optional)
- Redirect URI:
http://localhost:8080
- Name:
-
After creating the app, you'll get:
- ⭐ Client ID
- 🔑 Client Secret
-
Generate your authorization code:
- Replace
YOUR_CLIENT_IDin this URL and open it in your browser:
https://accounts.spotify.com/authorize?client_id=YOUR_CLIENT_ID&response_type=code&redirect_uri=http://localhost:8080&scope=user-read-currently-playing- Log in and authorize the application
- You'll be redirected to localhost:8080
- Copy the
codeparameter from the URL (everything aftercode=)
- Replace
Add these lines to your /etc/pwnagotchi/config.toml:
main.plugins.pwnspotify.enabled = true
main.plugins.pwnspotify.client_id = "YOUR_CLIENT_ID"
main.plugins.pwnspotify.client_secret = "YOUR_CLIENT_SECRET"
main.plugins.pwnspotify.redirect_uri = "http://localhost:8080"
main.plugins.pwnspotify.auth_code = "YOUR_AUTH_CODE"main.plugins.pwnspotify.scroll_speed = 2 # Text scroll speed
main.plugins.pwnspotify.check_interval = 30 # How often to check for new tracks (seconds)
main.plugins.pwnspotify.retry_interval = 5 # Connection retry interval (seconds)
main.plugins.pwnspotify.display_position = [180, 100] # Screen position [x, y]
main.plugins.pwnspotify.display_width = 12 # Number of characters to show
main.plugins.pwnspotify.static_display_time = 3 # Full text display duration (seconds)
main.plugins.pwnspotify.token_file = "/root/.spotify_tokens" # Token storage location- Restart your Pwnagotchi after configuration:
systemctl restart pwnagotchi- The plugin will automatically:
- 🔄 Connect to Spotify
- 💾 Handle token management
- 📱 Display your currently playing track
- Playing:
♫ Track Name - Artist - No track:
No track playing - Connecting:
Connecting to Spotify...
-
No Display
- Check if plugin is enabled in config
- Verify Spotify credentials
- Check Pwnagotchi logs
-
Authorization Failed
- Generate new auth code
- Verify client ID and secret
- Check redirect URI in Spotify dashboard
-
Token Issues
- Delete
/root/.spotify_tokens - Restart Pwnagotchi
- Plugin will generate new tokens
- Delete
Feel free to:
- 🐛 Report bugs
- 💡 Suggest features
- 🔧 Submit pull requests
This project is licensed under MIT.
Made with ❤️ for the Pwnagotchi community
