A wechat robot based on ChatGPT with no risk, very stable! 🚀
English | 中文文档
When I use bots based on
itchatandwechaty, I often encounter the risk of account restrictions when scanning codes to log in. Refer to #158. Is there a safe way to use wechat bots? Here it is~
- Extremely Stable: Implement based on windows hook, no worry about risk of wechat account restriction
- Basic Conversation: Smart reply for private chat and group chat, support multiple rounds of session context memory, support GPT-3, GPT-3.5, GPT-4, Claude-2, Claude Instant-1, Command Nightly, Palm models and other models in litellm
- Image Generation: Support image generation, Dell-E only model for now
- Flexible Configuration: Support prompt settings, proxy, command settings and etc.
- Plugin System: Support personalized plugin extensions, you can easily integrate the functions you want
2023.07.13: Introduce
plugin systemto make gptbot have more possibilities and easy to expand #46. Here's the first interesting plugin: tiktok, try it and have fun! Also refer to docs to learn the usage and how to contribute~
Support Windows system(probably support Linux in the future based on sandbox) and Python needs to be installed at the same time
It is recommended that the Python version be between 3.8.X~3.10.X, version 3.10 is perfect
git clone https://github.com/iuiaoin/wechat-gptbot && cd wechat-gptbotpip install -r requirements.txtconfig.template.json in the root directory contains the configs template, you need to copy the template to create the final effective config.json
cp config.template.json config.jsonThen fill in the configuration in config.json, the following is the description of the default configuration, which can be customized according to the needs:
{
  "openai_api_key": "YOUR API SECRET KEY",             # Fill in your OpenAI API Key
  "model": "gpt-3.5-turbo",                            # ID of the model to use, support gpt-3.5-turbo, gpt-4, gpt-4-32k etc.
  "use_azure_chatgpt": false,                          # Whether use Azure OpenAI API
  "azure_deployment_id": "",                           # Azure model deployment name
  "role_desc": "You are a helpful assistant.",         # Role description as system prompt
  "session_expired_duration": 3600,                    # Session memory kept duration
  "max_tokens": 1000,                                  # Max tokens of characters for session memory
  "temperature": 0.9,                                  # Between 0 and 2. Higher values make the output more random, while lower values more focused
  "proxy": "127.0.0.1:3000",                           # Proxy client ip and port
  "openai_api_base": "",                               # api url used by openai service
  "create_image_size": "256x256",                      # Dall-E image size, support 256x256, 512x512, 1024x1024
  "create_image_prefix": ["draw", "paint", "imagine"], # Text prefix for image generation
  "clear_current_session_command": "#clear session",   # Clear current session
  "clear_all_sessions_command": "#clear all sessions", # Clear all sessions
  "chat_group_session_independent": false,             # Whether sessions of users are independent in chat group
  "single_chat_prefix": ["bot", "@bot"],               # Start conversation with "bot" or "@bot" in single chat to trigger the bot, leave it empty if you wanna make the bot active all the time
  "group_chat_reply_prefix": "",                       # Reply prefix in group chat
  "group_chat_reply_suffix": "",                       # Reply suffix in group chat
  "single_chat_reply_prefix": "",                      # Reply prefix in single chat
  "single_chat_reply_suffix": "",                      # Reply suffix in single chat
  "query_key_command": "#query key"                    # Querying the usage of the api key
  "recent_days": 5                                     # The usage in <recent_days> days
  "plugins": [{ "name": <plugin name>, other configs }]# Add the your favorite plugins
}We need the specific wechat version and dll to make windows hook work.
- Download assets from the release
- Install WeChatSetup-3.2.1.121.exe and login
- Run the wechat-dll-injectorV1.0.3.exe
- Select 3.2.1.121-LTS.dll and click
inject dll, you will see "Successfully injected: 3.2.1.121-LTS.dll"
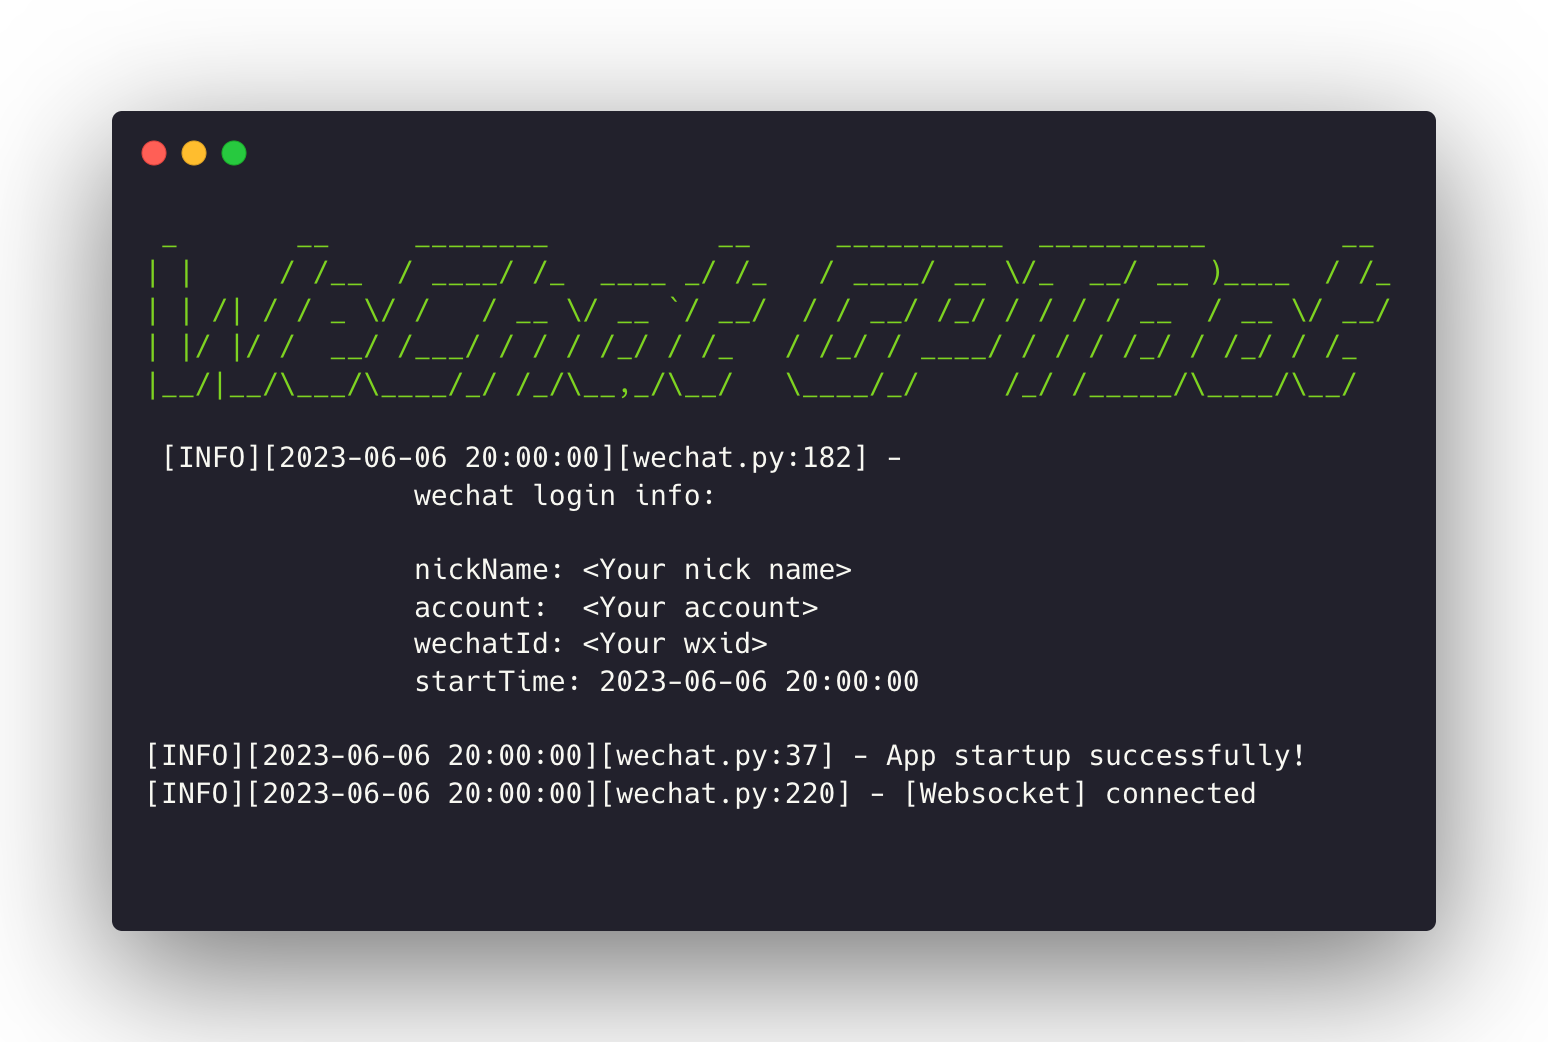
python app.pyVoilà! Enjoy your exploring journey~
Thank you very much for your support, it will be my biggest motivation!

Contributions, issues and feature requests are welcome!
Feel free to
check issues page.
Give a ⭐️ if you like this project!
The WeChatSetup is coming from wechat-windows-versions and wechat-dll-injector from wechat-bot, so you can use it without concern. Also thanks the two repo's owners for their contributions.
Become a Sponsor on AFDIAN. Your name will be specifically listed under Generous Backers~


