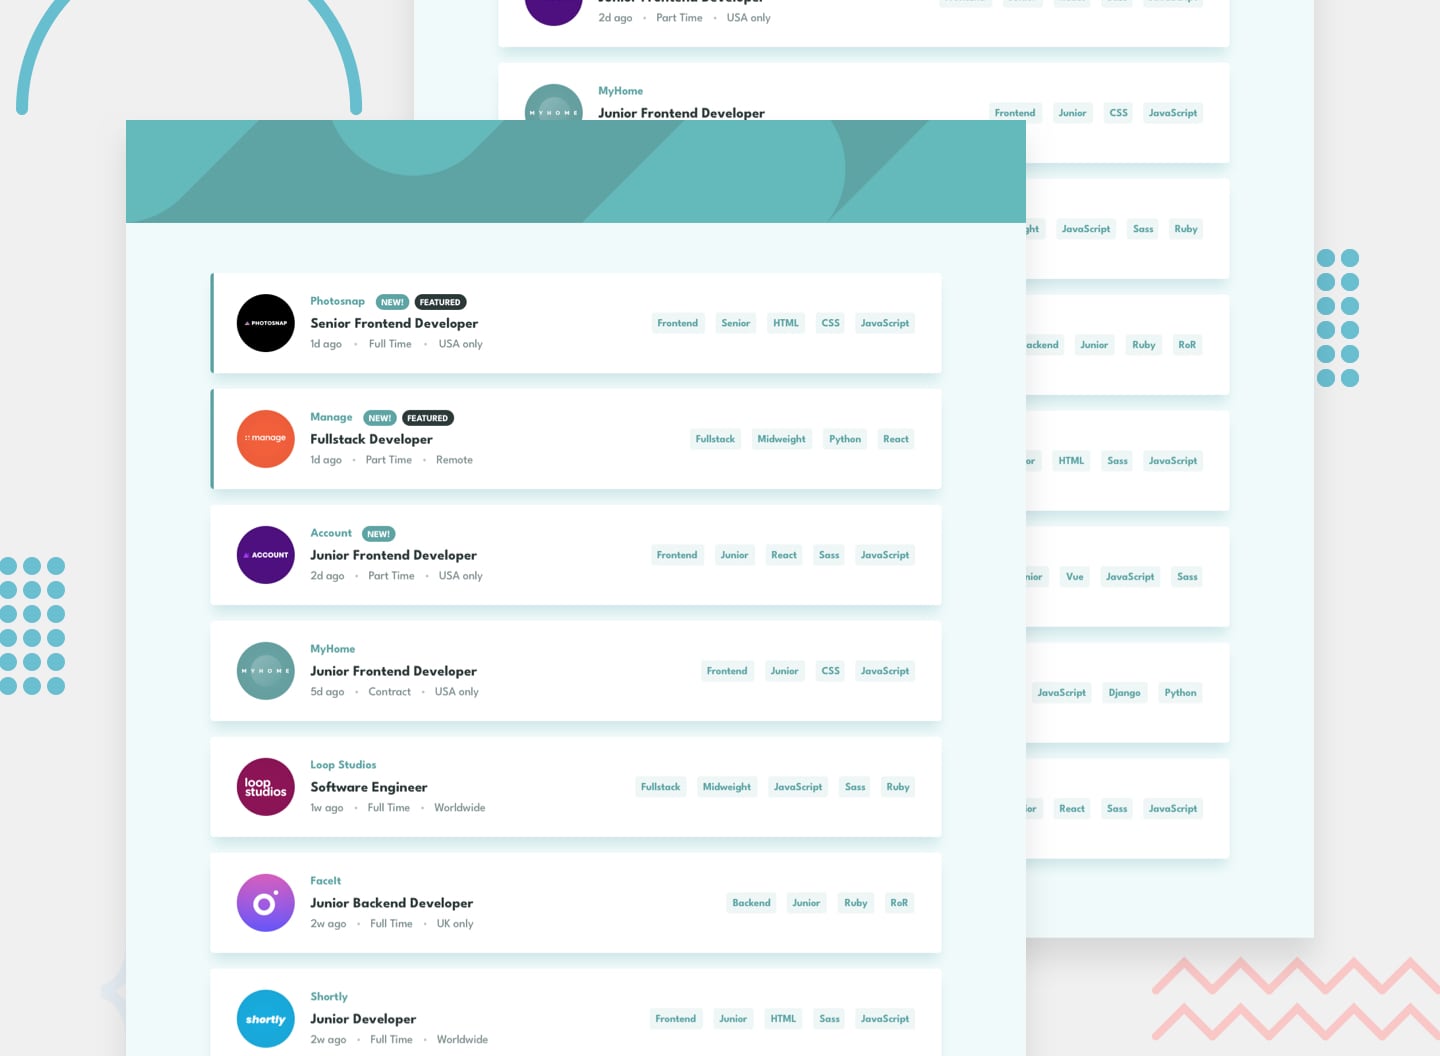
Filter job listings based on the categories using the HTML data- attribute. In this option, you'd use the hardcoded content that already exists in the index.html file.
The categories are:
- Role: Frontend, Backend, Fullstack
- Level: Junior, Midweight, Senior
- Languages: Python, Ruby, JavaScript, HTML, CSS
- Tools: React, Sass, Vue, Django, RoR (Ruby on Rails)
So, if a job listing is for has the following categories Frontend, Junior, JavaScript, React your HTML data attributes would look like this data-role="frontend" data-level="junior" data-languages="javascript" data-tools="react".
Use the data.json file to pull the data and then dynamically add the content. This would be perfect if you're looking to practice a JS library/framework like React, Vue, or Svelte.
To add a filter, the user needs to click on the tablets on the right side of the listing on desktop or the bottom on mobile. For each filter added, only listings containing all selected filters should be returned.
Your task is to build out the project to the designs inside the /design folder. You will find both a mobile and a desktop version of the design.
The designs are in JPG static format. Using JPGs will mean that you'll need to use your best judgment for styles such as font-size, padding and margin.
You will find all the required assets in the /images folder. The assets are already optimized.
There is also a style-guide.md file containing the information you'll need, such as color palette and fonts.
Feel free to use any workflow that you feel comfortable with. Below is a suggested process, but do not feel like you need to follow these steps:
- Initialize your project as a public repository on GitHub. Creating a repo will make it easier to share your code with the community if you need help. If you're not sure how to do this, have a read-through of this Try Git resource.
- Configure your repository to publish your code to a web address. This will also be useful if you need some help during a challenge as you can share the URL for your project with your repo URL. There are a number of ways to do this, and we provide some recommendations below.
- Look through the designs to start planning out how you'll tackle the project. This step is crucial to help you think ahead for CSS classes to create reusable styles.
- Before adding any styles, structure your content with HTML. Writing your HTML first can help focus your attention on creating well-structured content.
- Write out the base styles for your project, including general content styles, such as
font-familyandfont-size. - Start adding styles to the top of the page and work down. Only move on to the next section once you're happy you've completed the area you're working on.
As mentioned above, there are many ways to host your project for free. Our recommended hosts are:
We strongly recommend overwriting this README.md with a custom one. We've provided a template inside the README-template.md file in this starter code.
The template provides a guide for what to add. A custom README will help you explain your project and reflect on your learnings. Please feel free to edit our template as much as you like.
This project was generated with Angular CLI version 8.3.29.
Run ng serve for a dev server. Navigate to http://localhost:4200/. The app will automatically reload if you change any of the source files.
Run ng generate component component-name to generate a new component. You can also use ng generate directive|pipe|service|class|guard|interface|enum|module.
Run ng build to build the project. The build artifacts will be stored in the dist/ directory. Use the --prod flag for a production build.
Run ng test to execute the unit tests via Karma.
Run ng e2e to execute the end-to-end tests via Protractor.
To get more help on the Angular CLI use ng help or go check out the Angular CLI README.
