Huginn is a system for building agents that perform automated tasks for you online. They can read the web, watch for events, and take actions on your behalf. Huginn's Agents create and consume events, propagating events along a directed event flow graph. Think of it as Yahoo! Pipes plus IFTTT on your own server. You always know who has your data. You do.
This is just getting started, but here are some of the things that you can do right now with Huginn:
- Watch for air travel deals
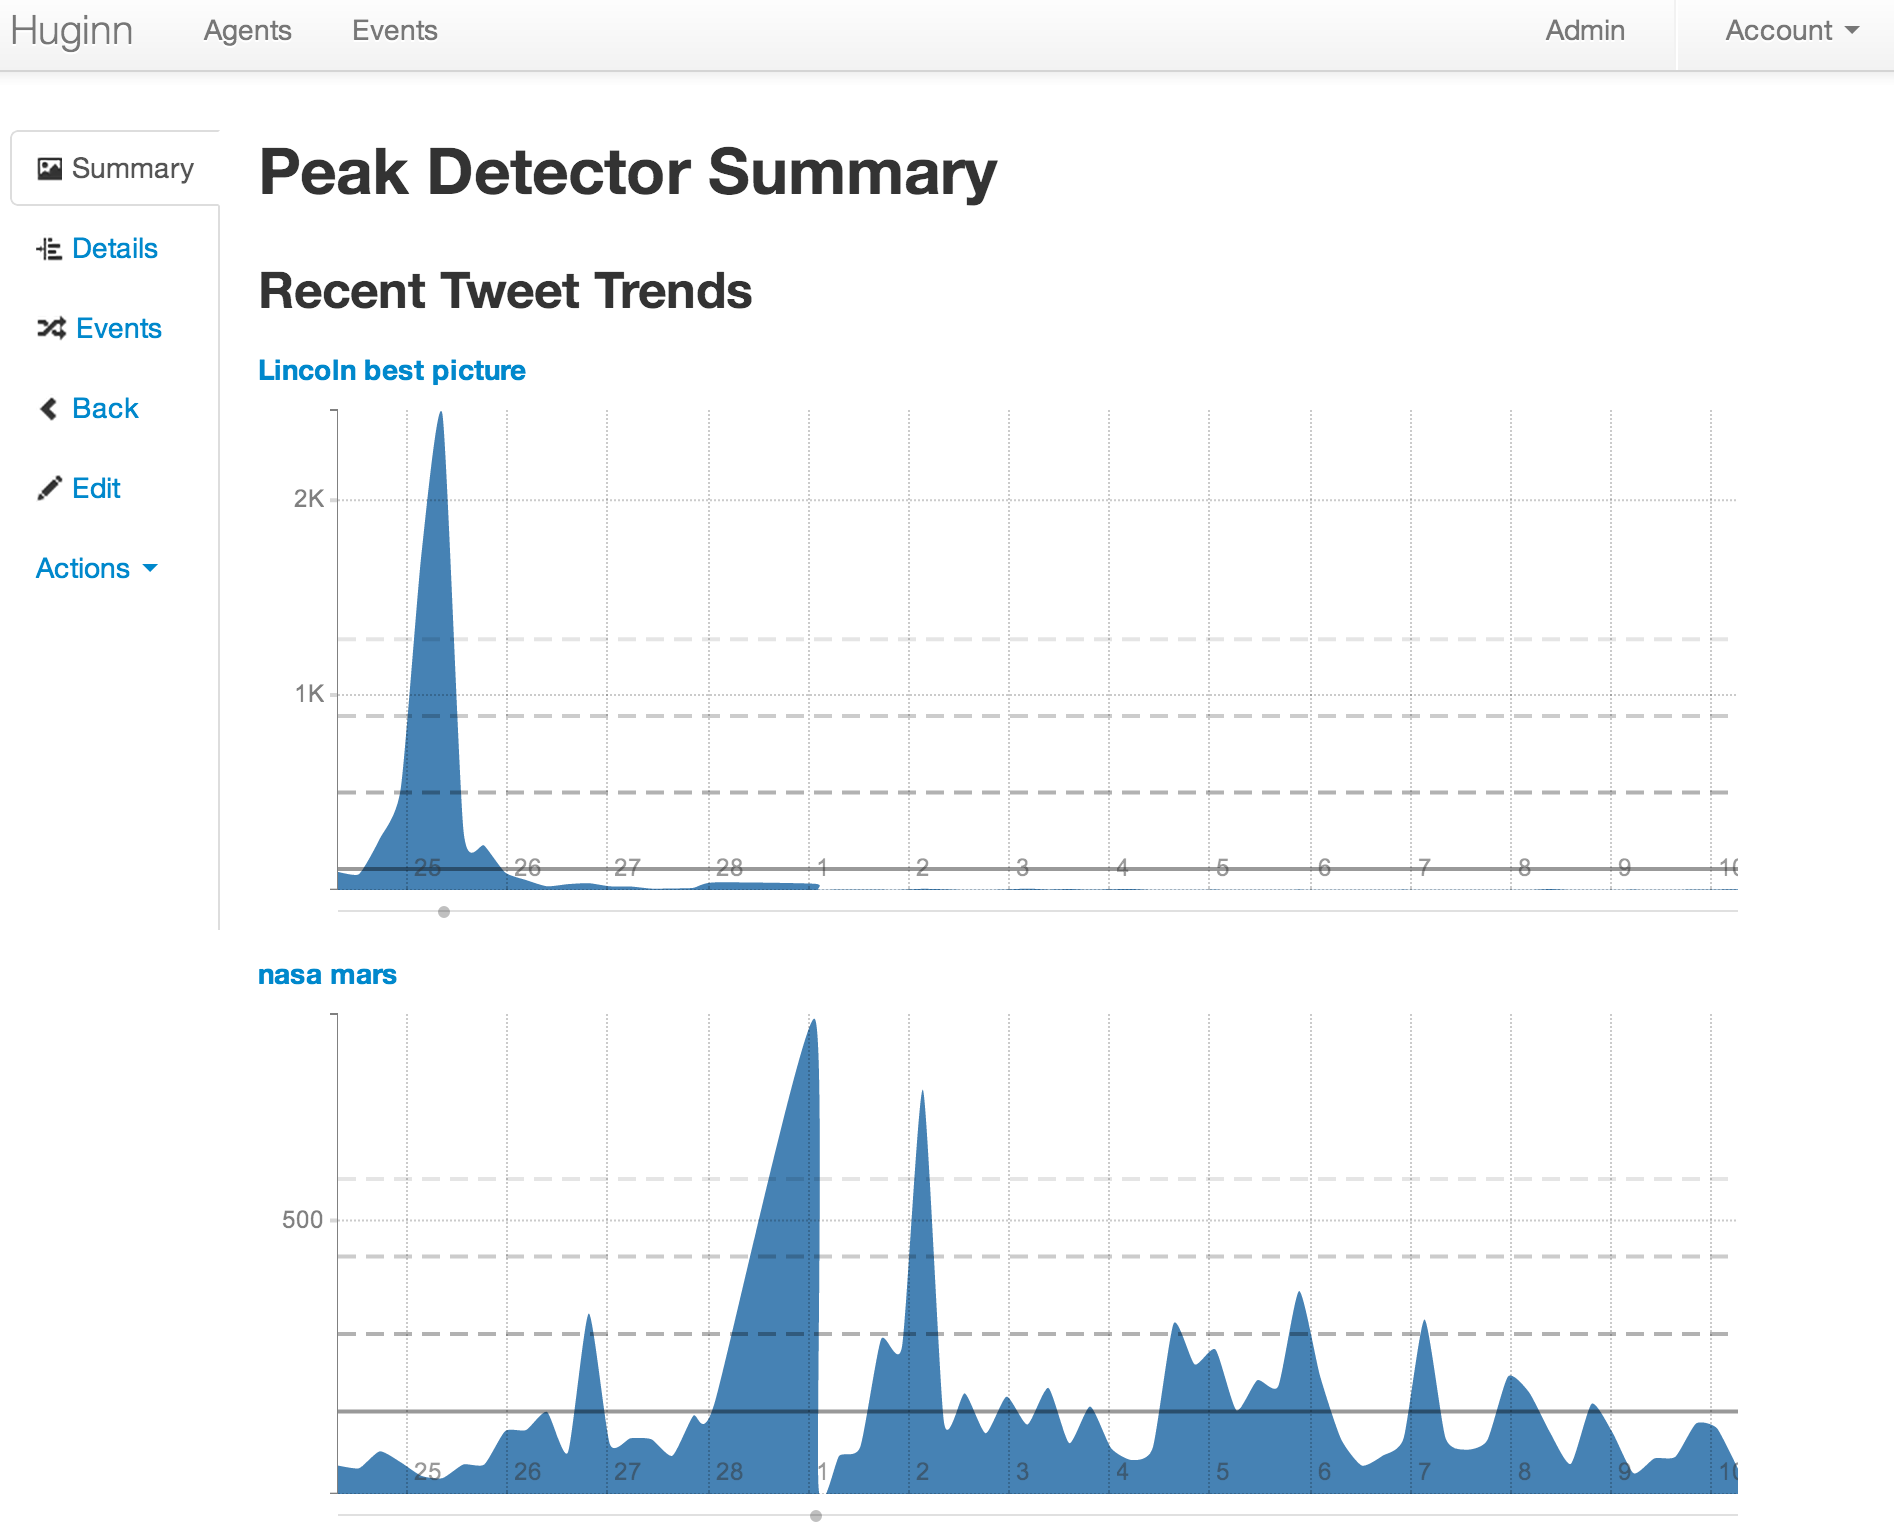
- List terms you care about and receive emails when their occurrence on Twitter changes drastically. (For example, want to know when something interesting has happened in the world of Machine Learning? Huginn will watch the term "machine learning" on Twitter and tell you when there is a large spike.)
- Track the weather and get an email when it's going to rain (or snow) tomorrow
- Follow your project names on Twitter and get updates when people mention them
- Scrape websites and receive emails when they change
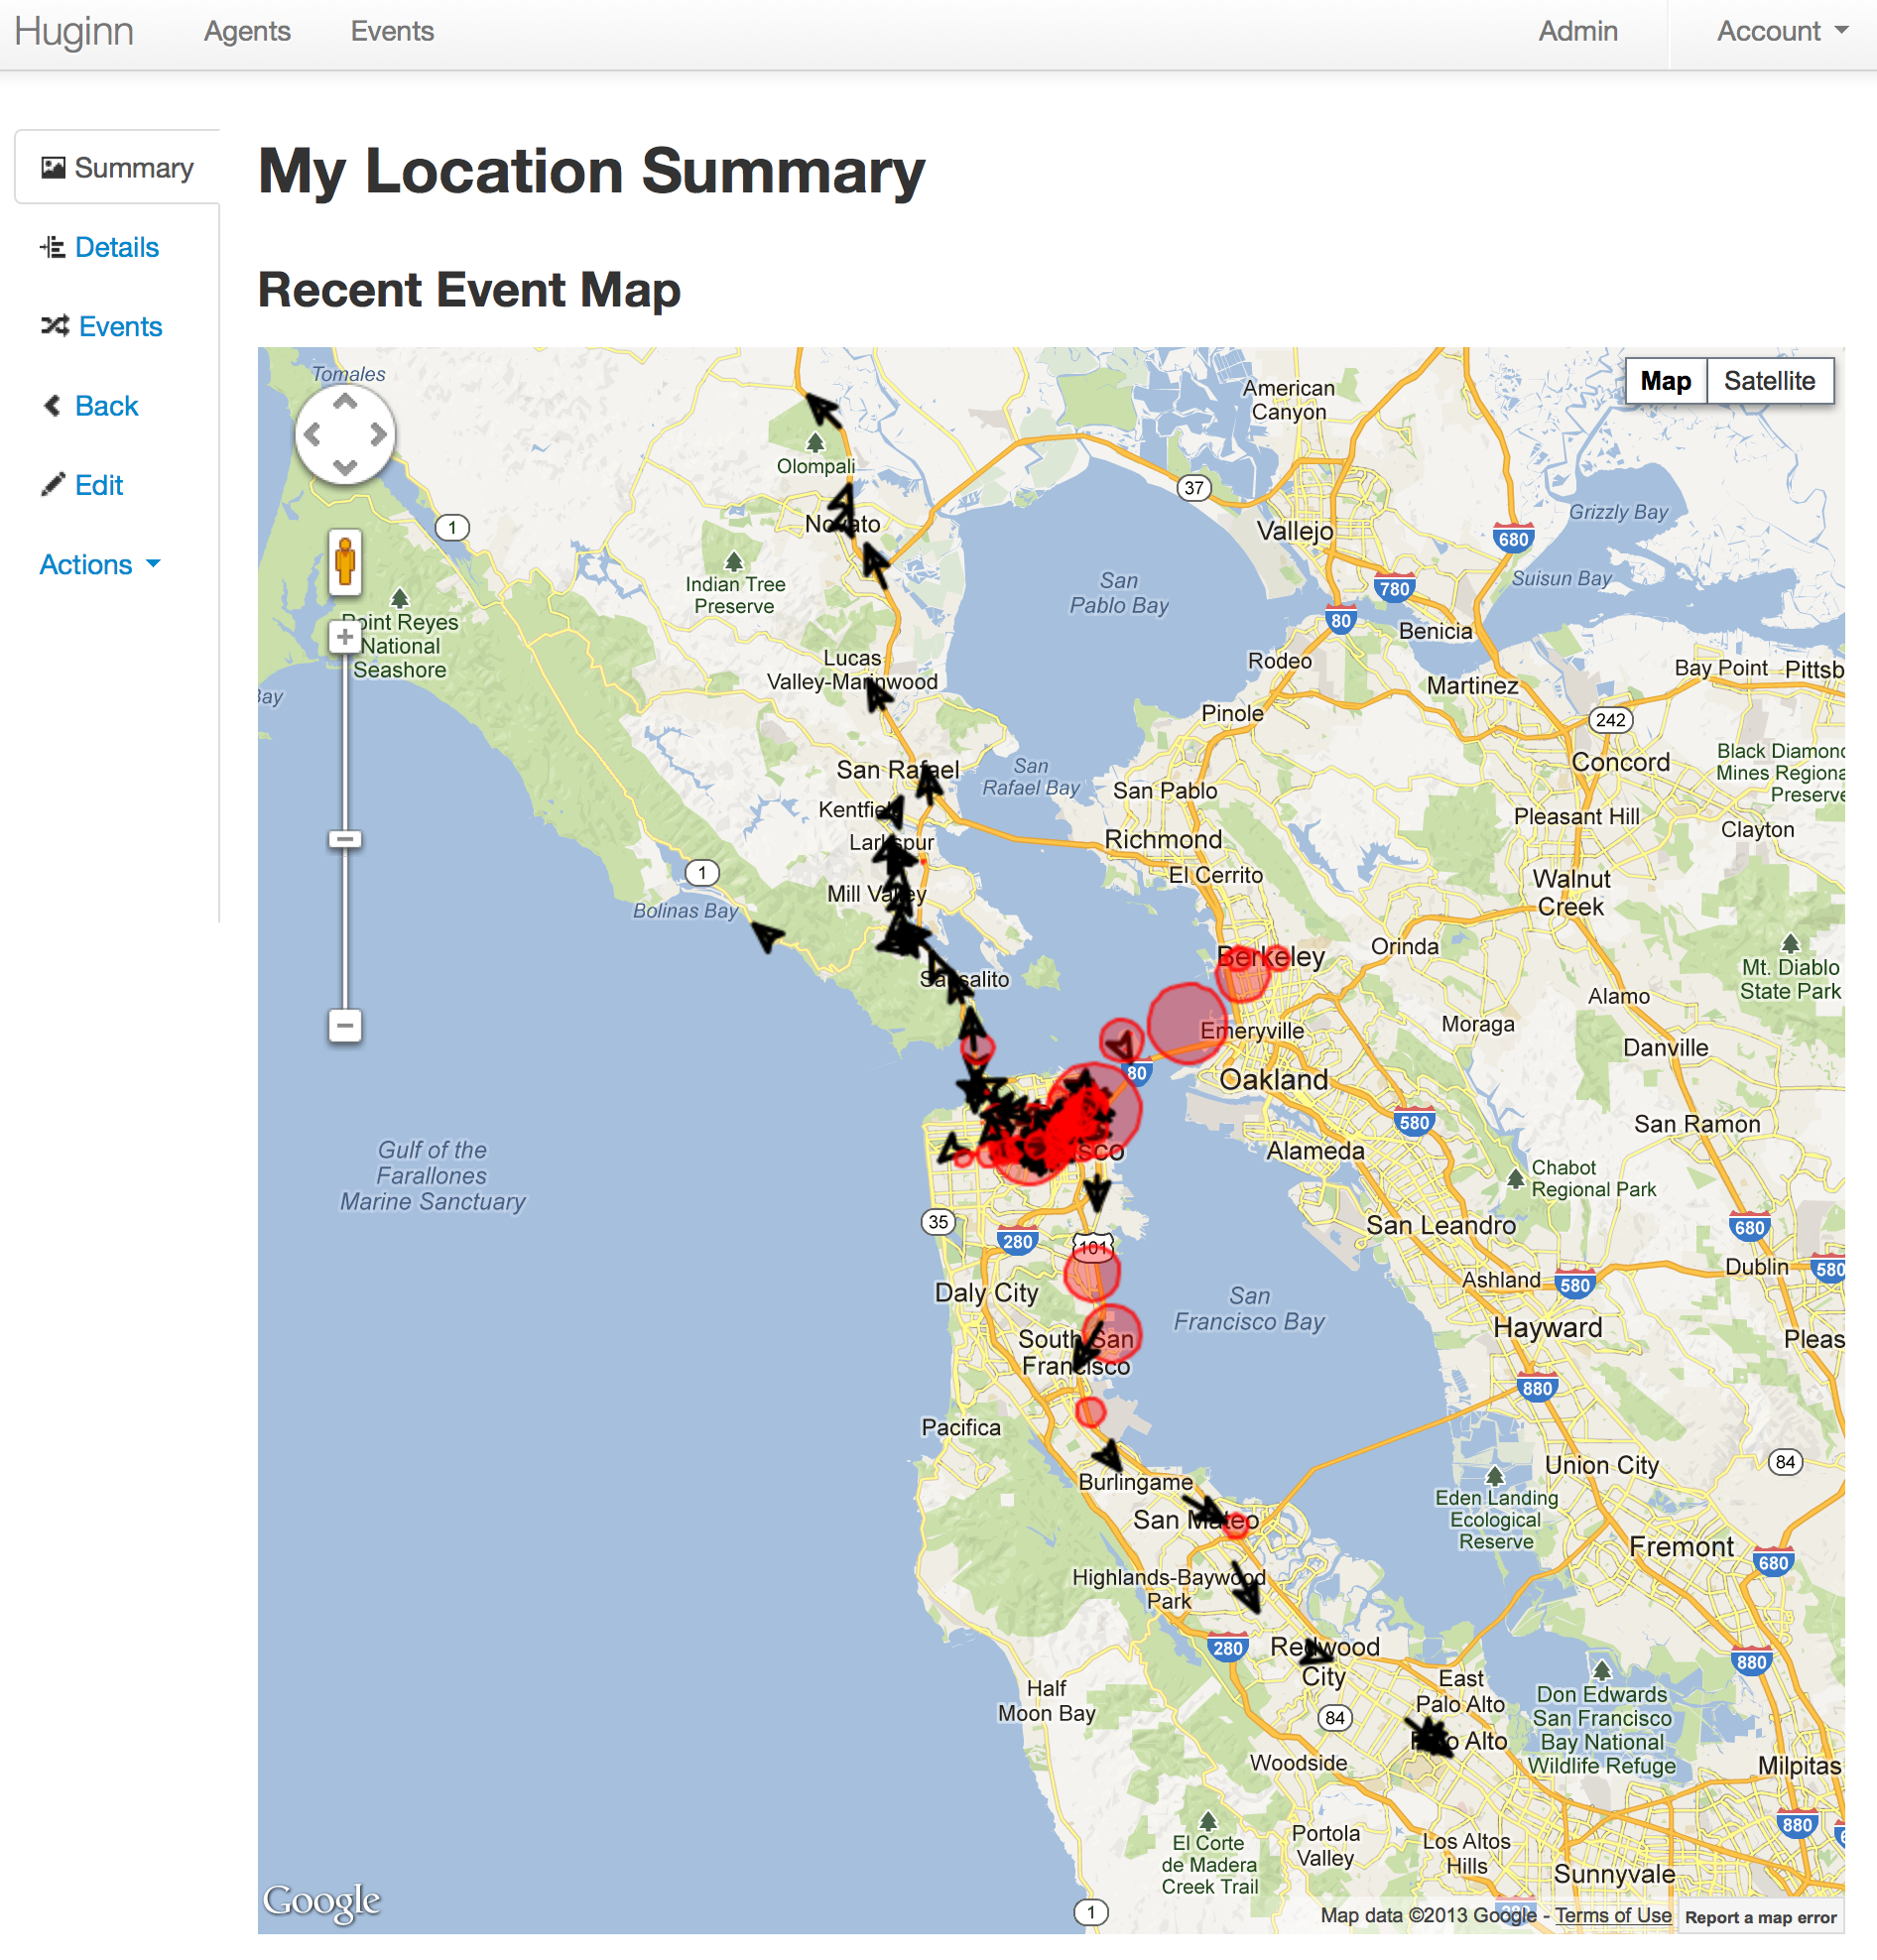
- Track your location over time
Follow @tectonic for updates as Huginn evolves.
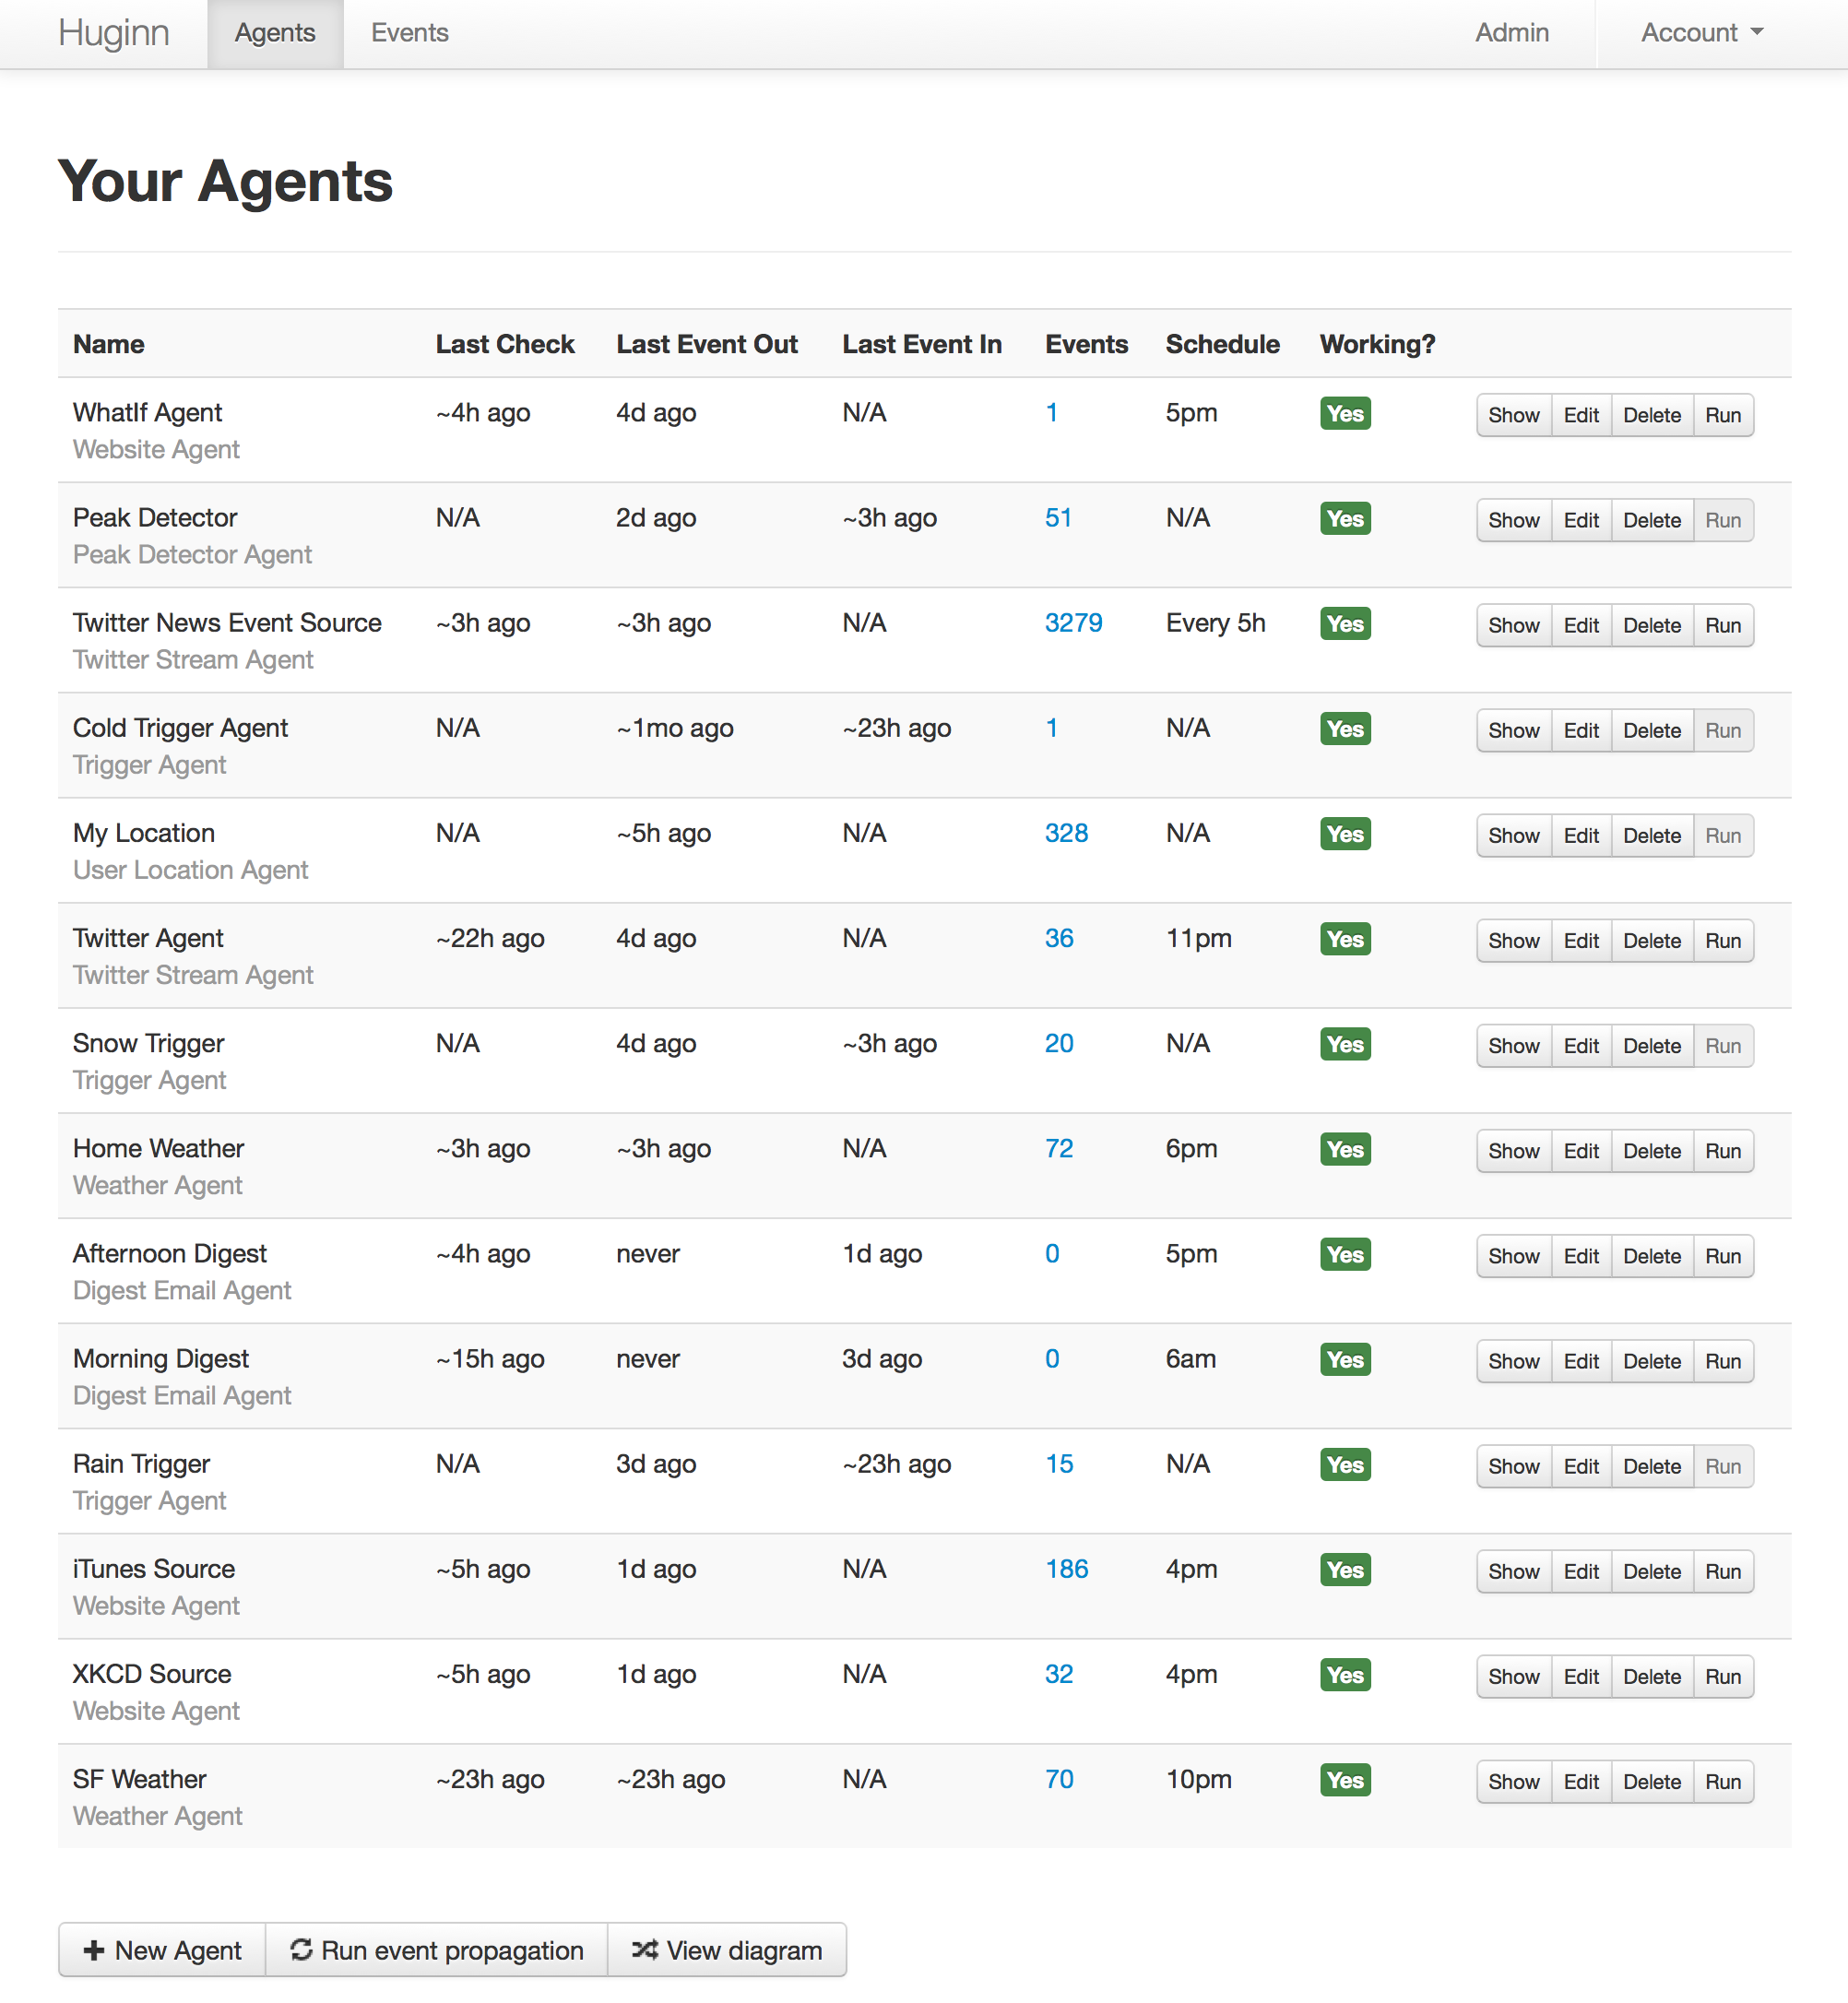
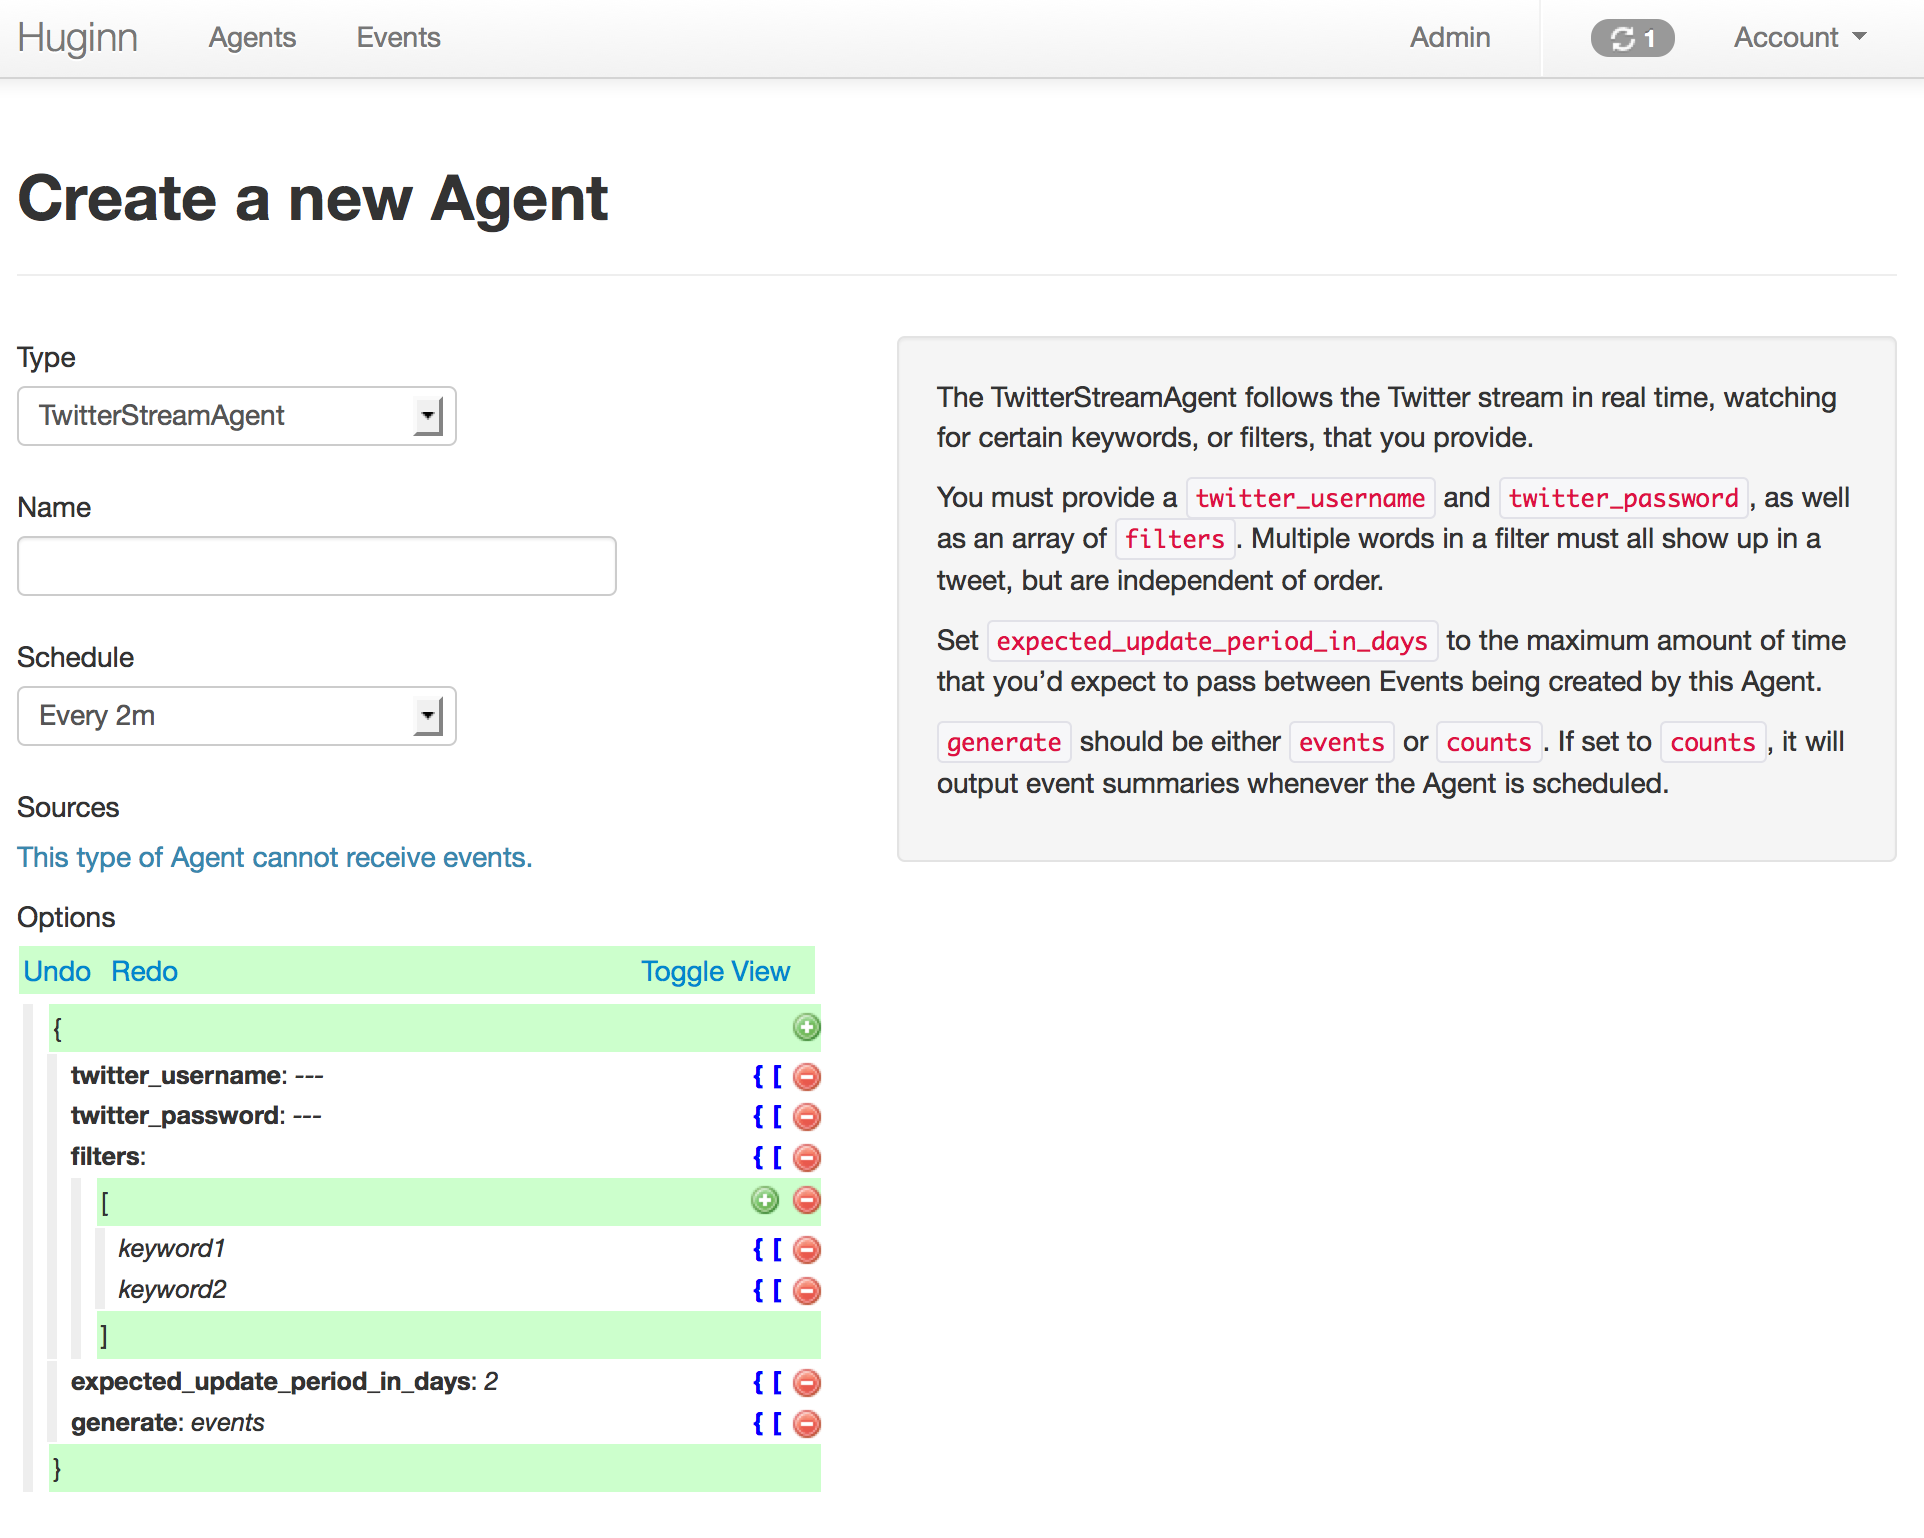
And now, some example screenshots. Below them are instructions to get you started.
If you just want to play around, you can simply clone this repository, then perform the following steps:
- Edit
config/secret_token.rband replaceREPLACE_ME_NOW!with the output ofrake secret. - Run
rake db:create,rake db:migrate, and thenrake db:seedto create a development MySQL database with some example seed data. Runrails s, visithttp://localhost:3000, and login with the username ofadminand the password ofpassword. - Make some extra Terminal windows and run
bundle exec rails runner bin/schedule.rb,bundle exec rails runner bin/twitter_stream.rb, andscript/delayed_job runin separate windows. - Setup some Agents!
Follow these instructions if you wish to deploy your own version of Huginn or contribute back to the project. GitHub doesn't make it easy to work with private forks of public repositories, so I recommend that you follow the following steps:
-
Make a public fork of Huginn
-
Make a private, empty GitHub repository called
huginn-private -
Duplicate your public fork into your new private repository (via GitHub's instructions):
git clone --bare git@github.com:you/huginn.git cd huginn.git git push --mirror git@github.com:you/huginn-private.git cd .. && rm -rf huginn.git -
Checkout your new private repository.
-
Add your Huginn public fork as a remote to your new private repository (
huginn-private):git remote add public git@github.com:you/huginn.git -
Run the steps from Quick Start above to configure your copy of Huginn.
-
When you want to contribute patches, do a remote push from your private repository to your public fork of the relevant commits, then make a pull request to this repository.
Deployment right now is configured with Capistrano, Unicorn, and nginx. You should feel free to deploy in a different way, however, and please submit your deployment solutions back!
In your private copy of Huginn, do the following:
-
Edit
app/models/user.rband change the invitation code(s) inINVITATION_CODES. This controls who can signup to use your installation. -
Edit
app/mailers/system_mailer.rband set your default from address. -
Edit
config/environments/production.rband change the value ofDOMAINand theconfig.action_mailer.smtp_settingssetup, which is currently setup for sending email through a Google Apps account on Gmail. -
Setup a place for Huginn to run. I recommend making a dedicated user on your server for Huginn, but this is not required. Setup nginx or Apache to proxy pass to unicorn. There is an example nginx script in
config/nginx/production.conf. -
Setup a production MySQL database for your installation.
-
Edit
config/unicorn/production.rband replace instances of you with the correct username for your server. -
Edit
config/deploy.rband change all instances ofyouandyourdomainto the appropriate values for your server setup. If you want RVM to be used and installed, uncomment the appropriate lines. Then, runcap deploy:setupfollowed bycap deploy. If everything goes well, this should start some unicorn workers on your server to run the Huginn web app. -
After deploying with capistrano, SSH into your server, go to the deployment directory, and run
RAILS_ENV=production bundle exec rake db:seedto generate your admin user. Immediately login to your new Huginn installation with the username ofadminand the password ofpasswordand change your email and password! -
You'll need to run bin/schedule.rb and bin/twitter_stream.rb in a daemonized way. I've just been using screen sessions, but please contribute something better!
  RAILS_ENV=production bundle exec rails runner bin/schedule.rb
  RAILS_ENV=production bundle exec rails runner bin/twitter_stream.rb
In order to use the WeatherAgent you need an API key with Wunderground. Signup for one and then put it in app/models/agents/weather_agent.rb in the wunderground method.
You can use Post Location on your iPhone to post your location to an instance of the UserLocationAgent. Make a new one to see instructions.
- Edit
config.ru, uncomment the DelayedJobWeb section, and change the DelayedJobWeb username and password. - Uncomment
match "/delayed_job" => DelayedJobWeb, :anchor => falseinconfig/routes.rb. - Uncomment
gem "delayed_job_web"in Gemfile and runbundle.
We assume your deployment will run over SSL. This is a very good idea! However, if you wish to turn this off, you'll probably need to edit config/initializers/devise.rb and modify the line containing config.rememberable_options = { :secure => true }. You will also need to edit config/environments/production.rb and modify the value of config.force_ssl.
Checkout config/example_backup.rb for an example script that you can use with the Backup gem. If you want to use it, uncomment the associated lines in your Gemfile.
Huginn is provided under the MIT License.
Please fork, add specs, and send pull requests!


