Clod is an open source control system for espressif chip projects. Clod does not connect to the cloud and is not meant to interface with commerical IoT devices. Commercial, cloud-dependent IoT devices are too expensive and generally a bad idea. The system is designed for makers who want to quickly create something and control it, and for those without programming experience who want to follow a simple tutorial. Its components are a disorganized mess of other great open source software projects that together form a coherent user experience. A clod is a clump of dirt, which is the opposite of a stack, and as far as one can get from a cloud.
The main components of Clod are:
-
Mosquitto MQTT server - intended to run on a Raspberry Pi, this facilitates communication with the devices via the MQTT protocol.
-
Clod MQTT standard - an intuitive location-based syntax for MQTT messages.
-
Clod Scripts - monitors the messages in order to add functionality such as persistence, scheduling, and uploading.
-
Crouton - a dashboard for controlling devices and viewing their output.
-
PlatformIO - manages OTA software updates and changes to the espressif chips.
-
Arduino core for ESP8266.
-
Clod Sketch Library - Arduino sketches that have been modified for use with Clod and ESP8266 chips.
This section will cover the initial setup of the Raspberry Pi, which will manage device communication, monitoring, and maintenance. There are two options for completing it:
-
- Approximately 1 hour to complete all of the steps.
- Requires the use of a monitor connected to the Pi throughout the setup process.
-
A disk image with Raspbian and all of the steps in the guide already completed.
- Significantly faster process. Just mount the disk image to an SD card and insert it into the Pi.
- Does not require the use of a monitor.
- Install the Initial Configuration script on your ESP8266 by following this guide.
-
Prerequisites:
- All of the components installed, configured and running properly on your Raspberry Pi.
- An esp8266 chip loaded with the initial configuration script.
-
Point your browser to the Crouton landing page (default: http://192.168.1.160:8080).
-
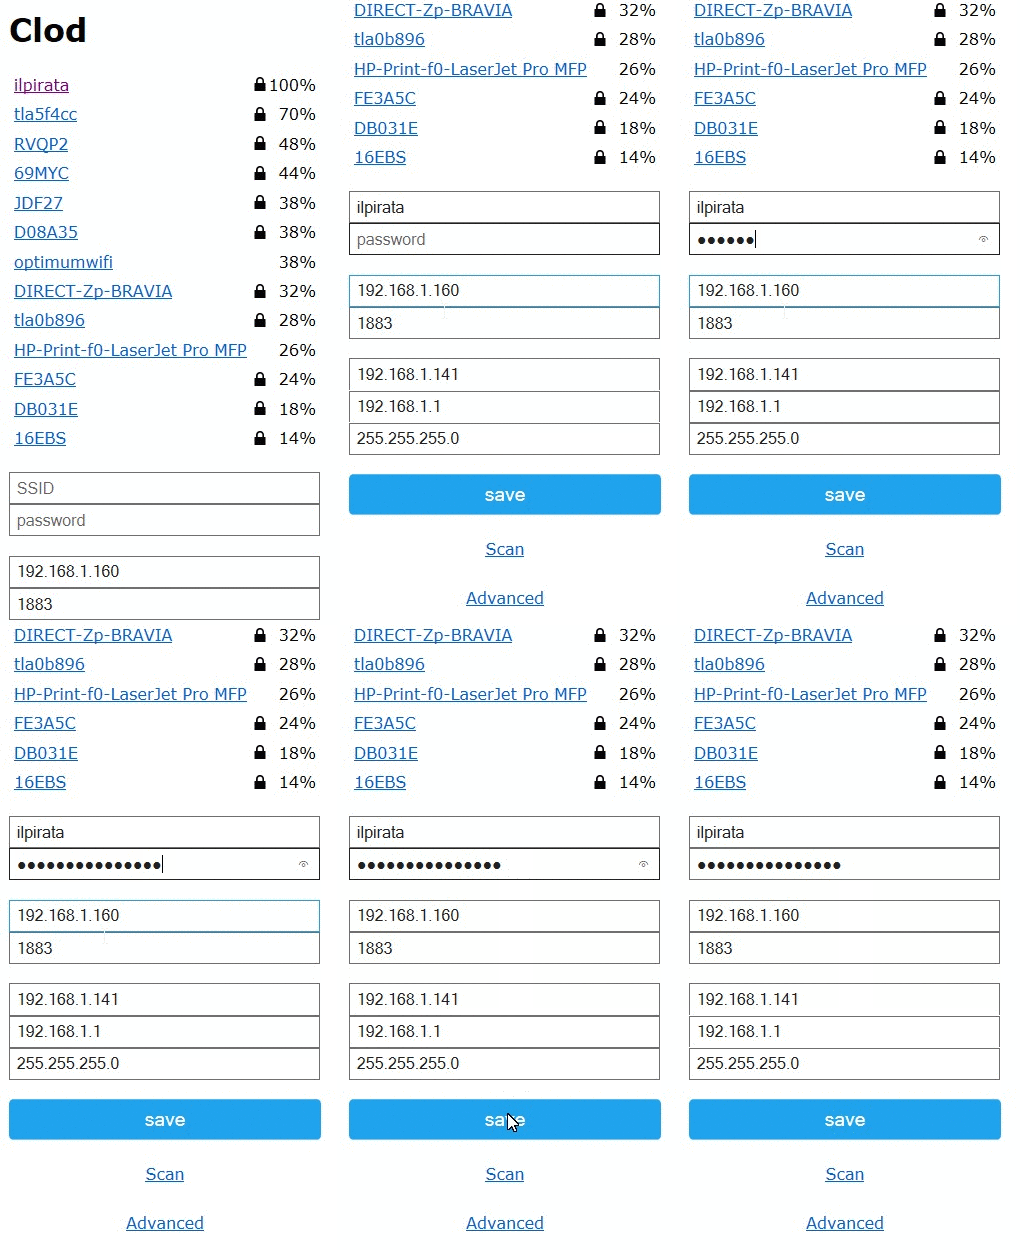
Turn on your esp8266 and connect to the wifi network "Clod" with a mobile device.
-
Select your home wifi network's SSID from the list and enter the password.
- Make a note of the information displayed on the screen.
-
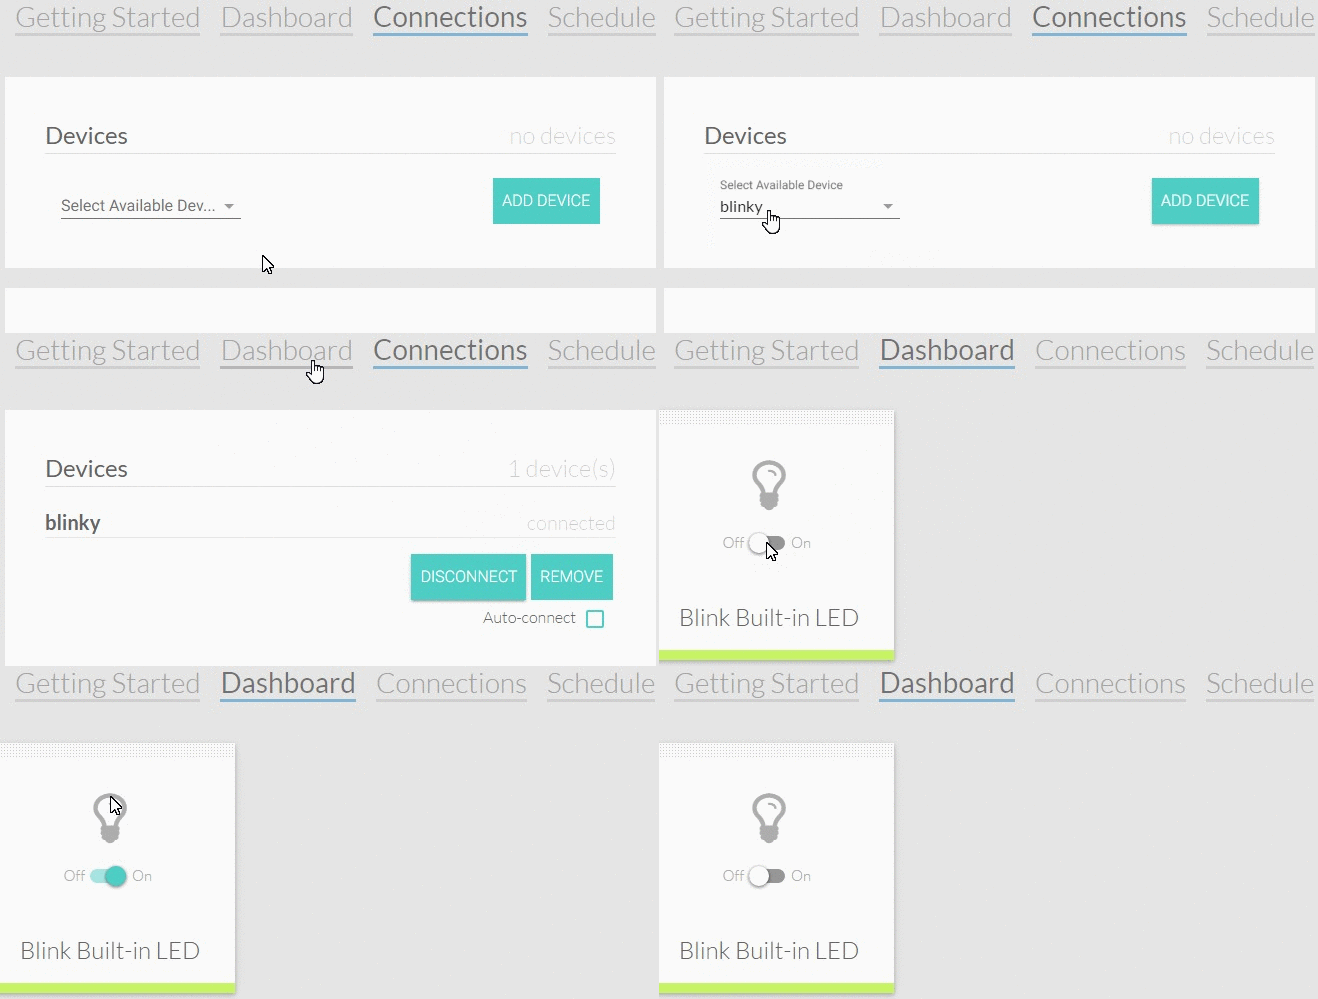
In Crouton, select the "Connections" tab.
-
In the "Upload" section, select the device from the available devices drop down and upload your desired sketch.
-
If the sketch uploaded successfully, you'll see a prompt at the bottom of the screen.
- The prompt may display a link to assembly and configuration information unique to the sketch. If it does, follow the directions.
-
Once successfully uploaded and configured, select the device from the "Devices" section and click add.
-
View information and controls from your device on the "Dashboard" tab.
- You're done. Enjoy!
The advanced guide is for those who want a deeper understanding of the Clod system. Read it here.
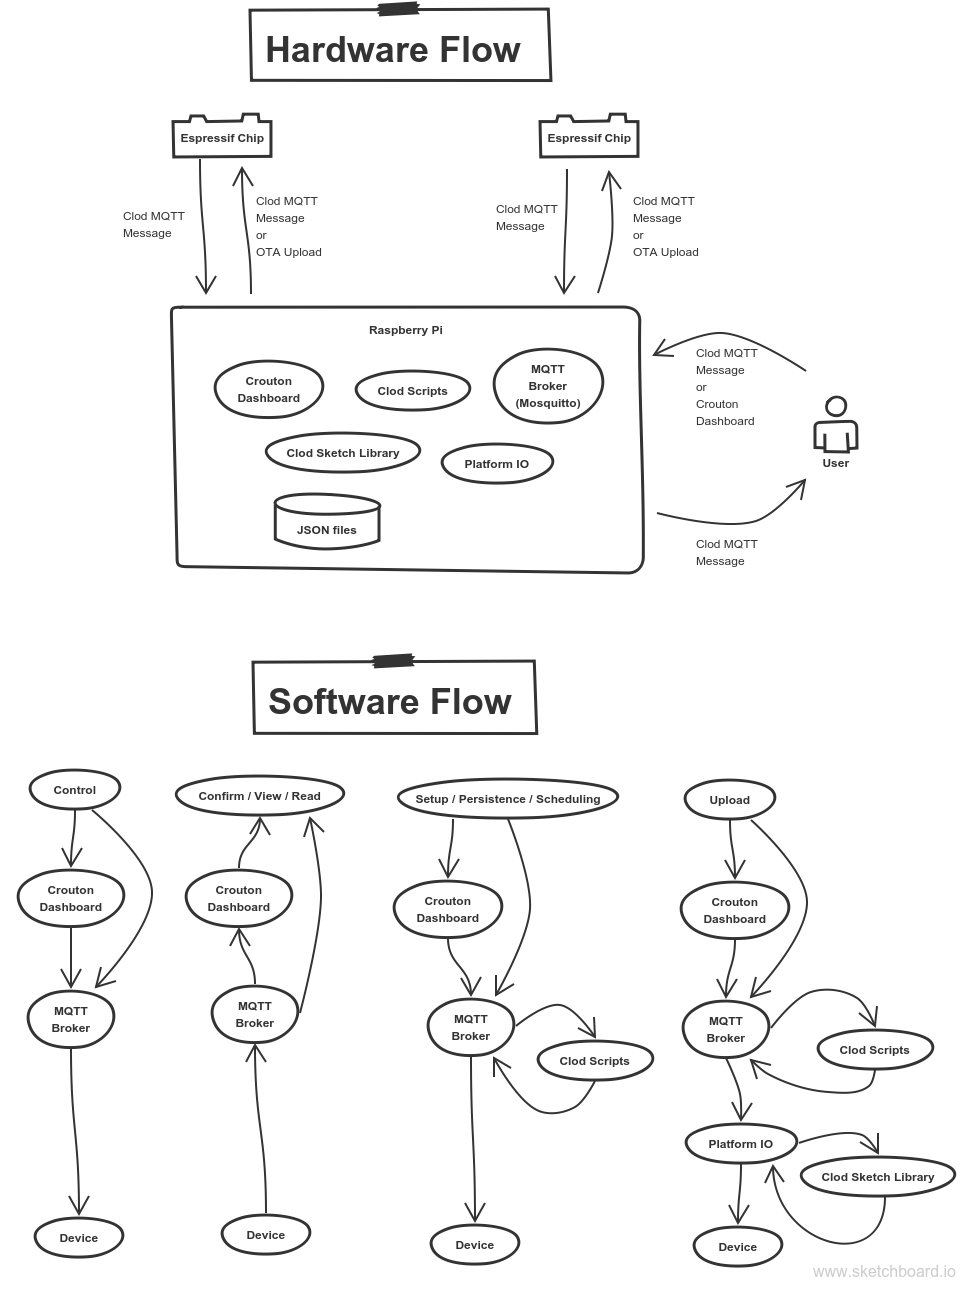
The chart below is a preview for what is explained in the advanced guide:


