This lab illustrates steps to deploy a MicroProfile application, running in a WebSphere Liberty docker container, into a Kubernetes environment, such as minikube (part 1) and IBM Cloud Private (part 2).
If you find an issue with the lab instruction you can report it or better yet, submit a PR.
For questions/comments about WebSphere Liberty's docker container or IBM Cloud Private please email Arthur De Magalhaes.
In this part 1 of the lab you'll build a MicroProfile application and package it inside a WebSphere Liberty docker container. You will then utilize a helm chart that deploys the Liberty container into a kubernetes cluster (minikube), with the appropriate ingress and service setup, while also deploying and configuring a Cloudant helm chart that stands up the database that holds the data for this microservice.
This is the simplest way for a developer to get a kubernetes cluster up and running locally in their laptop, before pushing the microservice into an enteprise grade environment such as IBM Cloud Private.
You'll need a few different artifacts to this lab. Check if you have these installed by running:
git --version
mvn --version
java -version
docker --version
minikube version
helm version
If any of these is not installed:
- Install a Git client.
- Install Maven.
- Install a Docker engine.
- Install Java 8
- Install minikube
- Install helm
- Start minikube by running
minikube start - Enable ingress with the command
minikube addons enable ingress - Set the Docker CLI to target the minikube Docker engine by running
eval $(minikube docker-env) - Set up helm and tiller by running
helm init - Wait until the following command indicates that the tiller-deploy deployment is available:
kubectl get deployment tiller-deploy --namespace kube-system(Note: This could take a few minutes)
- Clone the project into your machine by running
git clone https://github.com/microservices-api/kubernetes-microprofile-lab.git - Build the sample microservice by running
cd kubernetes-microprofile-lab/lab-artifactsand thenmvn clean package - Build the docker image by running
docker build -t microservice-vote .This image is now availble in minikube's Docker registry. If you rundocker imagesyou will see all the images in your minikube's registry.
- If using a lab machine, you may want to run the cleanup script before proceeding, to ensure you have a fresh environment.
- Deploy the microservice with the following helm install command
helm install --name=vote helm-chart/microservice-vote - You can view the status of your deployment by running
kubectl get deployments. You want to wait until bothmicroservice-vote-deploymentandvote-ibm-cloudant-devdeployments are available. - Use
kubectl get ing | awk 'FNR == 2 {print $3;}'to determine the address of the application. Note: If the previous command is printing out a port, such as80, please wait a few more minutes for theURLto be available. - Prepend
httpand append/openapi/uito that URL and open this location in a web browser to access the application. For example,http://192.168.99.100/openapi/ui - Congratulations, you have successfully deployed a MicroProfile container into a kubernetes cluster! The deployment also included a Cloudant container that is used by our microservice, and an ingress layer to provide connectivity into the API.
The vote application is using various MicroProfile specifications. The /openapi endpoint of the application exposes the MicroProfile OpenAPI specification. The /openapi/ui endpoint is a value-add from Open Liberty, which WebSphere Liberty is based upon. This UI allows developers and API consumers to invoke the API right from the browser!
- Expand the
POST /attendeeendpoint and click theTry it outbutton. - Leave the
idempty, and place your name in thenamefield.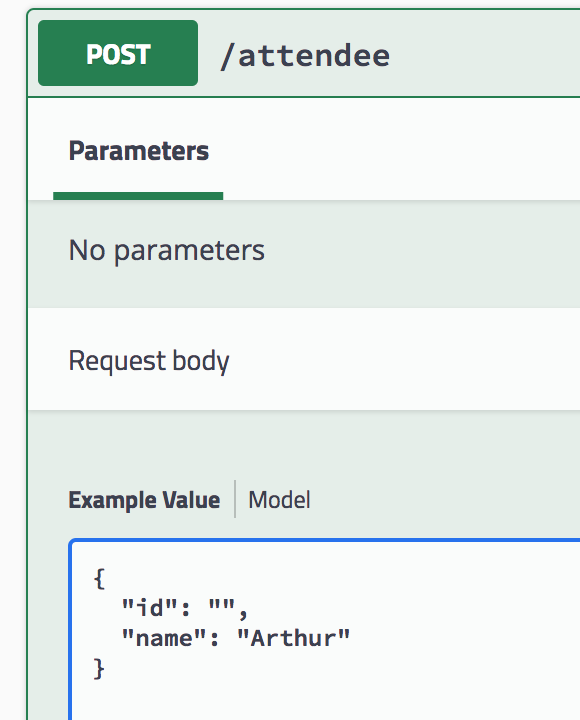
- Click on the
executebutton. Scroll down and you'll see thecurlcommand that was used, theRequested URLand then details of the response. Copy theidfrom theResponse body. This entry has now been saved into the Cloudant database that our microservice is using.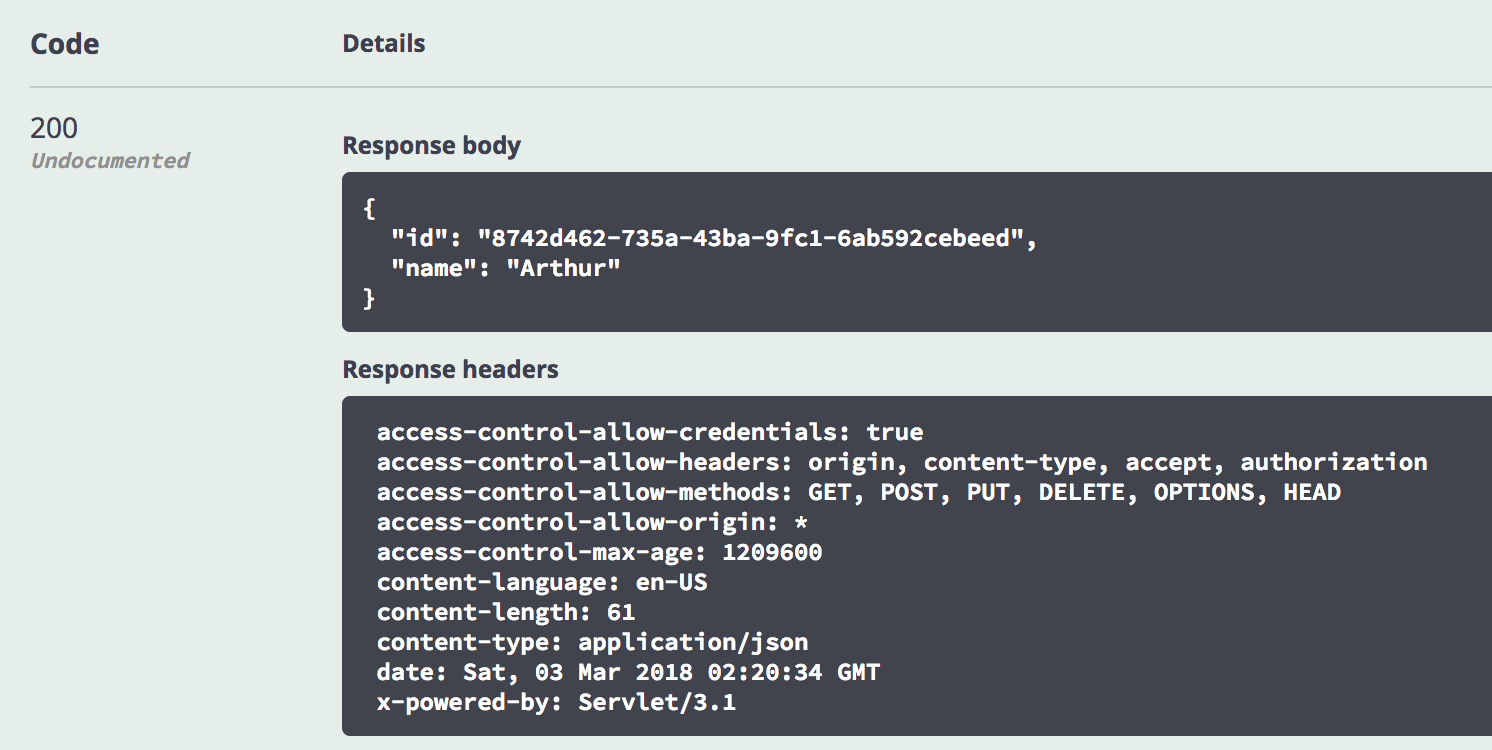 Note: If you find that your minikube ingress is taking too long to return the result of the invocation and you get a timeout error, you can bypass the ingress and reach the application via its NodePort layer. To do that, simply find the NodePort port by running the command
 kubectl describe service microservice-vote-service | grep NodePort | awk 'FNR == 2 {print $3;}' | awk -F '/' '{print $1;}'and then inserting that port in your current URL usinghttp, for examplehttp://192.168.99.100:30698/openapi/ui/. If those invocations are still taking long, please wait a few minutes for the deployment to fully initiate. - Now expand the
GET /attendee/{id}, click theTry it outbutton, and paste into the textbox theidyou copied from the previous step. - Click on
executeand inspect that theRespond bodycontains the same name that you created 2 steps ago. You successfully triggered a fetch from our WebSphere Liberty microservice into the Cloudant database. - Feel free to explore the other APIs and play around with the microservice!


- If you want to update the application, you can change the source code and then run through the steps starting from
Build application and container. You'll notice that the OpenAPI UI will get automatically updated! - After playing around with the application you can explore the helm chart to become more familiar with the way WebSphere Liberty is deployed and how it is integrated with the Cloudant subchart.
- You can also explore the official helm charts from IBM, available publicly at https://github.com/IBM/charts/tree/master/stable. You will see there's an official version of the WebSphere Liberty and Open Liberty charts as well. Try deploying these, along with other charts such as Db2.
- Now that you have deployed the lab in your local minikube environment, try out the IBM Cloud Private instructions from Part 2 (a take home lab) for a production-grade environment!
- To cleanup the deployment and various related artifacts (configMaps, secrets, etc) from your minikube cluster, simply run
kubernetes-microprofile-lab/lab-artifacts/cleanup.sh
This part of the lab will walk you through the deployment of our sample MicroProfile Application into an IBM Cloud Private cluster. You'll notice that we're using the exact same artifacts (helm charts & docker containers) as the steps for minikube, which reinforces the fact that ICP is built on the open source Kubernetes framework.
Although the exact same helm and kubectl instructions also work when targetting an ICP cluster, in this section we'll take an alternative path to the minikube instructions to showcase ICP's helm chart catalog via its user interface.
- Install ICP from here. You may choose the free Community Edition or one of the paid bundles.
- If at any point of the lab you want to switch back into using
helmorkubectl, you can simply click on the top right icon and chooseConfigure clientto copy the commands necessary to configure your local CLI to target the ICP cluster: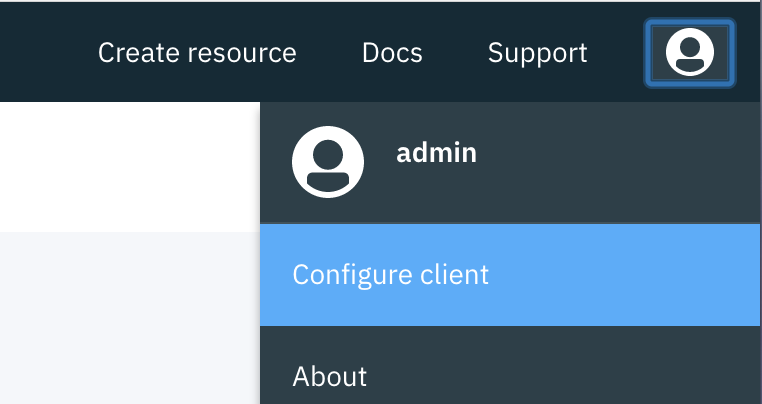
- Add the lab's helm repository to ICP. On the main left-side menu, click on
Manage -> Helm Repositories. Click on theAdd repositorybutton and choose an unique name, and the following URLhttps://microservices-api.github.io/kubernetes-microprofile-lab/lab-artifacts/helm-chart/repository.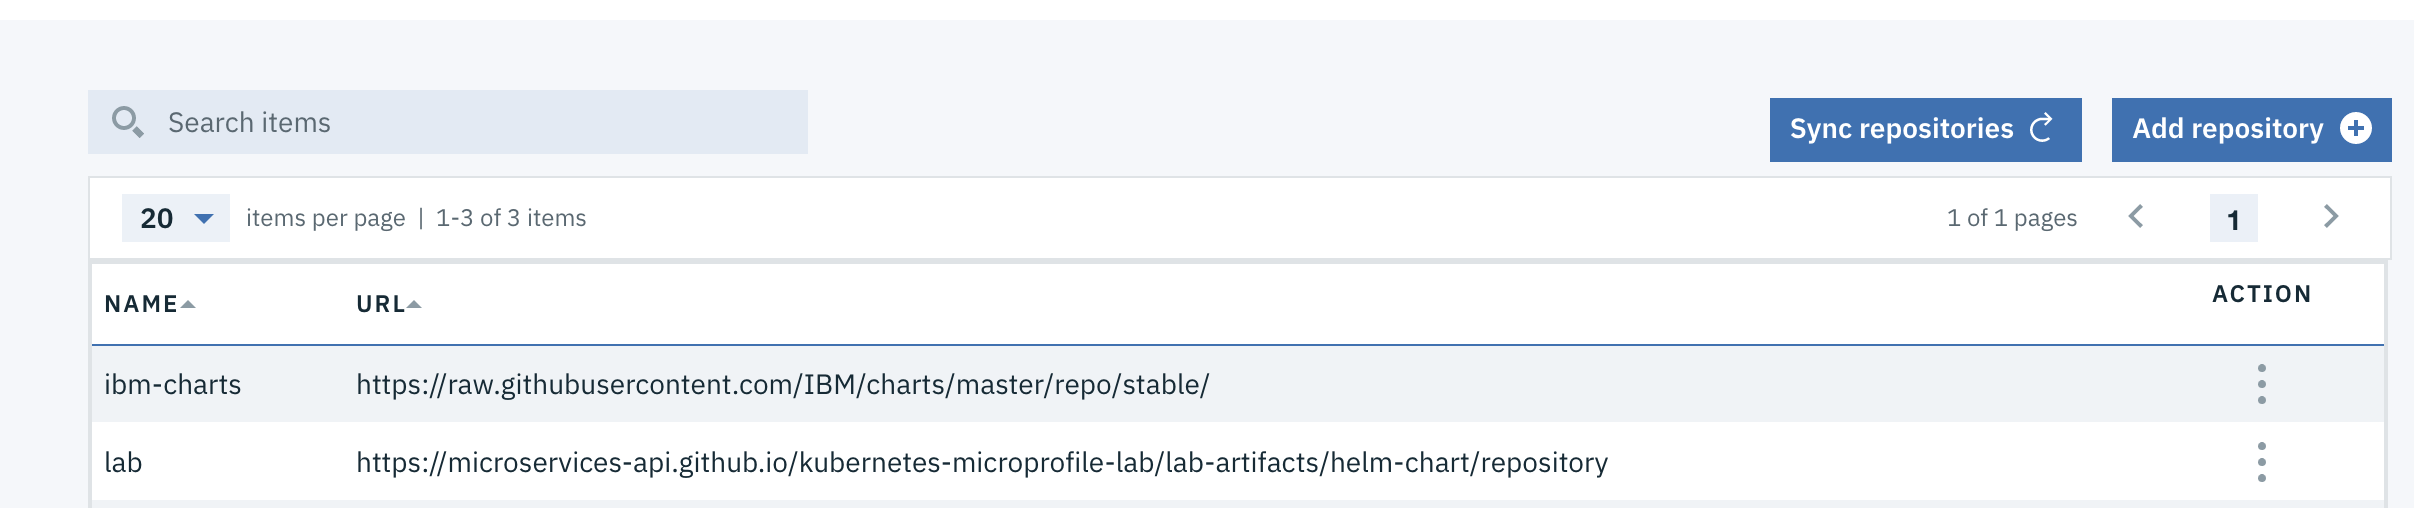


- The Microservice Builder (MSB) helm chart is part of the pre-loaded set of charts available in the Catalog, loaded from the public repository. So instead of performing steps 2-5 in the helm MSB setup you can simply go into
Catalog -> Helm Chartsand deploy theMicroservice Builder Fabrichelm chart, by clicking on it and taking all the defaults - you just need to select a release name and thedefaultnamespace.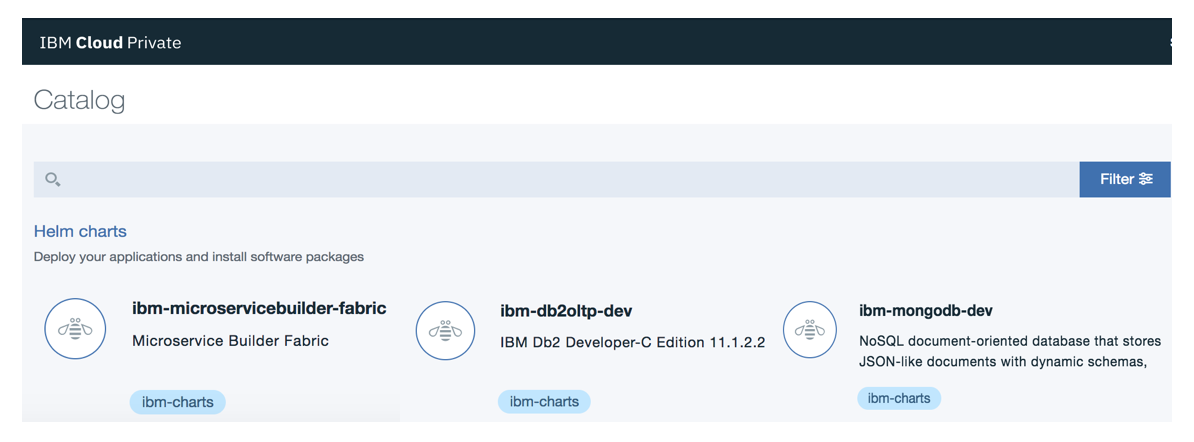
- You can check on the status of the fabric deployment by clicking on
Workloads -> Deploymentsand then clicking on the deployment that matches the release name you chose in the previous step. Notice that ICP provides a nice helm chart management system, which allows you toUpgradeorRollbacka helm chart based on its version.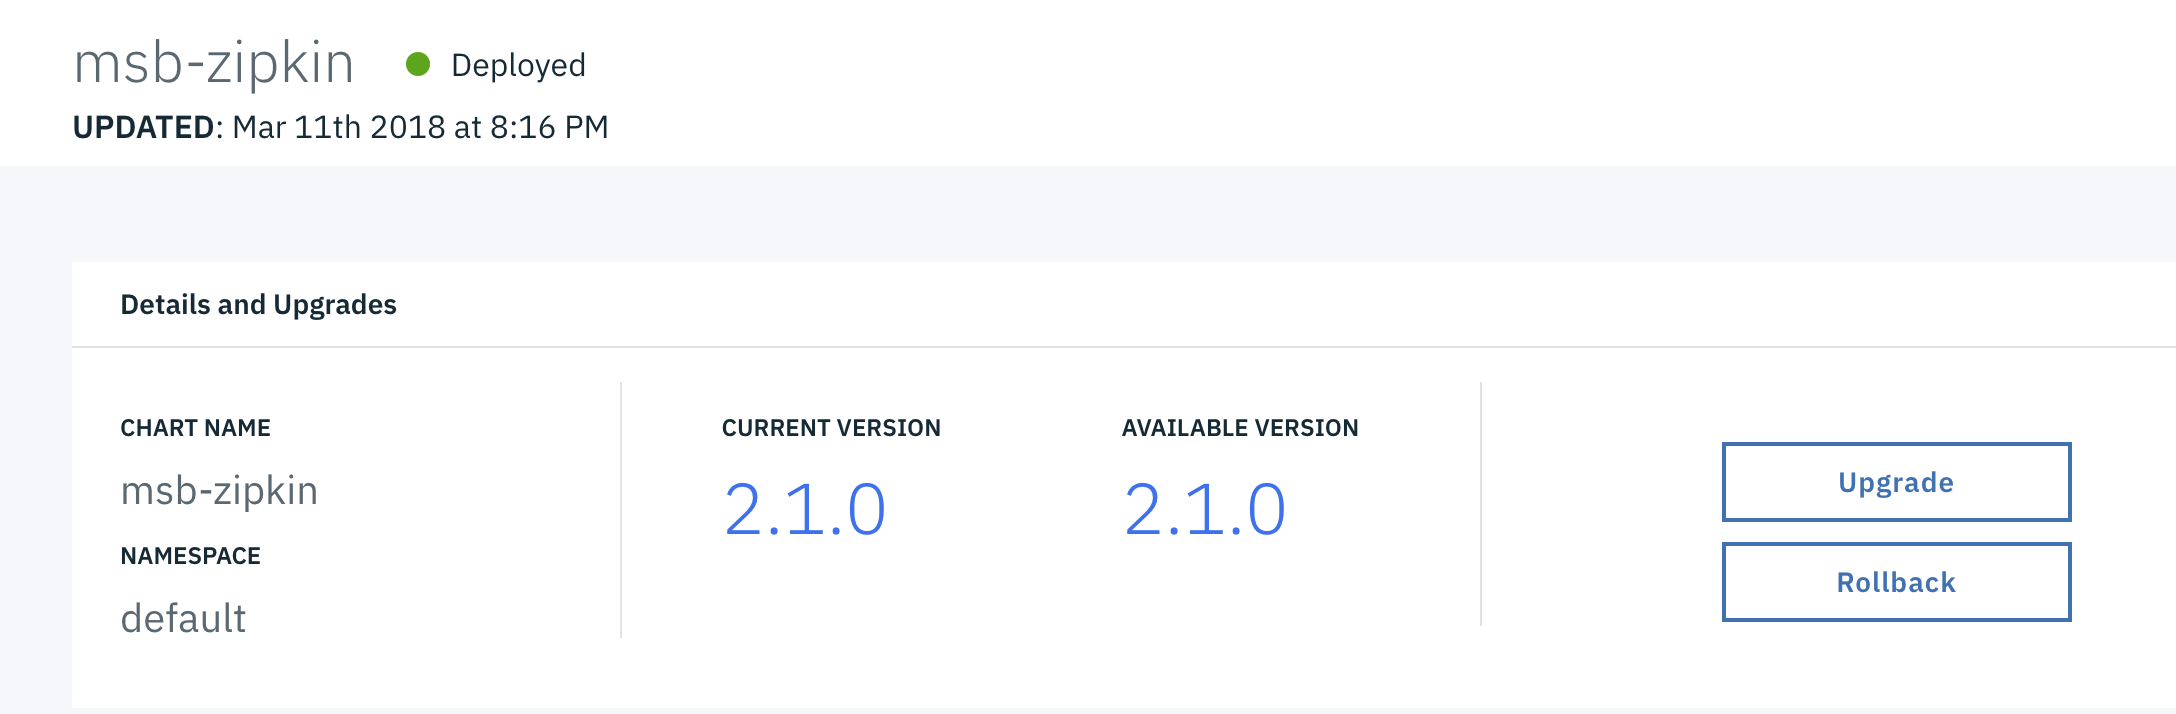
- Proceed with the lab once the deployment is available.


- Clone the project into your machine by running
git clone https://github.com/microservices-api/kubernetes-microprofile-lab.git - Build the sample microservice by running
cd kubernetes-microprofile-lab/lab-artifactsand thenmvn clean package - Build and tag the docker image by using
docker buildand providing a tag that matches your<cluster_CA_domain>/<namespace>/microservice-vote. As an example, if your<cluster_CA_domain>ismycluster.icpand you used thedefaultnamespace, then your command would bedocker build -t mycluster.icp:8500/default/microservice-vote
We will use IBM Cloud Private's internal docker registry to host our docker image. This allows our image to remain secured on-premises, while being available to your enterprise. You can control which kubernetes namespace they are available under.
- Follow the instruction on this page to
docker logininto the ICP docker registry. Use the credentials you setup during installation (default isadmin/admin). - Now that you're logged in the registry, you can
docker pushyour tagged image (microservice-vote) into the ICP docker registry. Example:docker push mycluster.icp:8500/default/microservice-vote - Your image is now available in the ICP registry, which you can verify by going into
Catalog -> Images.


-
We are now ready to deploy the Liberty and Cloudant helm chart by using the built-in catatalog in ICP. Simply navigate to
Catalog -> Helm Charts, click on themicroservice-votechart.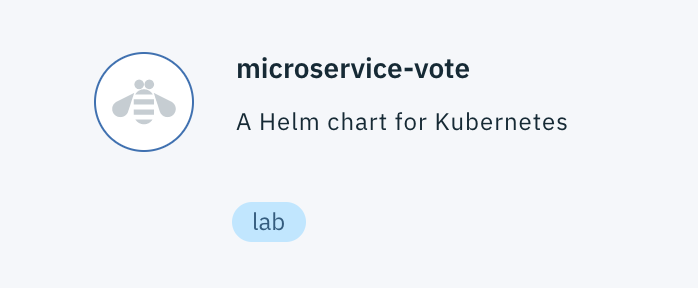
-
You will notice that a
readmepage is displayed, which allows you to familiarize yourself with the helm chart before deploying. Click onConfigureat the bottom of the page. -
Provide a release name (e.g.
microservice-vote) and pickdefaultas the namespace. Change the value ofimage.repositoryto match the image name you uploaded earlier, for examplemycluster.icp:8500/default/microservice-vote. Leave the other defaults as-is.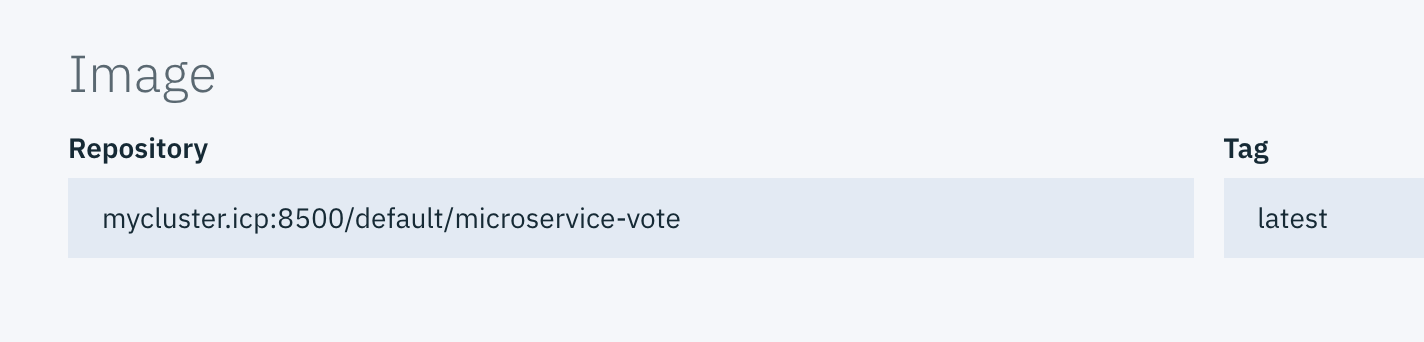
-
Click on deploy. A helm deployment success window pops up!
-
Let's check on our deployment. Go into
Workloads -> Deploymentsand click on the release name you picked. Click on theEndpointlink, which brings up the ingress URL. Add/openapi/uito the URL to reach the OpenAPI User Interface. For example,https://192.168.99.100/openapi/ui -
Congratulations, you have successfully deployed a MicroProfile container into a kubernetes cluster! The deployment also included a Cloudant container that is used by our microservice, and an ingress layer to provide connectivity into the API.


- You can now explore and invoke the application the exact same way you did in the minikube environment during part 1's Step 4.
- Join the ICP technical community to stay up to date with news related to IBM Cloud Private.