The Intern Management System using PHP and MySQL can help a particular company manage the progress of their interns. The system has two system users: the Admin, and the Intern.
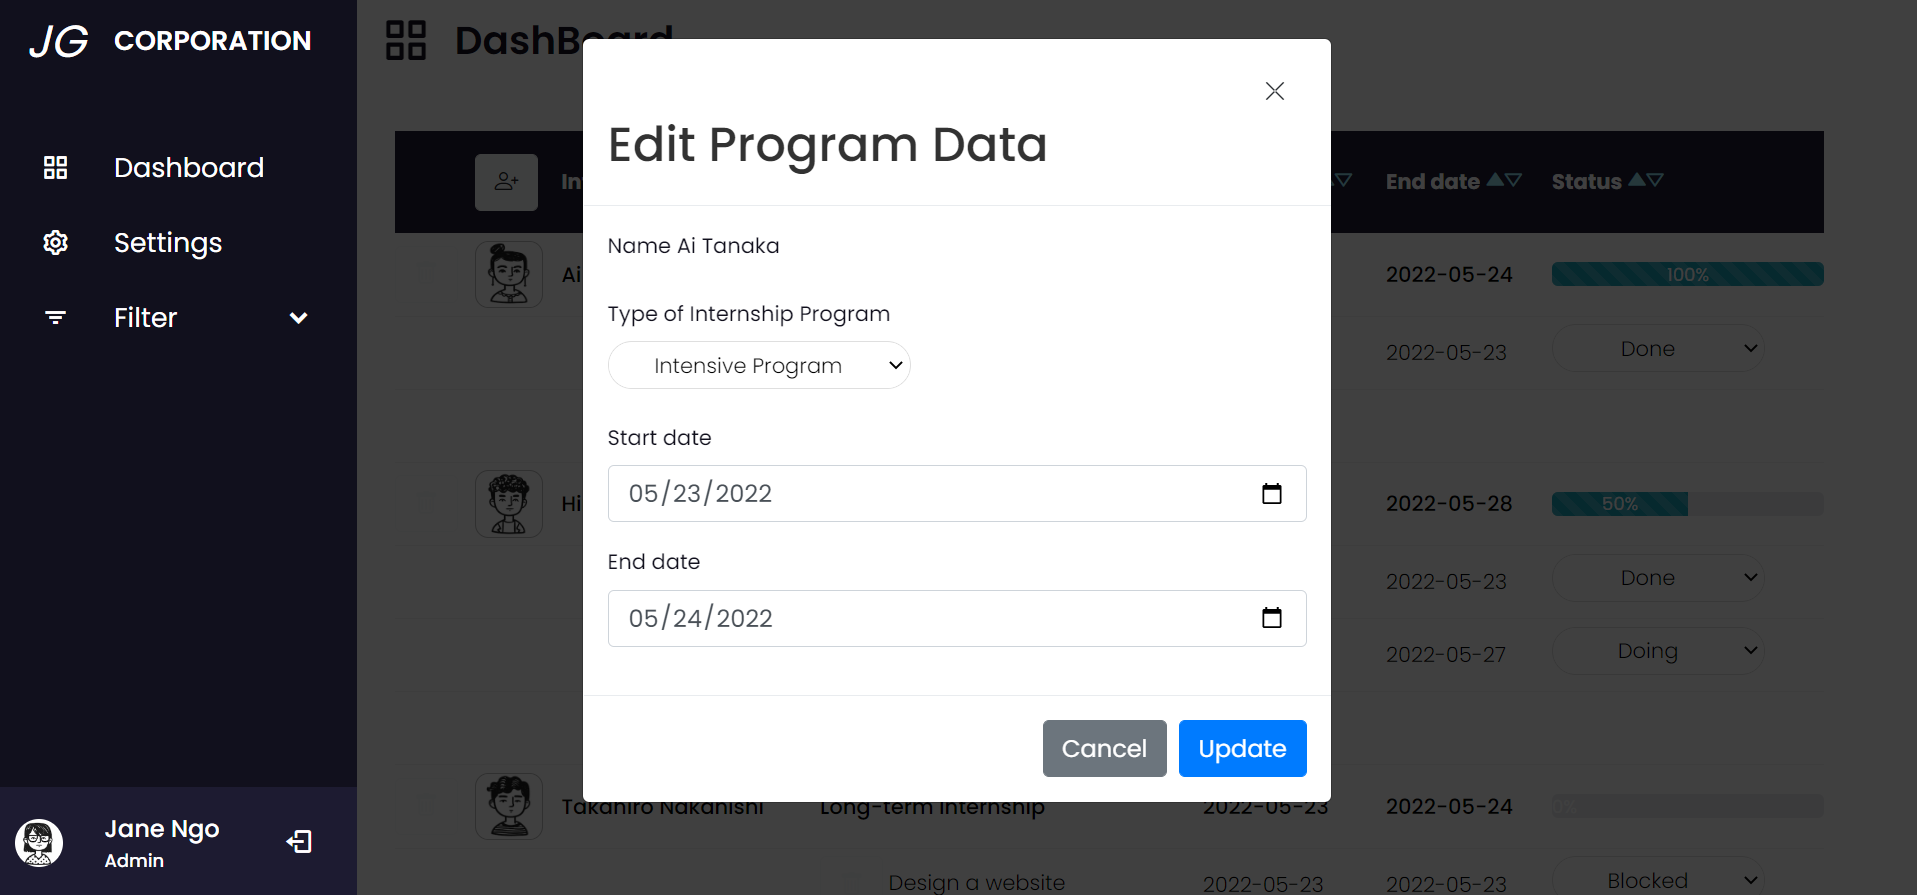
Admin users can have a full control over the system. They have access to the whole list of interns. They will create a new user/intern, assign programs and tasks as well as their due dates and status. Admin users can also add, edit, or delete this information. Moreover, they can also modify the program list or status list. Intern users can only have access to their own data. They can edit their tasks' status, and personal information. Both Admin and Intern can use the filter and sort functions.
This application can also be used for similar purposes such as managing projects, students, etc.
- Login Page
- Dashboard
- Programs (CRUD Features)
- Tasks (CRUD Features)
- Program Progress Bar
- User (CRUD Features)
- Admin Settings
- Filtering
- Sorting and Many More..
- Name of Project: Intern Management System Project
- Language: PHP
- Databases used: MySQL
- Design used: HTML, CSS, JavaScript, JQuery, Bootstrap
- Browser used: Google Chrome
- Software used: WAMP/ XAMPP/ LAMP/MAMP
Filtering and Sorting functions

Add-Edit-Read-Delete using Bootsrap Modals

For preparation, please install a virtual server such as XAMPP on your PC. After that, start Apache and MySQL in XAMPP. When you have done with XAMPP, follow the following steps:
Step 1: Download and extract this project's folder.
Step 2: Copy the main project folder and padte in xampp/htdocs in your PC.
Step 3: Open a browser and go to URL "http://localhost/phpmyadmin/".
Step 4: Click on the databases tab.
Step 5: Create a database naming "id19122848_internship_db" and then click on the import tab.
Step 6: Click on browse file and select "id19122848_internship_db.sql" file which is inside the "database folder.
Step 7: Click "Go" button.
Step 9: Open a browser and go to URL "http://localhost/intern-management/login"
Admin Access
Email: admin123@jg-corporation.com
Password: admin123


