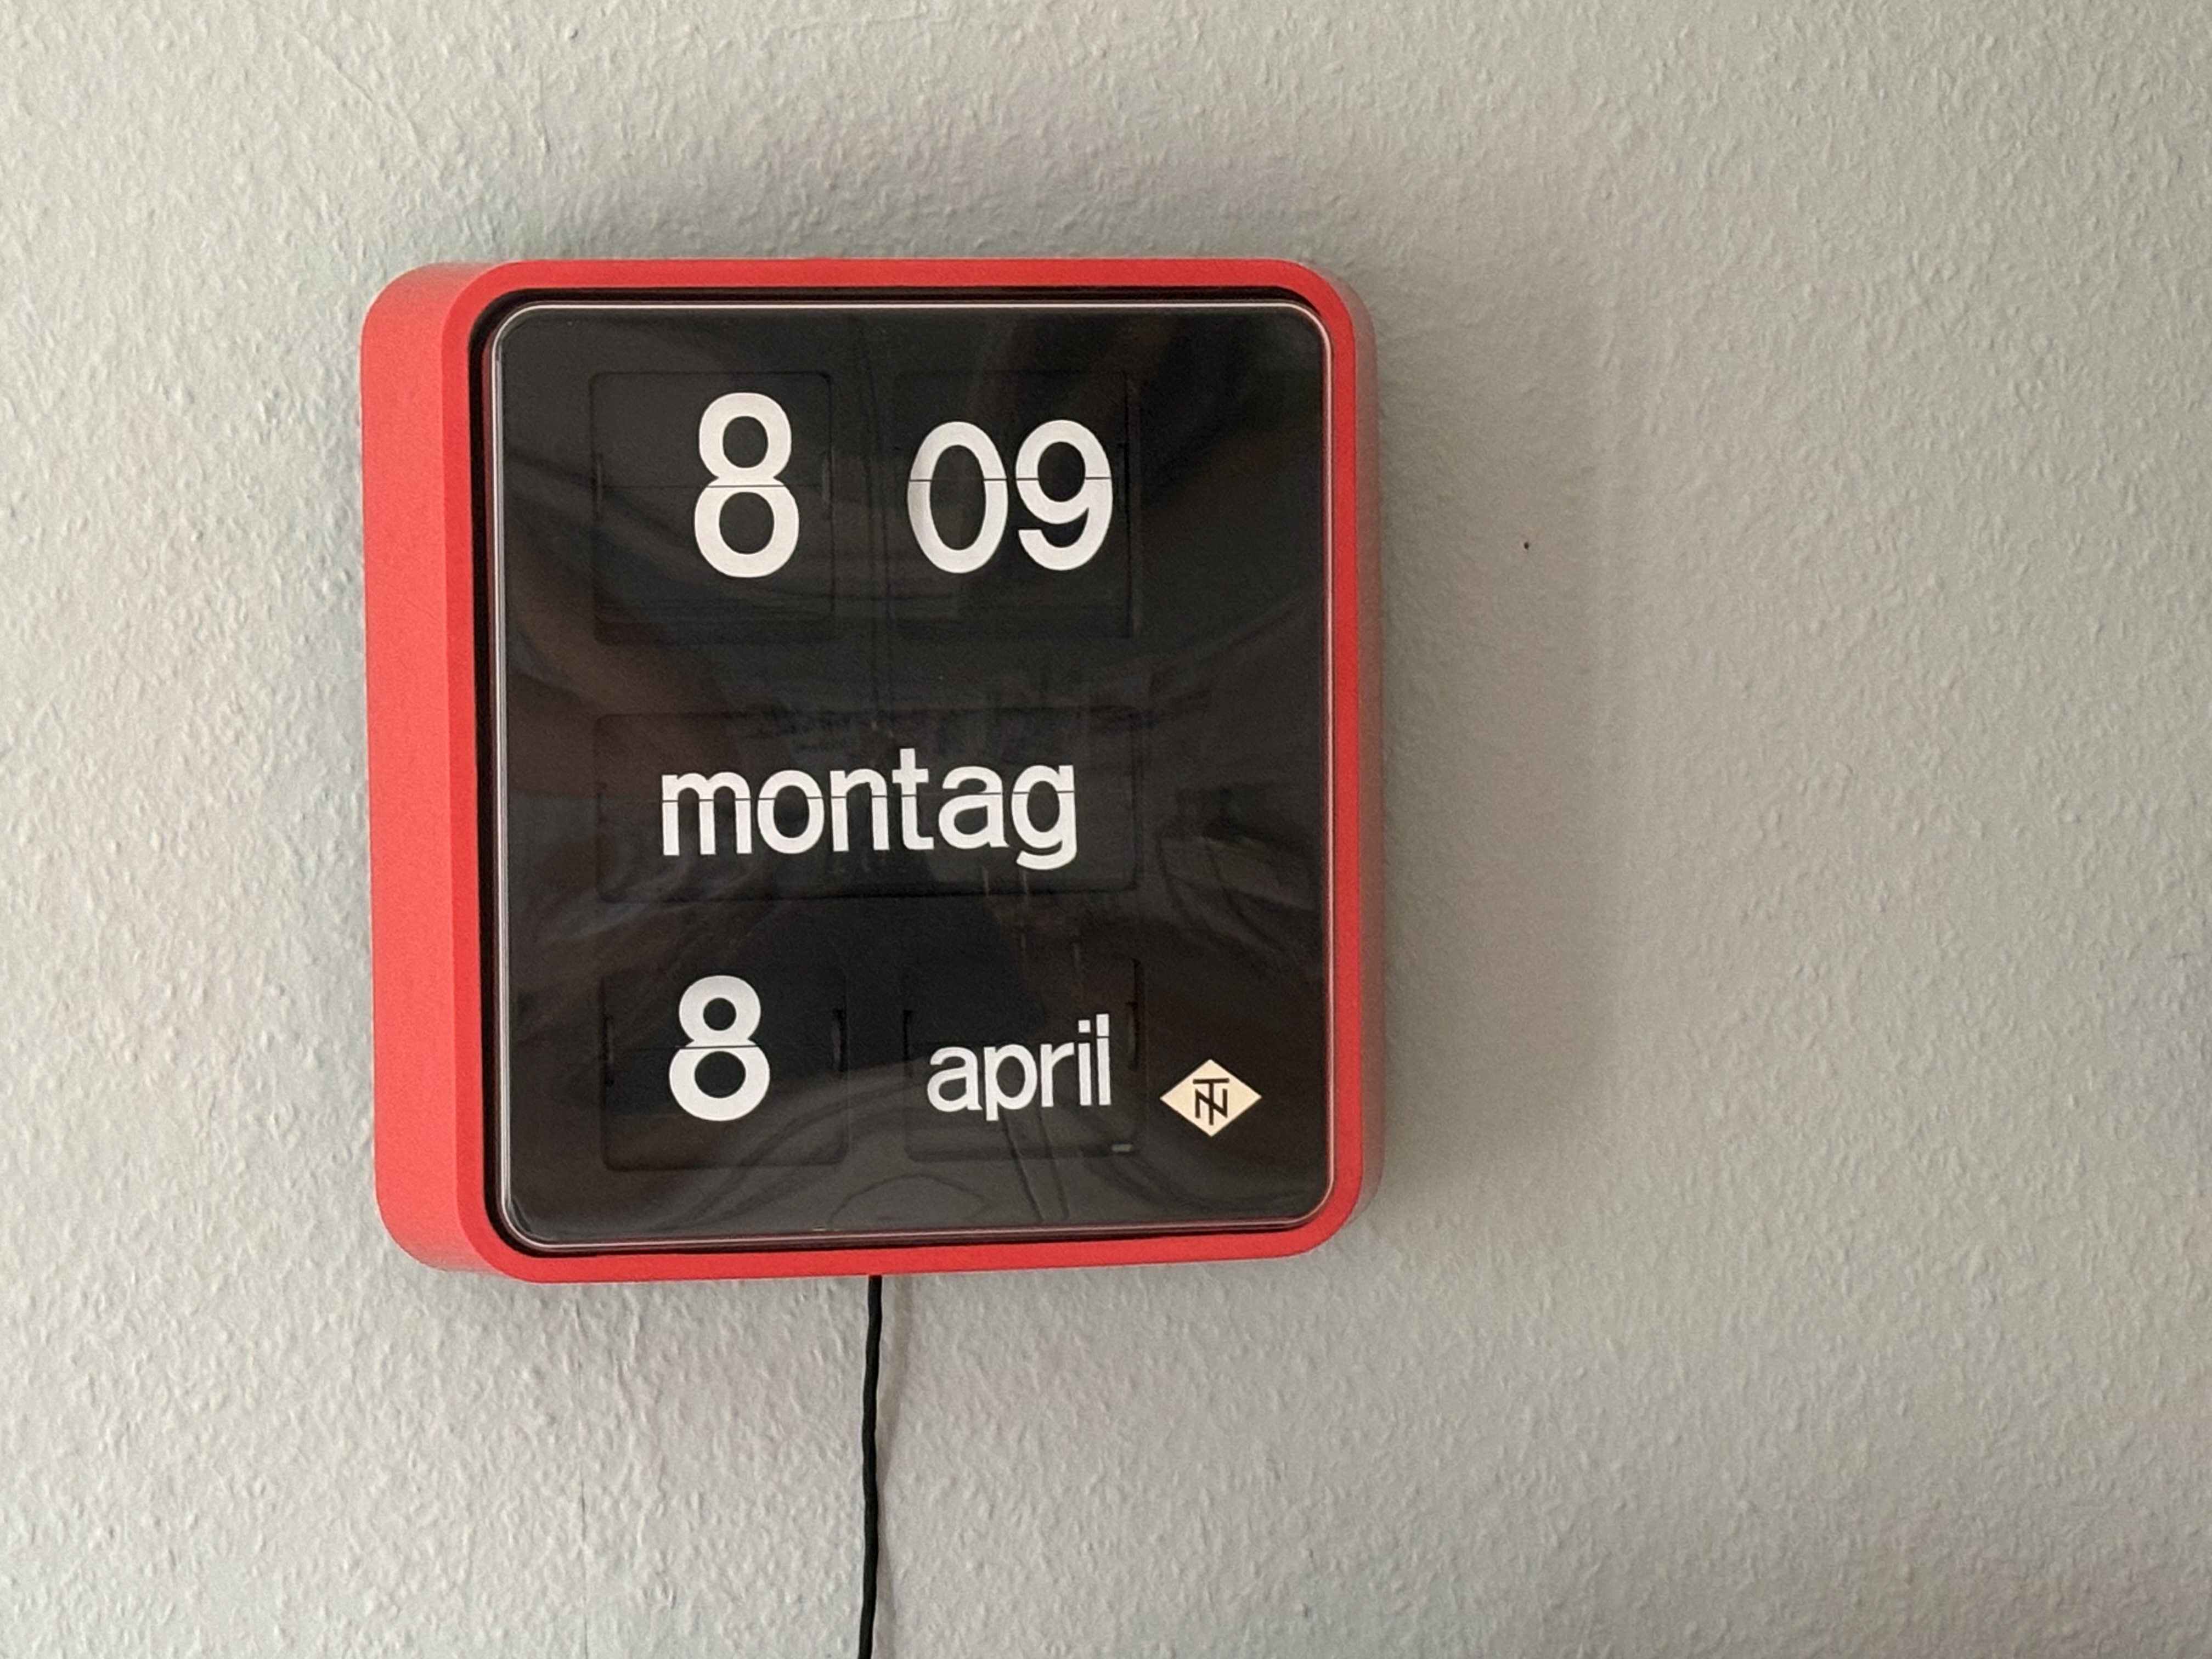
I found a T&N (Telefonbau & Normalzeit) flip clock from the late 70ies/early 80ies. The clock is branded as T&N but was produced by Bodet.The model sticker on the inside says BT637.
I was inspired by this Hackaday project by iSax.
In this repo I documented the process on how I restored the clock and I also share design files and code.
-
check the clock is working: I connected the clock to a 12V power supply. Flipping + and - caused the clock to advance by one minute. So I considered it fully functional.
-
create spare tiles: I experimented with hard paper and plexiglas. In the end a rigid PVC material worked best. Cut out tiles using a Cricut.
-
program micro controller as clock driver: the code is ready. I added support for timezone and DST changes. When changing to DST, the clock will advance by 60 minutes, when changing to normal time, the clock will delay an hour.
-
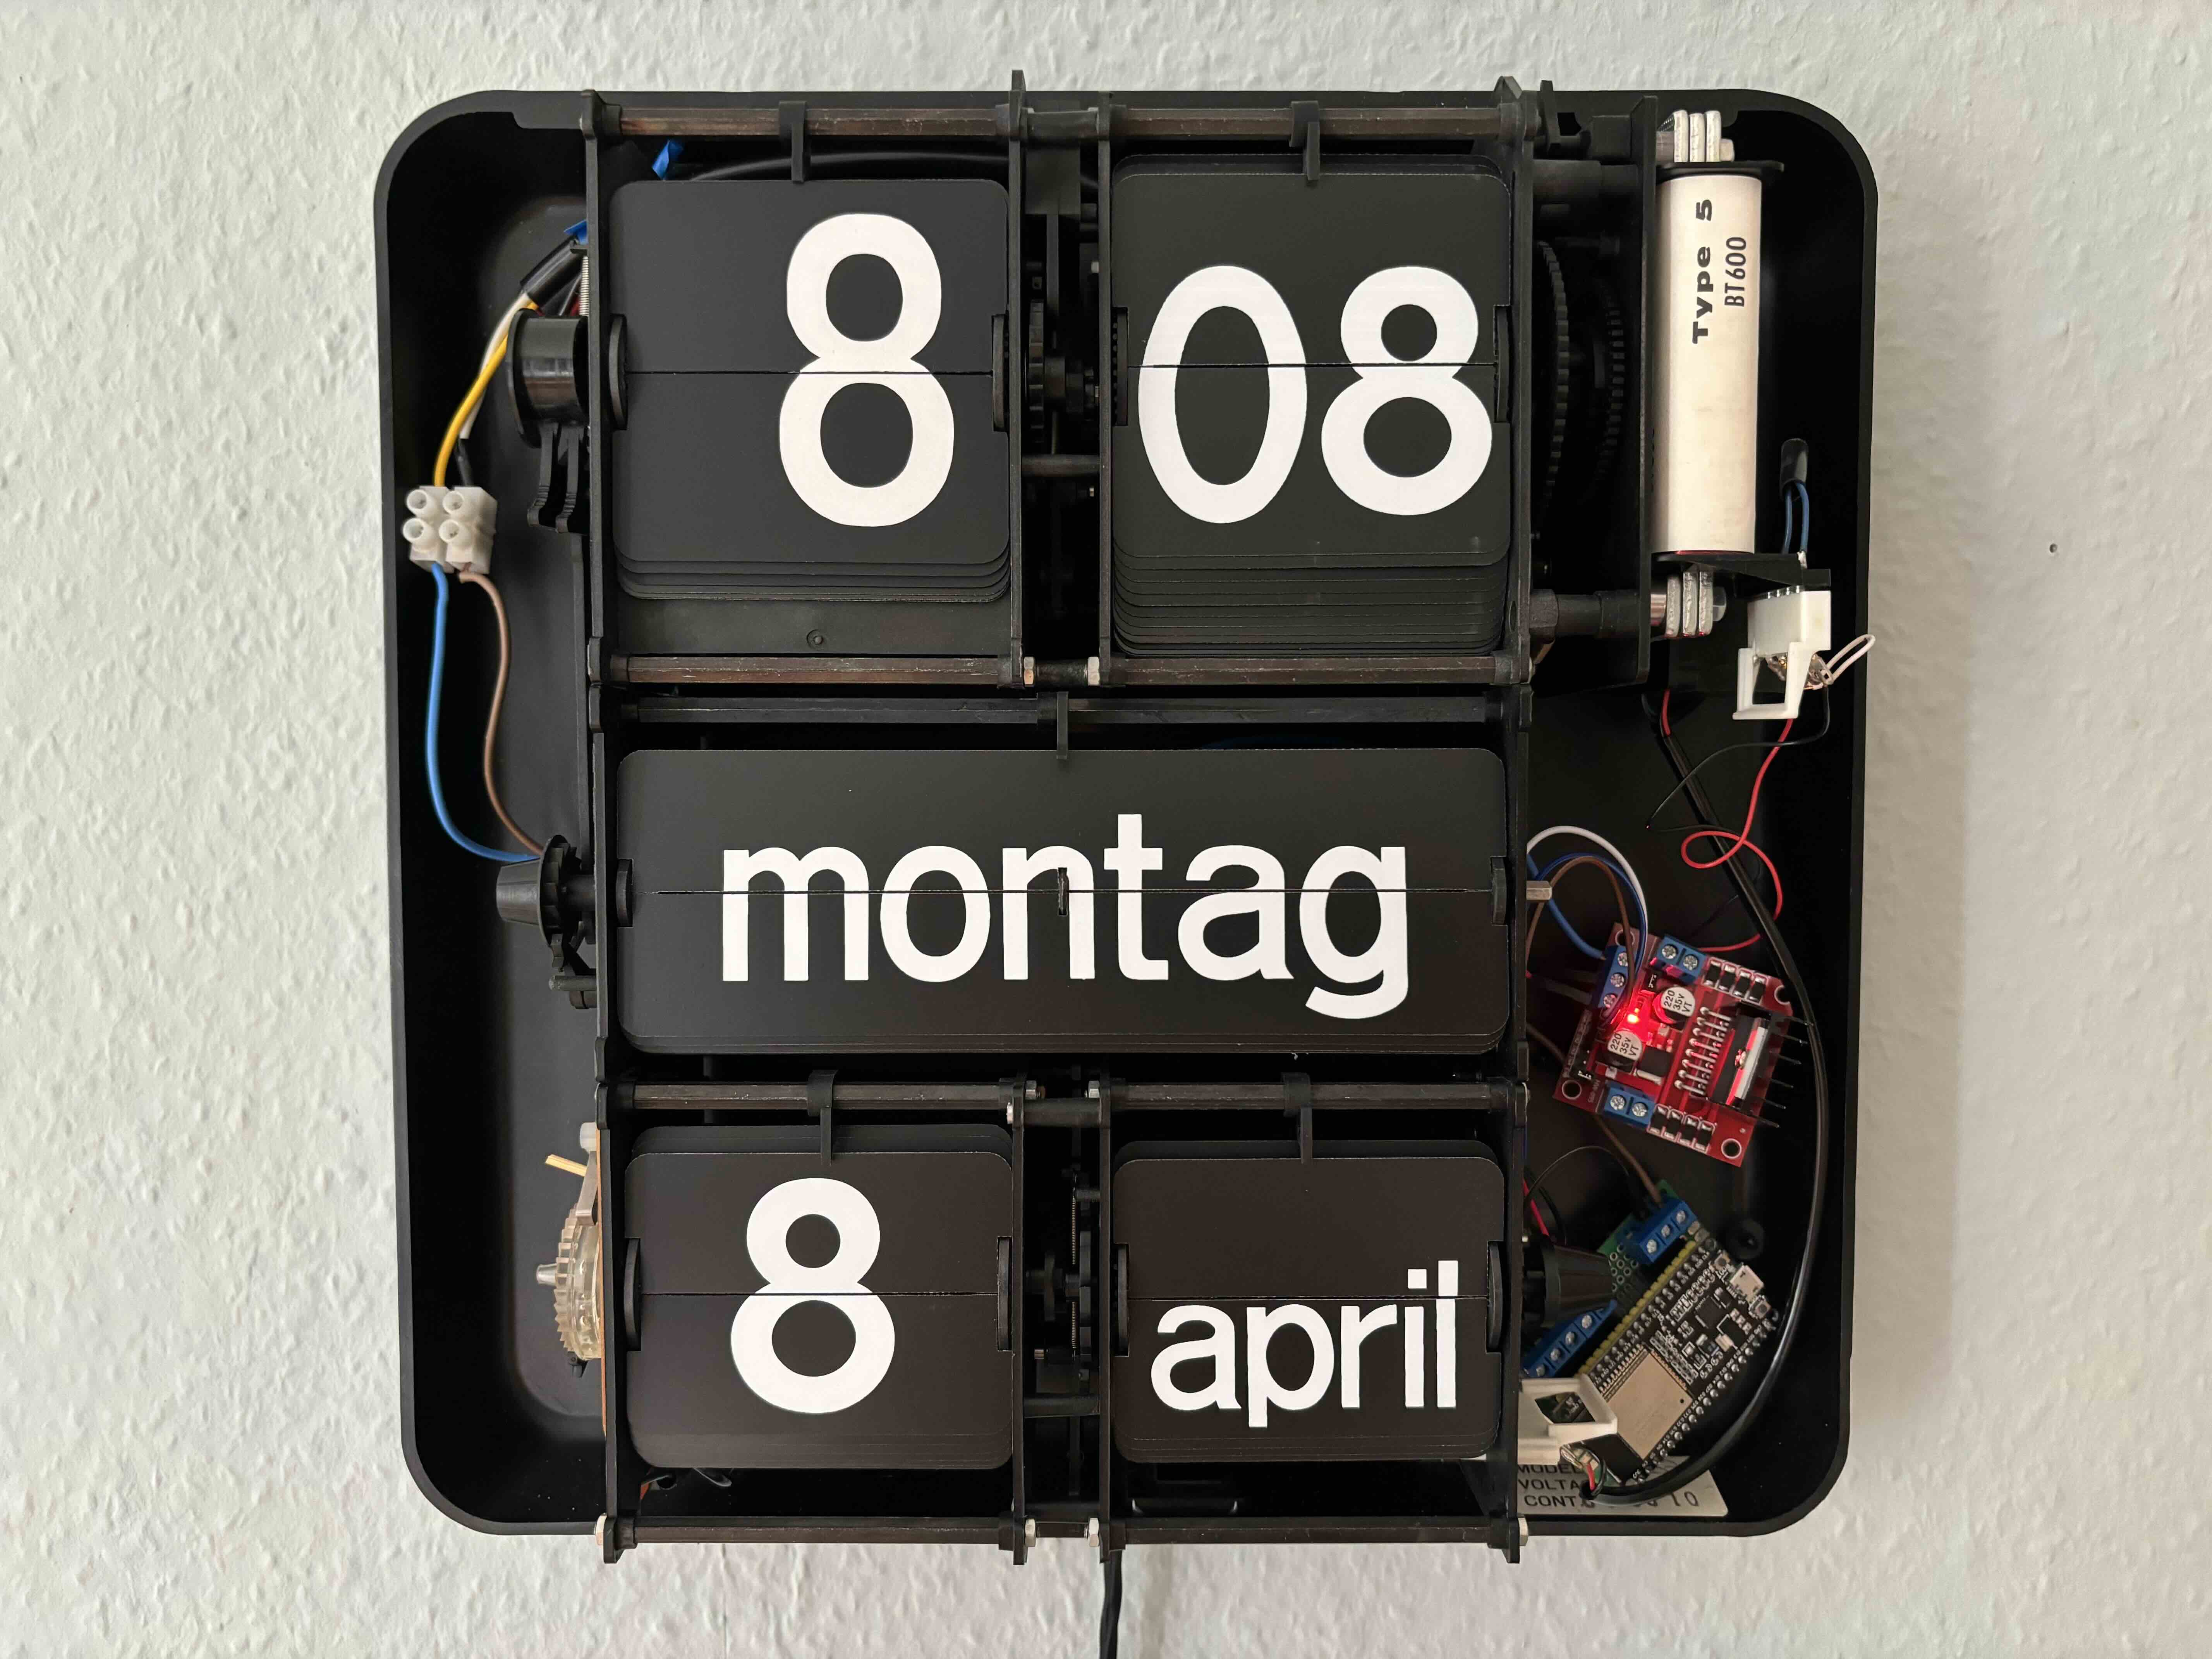
solder all parts together: Provide power from 230V AC, wire up and solder 230V AC to 12V DC converter, ESP32, and H-Bridge to drive clock.
As any good plan, mine changed as it was confronted with reality. I wrote down the different steps and detours I took. It might help you or my future self to avoid some detours.
This was straight forward. Hooked up the clock to 12V supply and switched + and -. When the direction of the current was changed (flip +/-) the clock advanced by one minute.
The mechanics to drive the hour from the minute, the weekday and day of month from the hour, and the month from the day of month all worked. I did not check the leap year function. Will do that once all is wired up.
Seven of the hour and two of the minute tiles were missing.
I first tried to get spare tiles from Bodet. To no surprise, they do not have them on stock anymore.
I used Fusion360 to design the tile (hour and minute tiles are identical for my clock). You can find the Flip Clock Spare Part.dxf file in this repository.
Finding the right material for the tiles was a bit of a challenge. I found a local company, Hema Kunststoff GmbH, specialized in milling plastic materials. They were very helpful in identifying the material: hard paper. It is a fiber composite material made of paper and a phenol-formaldehyde resin (phenolic resin).
I tried laser cutting the hard paper in a local maker space. Unfortunately, this did not work out. The power required to cut the material made it impossible to cut out the fine structure required to slot the tile into the clock wheel. This part is only 1mm thick.
Next I tried to cut the tiles with a Cricut Air 2. But the hard paper was too rigid and the Cricut did not manage to cut through.
I asked the experts at Hema again. They would have milled the pieces for me, but given the required work hours, it would have cost around 10€ per tile.
After more research on the internet, I ordered the rigid-PVC from Modulor. This is a black, 0.3 mm thick material. It turned out to have similar flexibility/stiffness as the hard paper and I was able to cut it with the Cricut.
On the internet I found the font 'folio' as recommendation for Bodet flip tiles. Doing test cuts, it quickly became apparent, that none of the myriads of fonts will do. The numbers of hours and minutes are of different size and slightly different shape. I have the impression, that these printing templates were rather hand-crafted based on a sans-serif template.
My wife helped me out here. She scanned tile that had parts of the missing numbers and reconstructed the shape in the Cricut design program. This required a lot of patience and I am happy that she took over.
We neded up picking white adhesive labels as the material to cut out the numbers. The result is quite impressive. From about a meter distance, it is impossible to distinguish the original tiles from the spare tiles.
Due to the lack of a matching master clock, I want to run my slave clock using a microcontroller.
My rough idea for the algorithm was:
-
setup()
- connect to wifi
- connect to NTP server to keep system clock in sync
-
loop() (e.g. every second)
- check if a minute passed - remember result
- check if DST switch happend, if yes, add or subtract 60 from tile buffer
- if minute passed & tile buffer = 0
- advance clock
- if minute passed & tile buffer < 0
- tile buffer++ // the wall clock is ahead of system time
- if tile buffer > 0
- advance clock // the wall clock is behind system time
You can find the source code in src/main.cpp. This all worked out quite well.
Based on this project I purchased the following equipment for version 1:
- AZ-ATmega328DIP-Board Mikrocontroller Board ATmega16U2 8-bit Dev Board
- Prototyping Prototype Shield Mini Breadboard for UNO R3 (came with bundle)
- Jumper Wire cables M2M/ F2M / F2F
- Double H-Bridge DC Motor Controller Board Modul AZ-L298N
- 220V AC/DC to 12V DC Mini converter
I was intruiged by the capability to run the board on 12V. That is also the current required to drive the clock motor and the H-Bridge. But I must have been a bit tired when I hit purchase. The ATmega board does not have WiFi on-board. Instead of buying a WiFi shield or a real-time-clock I decided to change to this option:
- ESP32 NodeMCU Module WLAN WiFi Development Board | Dev Kit C V2
- Jumper Wire cables M2M/ F2M / F2F
Luckily, the H-Bridge provides a 5V power out pin. To get things started, I experimented with an old Netgear 12V power supply. I connected the power source to the H-Bridge and power the ESP32 from the 5V output. No need for an additional step-down component.
The Netgear power supply delivered between 14 and 14.5V voltage. This is sufficient to power the clock. In the end, I was not to convinced of the mini AC/DC converter, so I purchased a 230V to 12V LED transformer. The form factor was perfect as it nicely fit into the clock housing. However, the 12V current it delivered was too little to drive the minute tiles. So I switched back to the old Netgear power supply.
When all was working using the jump wire calbes, I was ready to establish my soldering skills. I purchased a pack of prototype boards. It has been a long time since I have done some soldering. After a lot of back and forth, and testing the connections with the multimeter I managed to get it all wrapped up.
This is the circuit plan of the final assmebly:
+12V ---•-----------------------------------------
        |
     +--•--------------------+       +-------+
     | +12V             OUT1 •-------• BT600 |
     |                       |       | Clock |
     |     *L298N*      OUT2 •-------• Motor |
     |                       |       +-------+
     | GND   ENA IN1 IN2 +5V |
     +--•-----•---•---•---•--+
        |     |   |   |   |
        |   +-•---•---•---•--+
        |   | 21  23  22 +5V |
        |   |                |
        |   |    *ESP32*     |
        |   |                |
        |   | GND            |
        |   +--•-------------+
        |      |
GND  ---•-----------------------------------------
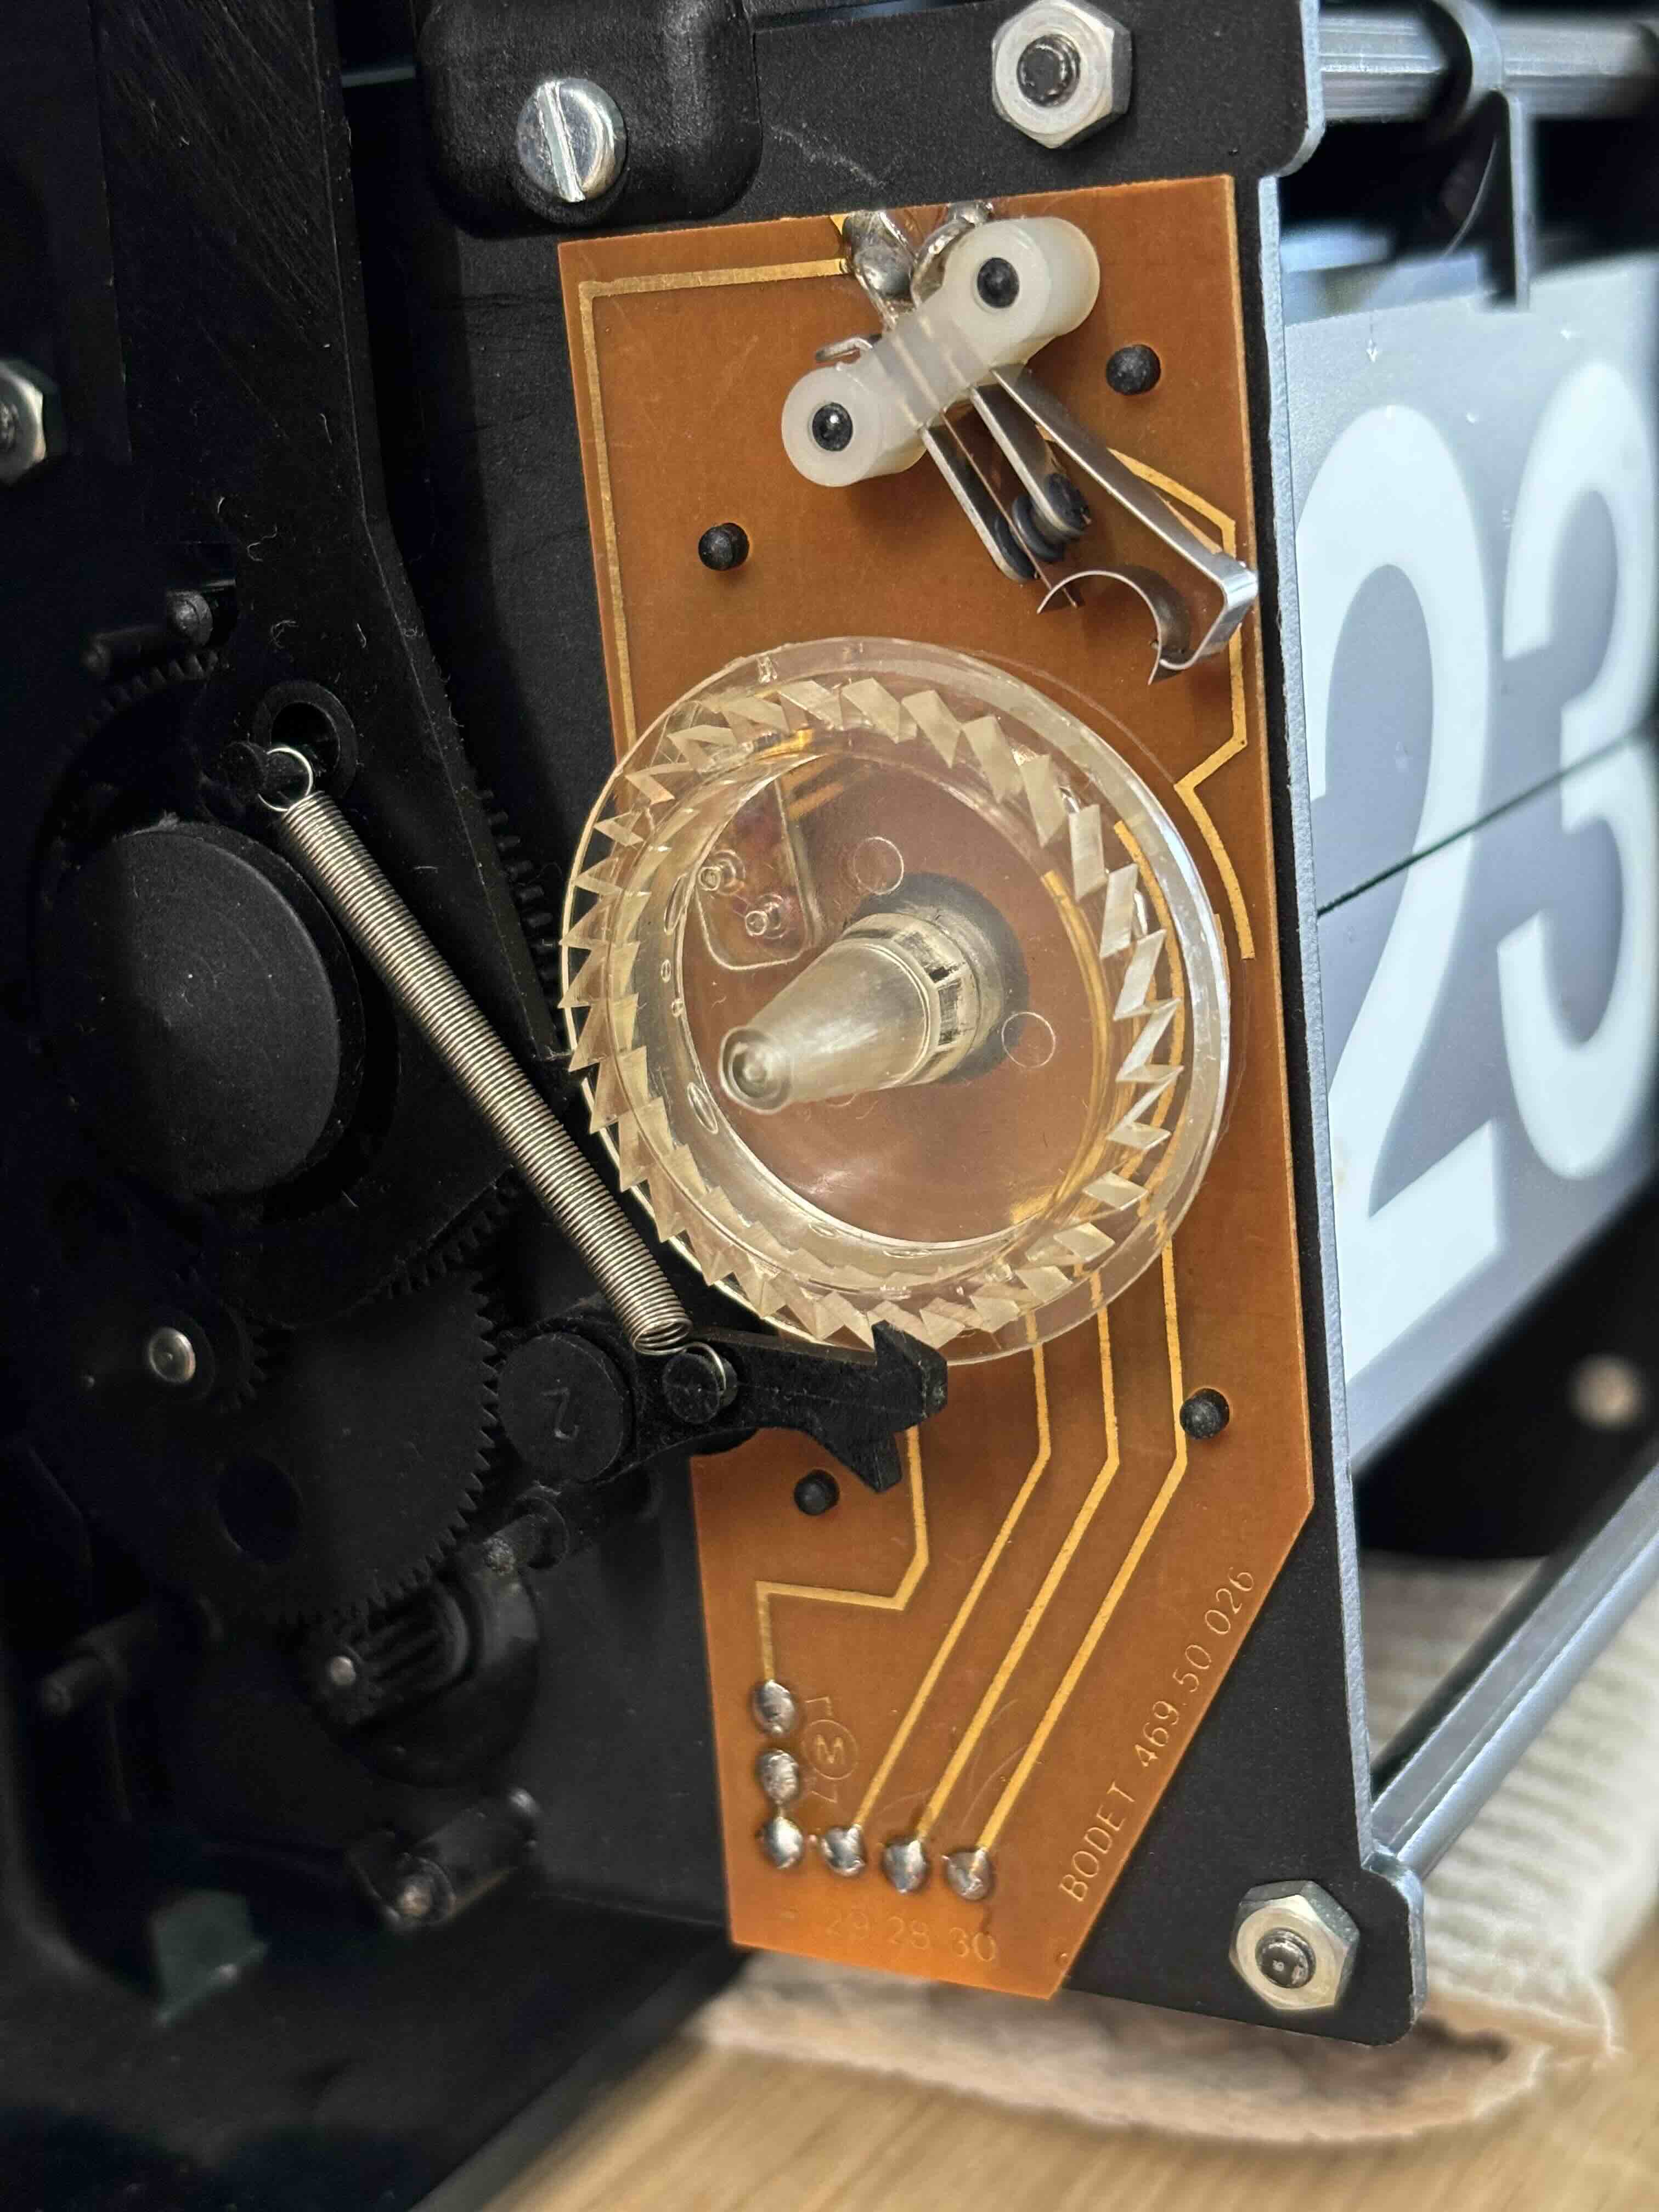
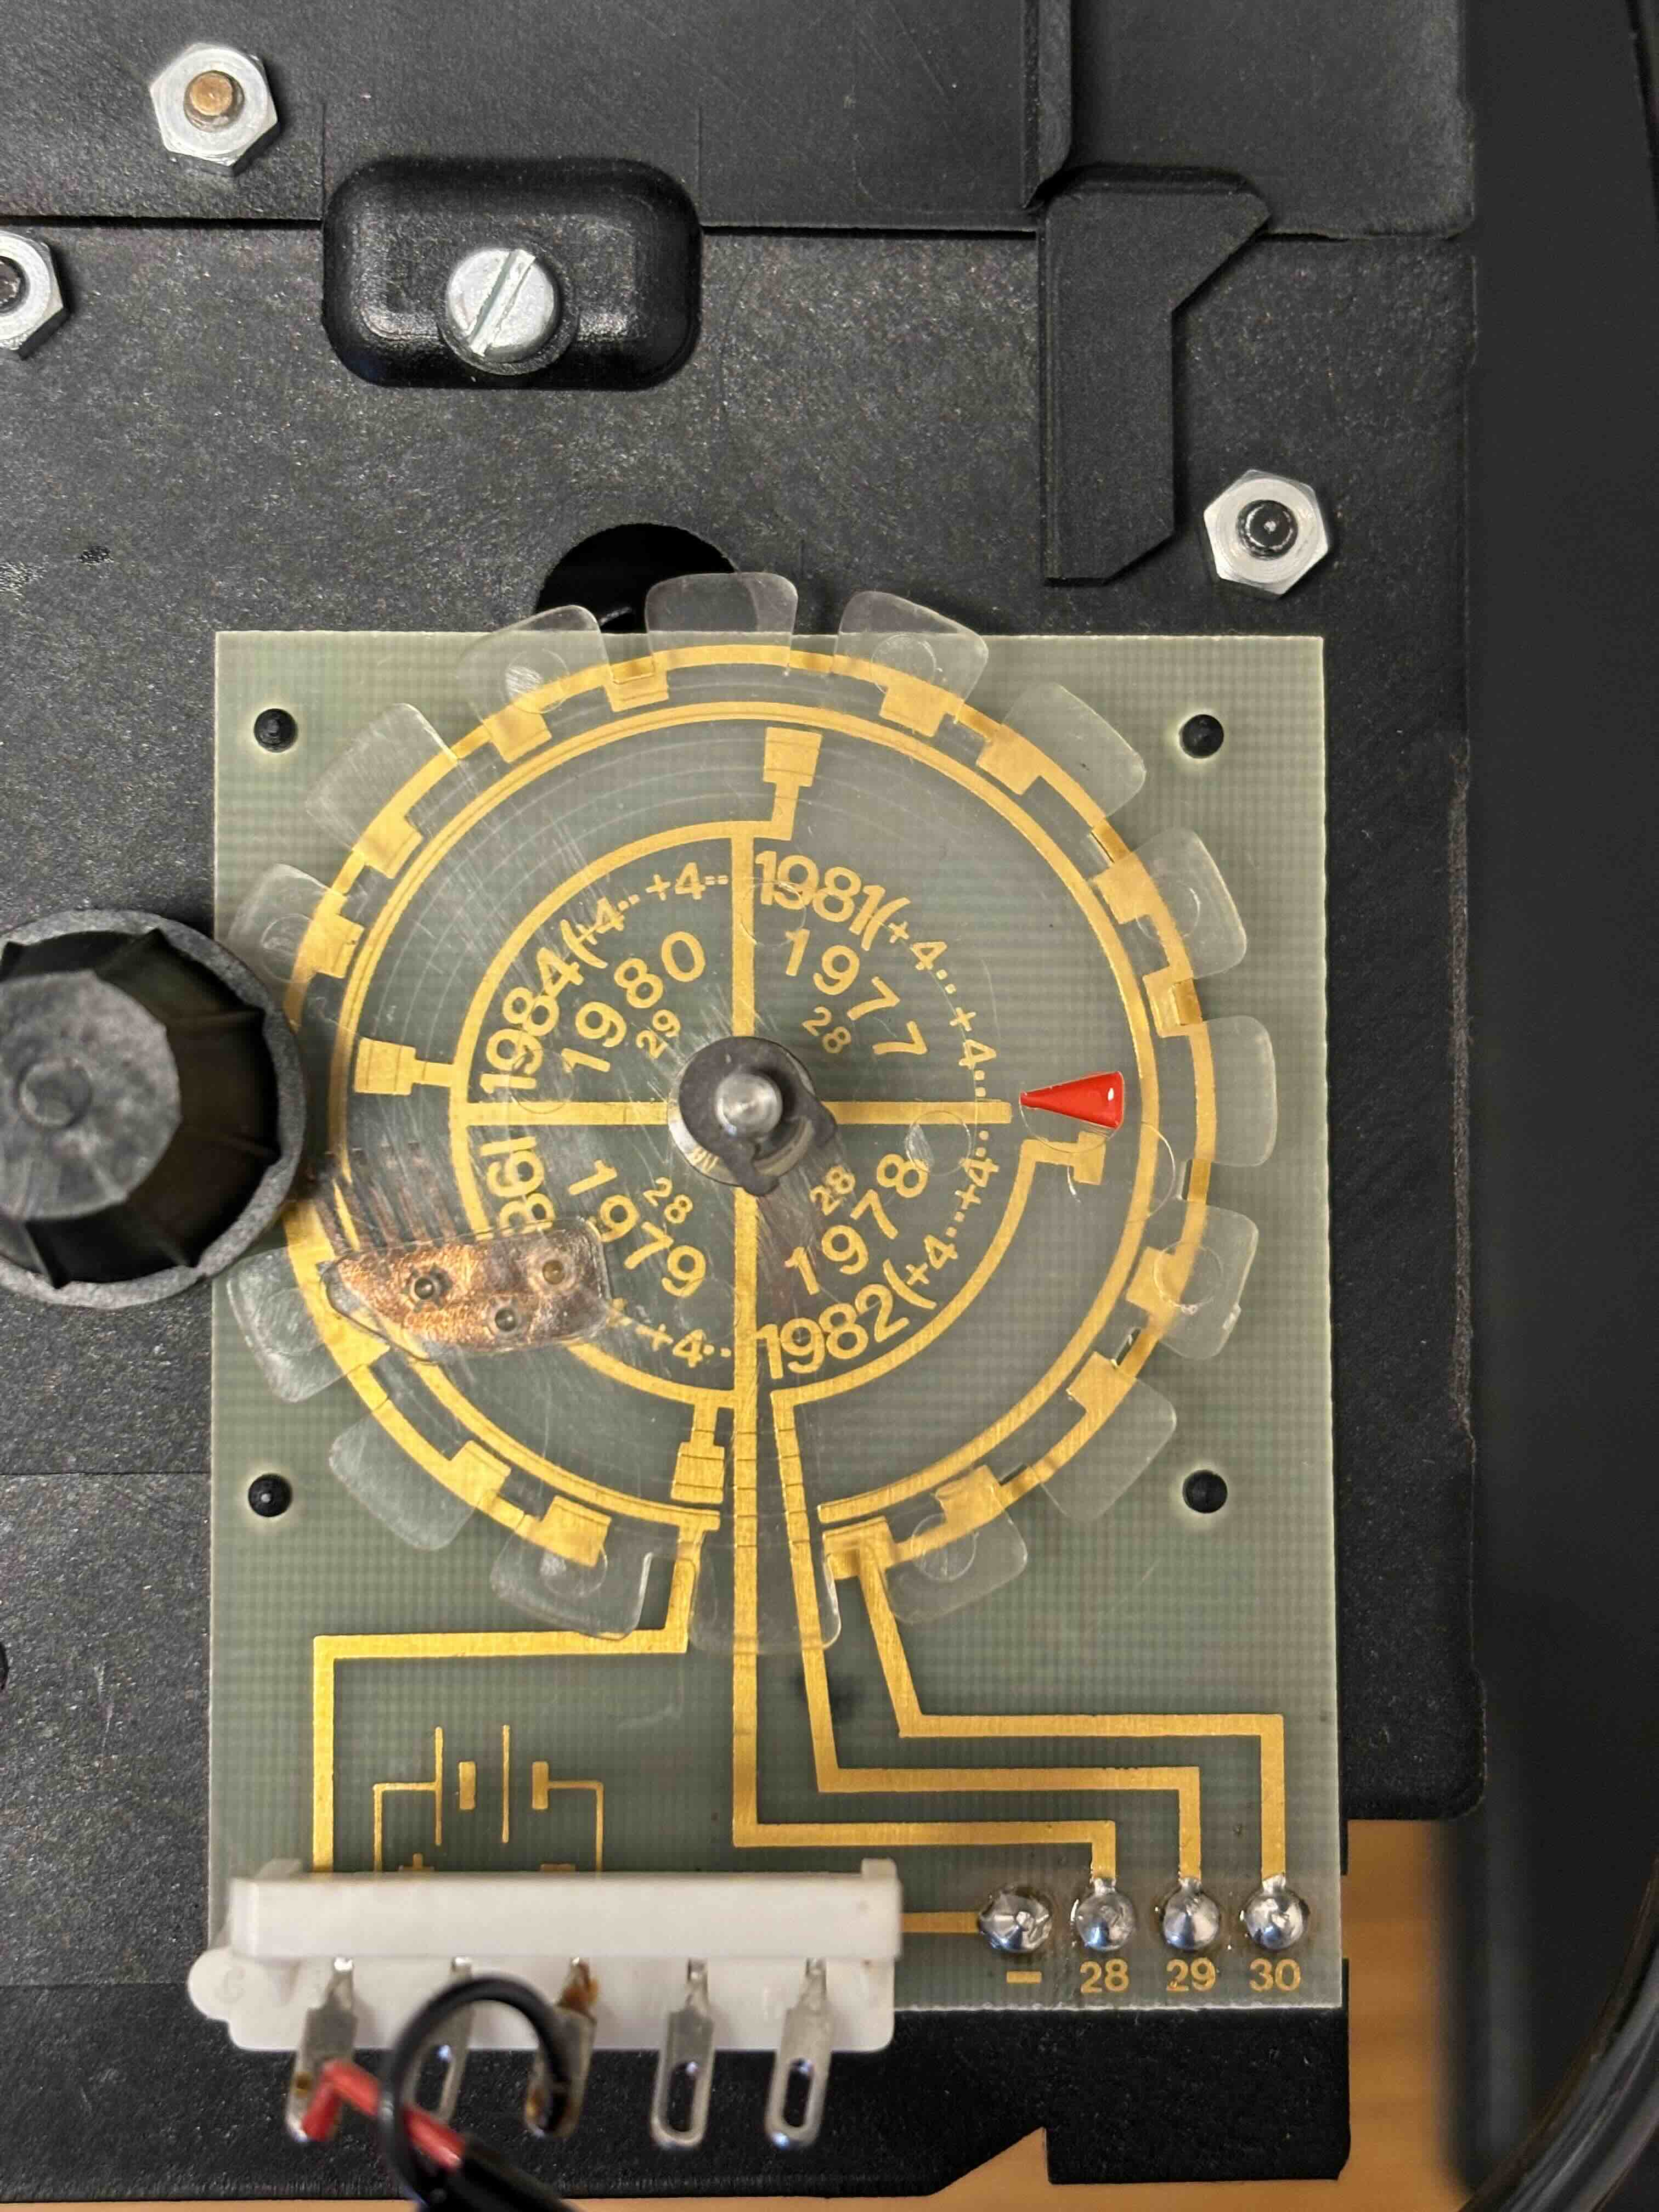
The Bodet clock has a mechanism to advance the day of month correctly, even in the presence of a leap year. I could not get this mechanism to work. It is driven by an additional motor that is installed behind the day of month display. It uses a wheel with sliding contacts to advance the day of month depending on month and year. A quite simple but sophisticated mechanism. It seems that this motor does not get sufficient voltage (I measure 2.8V) but as I do not have the specs, I am not quite sure. I leave this for the next iteration.
The flip clock is mounted in our kitchen and works nicely.
On the inside it is a bit more messy, but it gets the job done.
Flipping the minute generates a satisfying sound.
Here are detailed pictures of the sliding contact mechanism driving the day of month.


