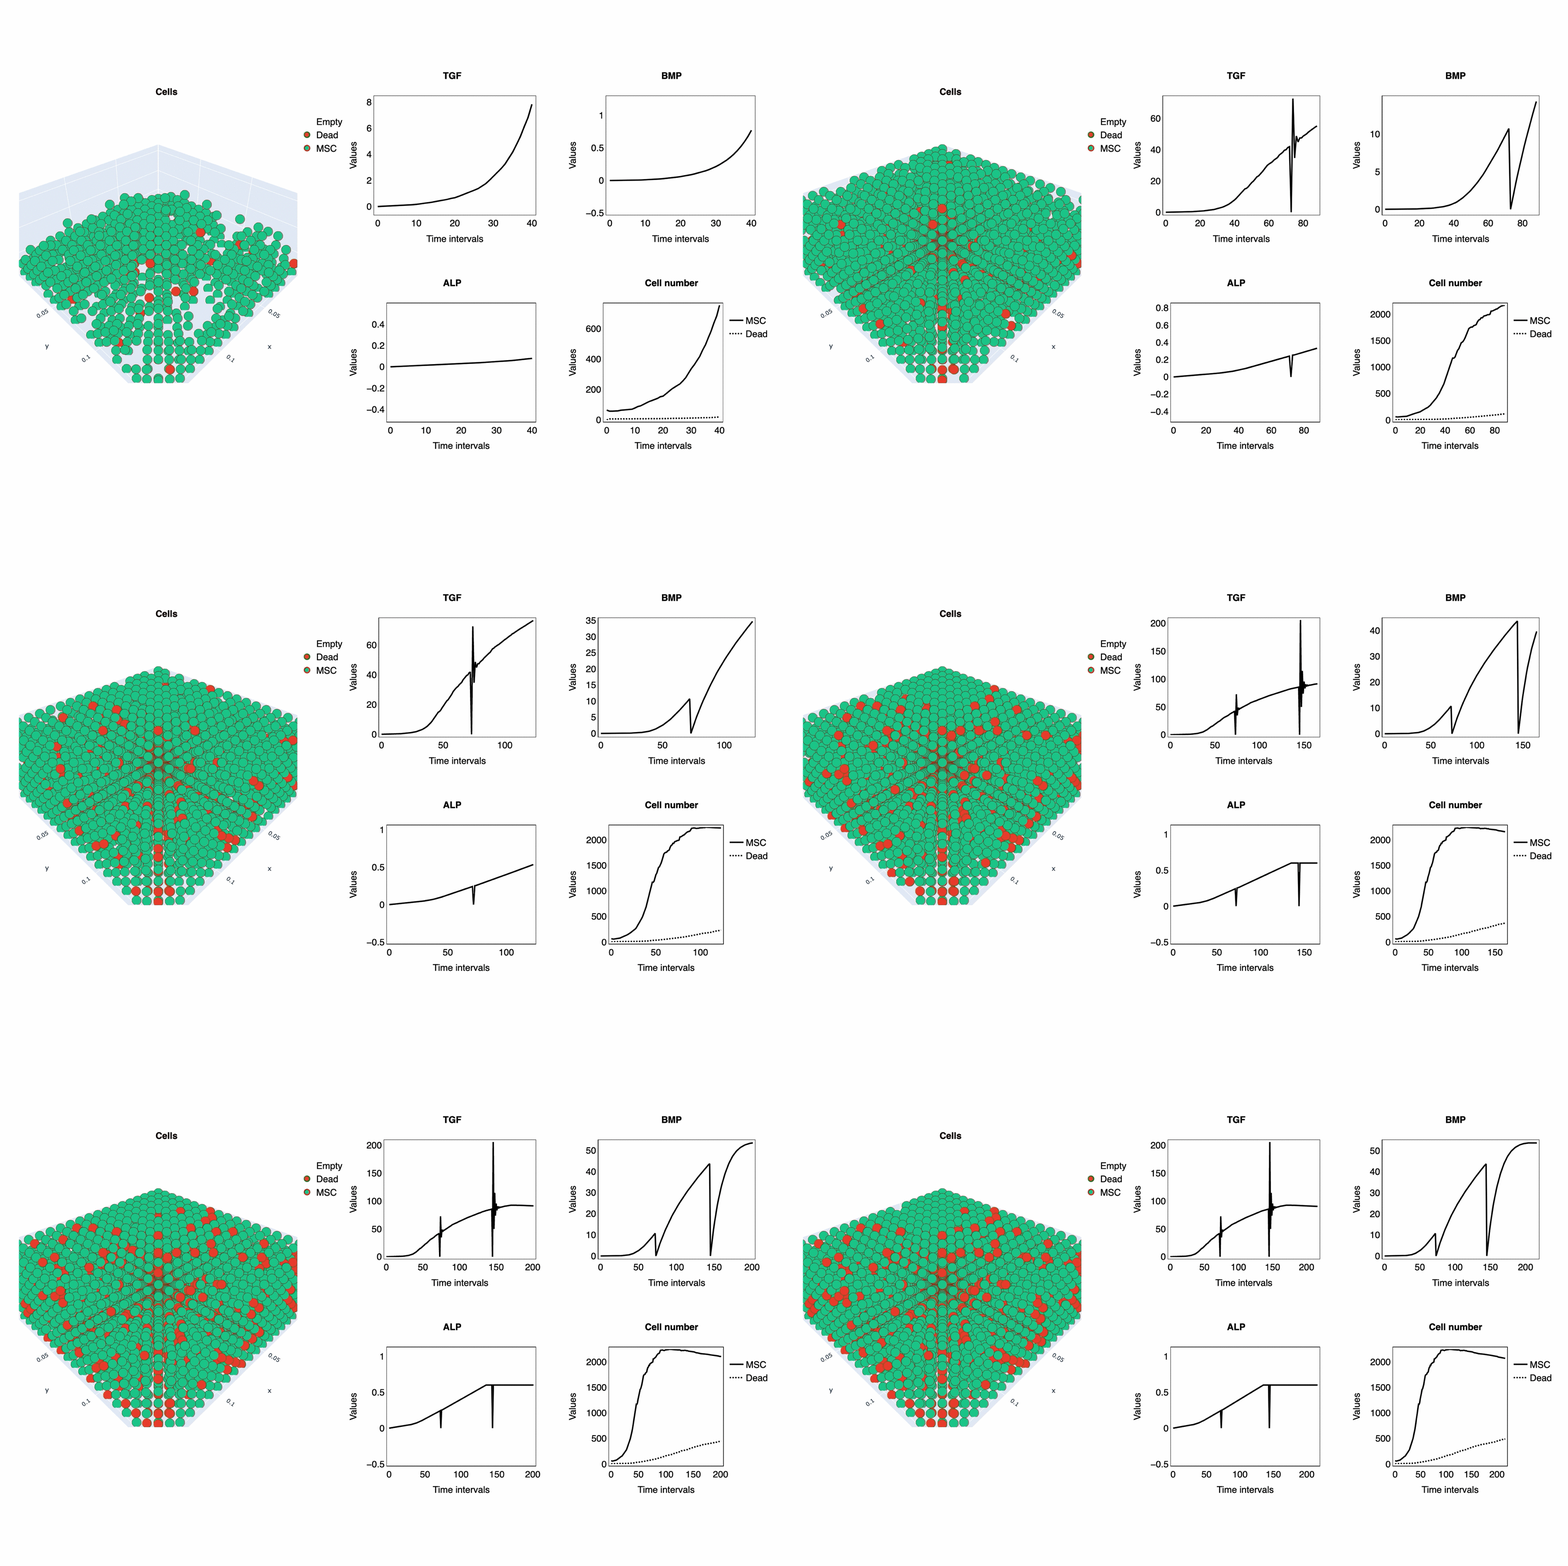
CppyABM is a free open-source header-only library that enables agent-based modeling by providing essential tools in both C++ and Python as well as mixing both in a single model. The modeling in both C++ and Python follows similar semantics and style. Therefore, a model developed in one languages can be conveniently transferred to another. In addition, CppyABM provides binding tools to specifically expose certain parts of a model written in C++ for further development in Python. This enables users to take the advantage of both languages simultaneously. CppyABM uses RTvisualize for browser-based real-time visualization. The link for the complete documentation. See examples folder as showcase of CppyABM utility. 
For an extended version of the available installation options, see documentation.
Using pip manager (in case any error occured, install using the next option):
$ pip install --upgrade cppyabm
Or, download the package and in the root folder, command:
$ python3 setup.py install
The library can be also installed solely for C++ development using, $ git clone https://github.com/janursa/CppyABM $ cd CppyABM && mkdir build && cd build $ cmake .. -DCPP=TRUE $ make install
In order to create a mixed model using both languages of C++ and Python, in addition to CppyABM, pybind11 needs to be installed. It can be either seperately installed according to the instruction given on pybind11-installation, or can be included in a project using Cmake. See documentation.
The Docker image "janursa/cppyabm" provides an environment where the lastest version of CppyABM, pybind11, and RTvisualize are installed. The following command will land you in a container with all set ready for development.
$ docker run --rm -t -i janursa/cppyabm /bin/bash
To run the examples with visualization, two seperate bash of same container needs to be executed; one for running the model and another for visualization. To do so,
[1]$ docker run -d -p 1818:8050 -t janursa/cppyabm /bin/bash
Runs the image in a detached mode and maps the port number 8050 (container) to 1818 (host). Then,
[2]$ docker ps
Get the CONTAINER ID,
[3]$ docker exec -it container_id bash
Once in the container, navigate to the example folder and run the model. In parallel, open another bash using the exact command as [3]. But, this time run the monitor_script.py for visualization. It will output the graphs to the port http://0.0.0.0:1818.
This project is licensed under the MIT License - see the LICENSE.md file for details
- Jalil Nourisa
Familiarity with pybind11 is helpful during the Python binding process.
In case of encountering a problem, pls report it as an issue or contant the author (jalil.nourisa@gmail.com)