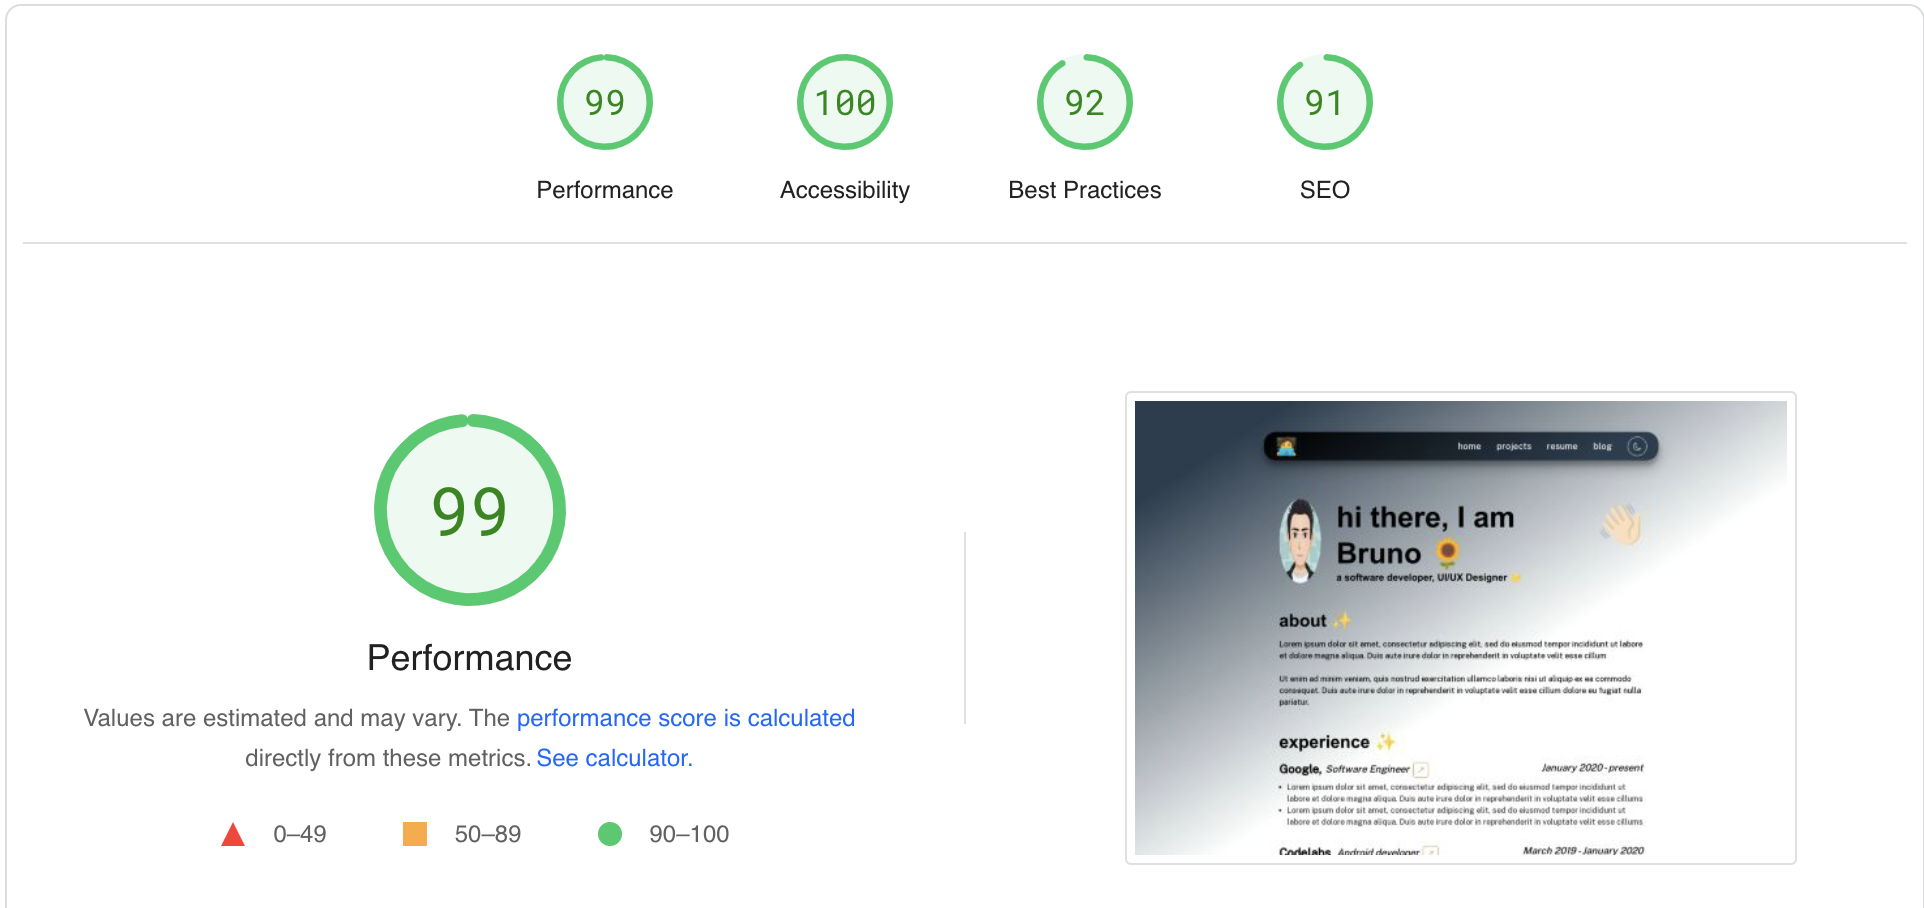
A lightweight, customizable and open-sourced minimalist developer personal portfolio built with Next.js. ✨
[add video presentation]
Go to src/data folder and replace the data with your personal information, that's it. As simple as that.
⚡️ Built using Next.js + Styled with Chakra UI 💫
⚡️ Minimalist UI Design + Reveal Animations 🌟
⚡️ Multi Page 💎
⚡️ Fully Responsive 🚀
⚡️ Fast and Optimized for SEO ⚡
⚡️ Support Dark and Light mode 🌙
To view the demo: Click Here
The instructions provided here will get you a copy of this template that you can run live on the localhost and do changes and testing according to your need in the development server.
For Hosting the project live, you can use any deployment service like netlify, vercel, etc.
This is a Next.js project bootstrapped with create-next-app.
You'll need Git and Node.js (which comes with NPM) installed on your computer.
node@v16.4.2 or higher
npm@7.18.1 or higher
git@2.30.1 or higher
- Next.js Documentation - learn about Next.js features and API.
- Learn Next.js - an interactive Next.js tutorial.
From your command line, first clone minimalist-dev-portfolio.
# Clone this repository
$ git clone https://github.com/janvi01/minimalist-dev-portfolio.git

# Go into the repository
$ cd minimalist-dev-portfolio

# Remove current origin repository
$ git remote remove origin
Then you can install the dependencies using npm or yarn.
Using NPM:
# Install dependencies
$ npm install

# Start the next.js development server
$ npm run devNOTE: If your run into issues installing the dependencies with NPM, use this below command:
# Install dependencies with all permissions
$ sudo npm install --unsafe-perm=true --allow-root
Once your server has started, go to the localhost portal http://localhost:3000/ to see the portfolio live locally.
Go to src/data folder and change the data in the respective json file.
Go to src/data/navData.js and fill your information.
There are two parts: navEmoji - set the emoji whatever you want and it redirects you to home page.
navData - route links to different pages.
- for resume, add the drive link url in in place of url
/. - for blog, if you write on hashnode, add your hashnode username in
pages/blog.jsin line number 19 to map your hashnode articles and/blogin place of url below. If you write on any other platform, simply add the url of your blog page in in place of url/.
Note : You can remove the items by removing the nested items.
const navEmoji = {
emoji: "🧑💻",
url: "/",
};
const navData = [
{
navItem: "home",
url: "/",
},
{
navItem: "projects",
url: "/projects",
},
{
navItem: "resume",
url: "/",
},
{
navItem: "blog",
url: "/",
},
];
Go to src/data/homeData.js and fill your personal information.
Add your name in the title value of greetings object.
Add a subtitle/short description about yourself (commonly known as tagline) in the subtitle value of greetings object.
Go to src/data/homeData.js and fill your about information.
Add two lines description about yourself in the about object. (You can add what your interest lies in, what tech stack you are skilled in).
Go to src/data/experienceData.js and fill your experience information.
Add your experience positions in the experienceData just like it is shown on LinkedIn profile.
Add company, position, startingDate, endingDate, description (about your role), and refLink (reference Link of the position).
In case you are unsure about any of the values, simply remove it or add a blank "" string.
You can add as much experience as you want by just expanding the object array.
Go to src/data/socialsData.js and fill your socials url information.
Add your profile link of different platform in place of url like LinkedIn, Twitter, GitHub etc.
export const socialsData = [
  {
    social: "email",
    url: "/",
    icon: MdEmail,
  },
  {
    social: "twitter",
    url: "/",
    icon: BsTwitter,
  },
  {
    social: "linkedin",
    url: "/",
    icon: BsLinkedin,
  },
  {
    social: "github",
    url: "/",
    icon: BsGithub,
  },
];
Go to src/data/projectsData.js and add your projects data.
To showcase one's skills, projects are a great way to do it.
To add projects, create an array of object inside projectsData. For a particular project, add projectname, description, techstack, githuburl and liveurl.
Note: In case you are unsure about any of the values, simply remove it or add a blank "" string.

