Use AWS Sagemaker to train a pretrained model that can perform image classification by using the Sagemaker profiling, debugger, hyperparameter tuning and other good ML engineering practices. This can be done on either the provided dog breed classication data set or one of your choice.
Enter AWS through the gateway in the course and open SageMaker Studio. Download the starter files. Download/Make the dataset available.
The provided dataset is the CIFAR10 classification dataset which can be found in the torchvision datasets library.
Upload the data to an S3 bucket through the AWS Gateway so that SageMaker has access to the data.
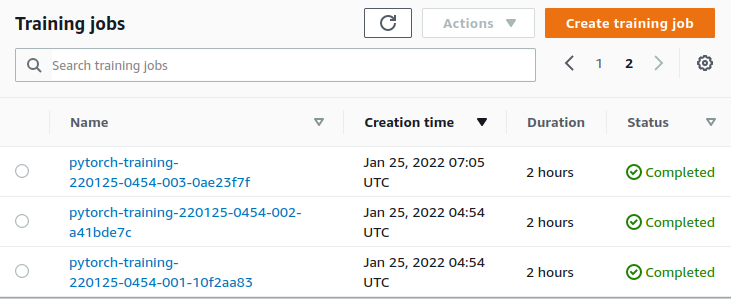
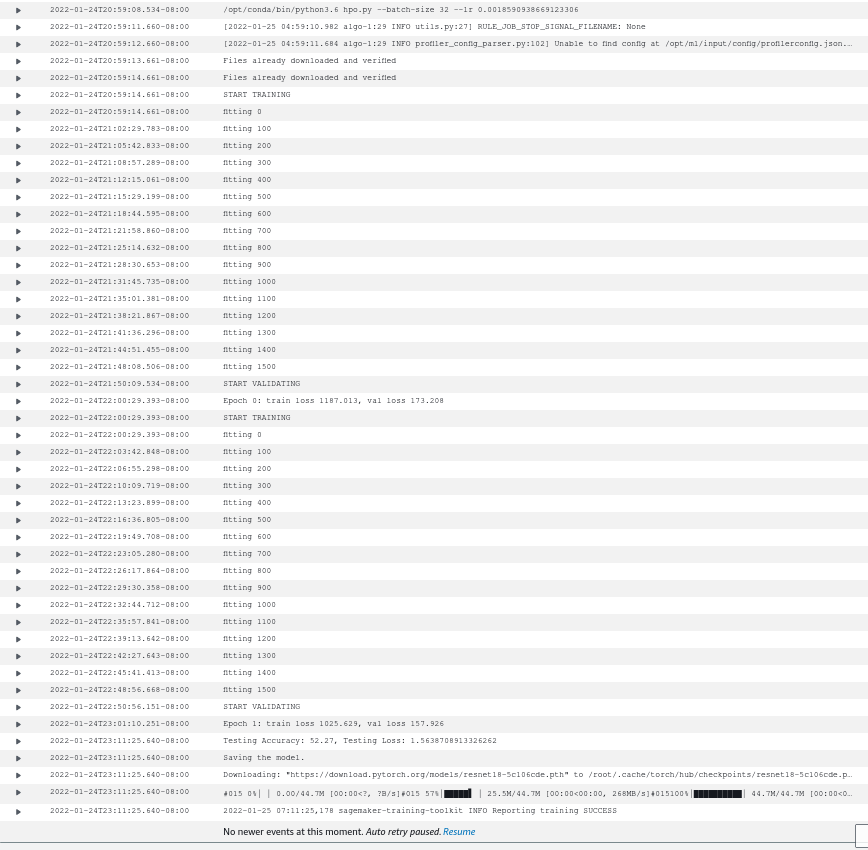
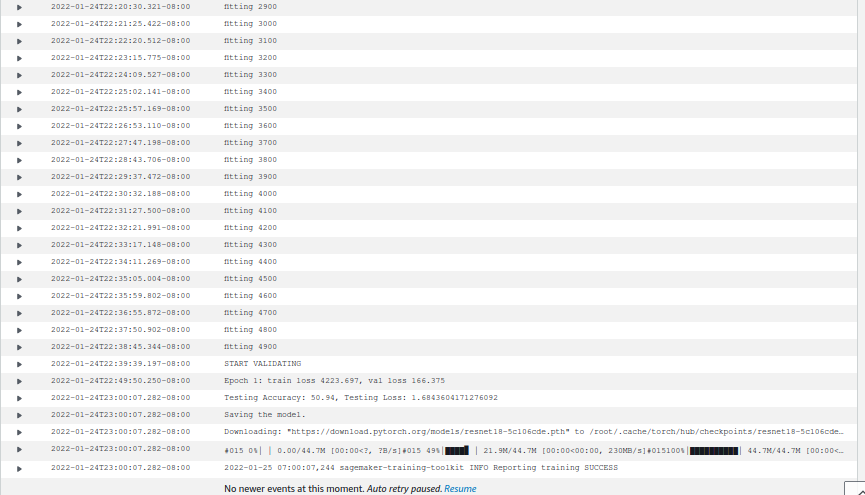
Training jobs screencapture is training_jobs.png. The logs are in batch-size_10_lr_0_09386252244689186.png and batch-size_10_lr_0_09727184909755177.png.


I chose the resnet18 model since I have experience with it from exercises (and it is pretrained for shorter training time). I used parameter ranges lr 0.001 to 0.002 and batch size 10 and 32.
The code files, in the project, are hpo.py, which is used for training models in the hyperparameter tuner, inference2.py, which is for the entrypoint for the model when deploying to an endpoint, and train_model.py, which is used for training the best hyperparameter model but also collecting debug and profiling data.
I used the debugger and profiler libraries to plot the loss.
I found that loss was decreasing, but I can run training for longer to see chance for better results.
Profiler html is in ./ProfilerReport.
The deployed endpoint is accepting bytes for an image, but the butes should be saved from and image. This is implemented in train_and_deploy.ipynb with the Image and io.BytesIO modules. Here is a code sample:
import gzip
import numpy as np
import random
import os
from PIL import Image
import io

file = 'data/cifar-10-batches-py/data_batch_1'
def unpickle(file):
    import pickle
    with open(file, 'rb') as fo:
        data = pickle.load(fo, encoding='bytes')
    return data

data=unpickle(file)
data=np.reshape(data[b'data'][0], (32, 32, 3), order='F')
im = Image.fromarray(data,mode='RGB')

byteImgIO = io.BytesIO()
im.save(byteImgIO, "PNG")
byteImgIO.seek(0)
byteImg = byteImgIO.read()

response=predictor.predict(byteImg, initial_args={"ContentType": "image/jpeg"})
# Image.open(io.BytesIO(byteImg))
response
TODO (Optional): This is where you can provide information about any standout suggestions that you have attempted.
