Made during Hackers & Designers Summer Academy 2017, On & Off the grid.
Amazon Dash buttons are the modern consumer's best friends. Never run out of any product, buy more without any hassle. But what if you don't only want to buy the products you can get a Dash button for, but want to be able to buy everything your favourite Instagram celebrities promote?
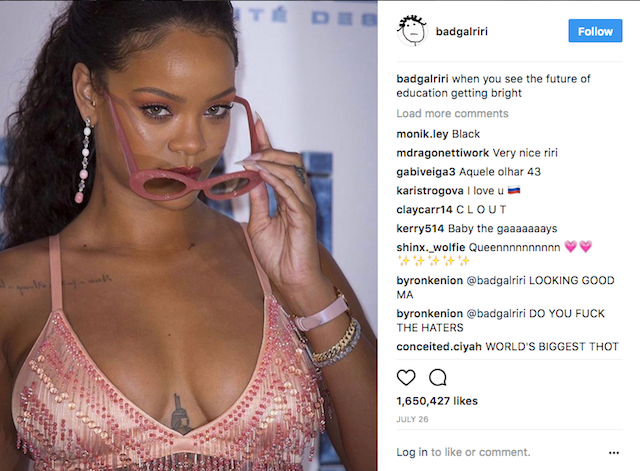
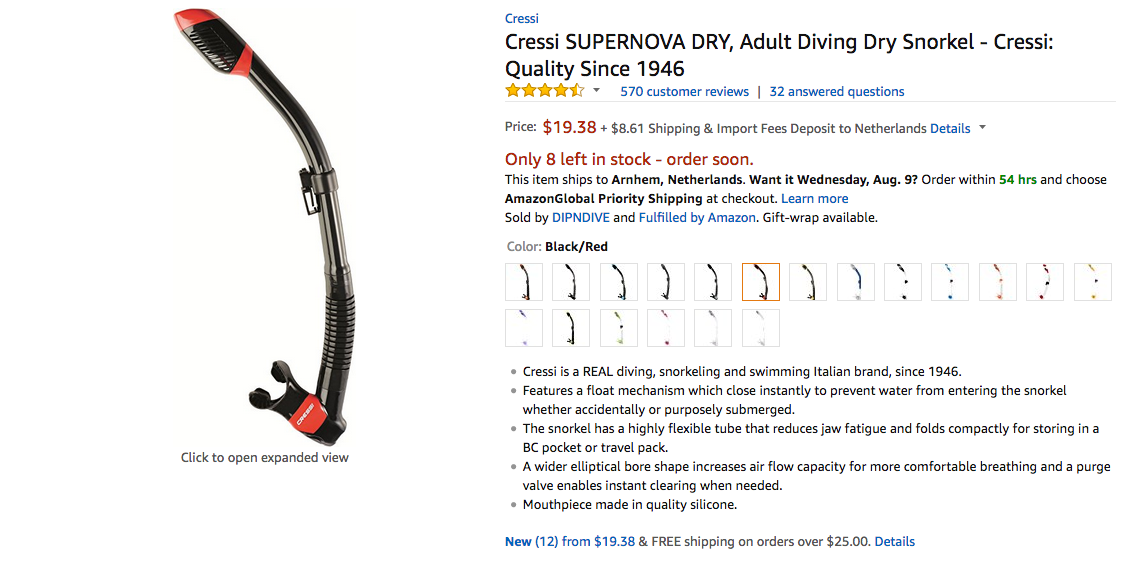
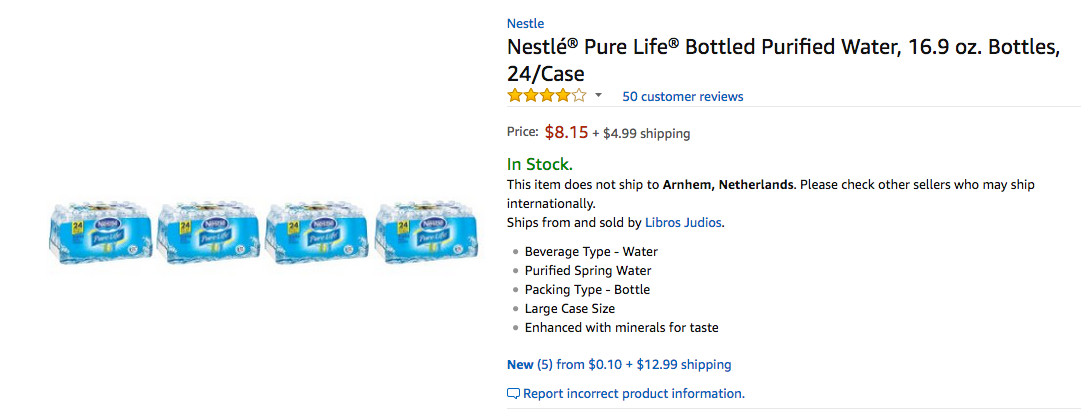
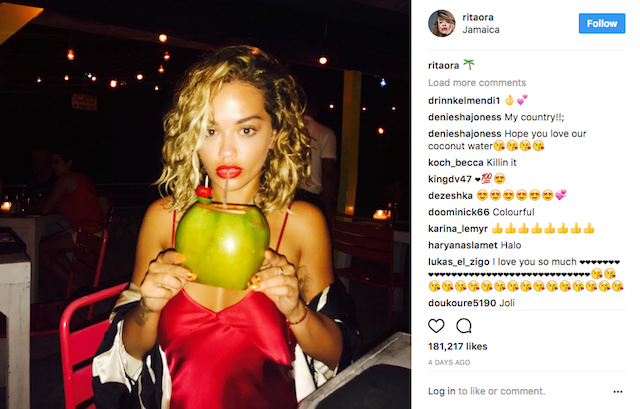
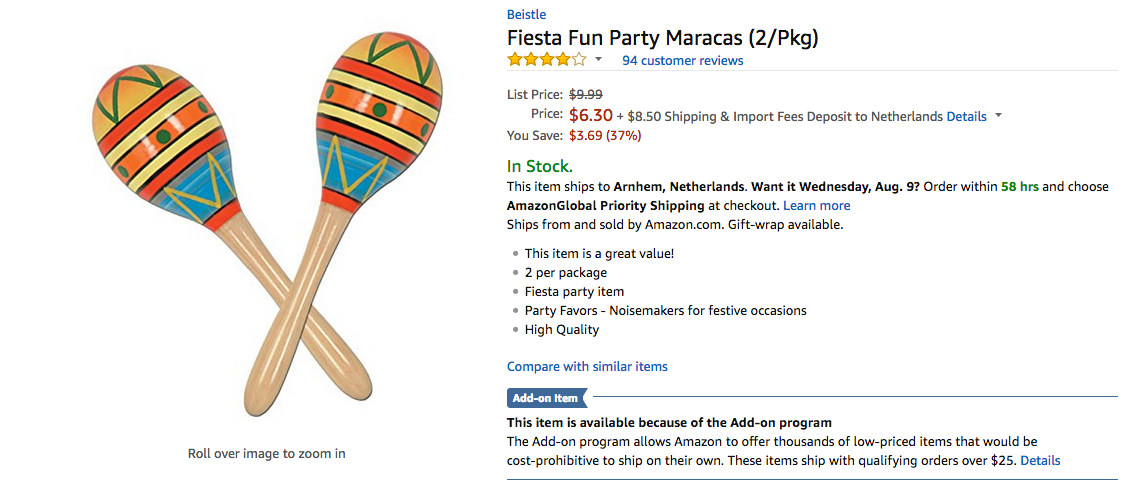
An unbranded, home-made Dash button triggers a script that takes an image from Instagram and, using computer vision, figures out what is shown in the picture*. This results in a keyword which it then uses to find a matching product on Amazon, so you can have what they're having, all with the push of a button!
* your milage may vary
Click the images to visit the original Instagram or Amazon pages.

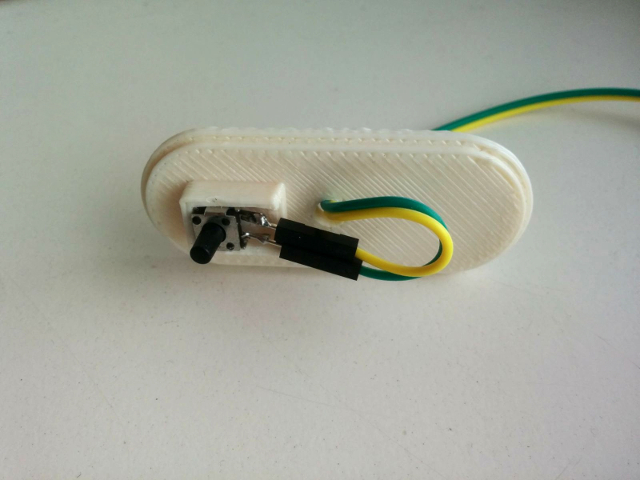
The Dashing button was made in OpenScad which is a free and open CAD tool. You can find both the source file and the .stl printable files in the repo. The bottom part of the button has space for a regular breadboard-size button with 9mm tall actuator. The other two parts snap together to create a movable button. The button in the picture was printed at 0.4mm because of time constraints.
There are many ways to connect a button to your PC; I used an I-PAC to emulate the return key of a keyboard.


Commands in this readme use pip to install the necessary python modules.
Running the script in a virtual environment is optional, but it might be useful in keeping your machine organised:
# Install virtualenv (using a virtual environment is optional)
sudo apt-get install virtualenv

# Create a virtual environment folder and load it
virtuelenv env
source env/bin/activate
Full instructions on installing MXNet can be found here, but the summarized steps below should work. First, install the opencv and mxnet python modules
pip install opencv-python mxnet
After installing MXNet you'll need to download a model to use.
# Download the model
curl --header 'Host: data.mxnet.io' --header 'User-Agent: Mozilla/5.0 (Macintosh; Intel Mac OS X 10.11; rv:45.0) Gecko/20100101 Firefox/45.0' --header 'Accept: text/html,application/xhtml+xml,application/xml;q=0.9,*/*;q=0.8' --header 'Accept-Language: en-US,en;q=0.5' --header 'Referer: http://data.mxnet.io/models/imagenet/' --header 'Connection: keep-alive' 'http://data.mxnet.io/models/imagenet/inception-bn.tar.gz' -o 'inception-bn.tar.gz' -L

# Unpack it
tar -xvzf inception-bn.tar.gz

# Rename the numbers in the filenames to 0000. I also had to
# change the first '-' into a '_' (was not mentioned in above tutorial)
mv Inception-BN-*.params Inception_BN-0000.params
mv Inception-BN-symbol.json Inception_BN-symbol.json
For future reference: I also got a warning saying label_shapes don't match names specified by label_names. These were fixed using instructions from here (already fixed for this repo).
I found the official Amazon API for Python hard to use, so instead I used python-amazon-simple-product-api
pip install python-amazon-simple-product-api
Rename amazon_credentials.example.py to amazon_credentials.example.py and fill in your credentials.
Follow the instructions on the Amazon Developer website to get these.
This is a quick and dirty project so there is a lot that can be improved. For the workshop I created a Python script that takes an image from a folder, generates a keyword based on what is visible in the image and uses this word to find a product on Amazon. All this data was sent over UDP to a Raspberry Pi running a Processing script to display the results.
Change any variables in the code to fit your system, change img_folder to the right location for instance, and fill it with the images you want to use. I used instagram-scraper to quickly get a bunch of images from Instagram accounts.
Now, making sure the Processing sketch is running on the receiving machine, run the sender script using:
./dashing.py