Allow you to create your personal npm card started by Tierney (@bitandbang) with npm init my-card.
Your card's code is bundled into a single JS file with webpack so it has no dependencies.
A static HTML version of your card is also generated in index.html. You can see it with unpkg.
npm init my-card
After answering the questions, it should create a new directory with the code to publish your npm card.
If your current directory is already named the same as
<my-card-repo-name>, then no new directory is created.
cd <my-card-repo-name>
npm install
node src/card
If you want to modify your card info and display, see customizing for details.
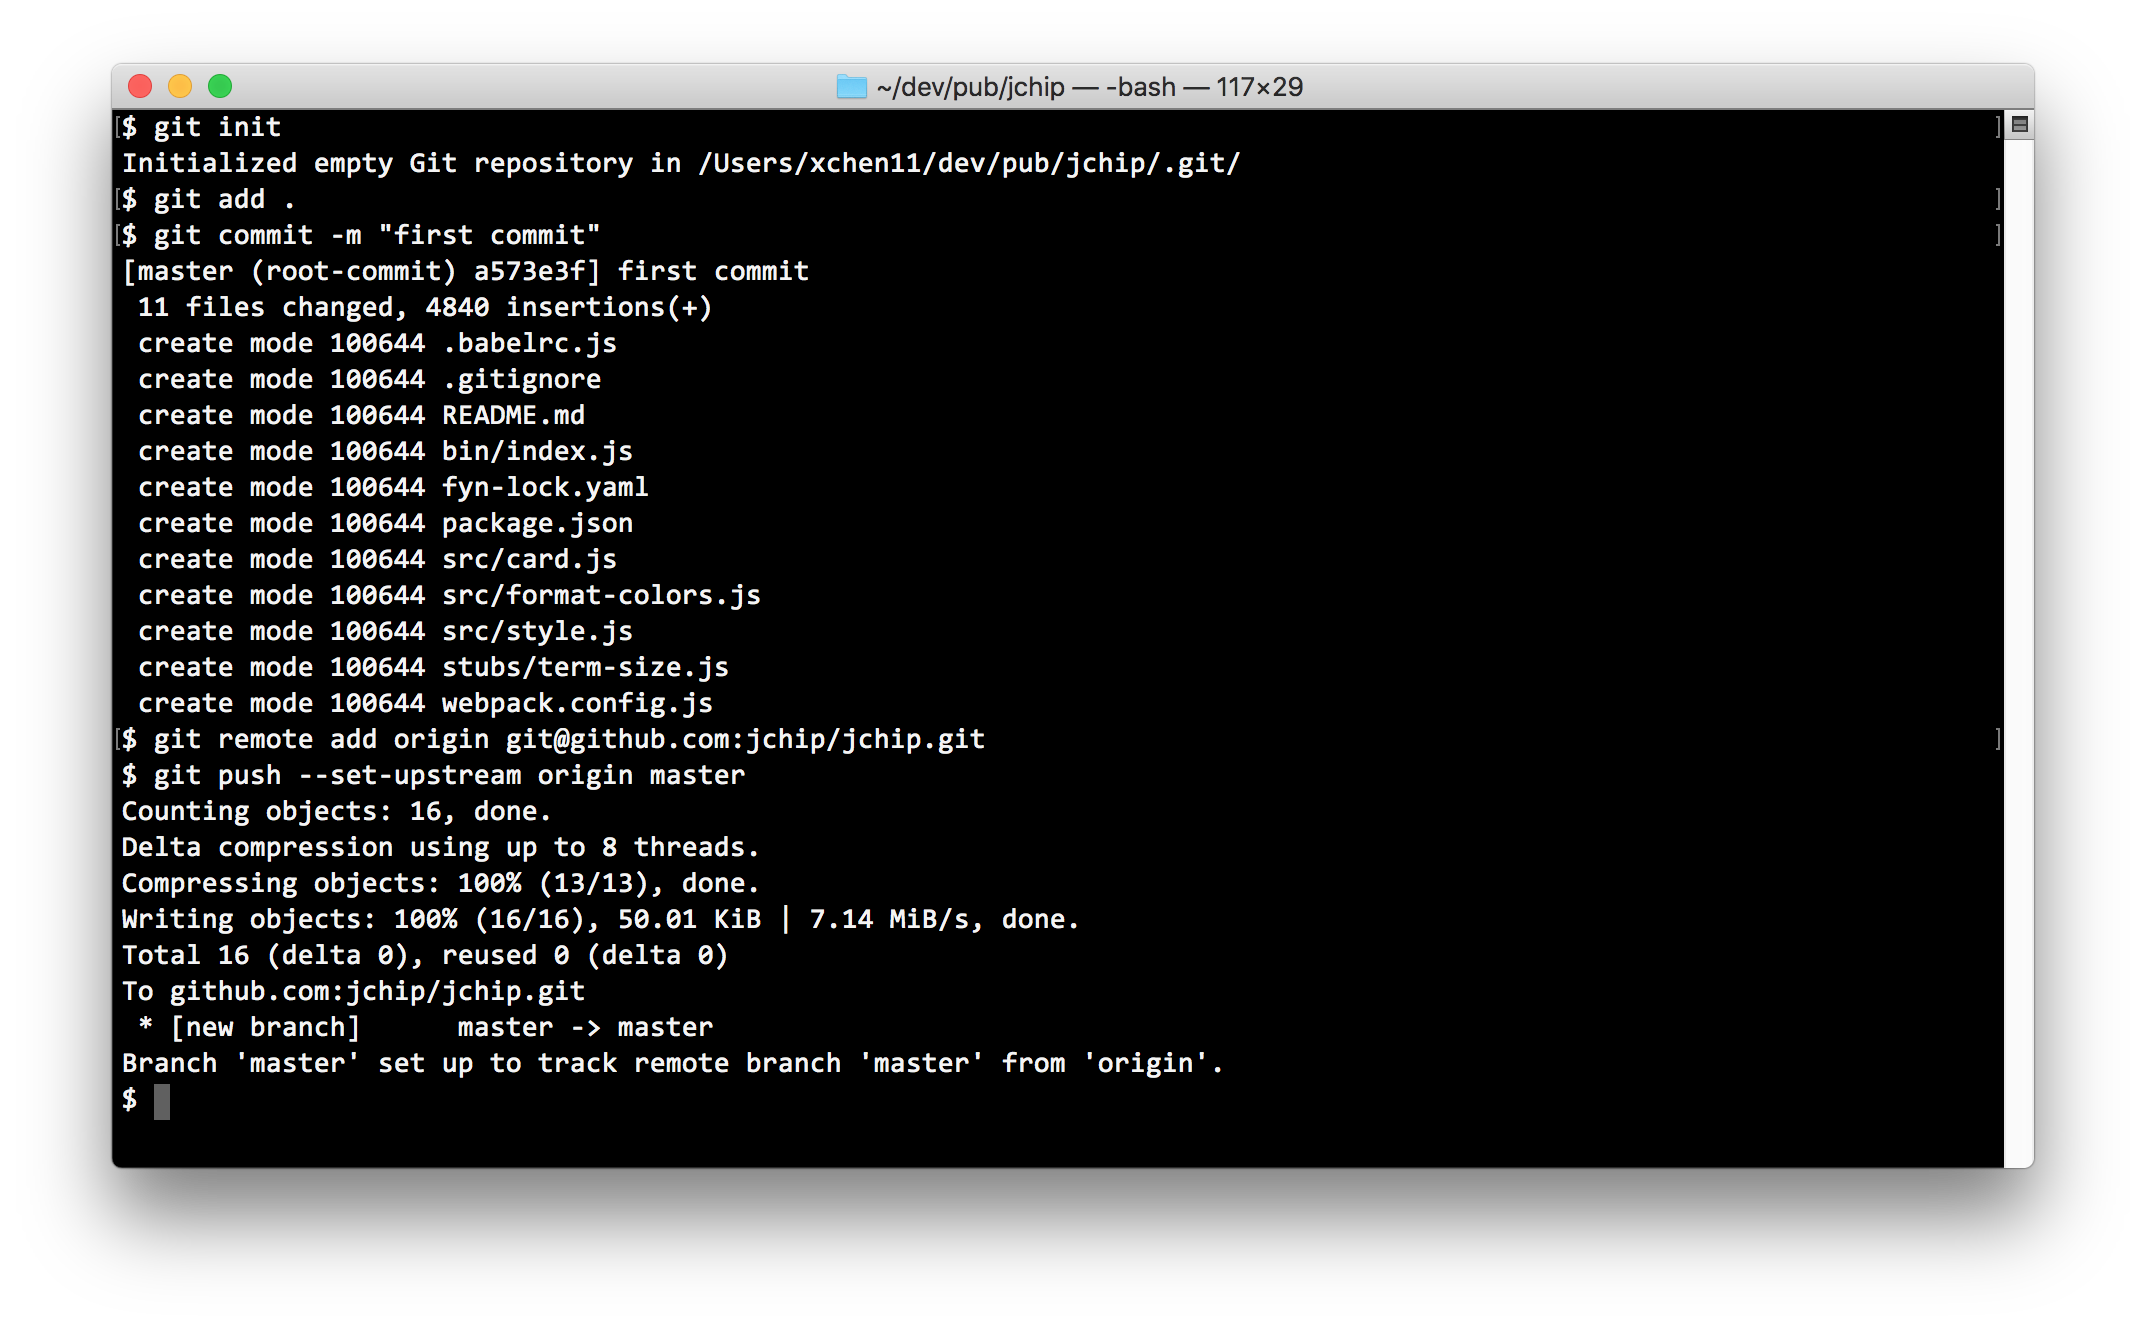
To push your repo to your github account:
- First create an empty repo on github with the same repo name.
- Then run the following commands:
git init
git add .
git commit -m "first commit"
git remote add origin git@github.com:<your-github-id>/<your-repo-name>.git
git push --set-upstream origin master
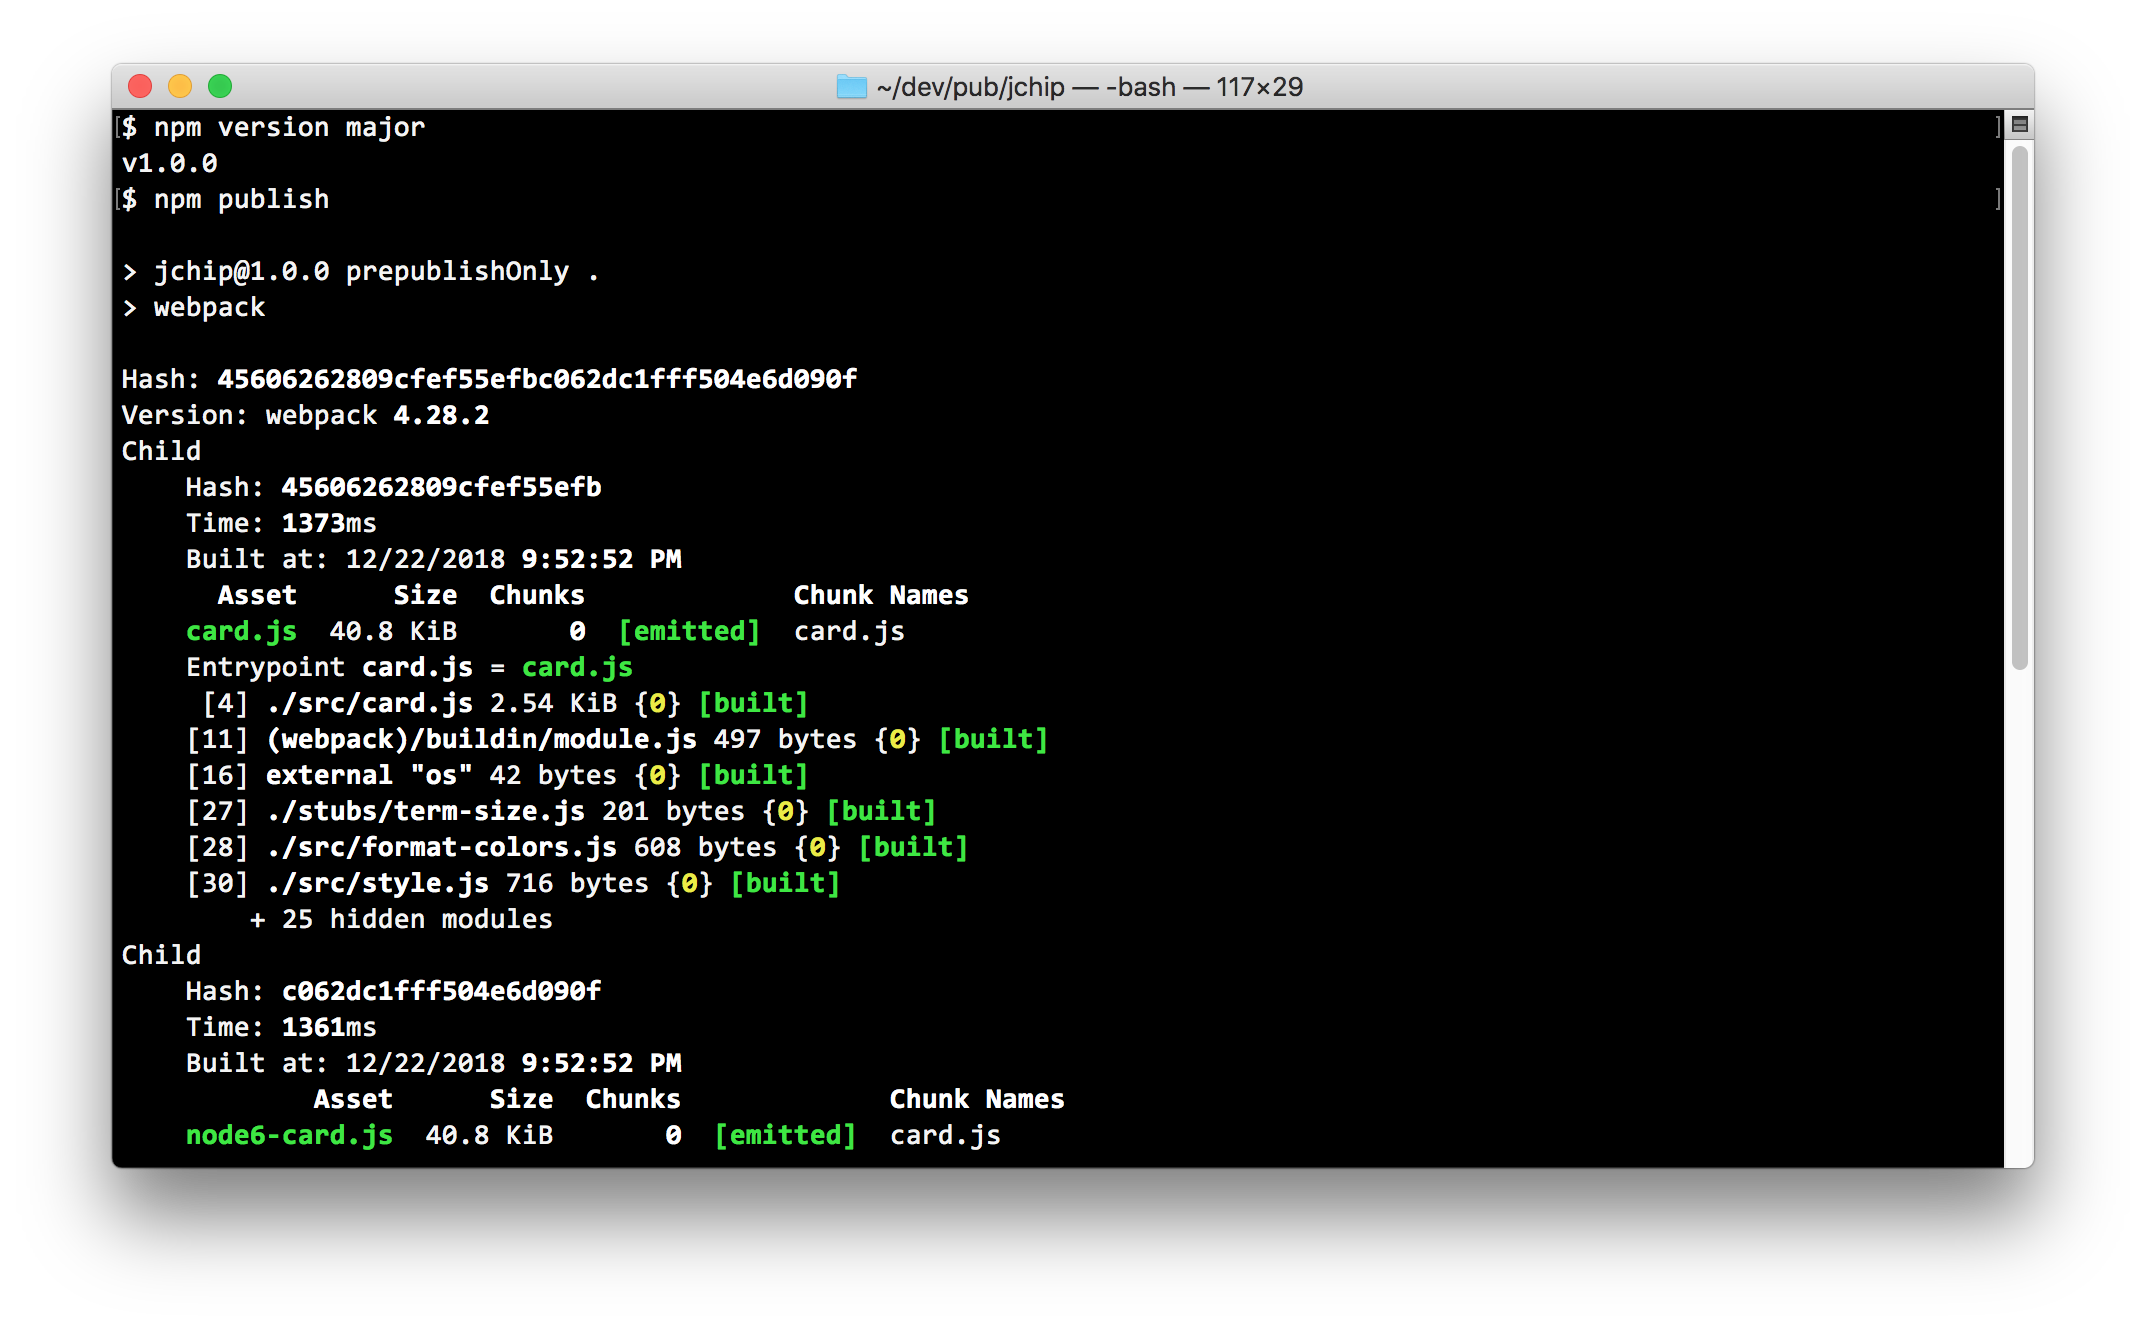
Your npm card package is published with a single JS bundle that's created with webpack so there's no dependencies.
The very first time you publish your card, do a npm version major to bring your package version to 1.0.0.
npm version major
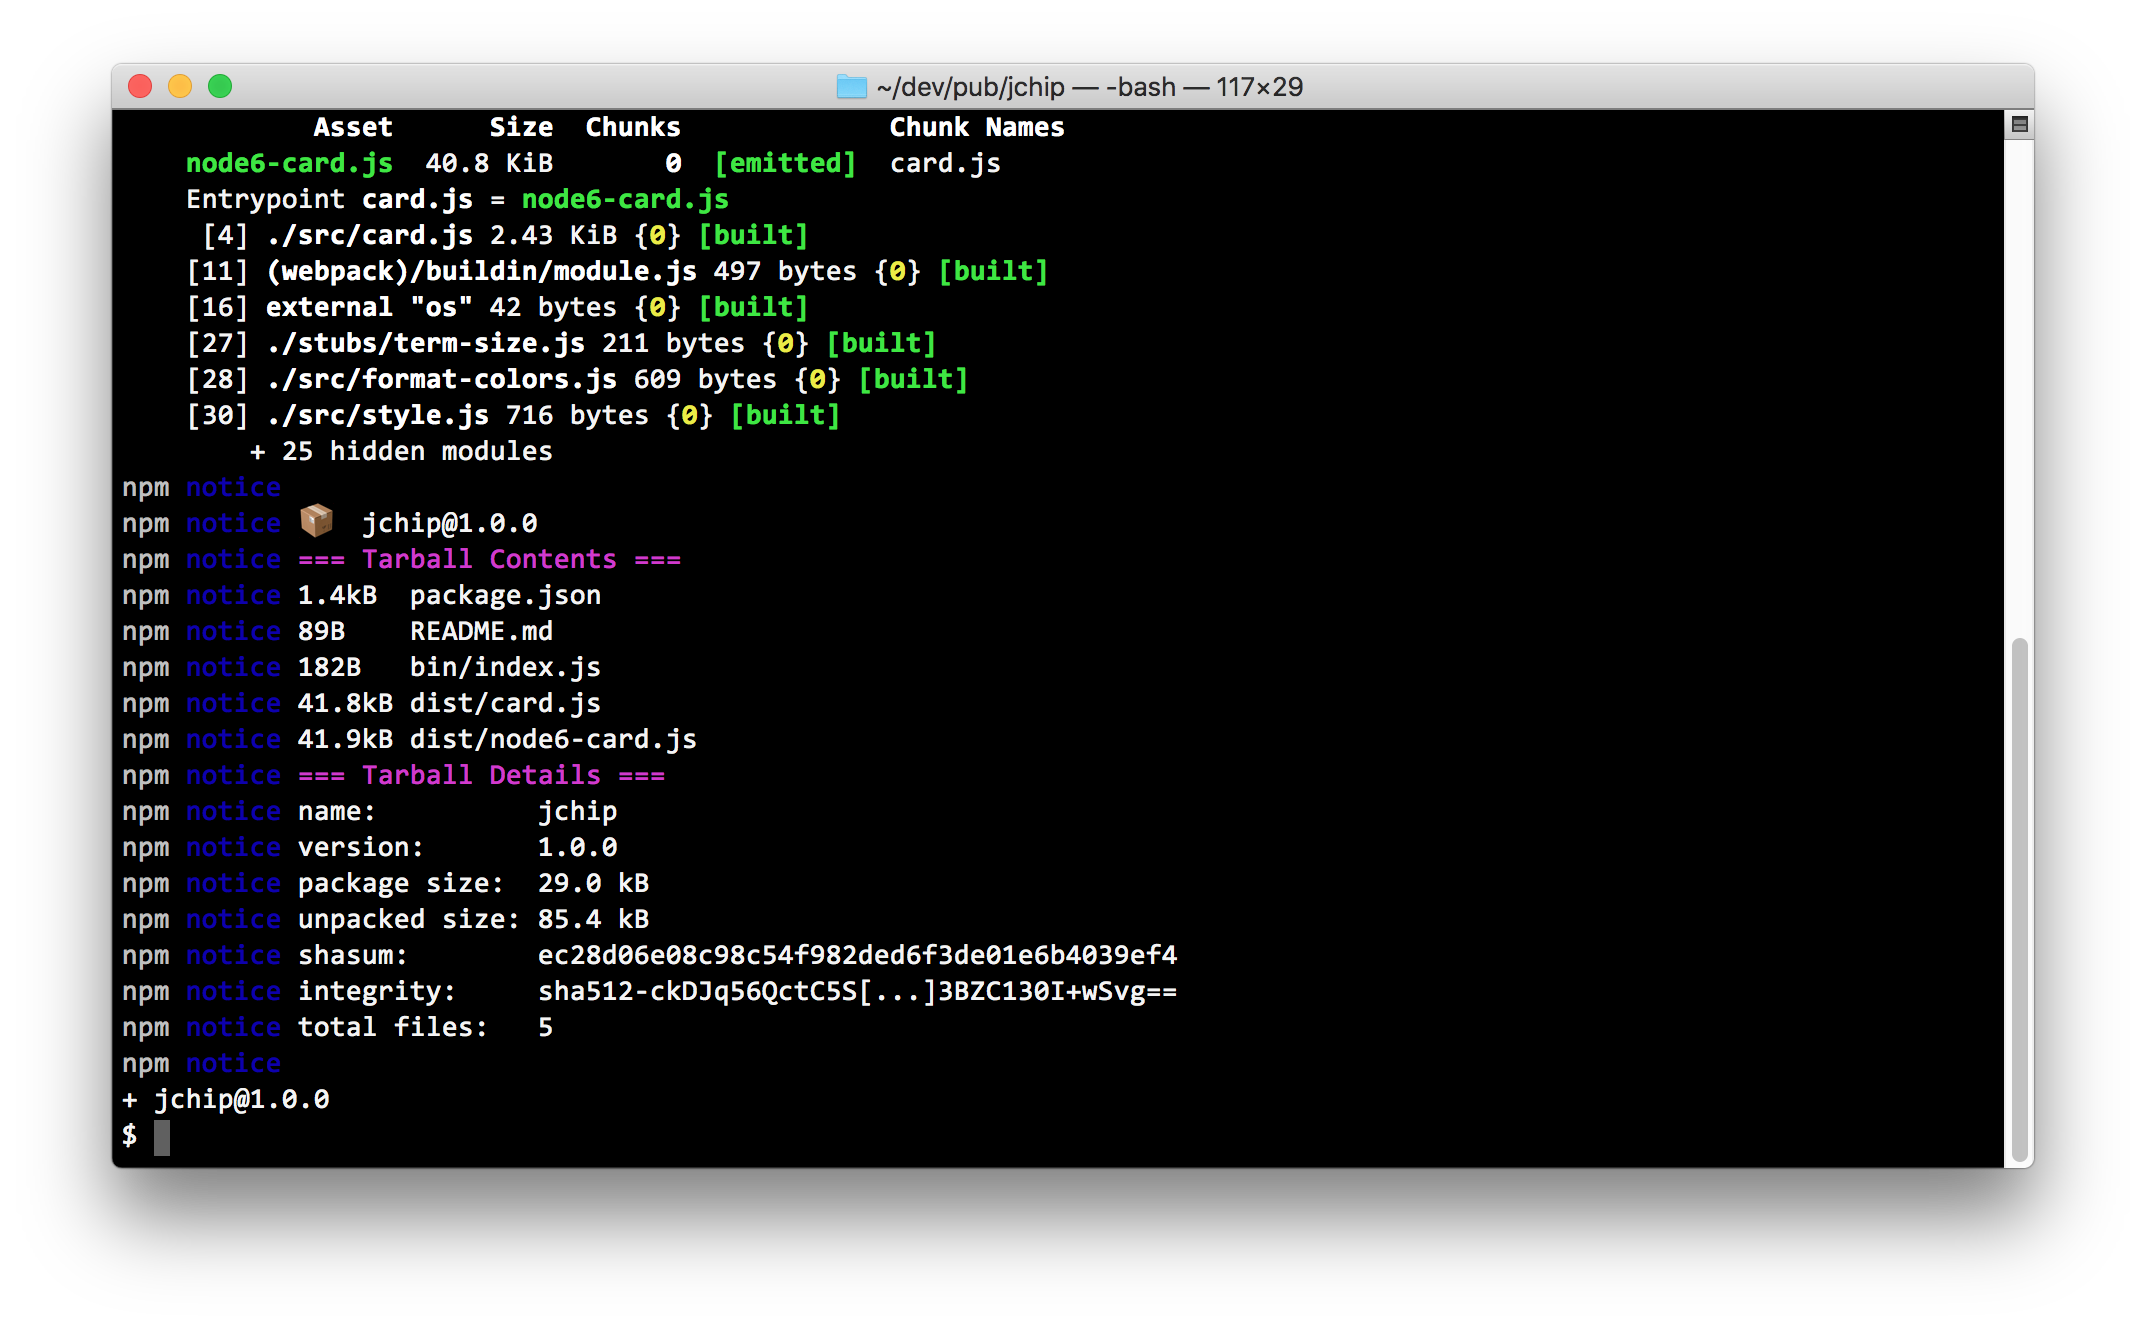
npm publish
To publish patches to your card, do a npm version patch.
npm version patch
npm publish
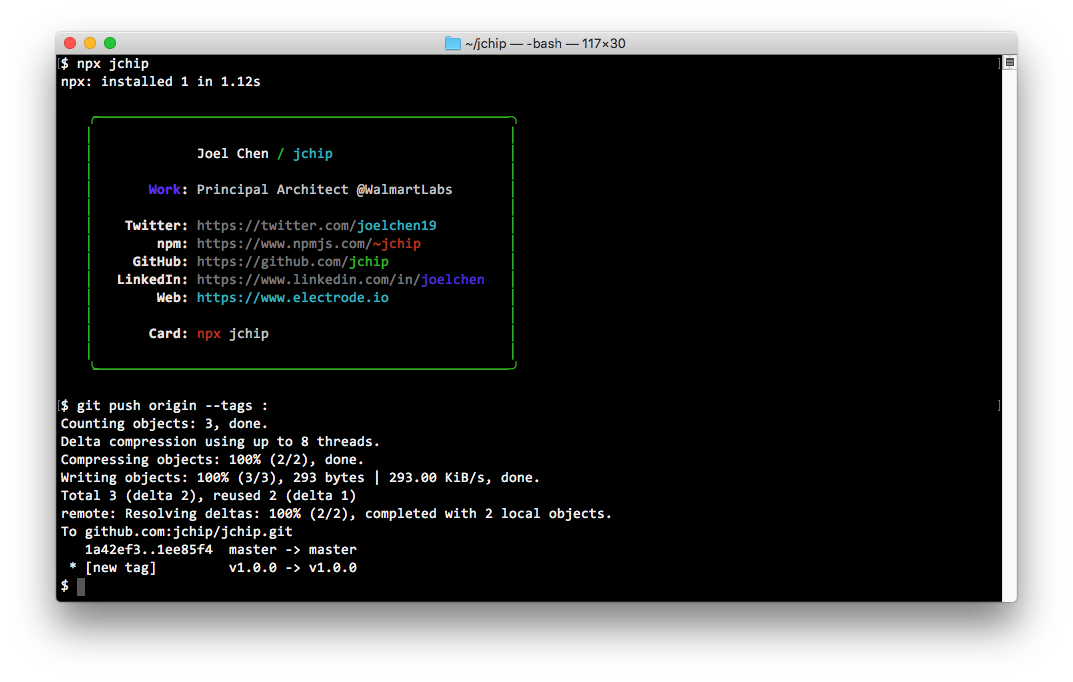
After you update your package version and published to npm, you should push the version commit and tag.
You can do it with:
git push origin --tags :
Or two separate git pushes:
git push
git push --tags
Your card info and data are saved to your package.json as myCard.
myCard.infocontains the info you entered.myCard.datais an array containing the lines for your card.
Each line can be a string or an object.
-
If it's a string, then it's used directly to render the line.
-
If it's an object, then it should follow this format:
      {
        "label": "GitHub",
        "text": "https://github.com/<green>{{github}}</>",
        "when": "{{github}}"
      }
Where:
labelThe label for the line.- If this is missing, then only
textis used to render the line. - If it's an empty string,
"", then no label buttextis aligned withtextof other lines.
- If this is missing, then only
textThe text for the line.whenTurn off displaying the line if it process to an empty string"".
Optionals:
padThe built-in renderer automatically add enough spaces to align all labels on the right. You can provide your ownpadstring override for each line.
Any string in the data lines can contain color markers enabled by chalker or tokens.
-
Color markers has the
<red>red text</red>format. You can use any valid methods chalk supports.- For example,
<blue.bold>blue bold text</blue.bold>will colorizeblue bold textwithchalk.blue.bold. - Closing marker can be simply
</> - See chalker for more info on color markers.
- For example,
-
Tokens has the
{{github}}format. The token string reference what's inmyCard.info.
If you prefer to implement your own JavaScript renderer, you can replace the code in the src directory. Put your code in the main file card.js and you can utilize the webpack bundling logic to publish your card without dependencies.
Demo is using fyn to install dependencies.
Create empty repo:
Push repo:
Publish to npm
Publish first verion (using npm version major)
Scrolling down:
And profit, also remember to push version tag & commit to github with git push origin --tags :
Copyright (c) 2018-present, Joel Chen
Licensed under the Apache License, Version 2.0.


