Data Encoding in C#
Setting up Repository
Make a copy of this repository
Start by making a copy of this repository.
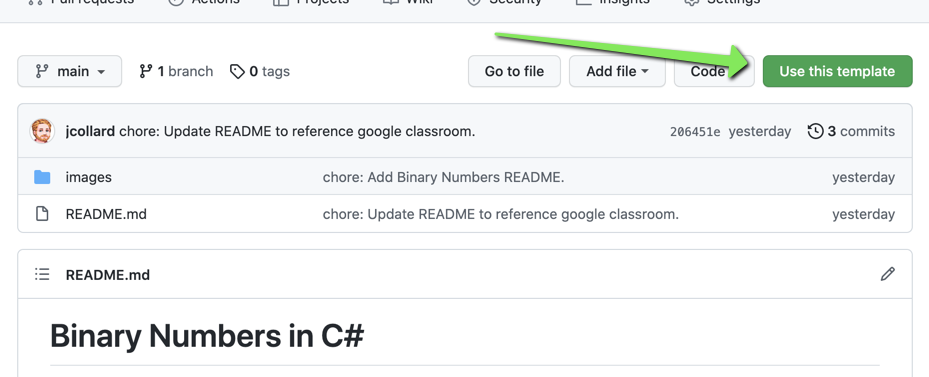
- Click the
Use this templatebutton on the main repository:
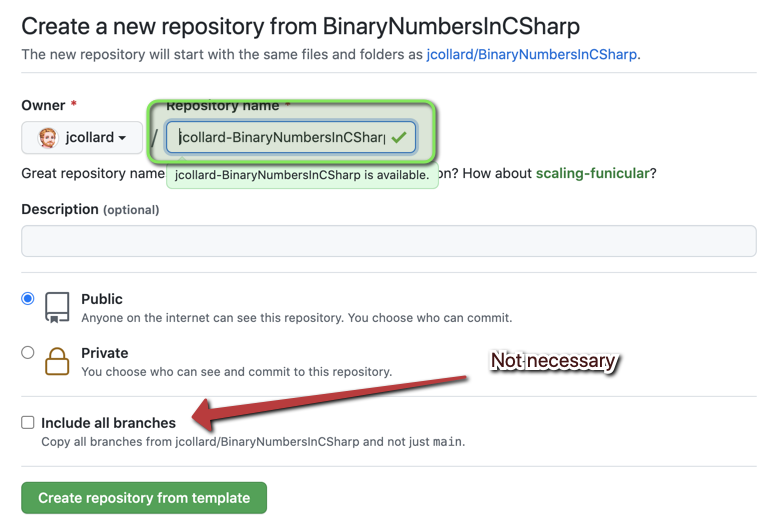
- Name your repository
XXXXXX-DataEncodingInCSharp, replacing theXXXXXXwith your the first part of your email. (This is so I can easily find it later.) - You may make your repository public or private.
- You do not need to include all of the branches
Add Mx. Collard as a Collaborator
For grading purposes, you need to add me to your repository so I can see your work.
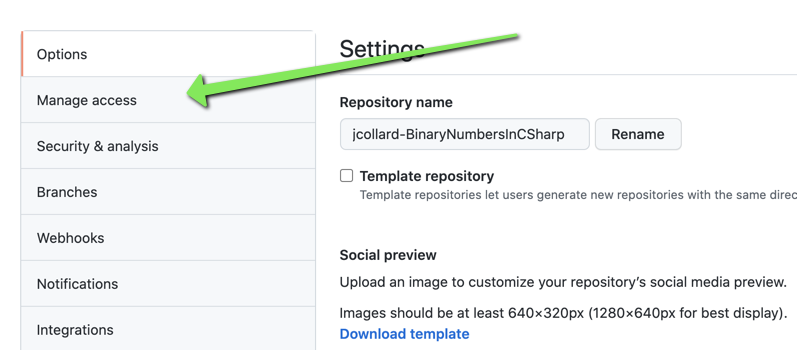
- On the copied repository go to the settings tab
- On the settings page, select the
Manage Accessoption on the left.
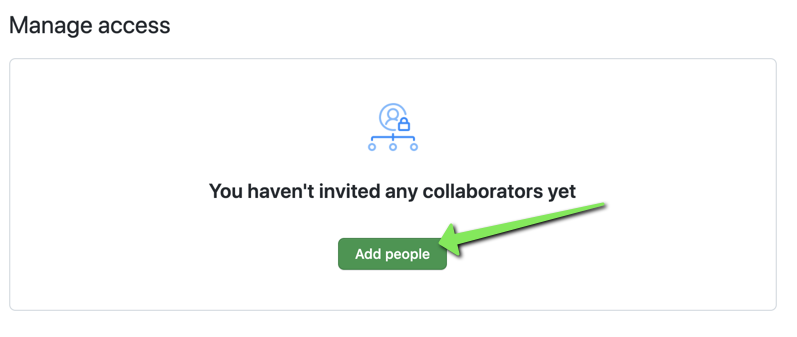
- On the manage access page, select
Add people
- Search for
jcollardand add me as a collaborator.
Add a Development Branch
With the exception of the group project, we have mostly been working on the
main branch of our repositories. This is considered poor practice. The main
branch is typically reserved for completed work on projects. A secondary branch
called develop is typically created where you can work without fear of
"polluting" the main branch.
- Using GitHub Desktop, Clone your new repository.
- Open your project in Visual Studio Code
- Use the command palette (Command + Shift + P) to run
Git: Create Branch
- Name your branch
develop
Push your branch to GitHub
By default, a new branch is created locally on your computer (not published). To ensure your work is visible, you need to push your repository to GitHub.
- Use the command palette to run
Git: Push
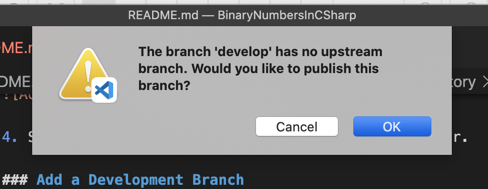
- You will likely be prompted that your branch is not published. Select
Okayto publish the branch.
Create a new C# Project
Let's start by creating a new C# project in this repository.
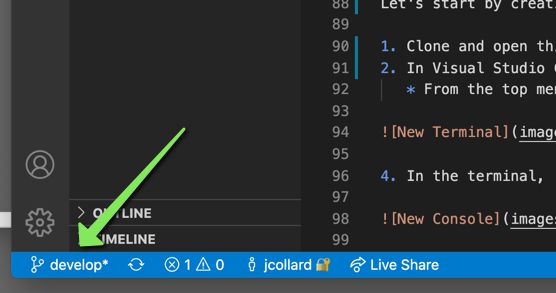
Before continuing, verify that you are on your develop branch. You can see
which branch you are on by looking in the bottom left corner of Visual Studio
Code.
- Clone your repository to your computer using GitHub Desktop
- Open the cloned repository in Visual Studio Code
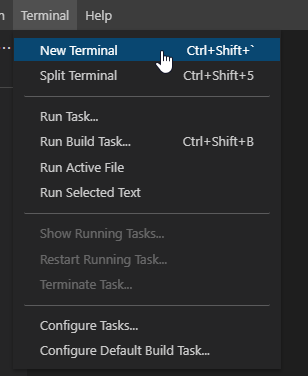
- In Visual Studio Code, open a new Terminal
- From the top menu select Terminal > New Terminal
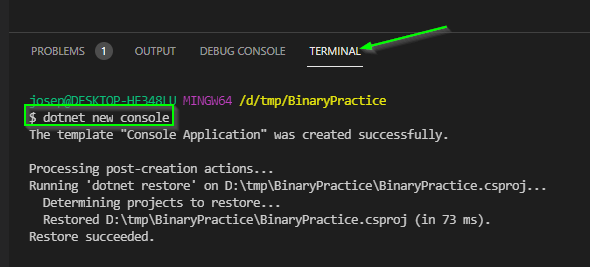
- In the terminal, run the command
dotnet new console- This creates a new template C# project.
- If Visual Studio Code prompts you to generate missing files, select yes.
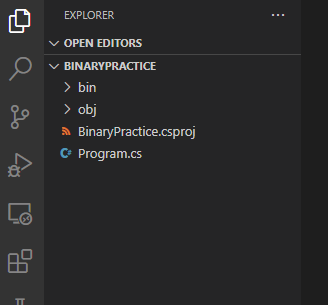
If all went well, you should now see several project files in your package explorer.
- Open the
Program.csfile. This file contains a simple "Hello World" program you can run.
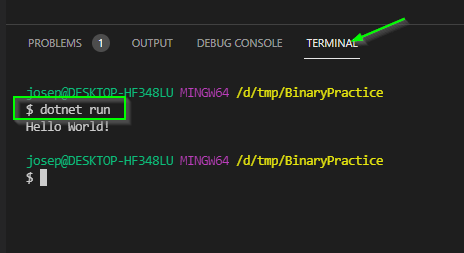
- Run the project by executing
dotnet runin your terminal.
Create a Pull Request
Next, you will push your base project to GitHub and create a Pull Request that will allow Mx. Collard (and yourself) to see the changes that have been made to this project.
- Commit your work.
- Your commit message should be something like
chore: Initialize project
- Your commit message should be something like
- Push your work
- In your web browser, visit your repository
- Select the
Pull Requesttab
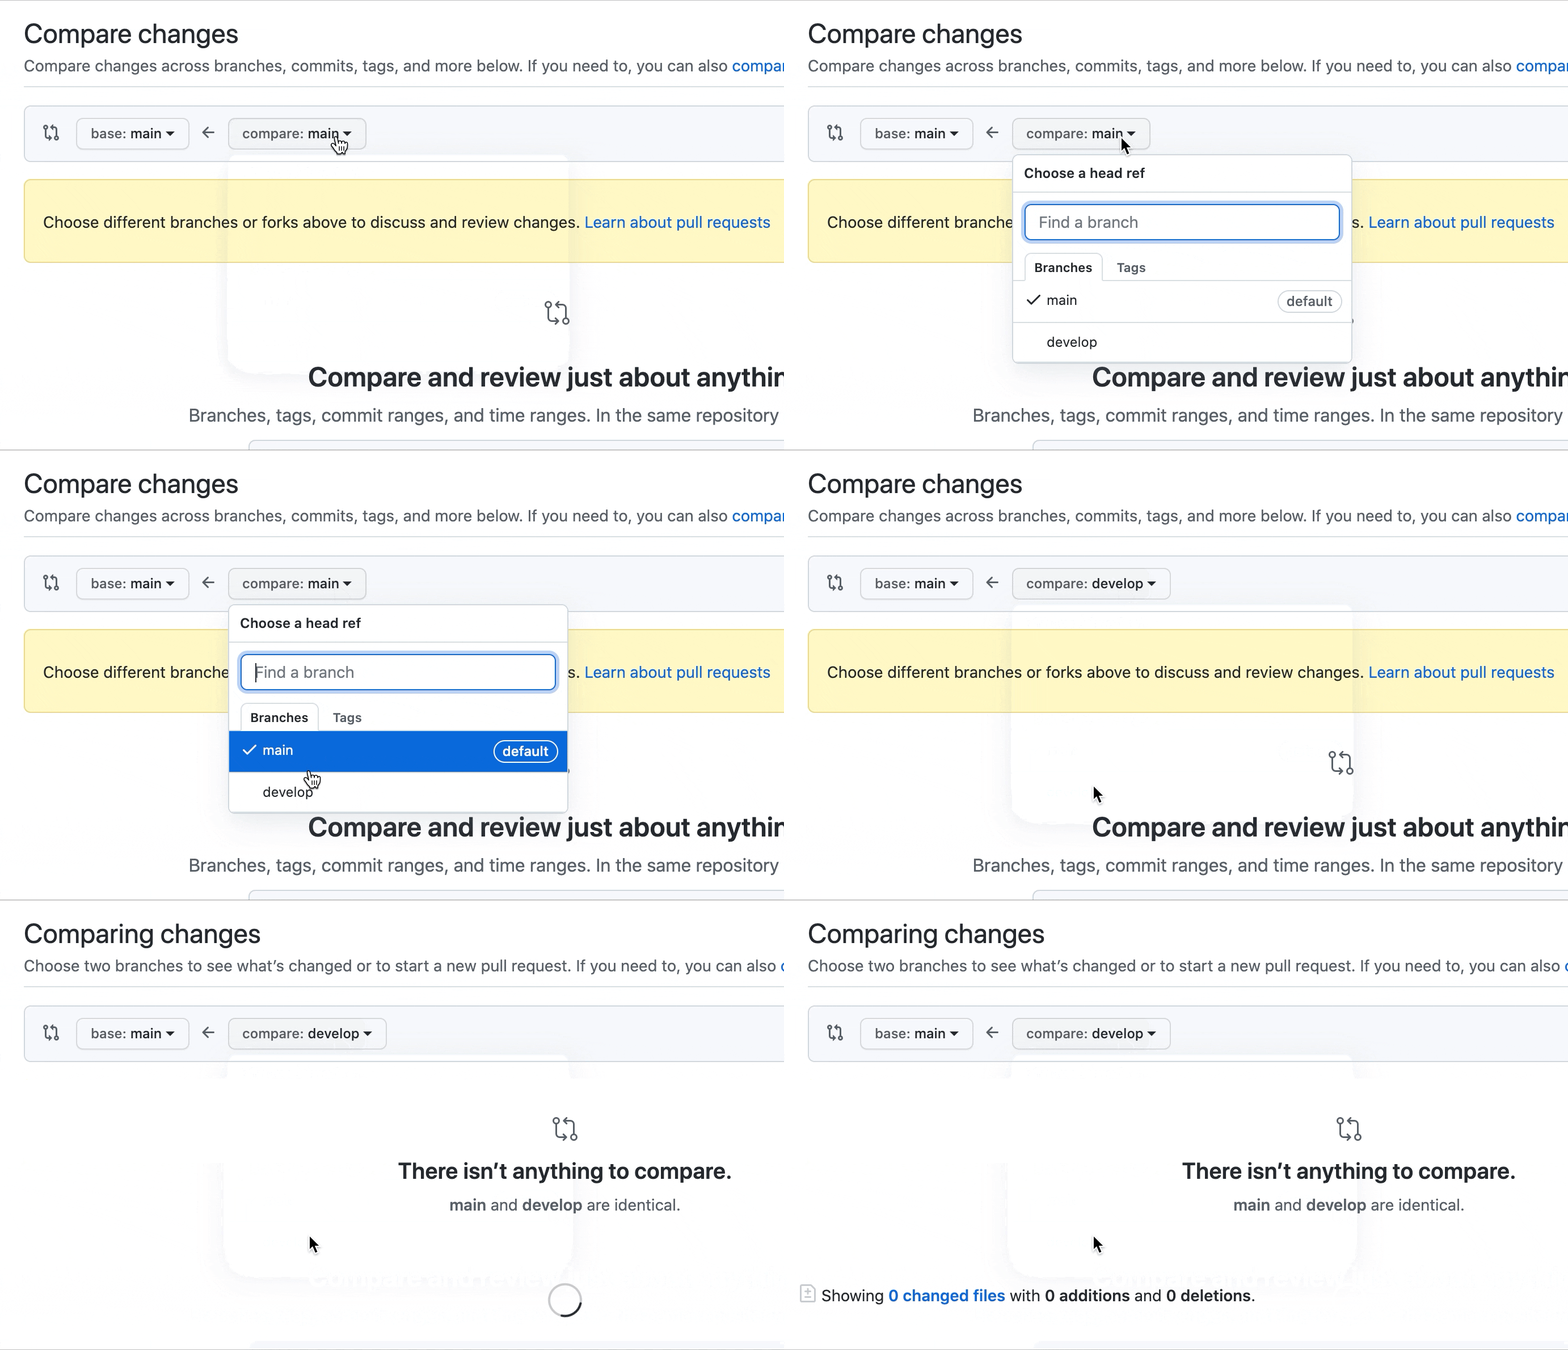
- Select the
New Pull Requestbutton
- Select that you would like to pull your
developinto yourmainbranch.
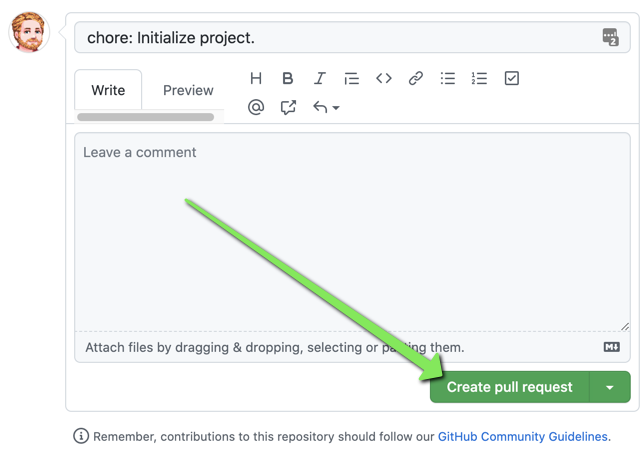
- Select
Create Pull Request
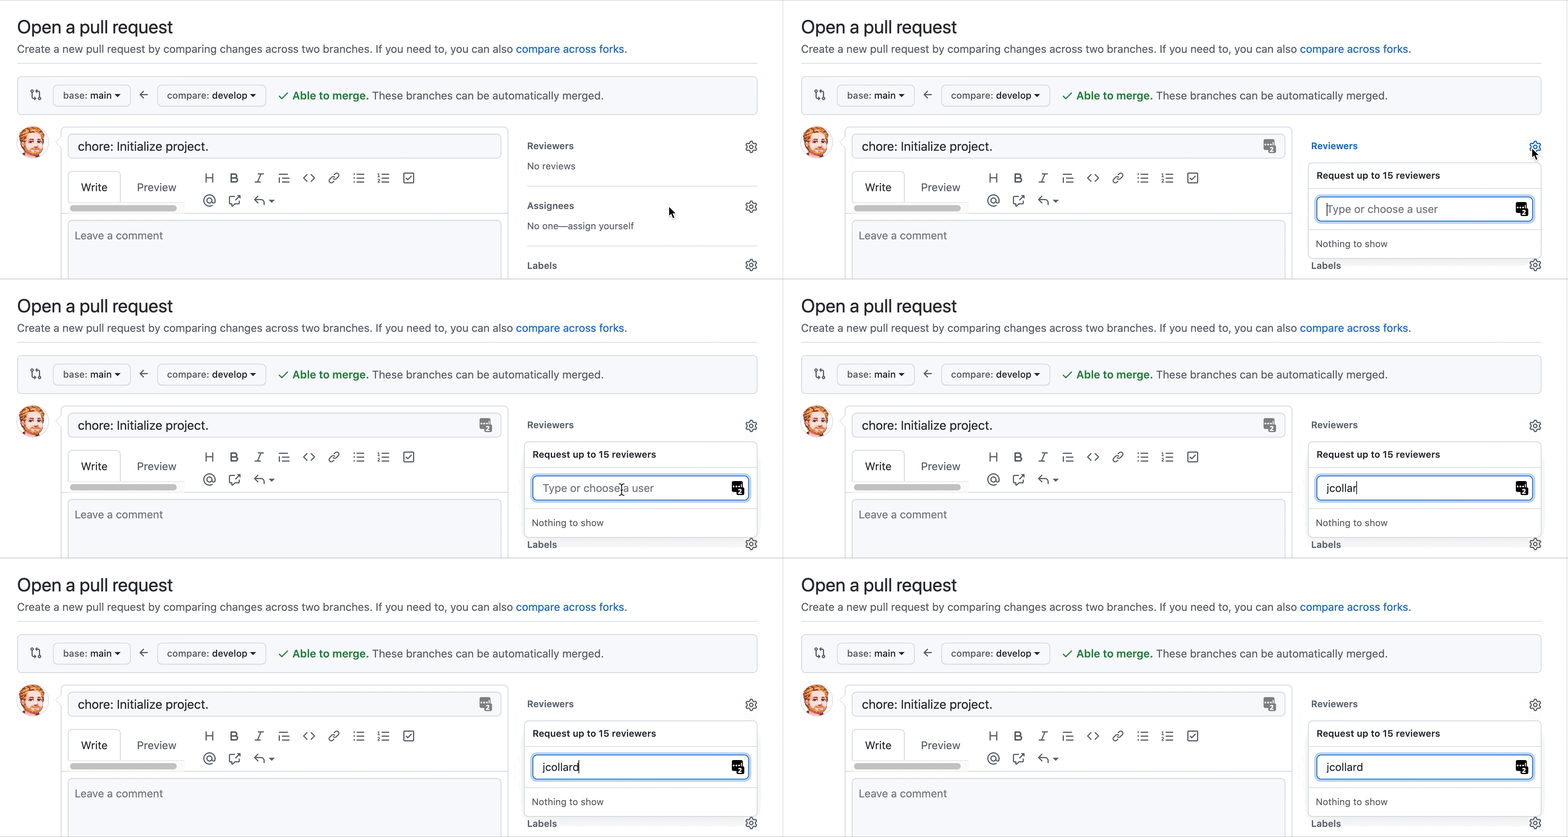
- Next add
jcollardas a reviewer. (Note: This option will not be available until Mx. Collard accepts your invitation. You may need to skip this for now and add them later.)
- Finally, click
Create Pull Request
