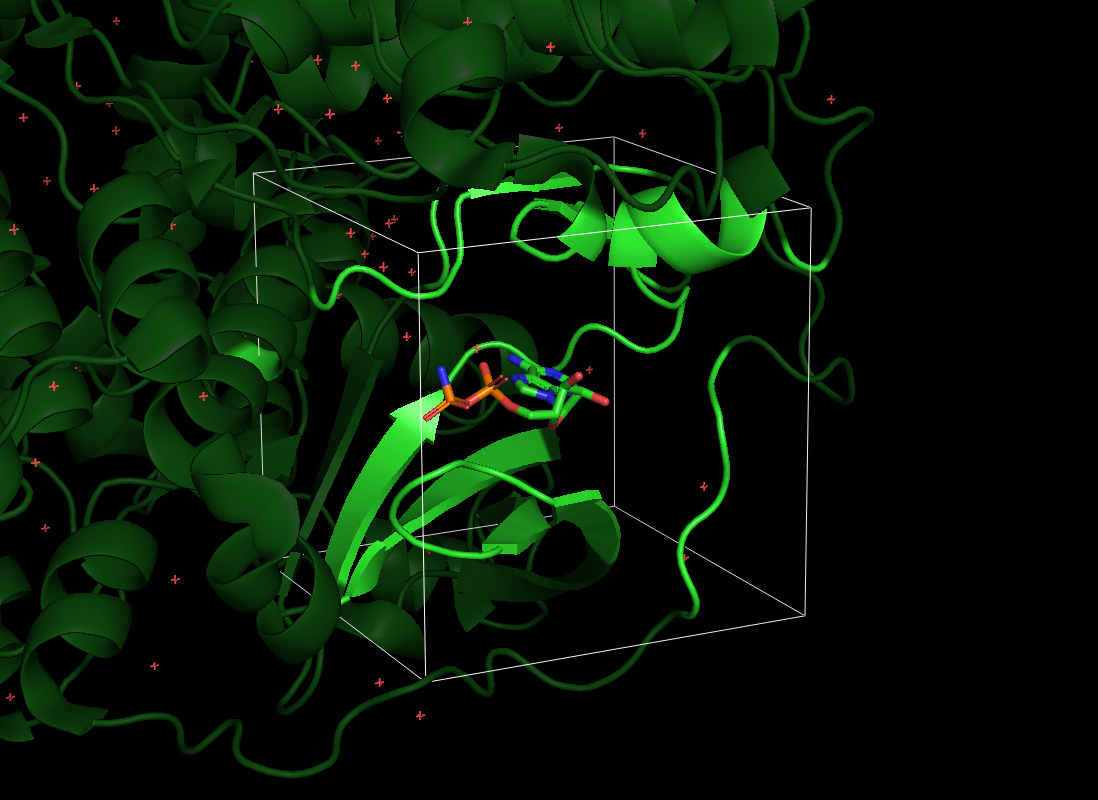
Pocket2Mol used equivariant graph neural networks to improve efficiency and molecule quality of previous structure-based drug design model.
Update: Now the codes are compatible with PyTorch Geometric (PyG) >= 2.0.
The codes have been tested in the following environment:
| Package | Version |
|---|---|
| Python | 3.8.12 |
| PyTorch | 1.10.1 |
| CUDA | 11.3.1 |
| PyTorch Geometric | 2.0.0 |
| RDKit | 2022.03 |
| BioPython | 1.79 |
conda env create -f env_cuda113.yml
conda activate Pocket2Molconda create -n Pocket2Mol python=3.8
conda activate Pocket2Mol
# Install PyTorch (for cuda 11.3)
conda install pytorch==1.10.1 cudatoolkit=11.3 -c pytorch -c conda-forge
# Install PyTorch Geometric (>=2.0.0)
conda install pyg -c pyg
# Install other tools
conda install -c conda-forge rdkit
conda install biopython -c conda-forge # used only in sample_for_pdb.py
conda install pyyaml easydict python-lmdb -c conda-forge
# Install tensorboard only for training
conda install tensorboard -c conda-forge Please refer to README.md in the data folder.
To sample molecules for the i-th pocket in the testset, please first download the trained models following README.md in the ckpt folder.
Then, run the following command:
python sample.py --data_id {i} --outdir ./outputs # Replace {i} with the index of the data. i should be between 0 and 99 for the testset.We recommend to specify the GPU device number and restrict the cpu cores using command like:
CUDA_VISIBLE_DIVICES=0 taskset -c 0 python sample.py --data_id 0 --outdir ./outputsWe also provide a bash file batch_sample.sh for sampling molecules for the whole test set in parallel. For example, to sample with three workers, run the following commands in three panes.
CUDA_VISIBLE_DEVICES=0 taskset -c 0 bash batch_sample.sh  3 0 0

CUDA_VISIBLE_DEVICES=0 taskset -c 1 bash batch_sample.sh  3 1 0

CUDA_VISIBLE_DEVICES=0 taskset -c 2 bash batch_sample.sh  3 2 0
The three parameters of batch_sample.py represent the number of workers, the index of current worker and the start index of the datapoint in the test set, respectively.
To generate ligands for your own pocket, you need to provide the PDB structure file of the protein, the center coordinate of the pocket bounding box, and optionally the side length of the bounding box (default: 23Å).
Example:
python sample_for_pdb.py \
      --pdb_path ./example/4yhj.pdb
--center " 32.0,28.0,36.0"python train.py --config ./configs/train.yml --logdir ./logs
For training, we recommend to install apex for lower gpu memory usage. If so, change the value of train/use_apex in the configs/train.yml file.
@inproceedings{peng2022pocket2mol,
  title={Pocket2Mol: Efficient Molecular Sampling Based on 3D Protein Pockets},
  author={Xingang Peng and Shitong Luo and Jiaqi Guan and Qi Xie and Jian Peng and Jianzhu Ma},
  booktitle={International Conference on Machine Learning},
  year={2022}
}
Xingang Peng (xingang.peng@gmail.com)

